Pillowcases for Kids in the Hospital

I’m going to do something I’ve never done before and that is ask readers of this blog to contribute money to a project.  The TL:DR is my mother, friends, and I have been sewing pillowcases for kids in the hospital.  We’re looking for help covering the costs of materials and shipping.  Our goal is 600 pillowcases this year.  If you’d like to contribute, follow this link to our PayPal Money Pool.  Keep reading for the full story!  Thank you for any help you are able to provide.

Fabric that needs to be ironed and cut to size for pillowcases.

In March 2017, I took a class at the Florida Tropical Weavers Conference.  We wove fabric using rags and then sewed the fabric into cute purses.  I always knew that I was going to need to improve my sewing skills if I was going to weave my own fabric, but I didn’t have a specific plan for when I was going to do that.  After taking the class at Conference, I decided the time was now.

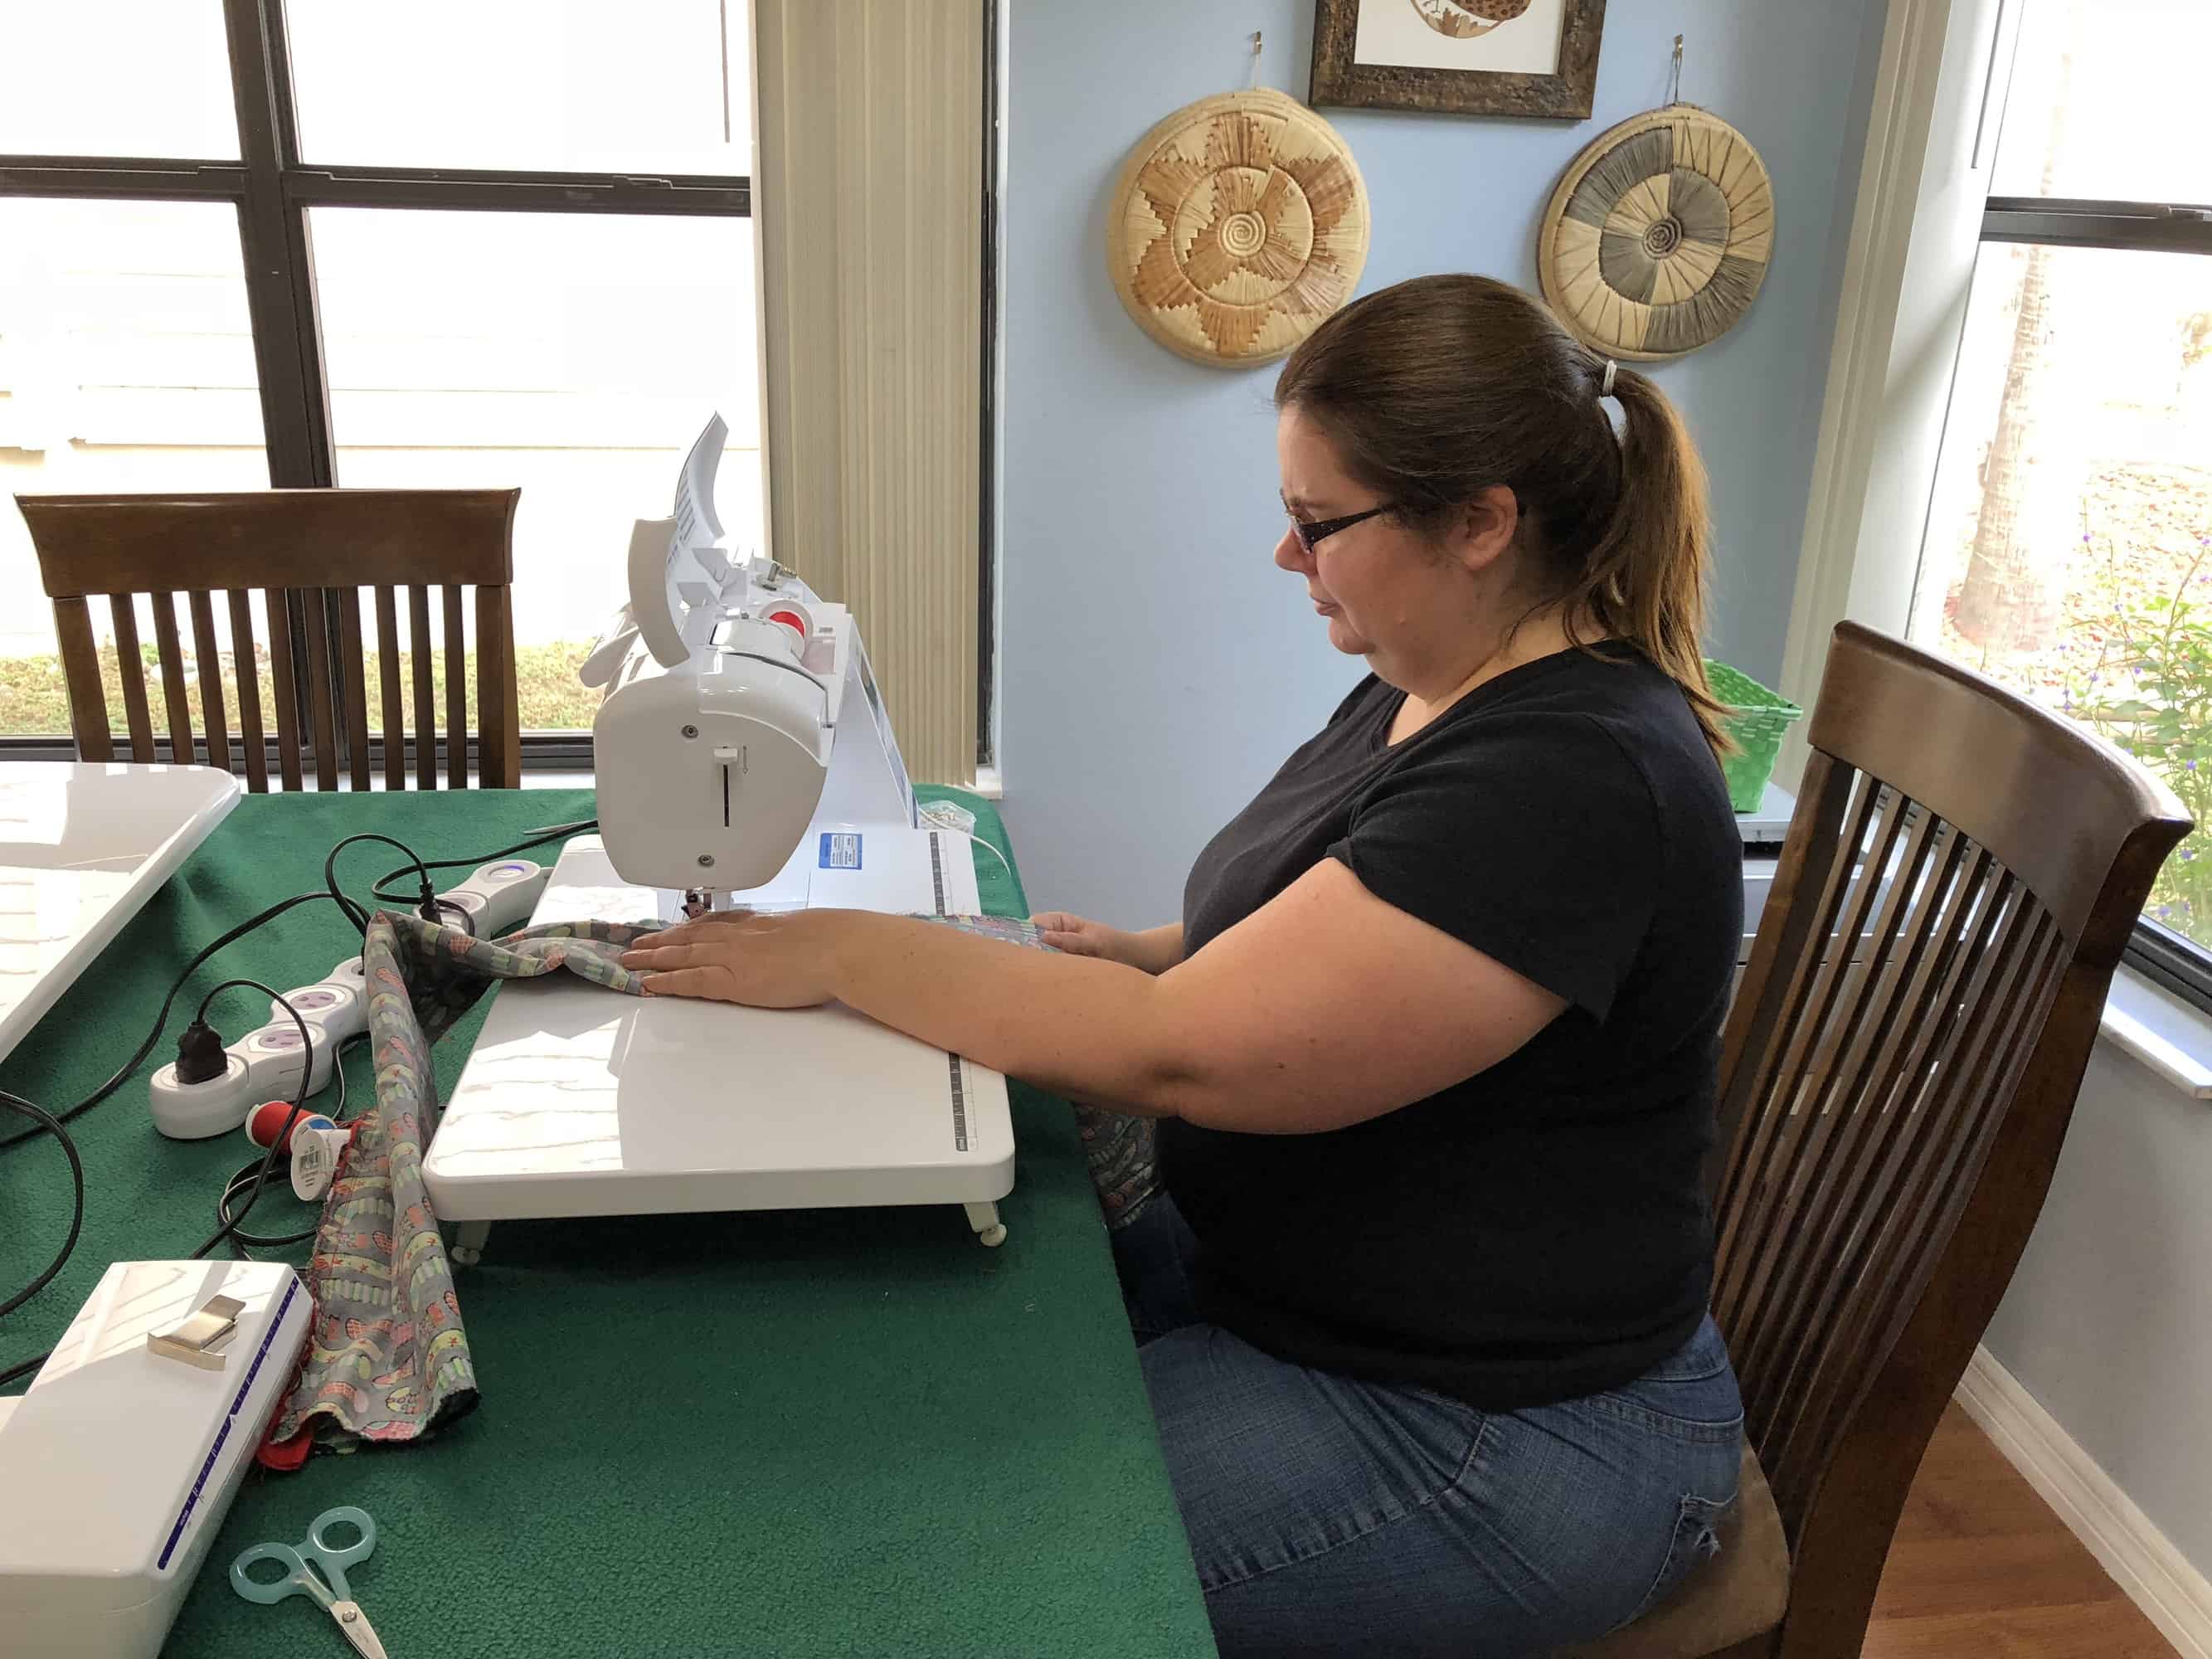
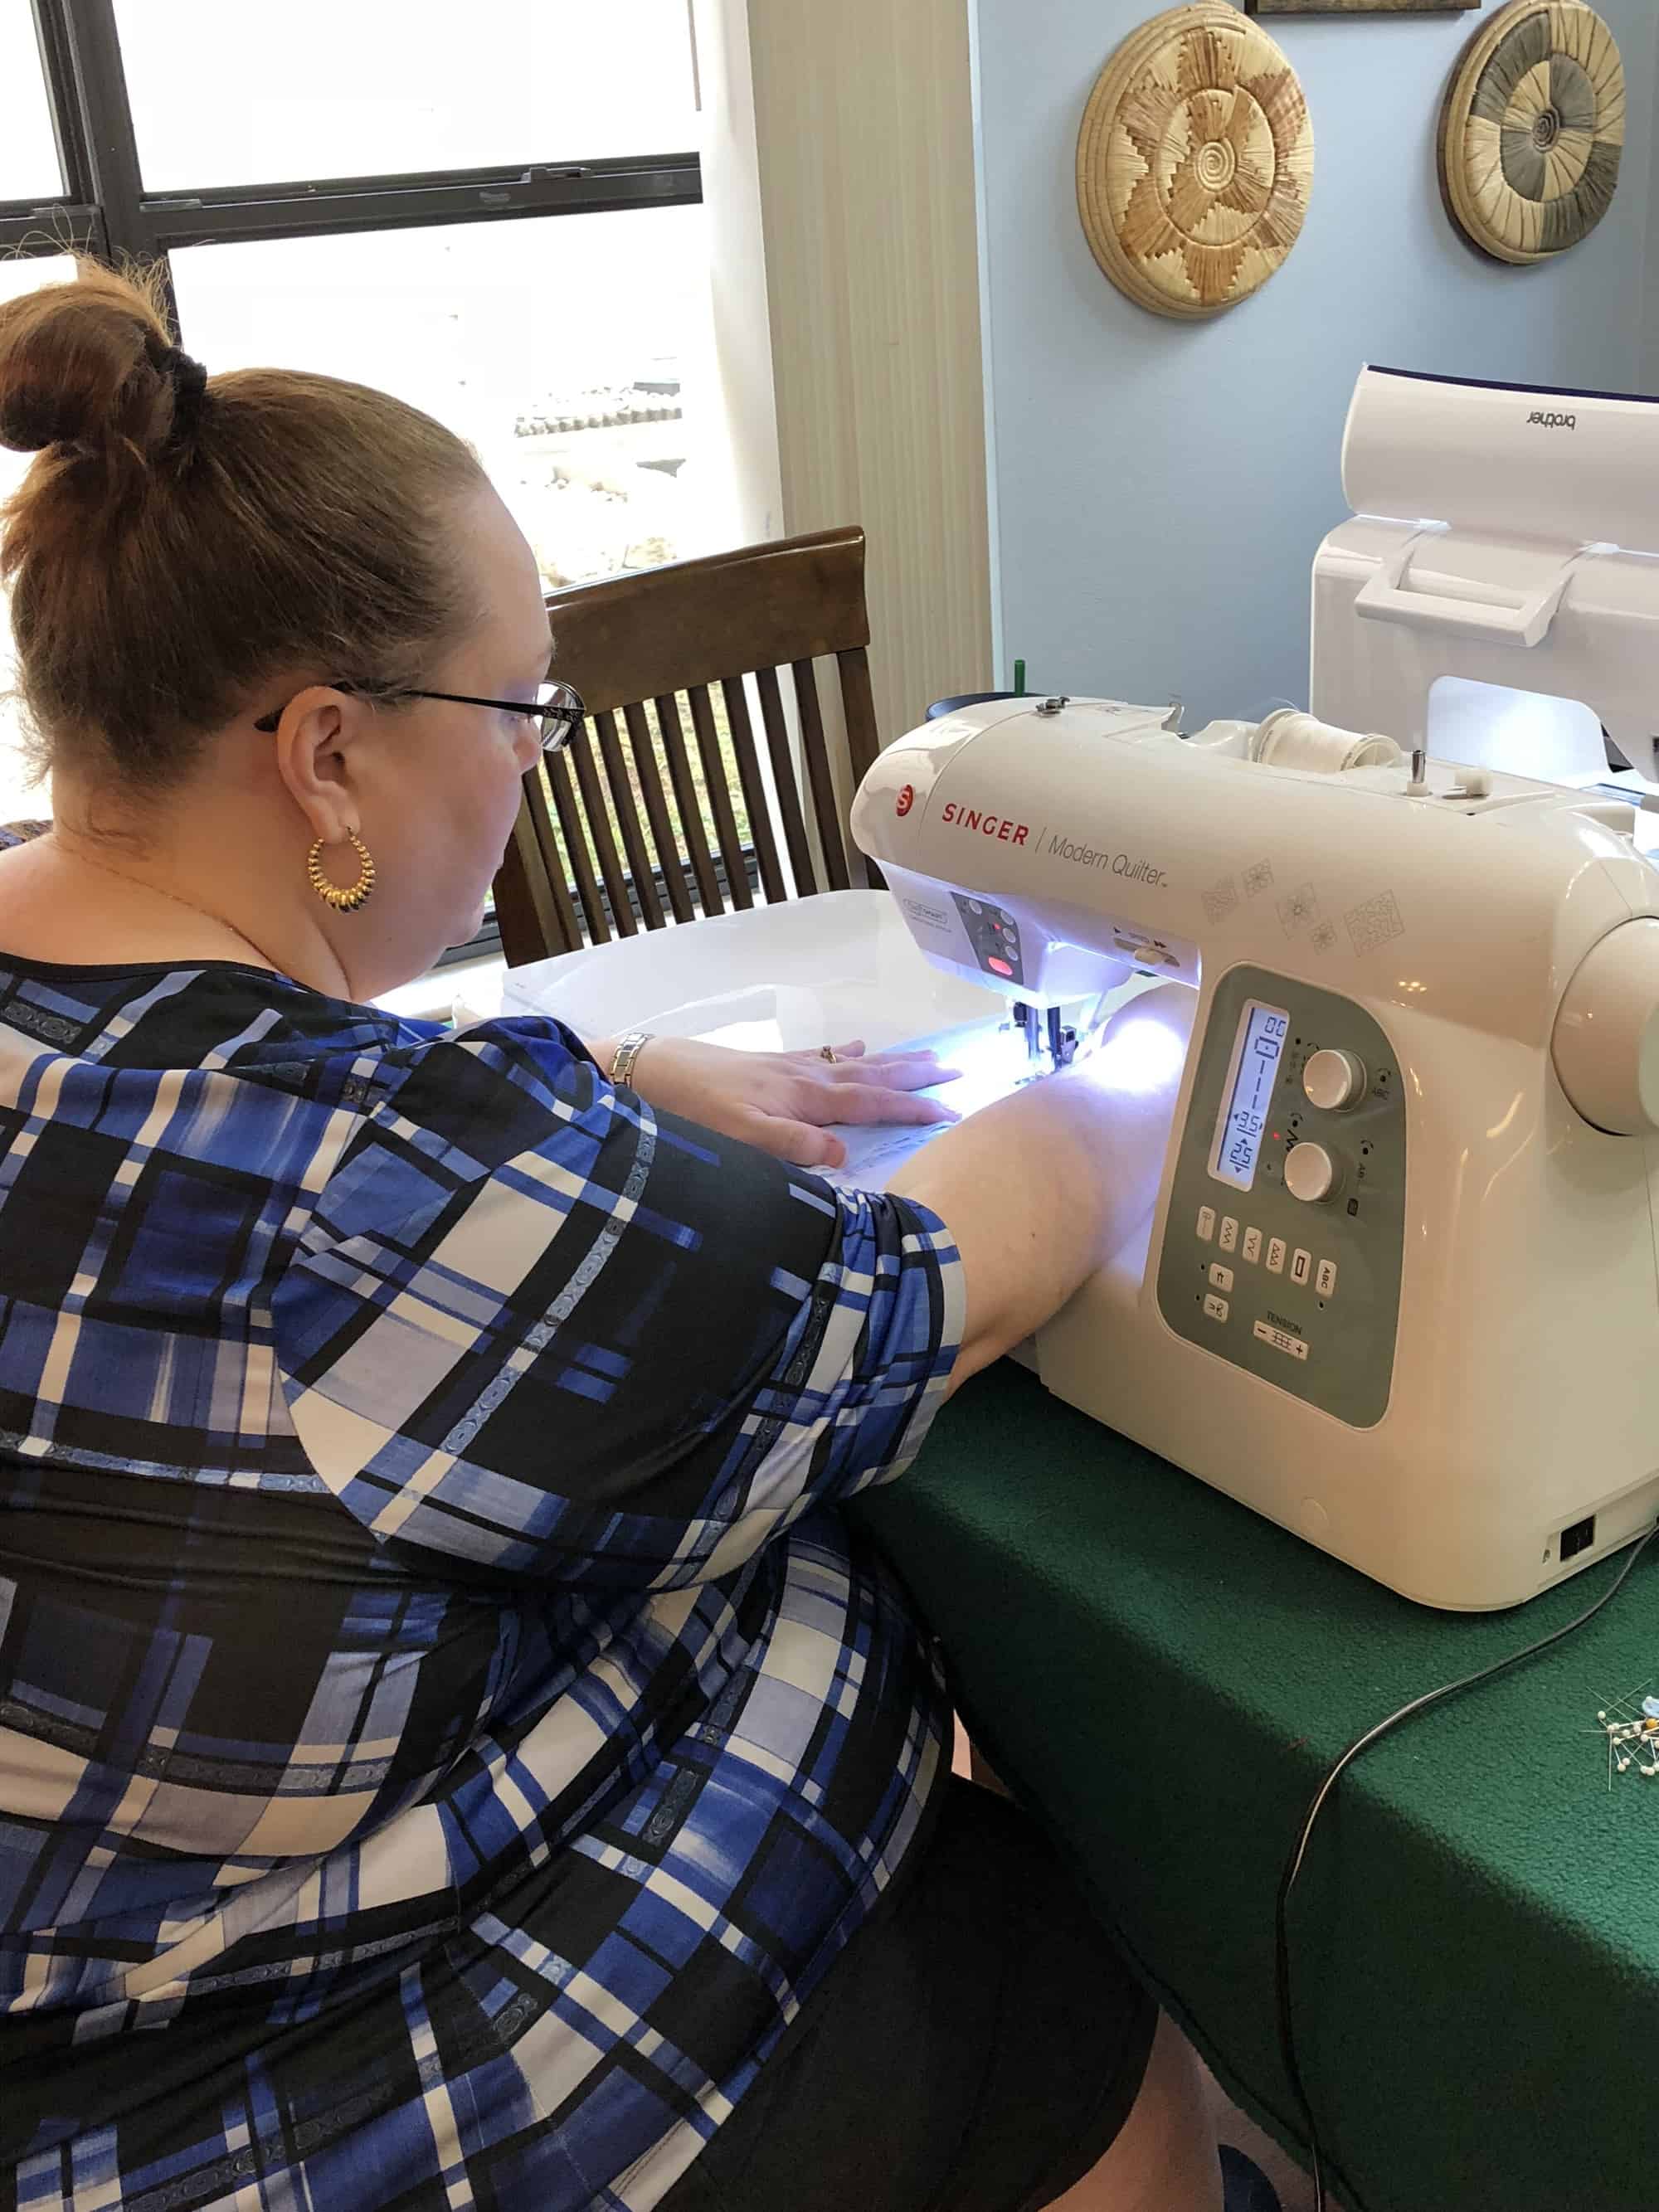
I took three classes at The Sewing Studio, an independent fabric shop located about 10 miles from my house.  Each class was once a week for four weeks.  In the first class, we sewed pajama pants.  In the second we sewed a tunic and in the third we sewed a dress.

After the fabric is cut, we make it up into kits. Each kit includes the main fabric, a contrasting trim, and a contrasting cuff. The sewists take a kit out of this box and start sewing.

About the time that I was starting the second class, my mother told me about the pillowcase project.  My cousin is a nurse on a pediatric oncology unit at Hartford (Connecticut) Children’s hospital.  Someone gave them a few handmade pillowcases to give to the kids.   The nurses gave them out on special occasions or if a kid had a particularly rough day.  They didn’t have many pillowcases, so they were careful about giving them out.  My aunt and mother had sewn a few pillowcases.  My mother wondered if I’d like to make some also, as a way of improving my confidence in basic sewing skills.  I said sure.

This me, sewing a pillowcase on the used sewing machine I found for less than half the usual retail price!

Of course it snowballed from there.  My friend Shellee wanted to learn to sew, so we taught her the very basics with pillowcases.  Shellee is a lot like me — if she’s going to get into something, she’s jumping in with both feet.  Before you knew it, my mother, Shellee, and I had acquired far more fabric than we could sew through ourselves and we started recruiting other people to help.

Shellee and I ironing and cutting fabric.

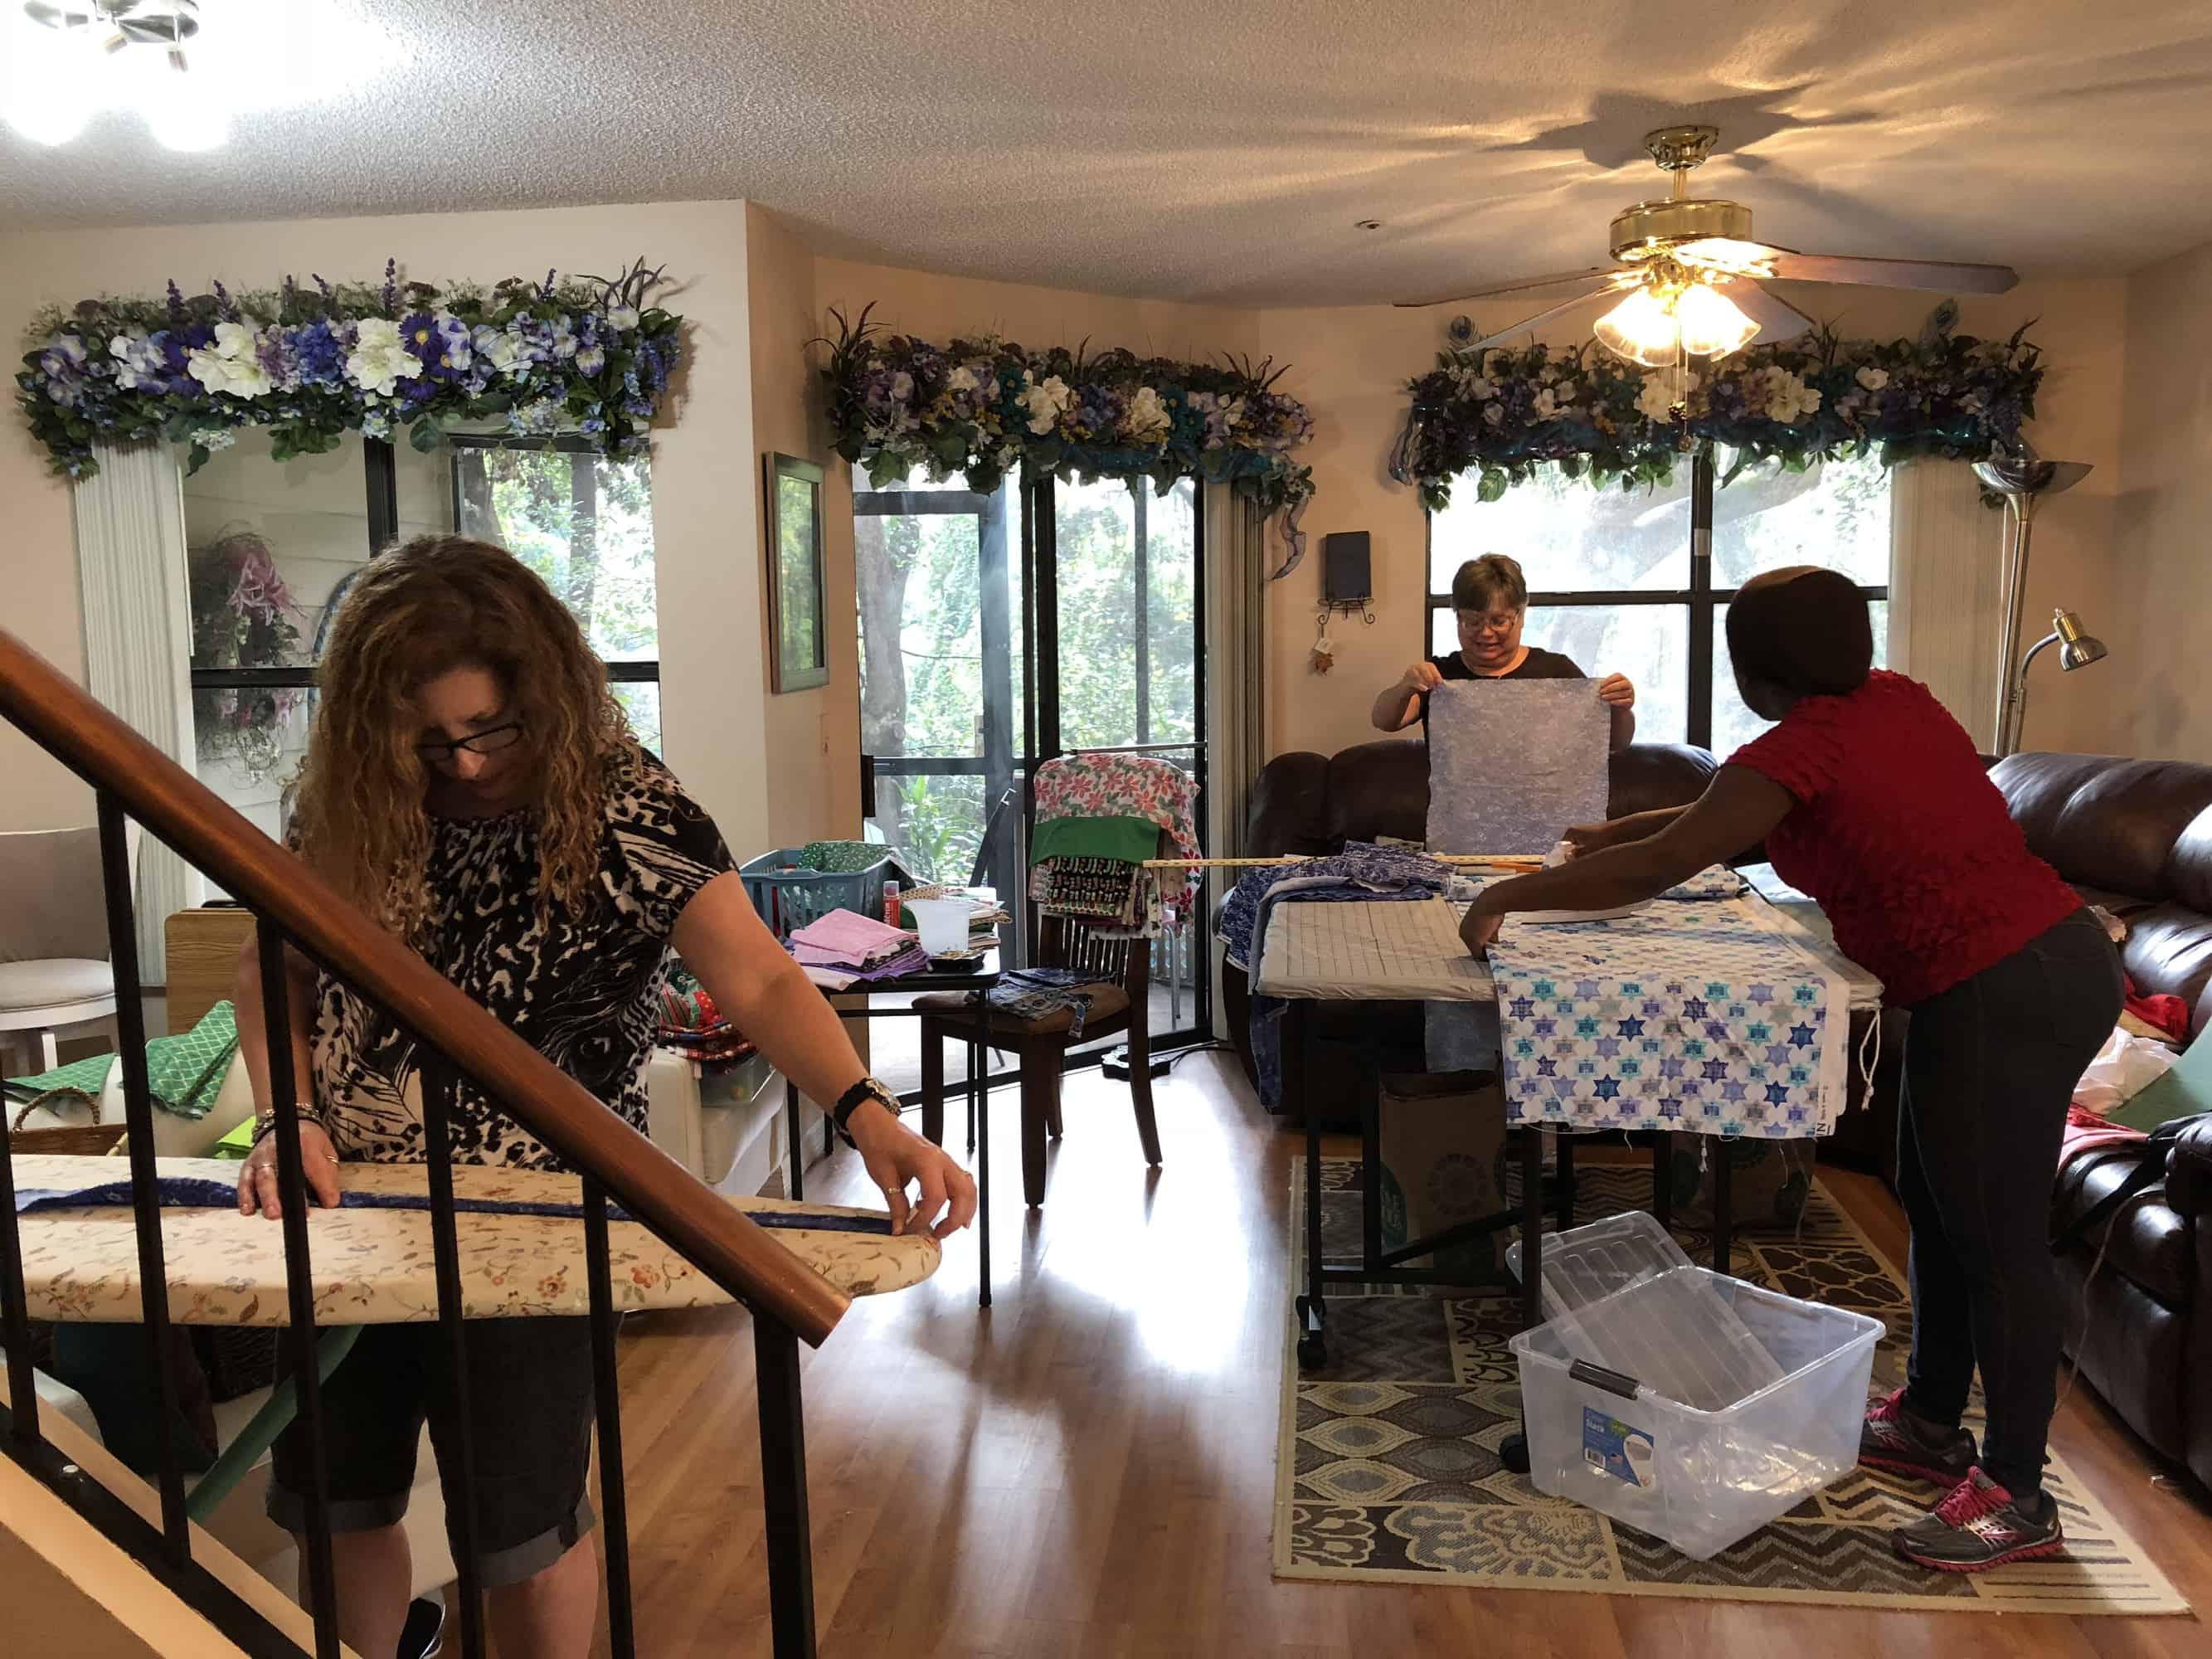
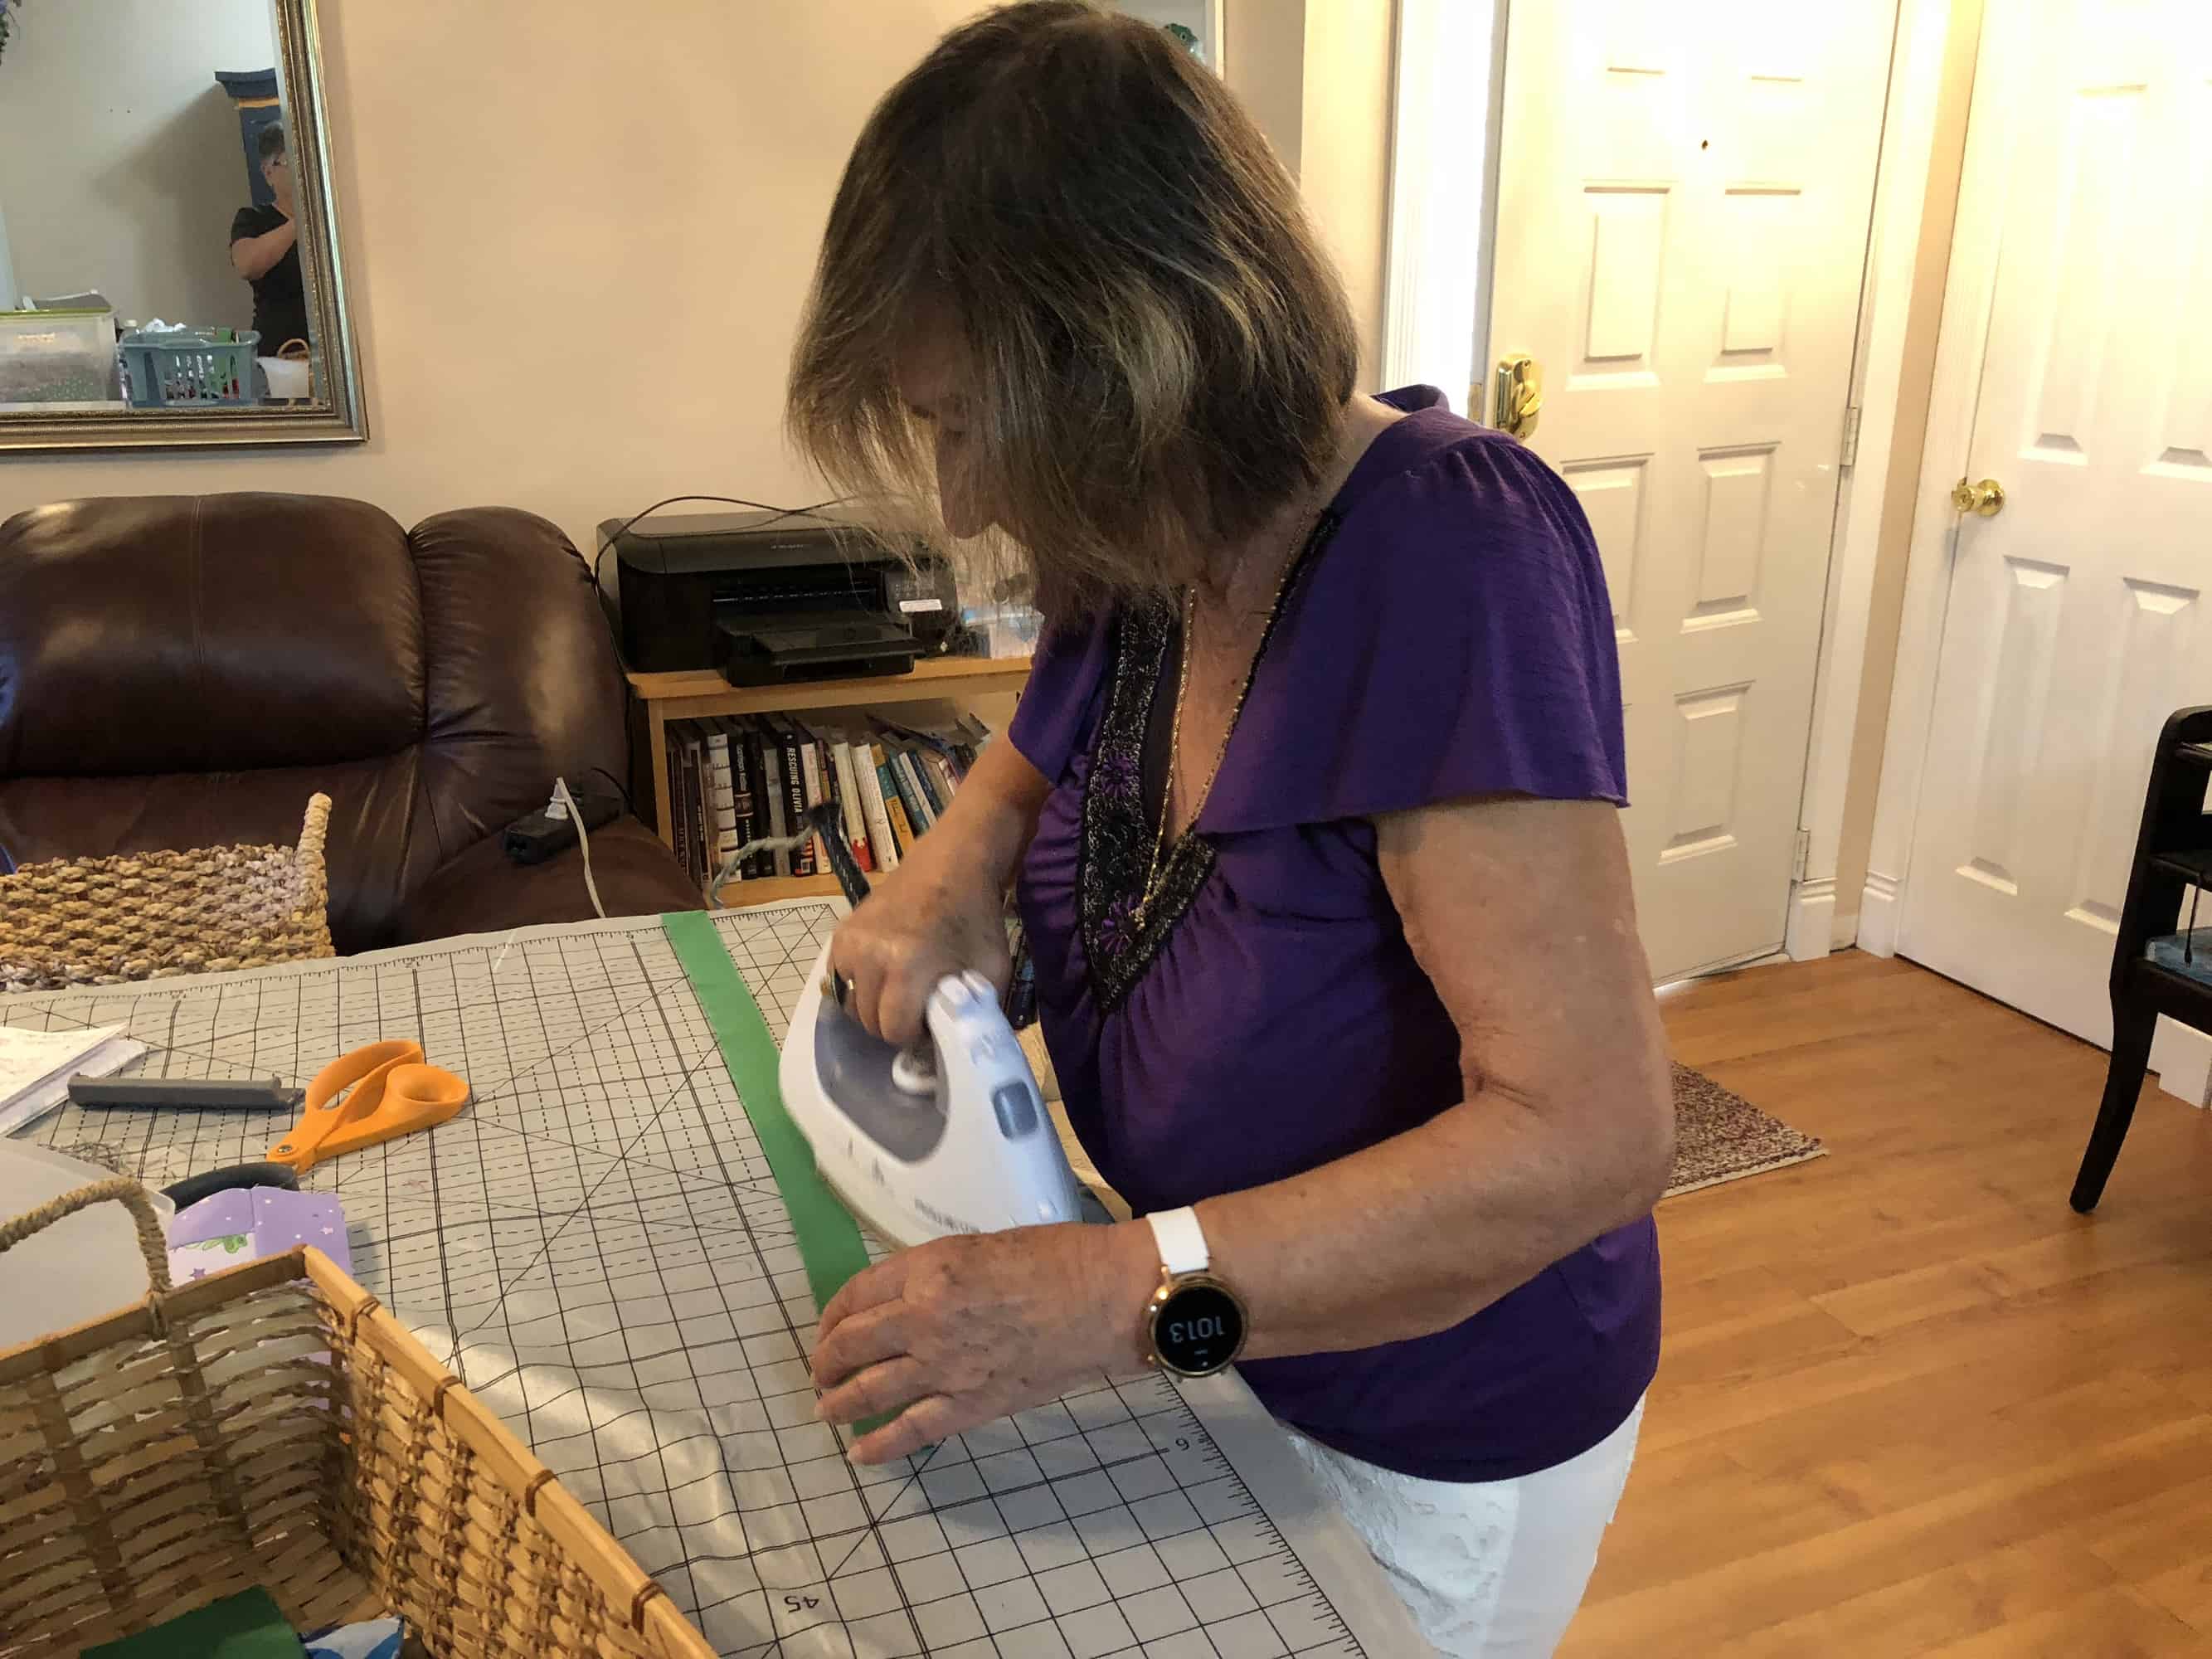
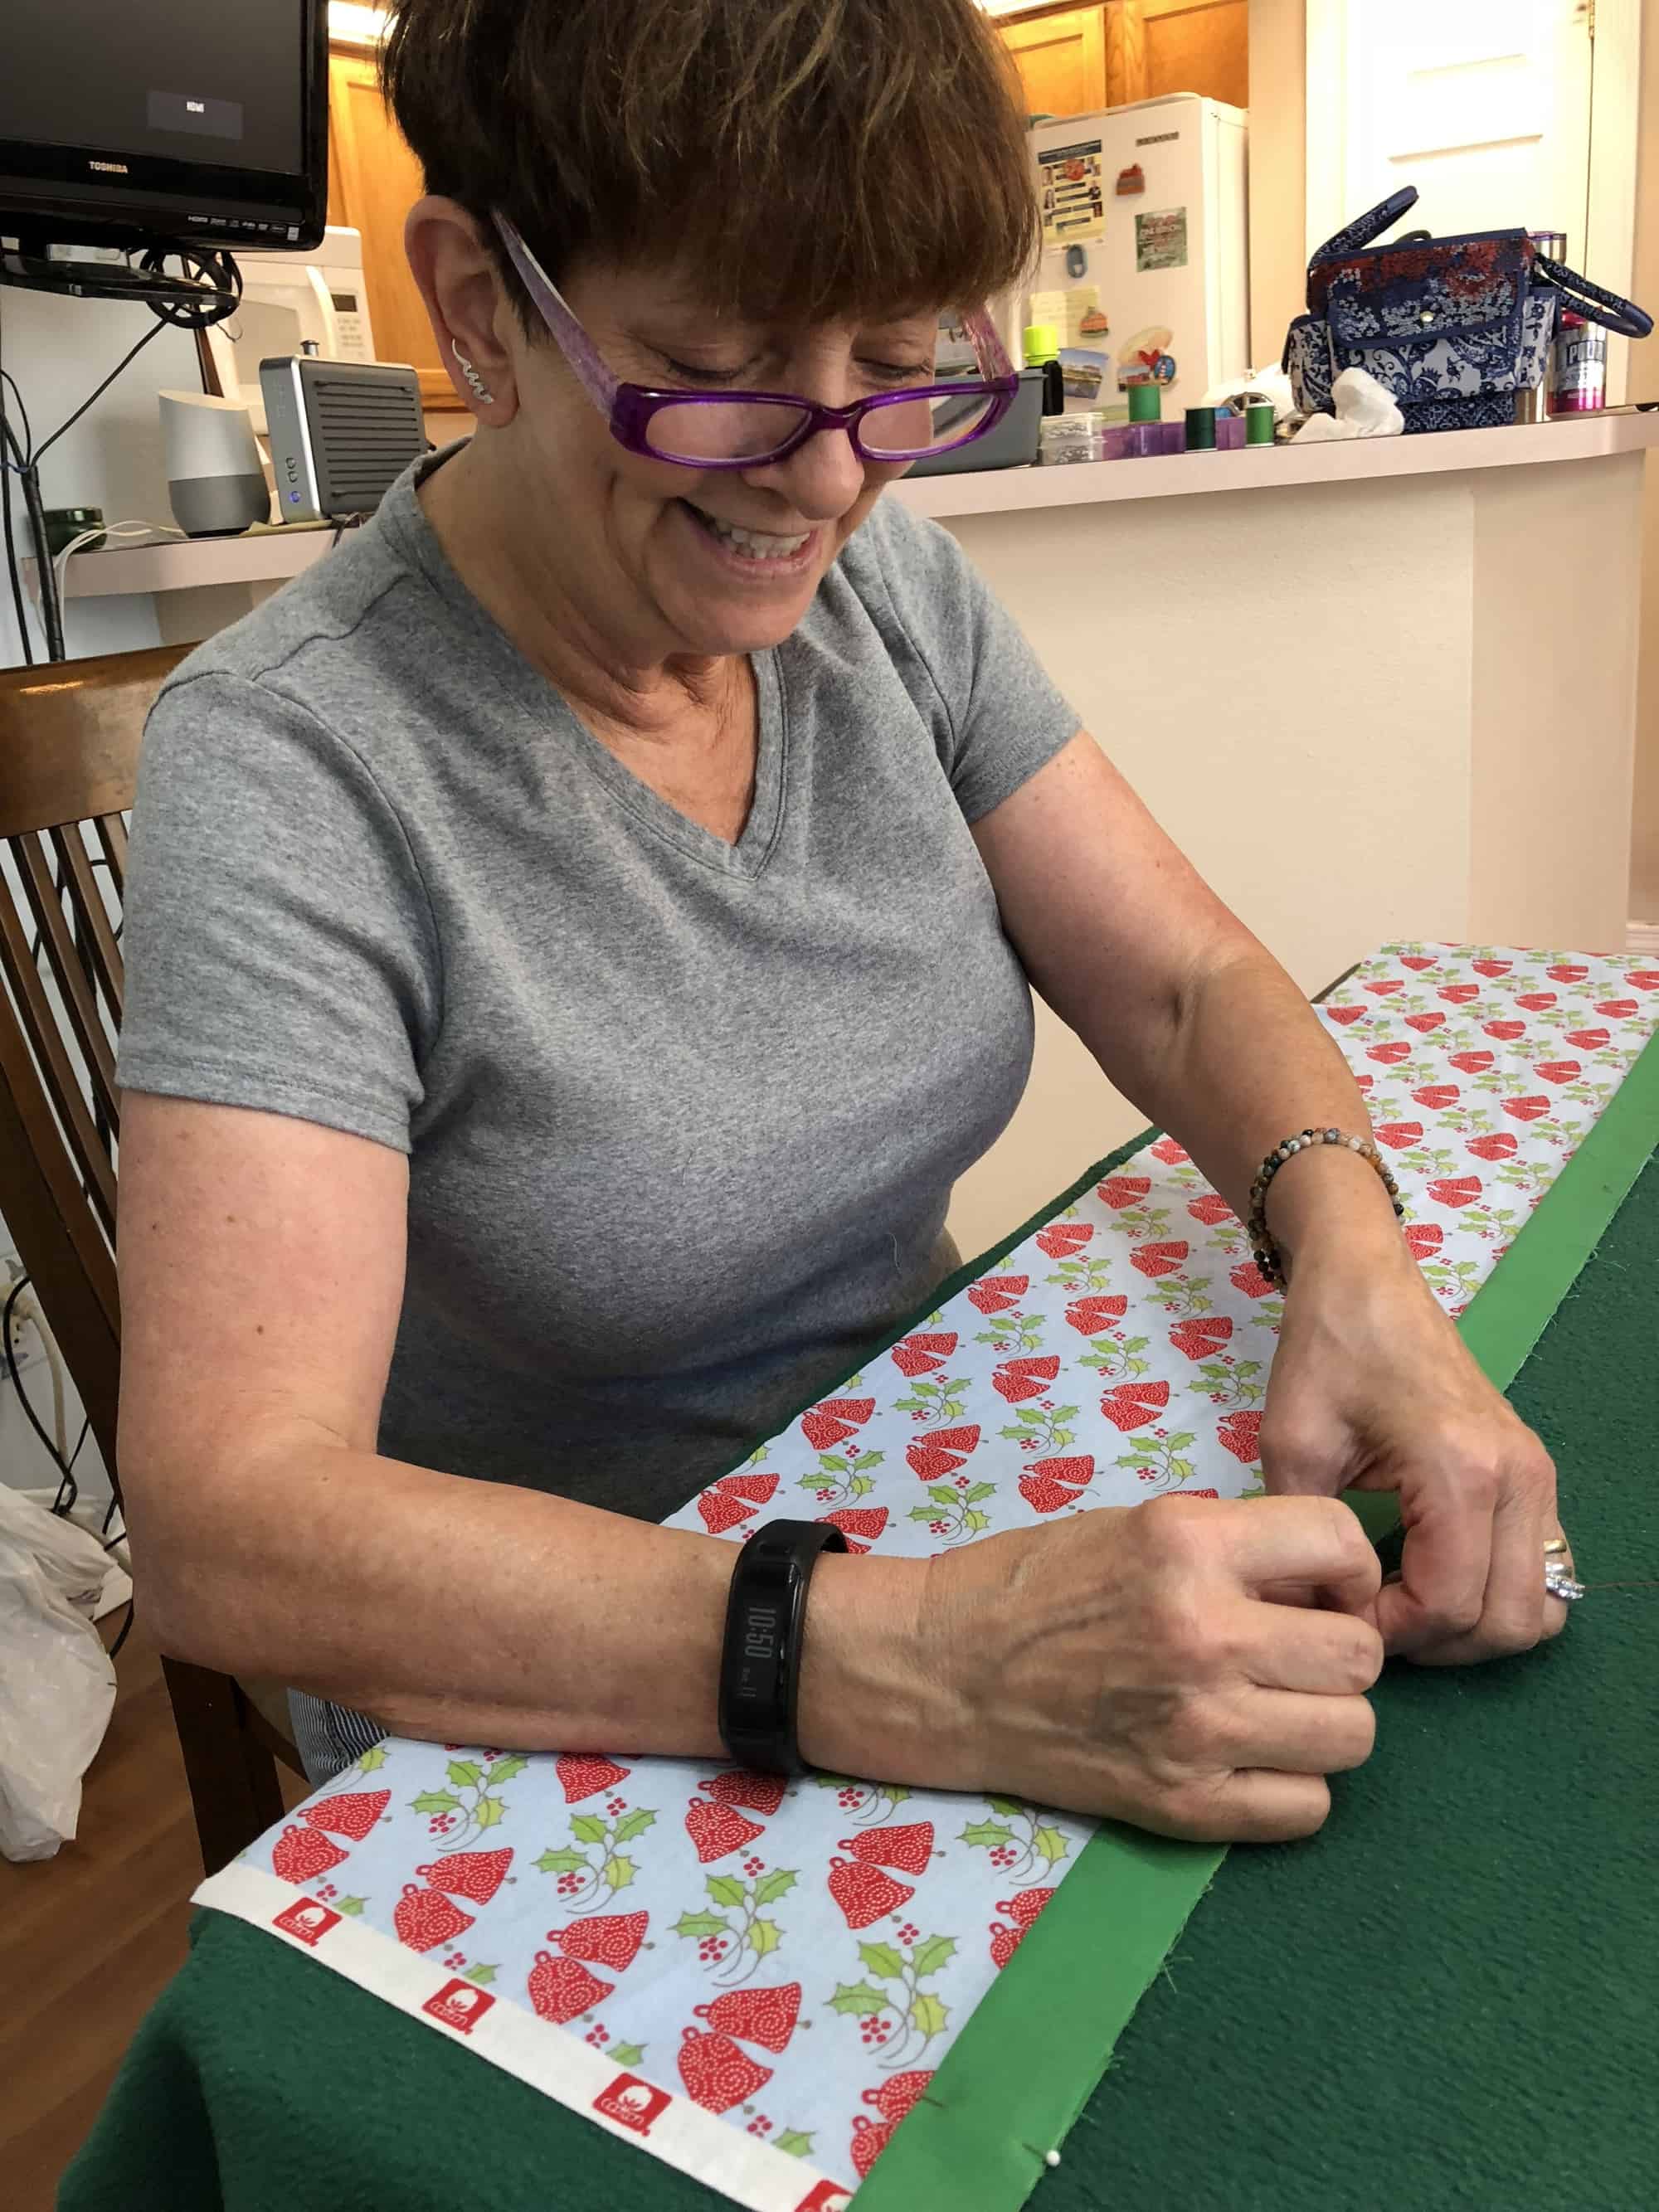
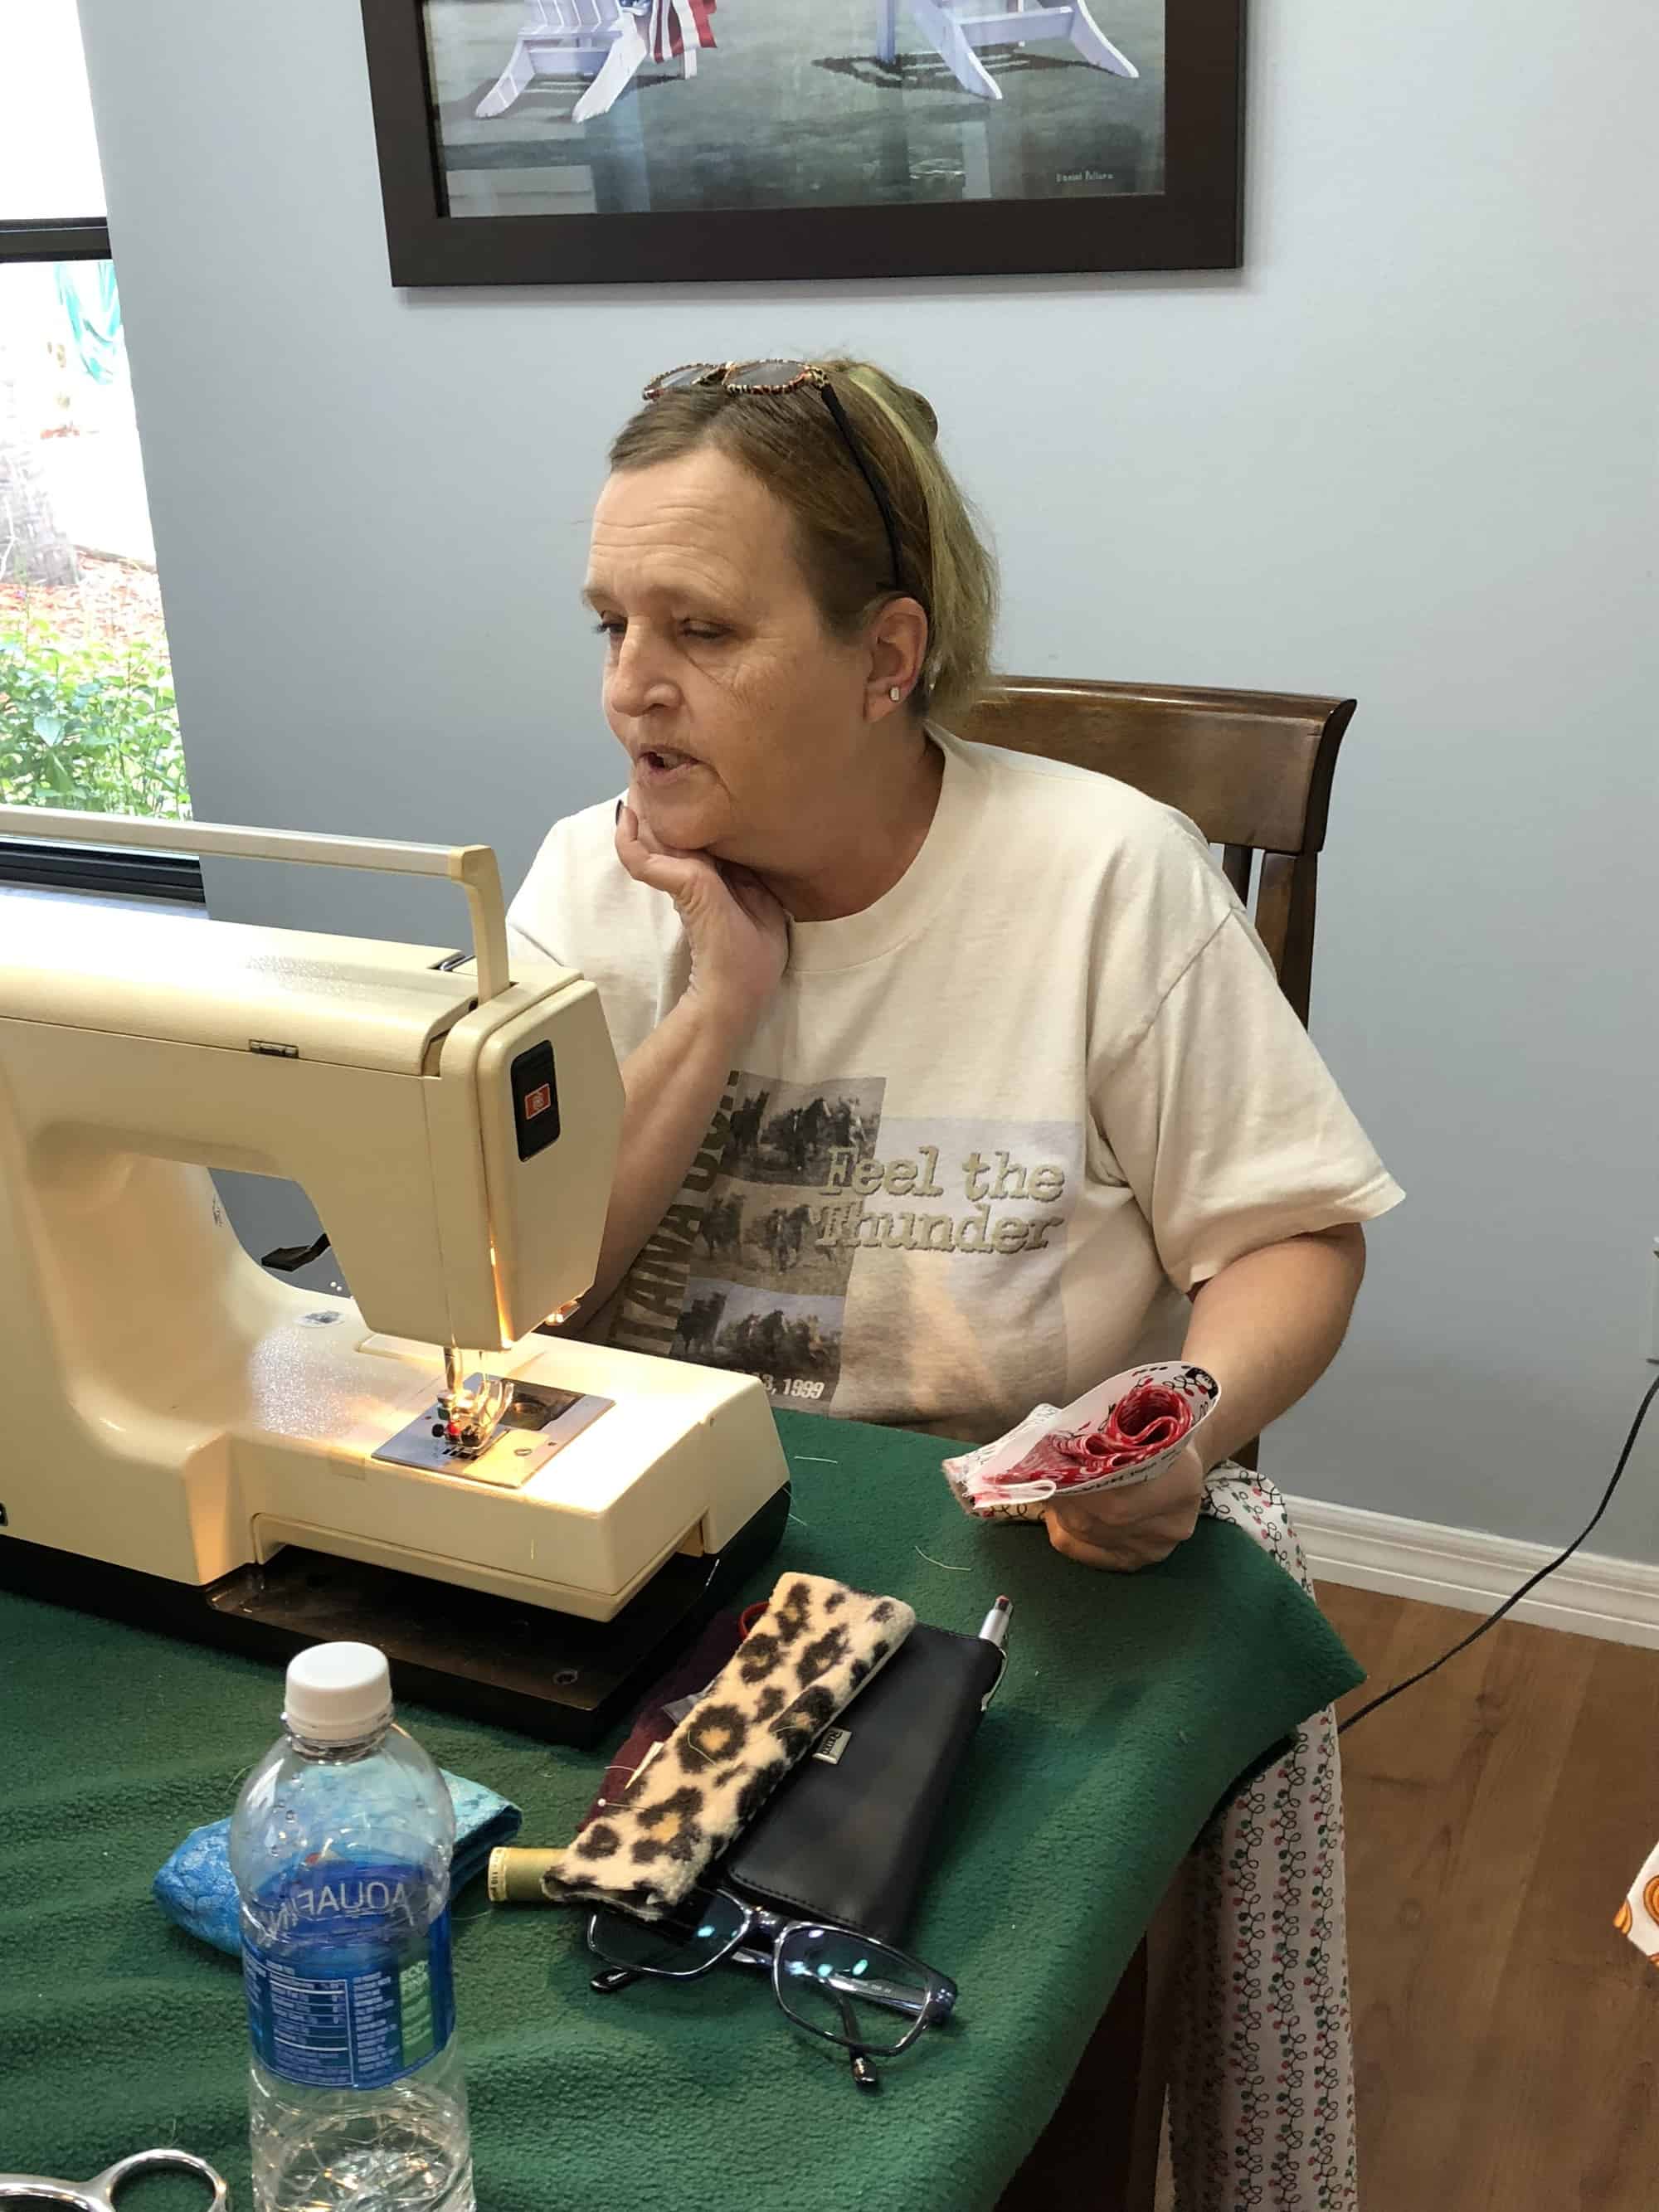
We’ve held a couple of sewing days for the pillowcases.  At first it was just Shellee, my mom, and me but in November we recruited as many people as we could in order to sew pillowcases for December holidays.

My mother’s neighbor Bonnie doesn’t sew, so she did a lot of the ironing. My mother and Shellee are in the background, measuring and ironing.
My mother’s friend Maria Elena does not know how to sew, so she helped with ironing.
In this picture, Fredi is preparing one of the kits for sewing. She is also a talented sewist and we were excited to have her helping!
Cris’s machine gave her some fits, but she got them worked out and sewed the rest of the day.
Shauna has been sewing a long time. Before she moved to Florida, she volunteered significant time with Girl Scouts of America. She was looking for a new volunteer opportunity here in Florida and was excited to sew pillowcases with us.
My parents’ dog Kallie supervising the sewing.

Stories from the Hospital

I wish I could share pictures of kids with their pillowcases, but I can’t due to HIPPA and general privacy.  I do have stories, though!

Two nurses holding up holiday pillowcases we sent to the hospital.

Avery tells us that one of the reasons they like to give pillowcases to the kids is because it is the first indication to the patient that their hospital room can be personalized.  Patients tend to assume that sterile = impersonal.  This doesn’t have to be the case.  The staff encourages the patients to bring in things from home, to provide familiarity and comfort while they are in the hospital.  When they receive a colorful, non-institutional pillowcase, it offers a concrete proof that the staff really means it when they say, “Make yourself at home.”

Some patients come in and out of the hospital.  Sometimes the patient comes in for regularly scheduled treatments.  They might stay in the hospital for a week every month or for a couple of days a week while receiving chemo or radiation.  Sometimes the patient comes in on an irregular schedule as symptoms wax and wane.  One boy received a pillowcase on a visit several months ago.  Every time he comes into the hospital again, he brings his pillowcase with him.  He can’t fall asleep without it, even at home.

Just before Christmas, another boy came into the hospital.  He loves Christmas and was going to be in the hospital over the holiday, so his family decorated his entire room for Christmas.  They were so excited when Avery brought him one of the Christmas-themed pillowcases as a finishing touch on the room.  His mother was so touched when she found out they were handmade.  She took a picture of her son sleeping on the pillowcase and had Avery sent it to us so we would know how much it meant to them.

While most of our pillowcases stay on the floor where Avery works, sometimes they make their way to other floors.  When we sent 8 or 9 pillowcases made from “Happy Birthday” fabric, the woman in charge of special events for patients commandeered them all so she could distribute them throughout the hospital to kids who had to spend their birthday as an inpatient.

About the Budget

When you click through to our PayPal Money Pool, you will see that our goal is $6,000.  I thought I’d break that down for you a little.

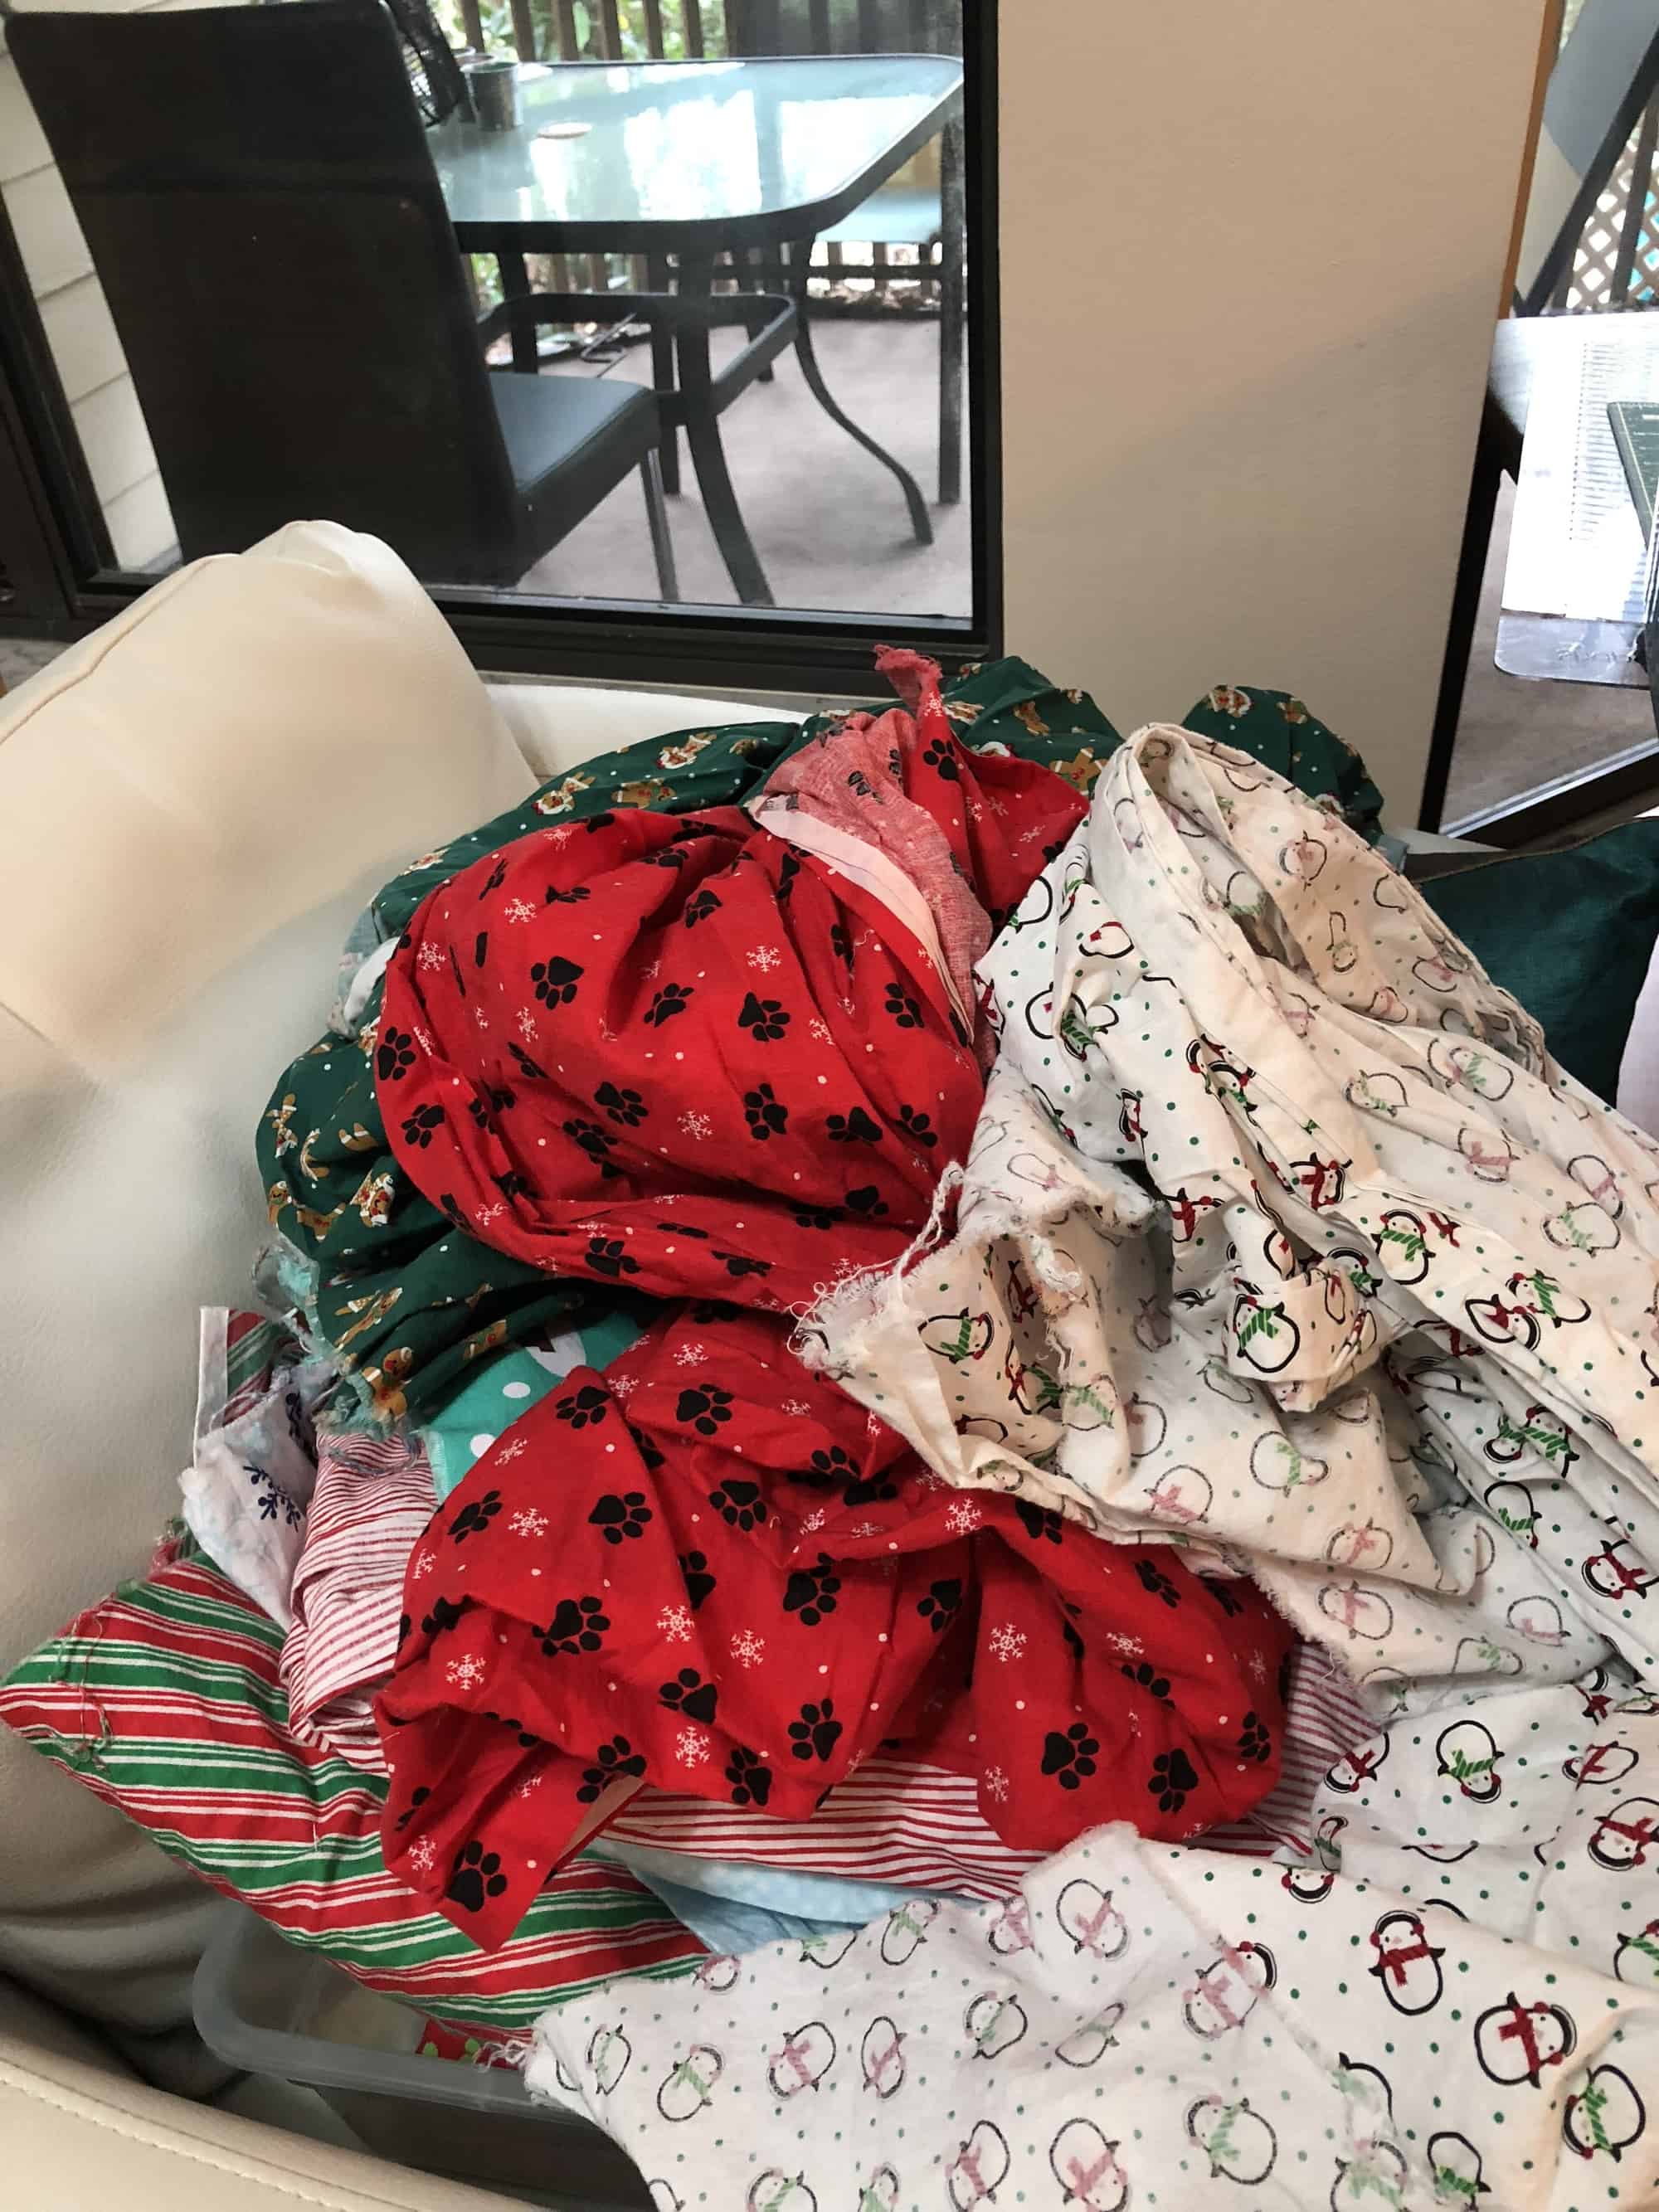
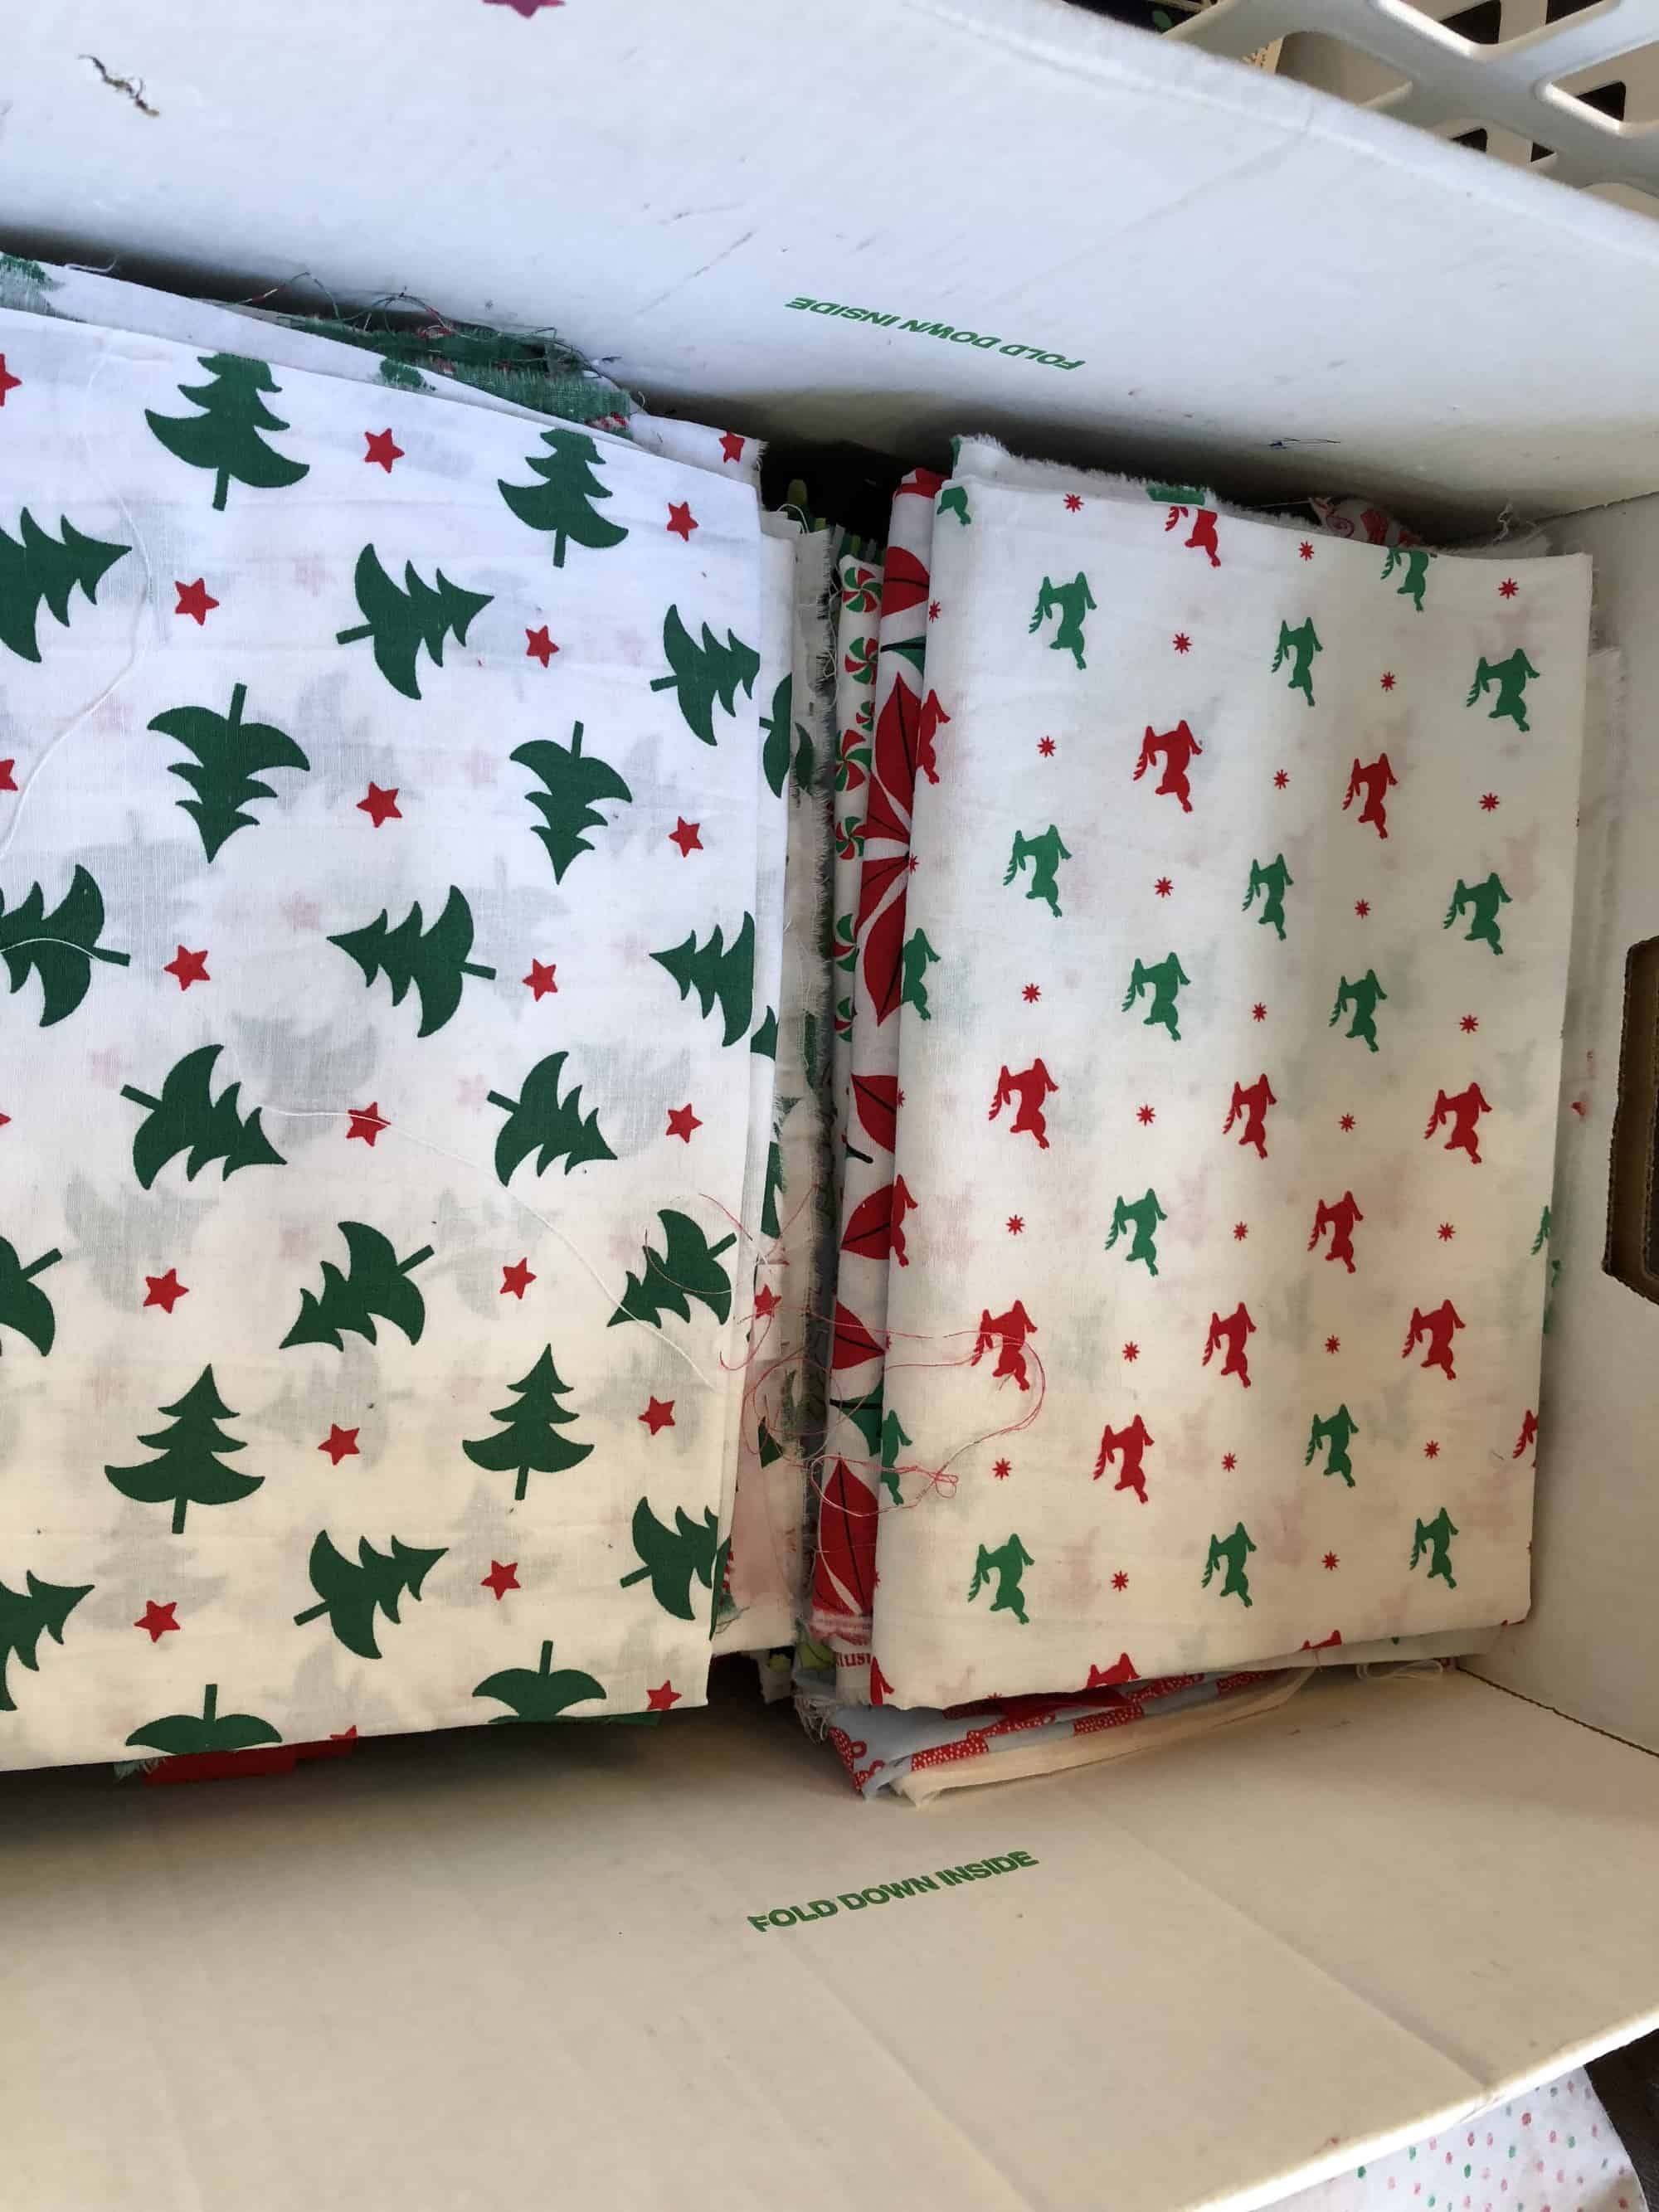
The primary cost is for fabric.  Each pillowcase takes about a yard of fabric.  We use three different fabrics — one for the body, one for trim, and one for the cuff.  The total body is about 3/4 of a yard, the trim is about 3” long and the cuff is 10” long.  We use quilting cotton to make them and are using nearly the entire width of the fabric.  We tend to cut out pieces first for the body, then for the cuff, then for the trim so we can maximize our use of the fabric and have very little waste.

At regular price, quilting cotton costs $4 – $12 / yard.  The lower cost fabrics are definitely lower quality.  We found that they are often skewed to an extent that it is difficult to make a pillowcase with them.  In addition, they tend to have smaller all over patterns and don’t necessarily have the visual impact we like.  The high end of the range is either a better quality fabric or one that has licensed characters on it.

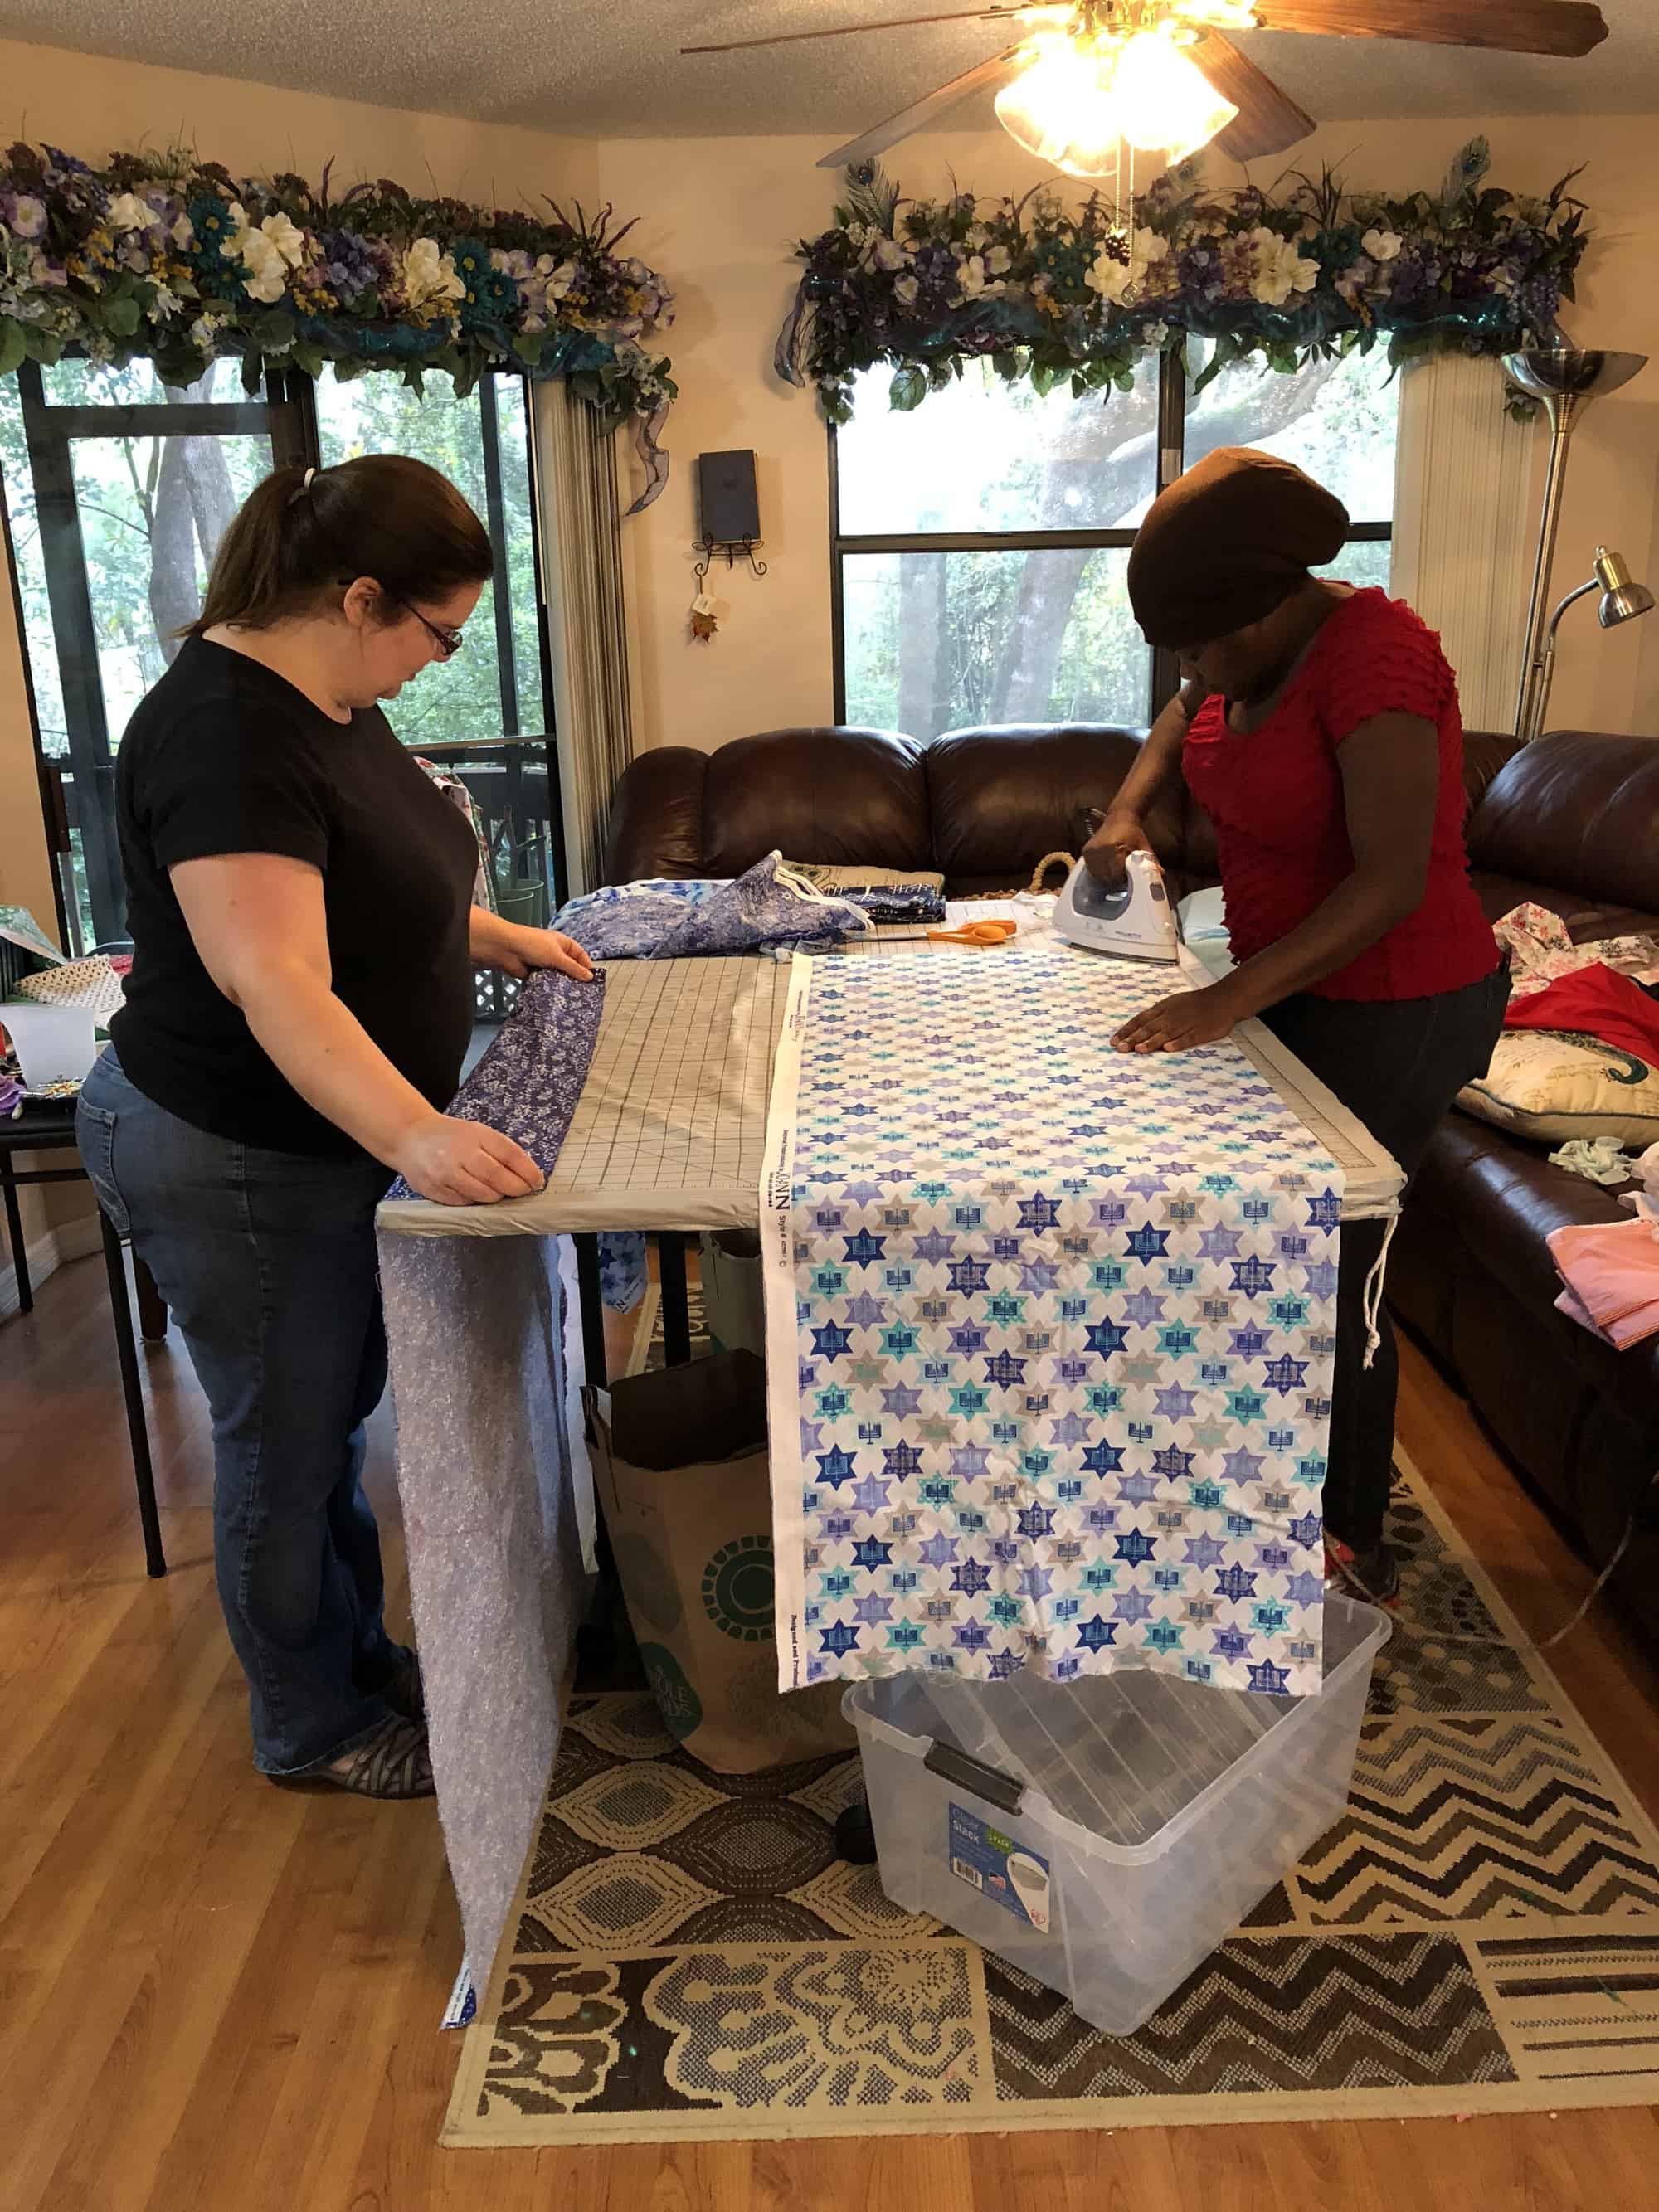
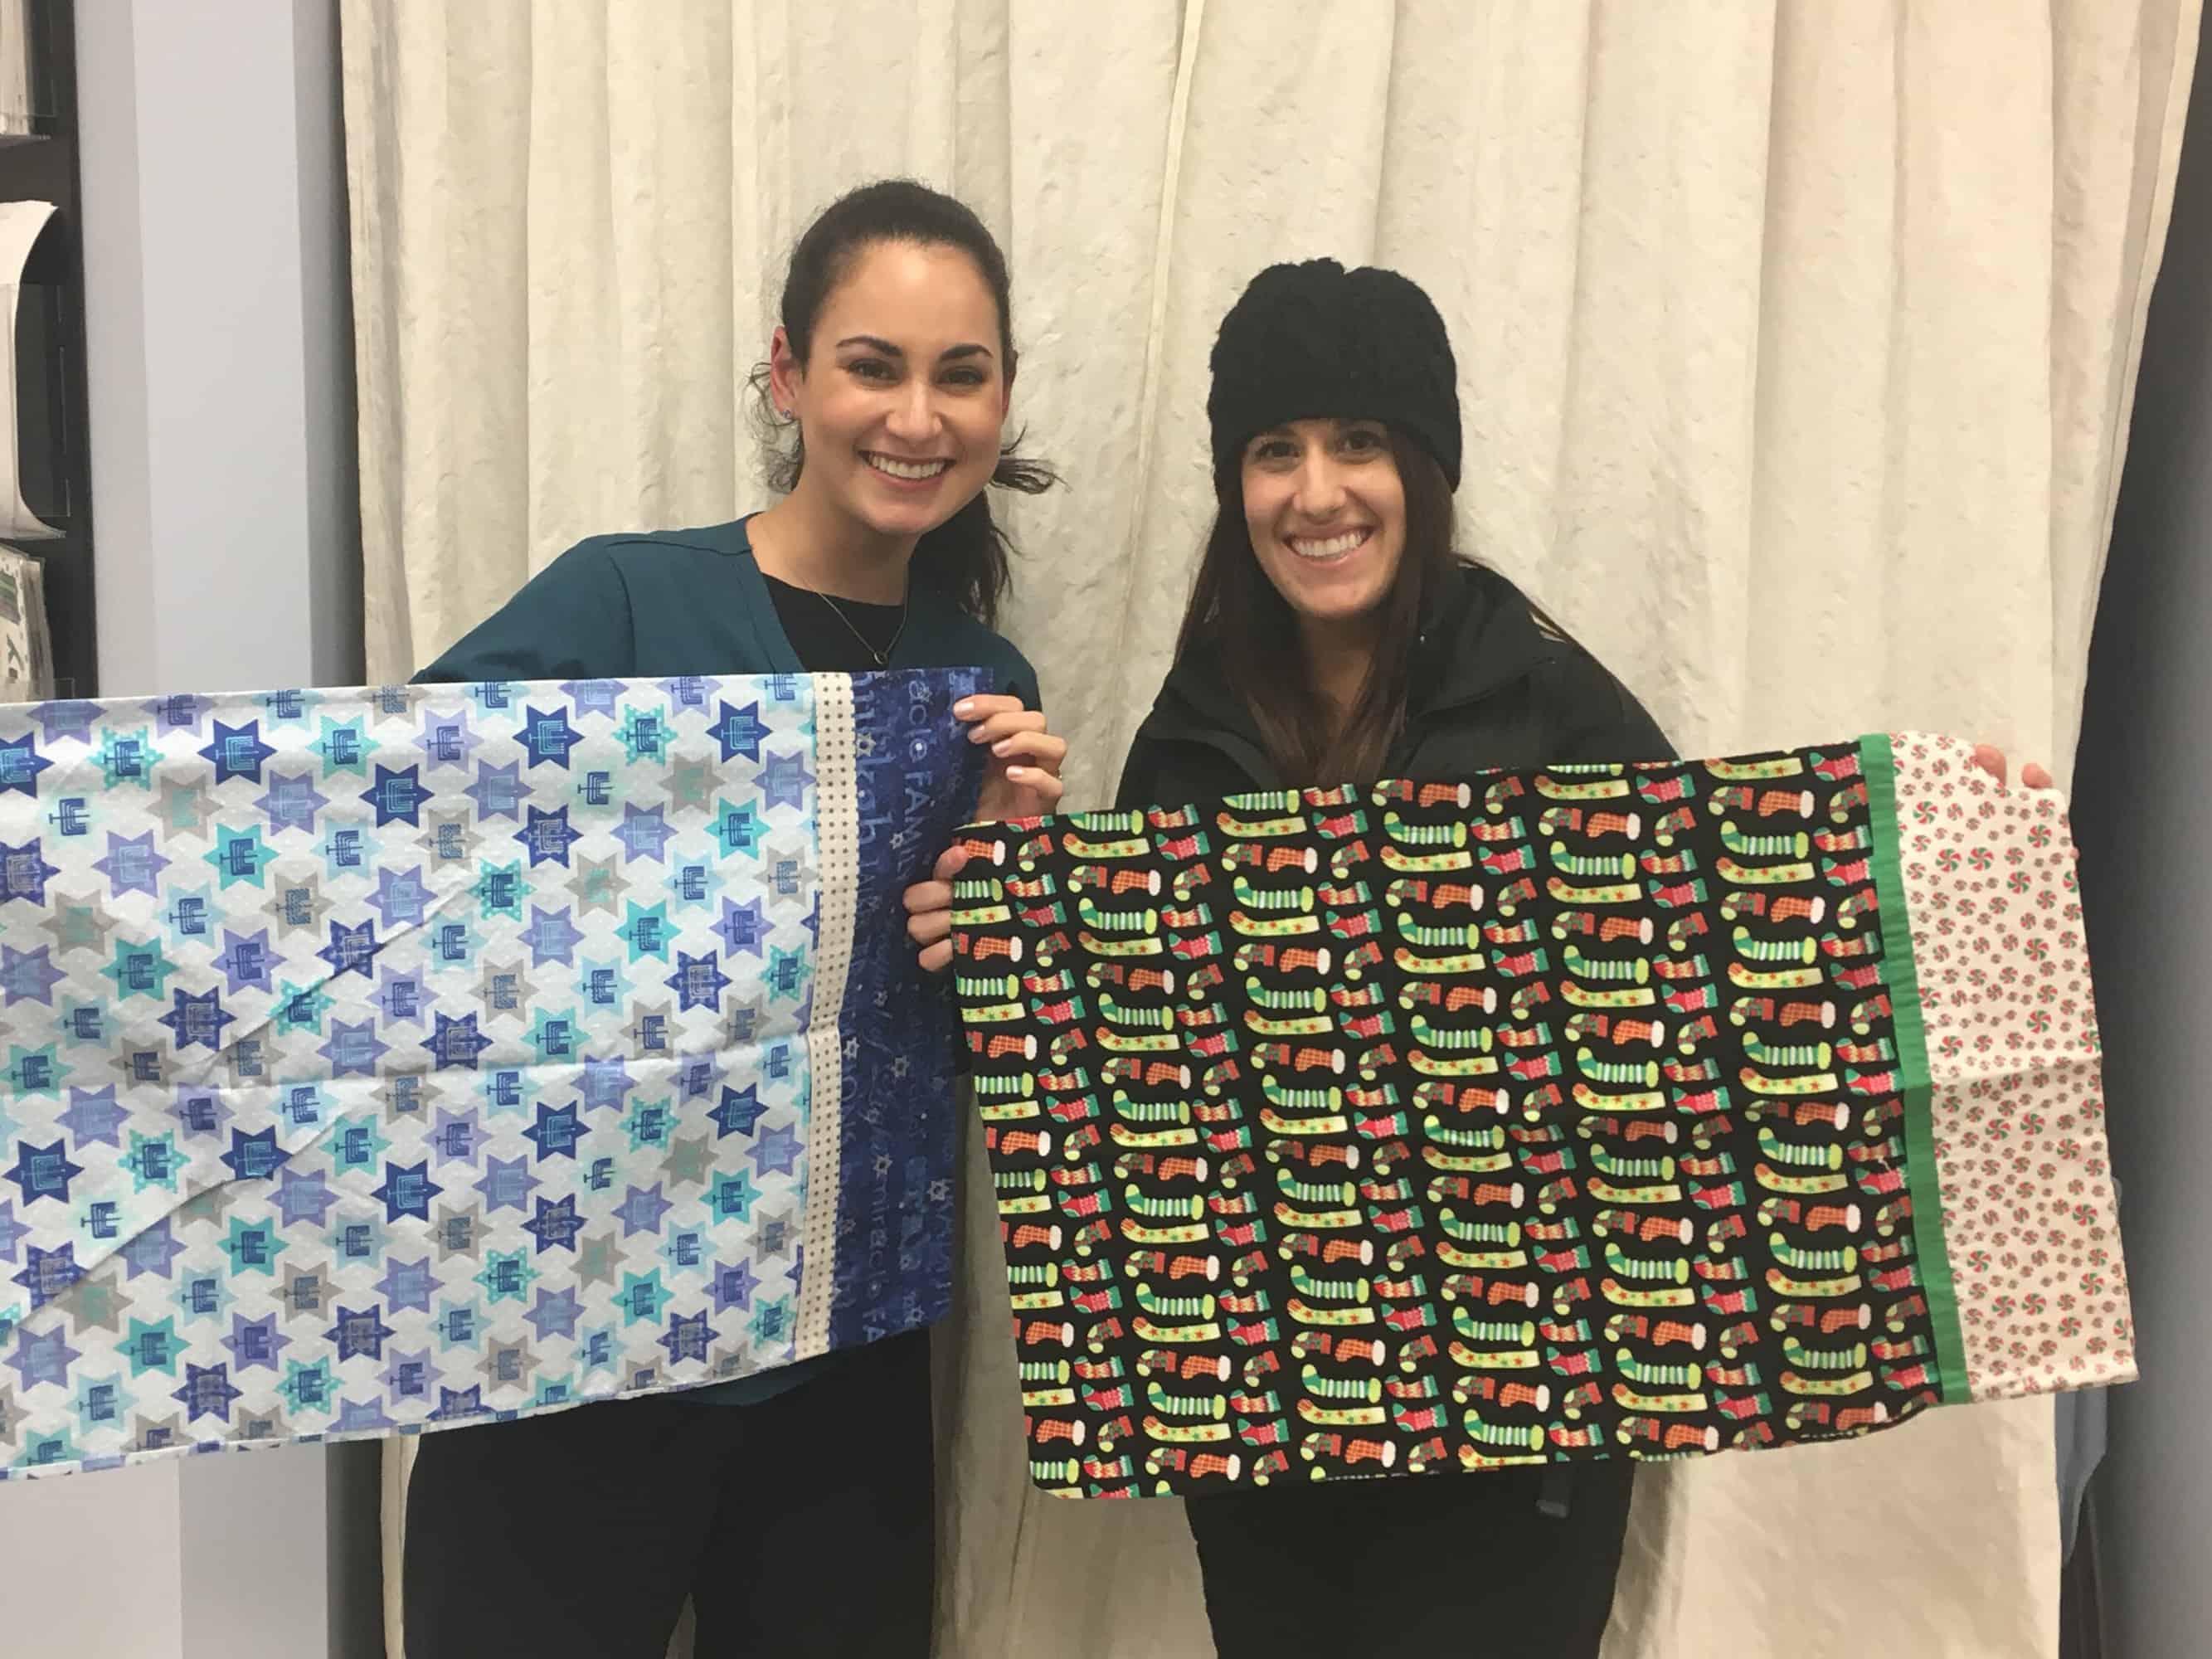
So far, we have mostly purchased mid- or high-price range quilting cottons when they are on sale and, hopefully, in combination with a coupon.  As a result, we have kept our average fabric cost at about $6 / yard.  We usually make pillowcases using either licensed characters or holiday themes.  The pictures in this post are all Christmas and Hanukkah.  We also made pillowcases for the 4th of July, Halloween, and Thanksgiving.

The other costs are thread, which runs about $5 / spool for the sewing machine thread and $9 / cone for the serger thread.  In September and October, we went through several spools of black sewing machine thread!  We usually have one serger threaded in black and another threaded in white.   We use whichever looks best with a particular fabric and don’t try to have multiple colors to precisely match fabrics.  For the winter holidays, we had one serger in red, one in green, and one in white.  Since there is so much thread on serger cones, we haven’t gone through a complete set yet.  We also try to buy thread on sale and with coupons, and are usually able to get it at half price.

The remaining two costs are shipping, which runs about $0.50 / pillowcase, and sewing machine maintenance.  We haven’t had to do maintenance on our machines yet, but with as much as we plan to sew this year, we will probably need to do maintenance on at least three sewing machines and three sergers this year.  Maintenance is $50 – $100 / machine, depending on the machine.

In 2017, we sewed approximately 250 pillowcases.  As quickly as we sent them, they were distributed!  We could not keep up with the demand.  Our goal for 2018 is 600 pillowcases.  Our $6,000 goal gives us a budget of $10 / pillowcase.  This gives us a slightly more generous fabric budget than we’ve been spending, maybe $8 / yard, so we can use higher quality fabric and more of the licensed fabrics, both of which are less likely to be on sale.

About PayPal Money Pool

When we first decided that we wanted to do some fundraising so we could expand the number of pillowcases we were making, we researched all the popular options, like GoFundMe and Kickstarter.  We discovered just how much you pay in fees on these sites.  They all take 4.9% for them plus an additional 2.9% for credit card fees.  Some of these services also charge $0.30 / transaction, on top of the percentages.  Losing 8% of donations to fees seemed excessive.  We hesitated on starting the fundraiser while we looked at different options.

Then I found PayPal Money Pool.  This service creates a separate pool of money in my PayPal account.  In order to reimburse someone who purchased fabric for this project, I have to transfer the money from the Money Pool into my regular PayPal Account, then pay it out to the person.  This extra transfer step is always required before using Money Pool money.  Best of all, PayPal charges NO FEES for the Money Pool.  Every penny donated through our Money Pool will be used to make and ship the pillowcases.

Just like GoFundMe and Kickstarter, I get a list of the people who contribute to the pool and their contact information.  The landing page of the Money Pool will show a list of contributions — you can choose to be anonymous if you don’t want everyone to see your name — and will keep track of how close we are to making our goal.

Project Updates

Services like GoFundMe and Kickstarter provide built in means of providing updates to contributors.  I’m not sure yet if Money Pool provides a similar service.  If it does not, I will be creating a e-mail list so I can give you a running tally of the number of pillowcases we sew and a breakdown of how we spend the donations.  I will also write additional blog posts throughout the year.

Your Turn

Now it’s your turn to help.  If you haven’t done so yet, click through to our Money Pool and donate.  Every little bit helps and every little bit will be used for the project.

Since many of you are crafty people, I suspect some of you may want to donate fabric or make pillowcases yourself.  If that describes you, please see the Contact Us page and use one of the contact methods there to request additional information.

Thank you!!

Emergency Knitting, Again

Over the last several years, I’ve spent a lot of time doing emergency knitting.  I’ve knit at the vet while one cat or another was having an emergency exam or procedure.  I’ve knit in hospital rooms, while visiting with a friend or family member.  I’ve knit at home or in the homes of family members, while keeping a quiet vigil during a loved ones’ last days.

Managing during difficult situations is one of the oft-cited benefits of knitting.  Knitting is the perfect thing to keep your hands and, depending on the project and what you need, your mind occupied.  The repetitive motion of the needles is soothing and the quiet click the needles make as they slide past each other is a white noise.  You feel like you are doing something, which helps stave off the desperate realization that sometimes there is nothing that you can do.  Knitting takes off just a little bit of that edge and allows you to be more present in whatever challenging circumstance you face.

Yesterday, I found myself picking out emergency knitting projects.  We got the call that we knew would come sometime in the not too distant future.  My mother-in-law passed away.  We were able to find a flight for late in the day and we flew up to New Jersey.  We don’t know yet how long we’ll be here.

This is a little bit different than the other times I’ve picked out emergency knitting projects.  I had a little time to contemplate which projects to bring — I didn’t have to just grab whatever WIP I could find on short notice.  I don’t know how long I’ll be here, so I don’t know how much time I will need to fill with knitting.  I expect that most of the knitting I get done, will probably be done in the evening or other down times, as a way to relax.  I won’t be knitting while exhausted or knitting in dark spaces, so I could bring more complicated knitting rather than a plain stockinette project.

All of this added up to lace.  It takes a while and is perfect for occupying the mind when you need a distraction.  Plus, I have several lace WIPs in varying degrees of difficulty, so I can make progress on reducing my pile of WIPs and account for different levels of concentration.  I ended up bringing 3 projects, all of them lace shawl WIPs.

Begonia Swirl

The first project I packed for this trip is Begonia Swirl.  If you’ve read my blog for a while, you’ll know that I’ve knit this before.  A friend of mine borrowed it and accidentally felted it.  A few months later, I bought the yarn to reknit it.  I’m not sure exactly when I cast on, but according to my January 15, 2016  blog post, it was months before that.  I’ve done significant knitting on it since then, but it has been months since I picked it up.  Here’s how it looks right now.

This project was a good choice under the circumstances.  It’s a straightforward pattern, mostly stockinette.  I do have to count stitches as I knit, since I did not put in stitch markers to separate sections, but if I mess up it is easy to figure out where I am.

Morrigan

This shawl is one that I have never blogged about and I never created a Ravelry project for it.  I cast it on in August 2015, knit about half of it and haven’t looked at it since.  The pattern is Morrigan by Beata Jezek (Ravelry link) and I’m knitting it with Nerd Girl Yarns Stellar, a laceweight yarn that is 75% Merino, 20% Silk, and 5% silver-toned Stellina, in the Colorway Merlin.  I picked the pattern because Morrigan and Merlin are both part of the King Arthur mythology.  It’s not a difficult lace pattern, but of the projects I brought with me, this is the one that requires the most focus to knit because it is not a primarily stockinette pattern.

Linea

The final project is a shawl I started in mid-2107 and I have neither written a blog post about it nor added it to my Ravelry projects.  This one is Linea by LaVisch Designs (Ravelry link).  I am knitting it with Baah La Jolla (100% Superwash Merino) in Brazilian Emerald.

I sometimes test knit for LaVisch Designs and she earburns me to her Ravelry group whenever she has a new test knit available.  This pattern is not one that I test knit; I bought the pattern after it was released.

Linea is a pretty basic knit and certainly the easiest of any of the projects I brought with me.  One of my goals for 2017 was to knit some larger shawls.  Linea is written for one skein of fingeringweight yarn, but I plan to use two skeins.  I will increase the number of repeats of the body pattern until I think I have just enough to do the large border and bind off.  I’m currently 3/4 of the way through the first skein.

Problem Solving

In October 2016, I went to the Southeastern Animal Fiber Festival (SAFF) with several friends.  A subset of those who went are members of the monthly spinning group I attend.  We found a good deal on an unfinished Kromski Fantasia and split the cost so that we could have a spinning wheel to use for teaching people to spin when they stop by our group or for members of our group to borrow to learn to wheel spin.  I brought the wheel home to finish it.

I decided to finish the wheel with Danish Oil.  I also decided to apply Danish Oil to my 15″ Schacht Cricket Rigid Heddle Loom.  I started working on both in December 2016.  I applied clear Danish oil to the wheel and dark walnut to the loom.  I applied three coats, waiting at least 24 hours between coats and making sure that they were dry to the touch before applying the next coat.  I was trying to finish them before Orlando Distaff Day 2017, which was on the first Saturday of 2017.  I signed up to do a wheel assembly demo and planned to bring all the parts of the Fantasia with me and assemble it at the event.

Early on the Friday morning before Distaff Day, I applied the fourth and final coat of Danish Oil.  That Friday night and into Saturday morning it POURED.  We’d had no rain for weeks and it felt like the sky had saved all the rain we should have gotten and dumped it all at once.  The pieces of the loom and wheel were on the workbench out in the garage, which is where I’d been working on this project.  The garage is not climate control.  When I got up on Saturday morning, the loom and wheel were both tacky to the touch.  In fact, they were tackier than they had been when I applied the fourth coat on Friday morning.  Obviously, there was no way I could bring them to Distaff Day!

I left the loom and wheel on the workbench for 3 or 4 weeks.  They were still tacky.  I brought them into the house, and laid them out around the house on any spare flat surface.  I figured they would dry better in the climate-controlled house.  Every month or so, I checked the pieces and they were still tacky, though it did seem as though they were slowly improving.

In the spring and summer of 2017, I took some woodworking classes, including one on finishing wood projects.  I asked the teachers about my problem.  They shook their heads.  In all likelihood, the reason for this problem was that the earlier coats weren’t cured as well as I thought they were.  I could continue to let the pieces to sit.  I could try to wipe them down with mineral spirits, which is the solvent for Danish Oil.

Since the fall of 2017 was so crazy here — Hurricane Irma left us with no power and no water / water restrictions for a week, my mother-in-law’s health declining, my husband getting laid off — I did not think about the loom and wheel pieces at all.  When I checked them in late December, for the first time in months, I discovered that they were slightly sticky, but not so much so that you could see my fingerprint on the surface.  I decided to try wiping them down with mineral spirits to see what happened.  I did just the pieces of the stand for the rigid heddle loom.  I figured that was the easiest thing to replace if the mineral spirits ruined the pieces rather than improving them.  I wiped the pieces down three times, letting the pieces dry in between.  Then I had something else to do and forgot about them.

When we came home from our Christmas in New Jersey, my husband finished the project he’d left on the workbench when he unexpectedly left 3 weeks earlier.  Then he asked me what projects I have to do.  Due to the high humidity of our summers, woodworking is a winter task here and he knew that I’d been saving up some projects, waiting for the weather to co-operate.  I checked the three pieces of the loom stand and found that they were no longer sticky.  The mineral spirits worked!  For the past two days, I’ve been working on the remaining loom pieces and the wheel pieces.

This morning, I wiped down the pieces with mineral spirits for the fourth time.  The repeated coats of mineral spirits seem to be doing their work!  It’s been humid the last two days and I think that this has caused more of the oil to come to the surface.  Despite this, the pieces are clearly improving and becoming less sticky overall.  For some of the pieces, this fourth coat should be the last coat I need to apply.  I will need to flip a couple of the pieces over so I can do the back.  My previous despair and fear that I’d ruined two expensive pieces of equipment have given way to hope.  I think this is going to work!

Scouring Fleece

Last week, I posted about inventorying my stash.  The post included two pictures showing all the raw fleece I have in my office.  In case you missed it, here’s those two pictures again.  The main pile, with all the full fleeces, has taken over one of my four-harness floor looms.

This bin consists of small portions of fleece, no more than a pound of any one breed.

Once upon a time, I said I would scour a fleece once, just to say I had done it, and then never do it again.  It seemed like too much work and there’s so many beautiful prepared fibers available, why would I bother scouring fleece myself?  But then I decided I wanted to do some breed-specific spinning, to understand the differences between breeds and why I’d chose one over another for a specific knitting, crocheting, or weaving project.  My stash of spinning fiber exploded and I learned that many breeds aren’t available in prepared forms.  I bought a couple fleeces and sent them to mills for processing.

The mills did a fine job, but then I took some classes and did some reading and learned how you can get very different yarns based on how you prep the fiber for spinning.  The options are limited when you send fleece to be processed at a mill.  I wanted to have more control over the finished yarn, or at least to understand how the different preps would change the finished yarn.  In other words, my spinning journey keeps moving me backwards in the process of producing yarn.  If I really want to understand yarn, I have to start at the beginning, with the raw wool.  This is how I roll; I like to take things back to basics.  So I started acquiring raw fleece and I made a spreadsheet to keep track of which fleeces and how much raw fleece and how much it cost and how much I lose in each step of processing.

Methodology

This post is not a step-by-step tutorial on how to scour fleece.  This is only the third time I’ve scoured fleece; everything I know I learned from Beth Shearer Smith.  Beth scours something like 300 pounds of fleece a year, partly for her own use and partly for use in the classes she teaches.  Fortunately, we all get to learn from her through her wonderful writing.  Visit her website for posts on the three ways of scouring: bulk scouring (most relevant to the rest of my blog post), tulle sausages, and by the lock.  If you’d like more information on which method to use for a particular fleece, Beth’s book, The Spinners Book of Fleece (Amazon affiliate link), walks you through the reasons you might pick one of these methods over another.  In the rest of my blog post, I’ll be describing the ways my set up differs from Beth’s and why I made those adjustments.  However, the overall method is the bulk scouring method I linked you to above.

My Set Up

I am not able to use exactly the same set up Beth uses.  My washer and dryer are not flat on top.  They are at a bit of an angle.  This means that anything I put on top of them is in danger of sliding off.  I do not have a utility sink in my tiny laundry room.  In order to get water from a tap, I could unhook the washer and attach a hose to that, but then I have to figure out how to dump out the water.  Finally, the first time I went to scour fleece, I measured the temperature of the hot water coming out of my tap.  It was only 110 degrees Fahrenheit.  The Unicorn Power Scour requires a minimum of 115 degrees Fahrenheit.  I had a plumber check our hot water heater, and it is set to 120 degrees Fahrenheit, which is the hottest they are allowed to set it by law.  Our hot water is original to our house, which was built in 1977!  At some point, we will have to replace it and maybe when we do, I’ll be able to get water out of the tap at a temperature that will work for scouring fleece.  Until that day, I have to heat the water to get it hot enough for scouring fleece.  It’s a lot easier to do that if I work outside.

Apparently, I was too busy scouring to take a picture when I was fully set up, but you can see most of it here.  I ended up adding a card table, which I placed just behind the fire pit, over those two bags of fleece you see peeking up behind it.  In this picture, the white dish pan is sitting on top of my kitchen scale.  I moved the dish pan and the scale to the card table and then set up the wash bins on the wooden table.

Since part of my learning process is understanding how much weight is lost in processing, I weigh fleece just before I wash it.  I use an Edlund DS-10 food scale (Amazon Affiliate link), which I bought at a food supply place 15 or 20 years ago and which I also use for weighing ingredients when I bake.  The scale weighs in either grams or ounces and can handle up to 10 pounds.  I keep the fleece in the plastic bag and shove it into the dish pan.  The fleeces are almost always larger than the dish pan can hold, but the plastic bag helps keep them contained.  On my iPad, I have my fleece spreadsheet open so I can enter the weight of the fleece immediately after I weigh it.

Another option for weighing fleece is a fish scale (Amazon affiliate link).  One of my friends brought hers to the fleece barn at SAFF this year and I have to get one of these!  They are inexpensive, portable, less awkward to manage, and can handle more weight than my food scale.  Sounds like a win all the way around!

After weighing, I spread the fleece out on a sheet on the ground.  I don’t have a skirting table (it’s on my wish list!), so this is the best I can do.  When you buy a fleece at a show, you do your best to evaluate it, but you can’t always see everything.  Spreading the fleece out lets you make some decisions before you scour.  You get an idea of how dirty the fleece is.  Most fleeces only need two washes, but if this one’s particularly dirty maybe it will need three.  Sometimes the staple length or texture is different on different parts of the fleece.  Do you want to separate out the different staples or textures to use them in different projects or are you going to keep them all the same?  For example, look at the difference in the crimp on these two locks, both from the same Texel fleece.

The fleece on the sheet in the layout picture above is a piebald Finn fleece.  I thought I might want to separate it by color, but once I spread it out, I discovered that there was only one fist-sized clump of white, visible on the left end of the fleece.  The rest of the white is stranded throughout the darker parts of the fleece and it would be impossible to separate the colors.  I’ll break up the one clump of white and blend it in when I process this fleece.  I assume the finished yarn will have a heathered appearance.

In order to get hot water for scouring, I bought a propane-heated outdoor shower.  I wasn’t able to get it to work properly — water was spraying out everywhere, partly because the connection to the hose wasn’t solid, despite sealing it with Teflon tape and partly because the switch on the shower head was stuck in the on position.  I ended up soaking wet from the thighs down and if someone had been there to get it on video, I’m sure it would have been a great laugh.

After an hour of fiddling with it, I gave up and heated water on the camp stove you can see in the layout picture.  I have a couple of 20 quart pots that I used for heating water.  When I am putting a dry fleece in for its first wash, it requires nearly one entire pot of water.  For the subsequent washes and rinses, the fleece is already saturated so I only need about half of a pot of water.  Rather than lifting the hot pots and pouring it in, I use a 4-cup Pyrex measuring cup (Amazon affiliate link) (I inherited mine from my friend Stacy’s grandmother) to transfer the water from the pots to the bins.  Easier on my back and I’m less likely to get burned!

When changing the water between washes, I pour it onto the ground.  I pour it through a mesh strainer (Amazon affiliate link) so when fleece inevitably sneaks out of the bin, I don’t have to fish it out of the grass or pick out leaves.  Like Beth, I don’t put fleece in mesh laundry bags during washing, mostly because I don’t want to create an obstacle for any VM that would like to come out of the fleece during washing.  There are a couple of good reasons to use a mesh bag, however.

One is if you have less than a couple of pounds of any one fleece.  You can put 4 ounces, 8 ounces, 1 pound, or whatever of different fleeces into different bags and wash them in the same bin at that same time.  Another reason for using mesh bags is the weight of the full bins.  Each of the bins above is holding about 2 pounds of fleece and 3 – 4 gallons of water.  Since water weighs 8 pounds / gallon, each bin full of fleece is in the neighborhood of 30 pounds.  Lifting the bins and pouring the water out is a workout — especially if you wash multiple fleeces like I did while taking these pictures.  I washed the two fleeces you see in these pictures (about 3 pounds each of Texel and Finn), plus a 2.5 pound Icelandic fleece, plus 6 pounds worth of an 8.5 pound Coopworth fleece.  I then ran out of both daylight and propane, so I had to stop.  It took me about 4 hours, during which I was lifting each of those bins every 15 – 20 minutes.  As I told my personal trainer when I saw him the next day, that’s why I train; it makes the rest of my life possible.  If lifting that much weight is not an option for you, put the fleece in mesh bags!  You can lift them all the way out of the water and use a measuring cup or some other scoop to remove the water a little at a time.

When working with hot water and wool, I use SteamGloves (Amazon affiliate link) to protect my hands and arms.  These gloves are made for food service workers to protect themselves when working around steam tables or with cleaning chemicals.  The gloves are rated to 225 degrees Fahrenheit.  I use them when dyeing, to pick the finished yarn directly out of the hot water.  I use them with scouring, either to pick hot wool directly out of the hot water or to protect the hand that is holding the wool in the bin while I pour out the hot dirty water.  The pair I have are 20″ long, which means the cuffs come above my elbow, and they are a size large.  I bought these at a local restaurant supply place and it was the only size they had.  Amazon carries a variety of lengths and sizes.  The link I provided is the size and length I use, but click around a bit if you need a different size and you should find something suitable.

After scouring, I put the fleece into mesh laundry bags and run it through the spin cycle of my washing machine.  I bought mesh laundry bags in a couple of sizes for this purpose.  I’ve been using the jumbo size, which can hold an entire fleece, but I’m going to switch to a smaller size because there is too much space in the jumbo ones.  The fleece moves around itself and I ended up with a little felting.  It’s not terrible, and I’ll be able to deal with it when I comb or card or flick the wool, but why make extra work for myself?

After the spin cycle, it’s time to lay the fleece out to dry.  That big green thing is my drying rack.  It’s meant for drying herbs and it’s the best thing I’ve found for drying wool.  It’s huge — more than 3.5 feet in diameter — and has 8 shelves.  Each shelf holds at least 3 pounds of fleece.  The shelves are strong enough to hold more than 3 pounds, but I like to spread the fleece out in a thin layer so it will dry quicker.  When I’m done drying fleece, the rack collapses and folds up into a small carrying case that fits inside the bins I use for washing.  I store all of my fleece washing equipment together, stacked up in the white laundry basket in the first picture.  Two of these drying racks fit in that stack.  The rack is hanging from a plant hook installed by the prior owners of our house.  In this picture, it is holding (from top to bottom) the 6 pounds of Coopworth separated into two sections, the 2.5 pound Icelandic fleece, the 2.75 pound Texel fleece, and the 3.15 pound Finn fleece.

I’ve got a huge oak tree in the front yard and it is home to many squirrels.  Since I don’t want the squirrels stealing fleece to line their nests, I pin mesh laundry bags over the openings.

Here in Florida, since I wash and dry outside, scouring fleece is a winter task.  Between April and October, sometimes into November, it is so hot that you don’t want to be doing all this labor outside and the humidity is so high that the fleece just will not dry outside .  I do not have anywhere inside to hang the drying rack.  But last Sunday, it was in the mid-60s and the humidity was low.  It was spectacular weather for working outside and I had a pleasant afternoon scouring fleece.  I hope to scour the rest of my fleece by the end of January and then I’ll start processing it!

WIP Wednesday: January 3, 2018

This week, I’m sharing my two active projects.  I have a lot of WIPs / UFOs that are sitting around, waiting for me to get to them.  As part of the inventory that I blogged about on Monday, I will be making sure Ravelry is up-to-date with those projects.

SassyBee Orchid

My current spinning project is two batts of SassyBee Orchid on Polwarth.

SassyBee Fibers (this is a link to her FB page as her website isn’t active) is a vendor at The Fiber Event in Greencastle, Indiana, which I have attended for the last 3 or 4 years.  I love her batts and I have a pile of them.  In fact, all the batts in the suitcase full of batts, pictured in Monday’s post about inventory, are SassyBee batts.  In addition, one of the big bins in the big pile of bins is full of SassyBee batts.  They are so beautiful, but I had not spun any of them.  In fact, I had never spun from a batt at all.  On the first Friday in December, I spent the day spinning as a demo during the Weavers of Orlando Annual Holiday Sale.  My wheel was empty, so I grabbed a SassyBee batt and spun that the entire day.  I’ve spun a little more on it since, but not a lot due to the holidays.  I’m about 3/4 of the way through the first batt.

Mesa

Last year, my LYS had an Anzula trunk show.  This cape (available on Ravelry) was one of the sample items Anzula brought with them as part of the show.  I tried it on and loved it.  I also thought my mother would love it.  I bought the yarn and the pattern and intended to finish it for her birthday in March.  Then for Mother’s Day in May.  Then for Christmas.  I only have about 10 rows of knitting left, then I have to weave in the ends, sew on buttons, and block it.