FO stands for Finished Object. Since I started blogging, I’ve been posting WIP Wednesdays and posting individual posts for finished objects when I finish one. Many craft bloggers write FO Friday posts, so readers know when to expect posts for finished objects. The FO Friday posts I’ve seen aren’t usually as detailed as the posts I’ve written for my finished objects and they almost always include multiple items.
I have so many blog posts planned that I thought I’d go with FO Friday posts for a while. I’m going to include multiple projects in a single post, but include many of the details that I’ve included in individual post. The “About the Project” section will be shorter. If I have a pattern I want to discuss in greater detail, I’ll write a separate post about it rather than including it in the FO Friday post. I’d like to hear your thoughts on FO Friday posts versus a post per project. Which format do you prefer?
Knitty published the Clapotis pattern in 2004. It seems like everyone’s knit it — Ravelry has more than 22,000 project pages for this pattern. I’ve had it on my list of things to knit forever, but never gotten around to it. It’s not a difficult pattern to knit, but as many have noted the middle section seems to go on and on and on. The pattern has three sections: increase section, knit straight, decrease section. The “Knit Straight” section is a 12 row repeat and you are supposed to knit it 13 times. I only knit it 8 times. I tried to knit it 9 times, but ran out of yarn before finishing the decrease section and bind off. In order to knit the entire 13 repeats the pattern prescribes, I would have needed at least one more ball of yarn. The yarn I used is discontinued and the company is out of business. No one on Ravelry had the same yarn in their stash, so I couldn’t try to trade or buy another skein. I didn’t want to rip out the entire project, and it looked like it would be big enough, so I forged ahead. I ripped out the entire completed decrease section (more than 3/4 done) and the 9th straight section repeat so that I could reknit the decrease section and bind off.
Super Secret Shawl
Official Stats
Date Started: April 7, 2015
Date Finished: June 1, 2015
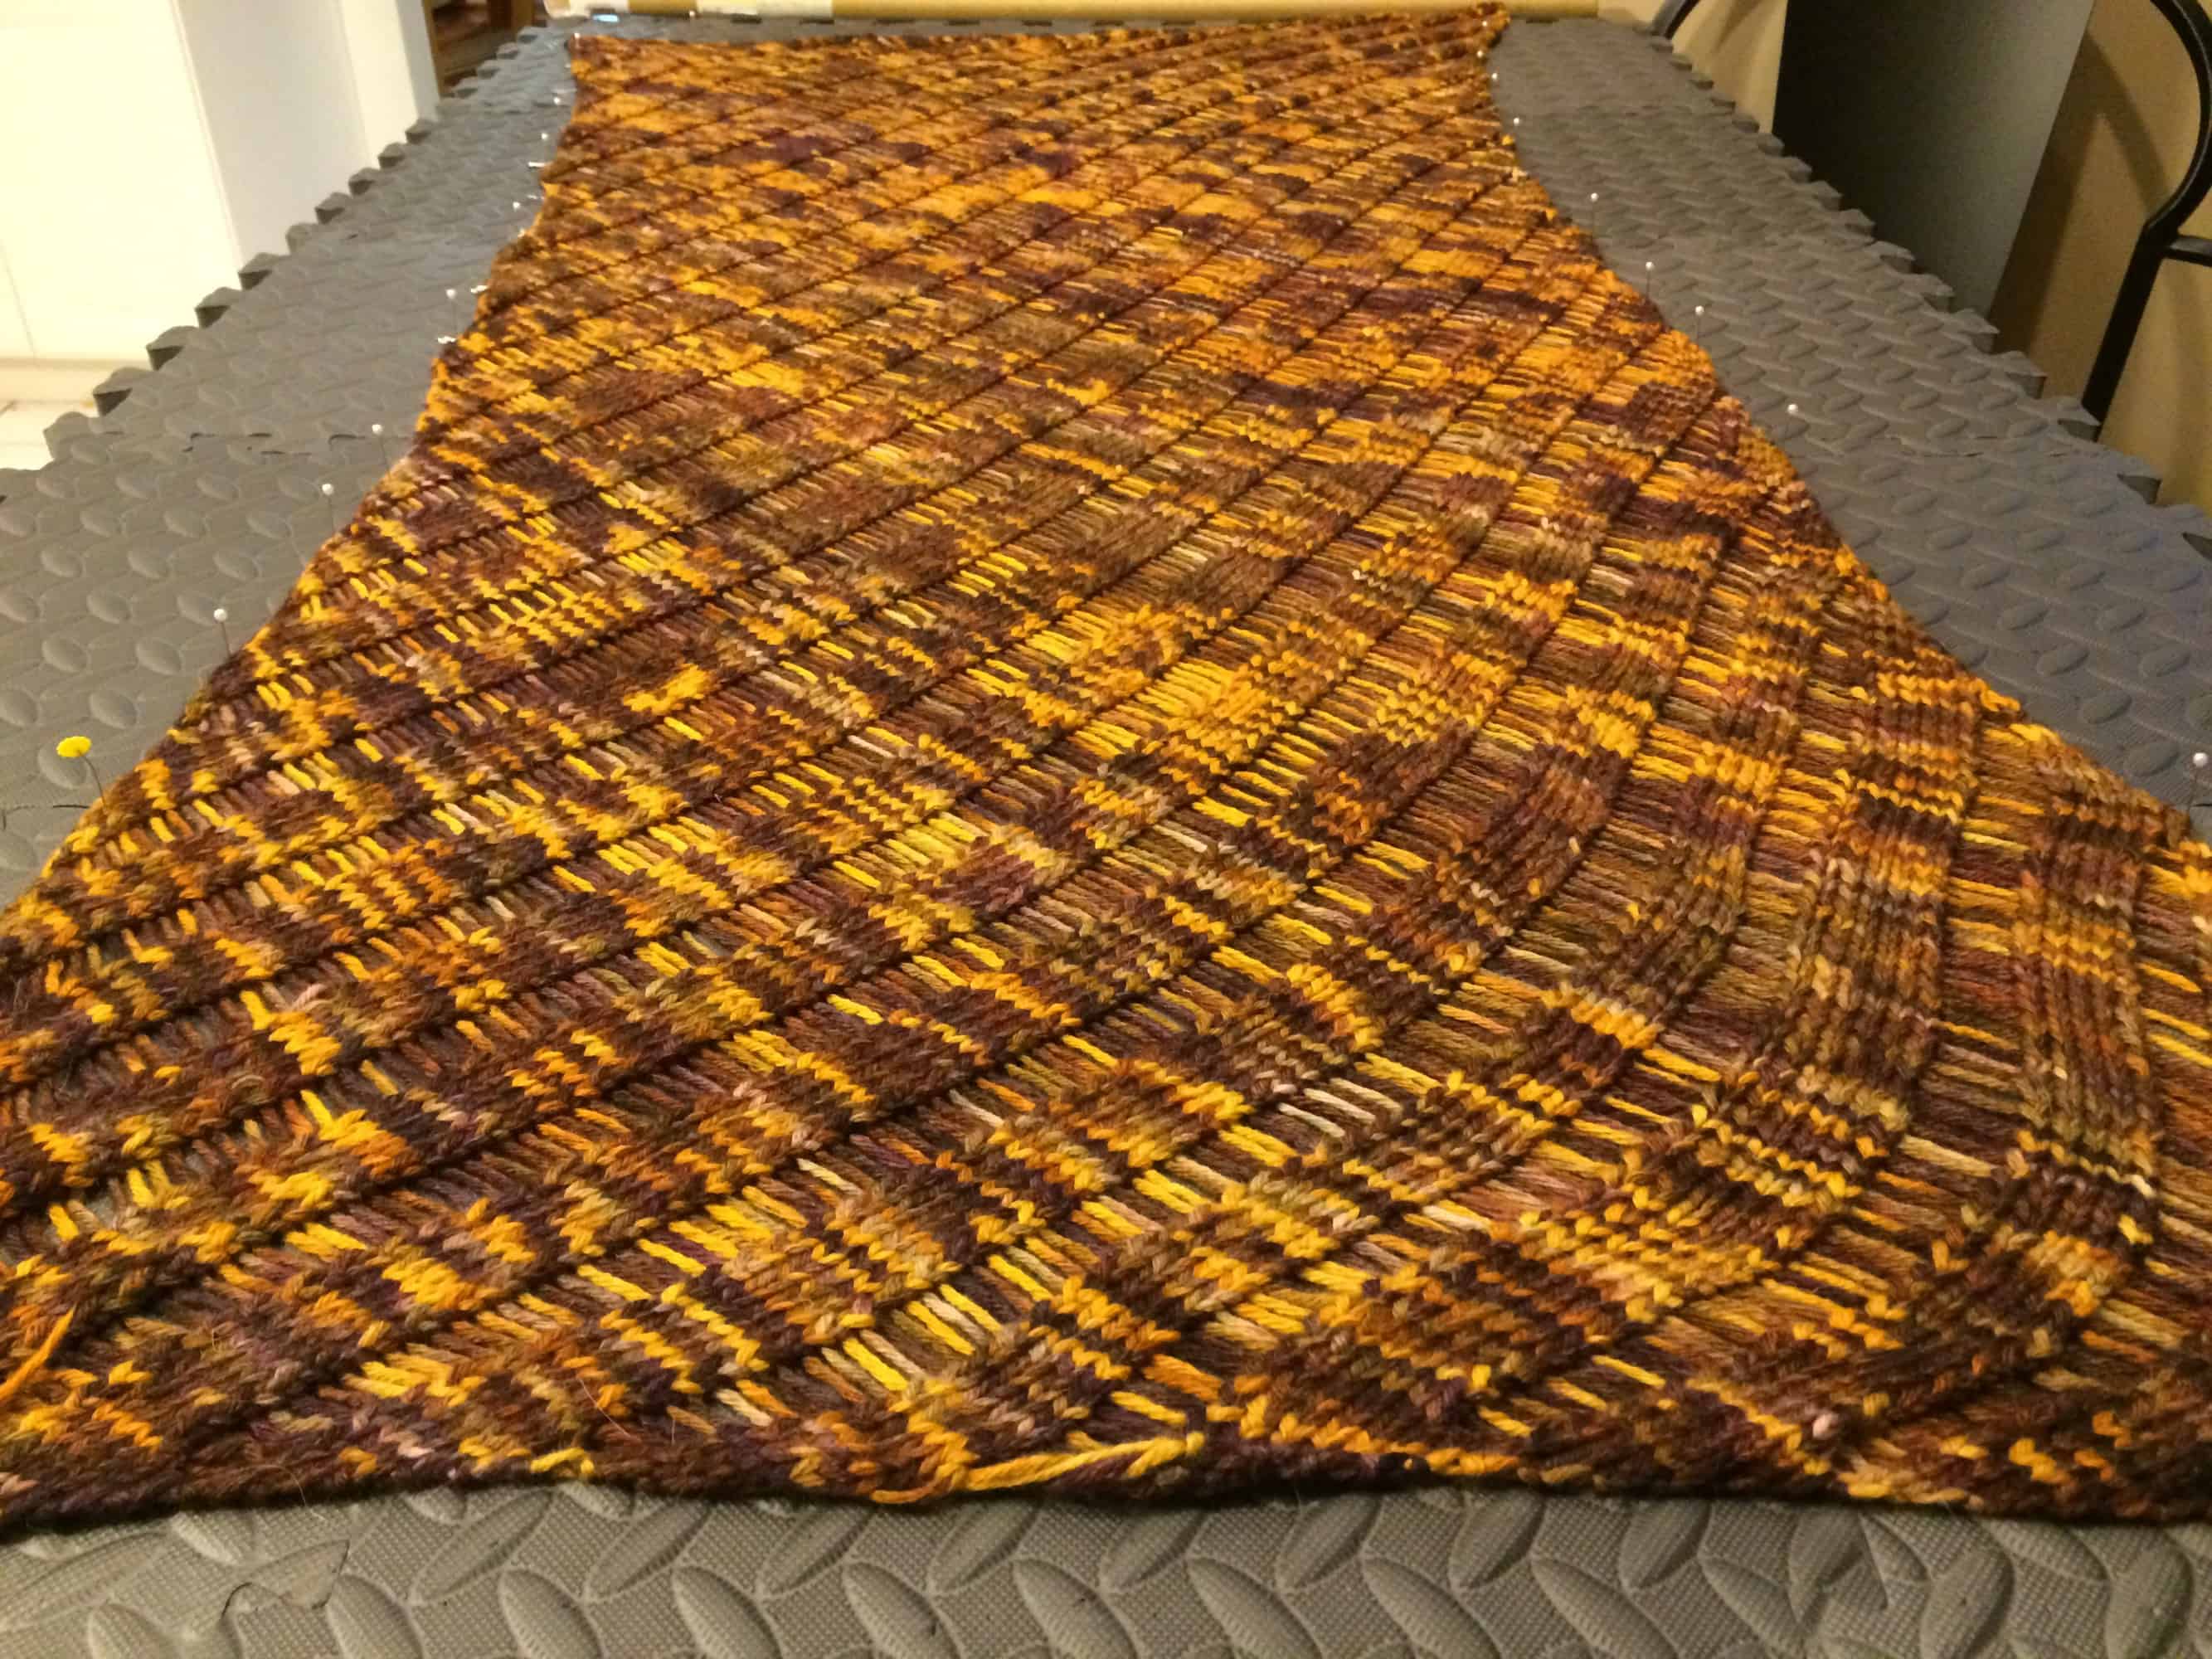
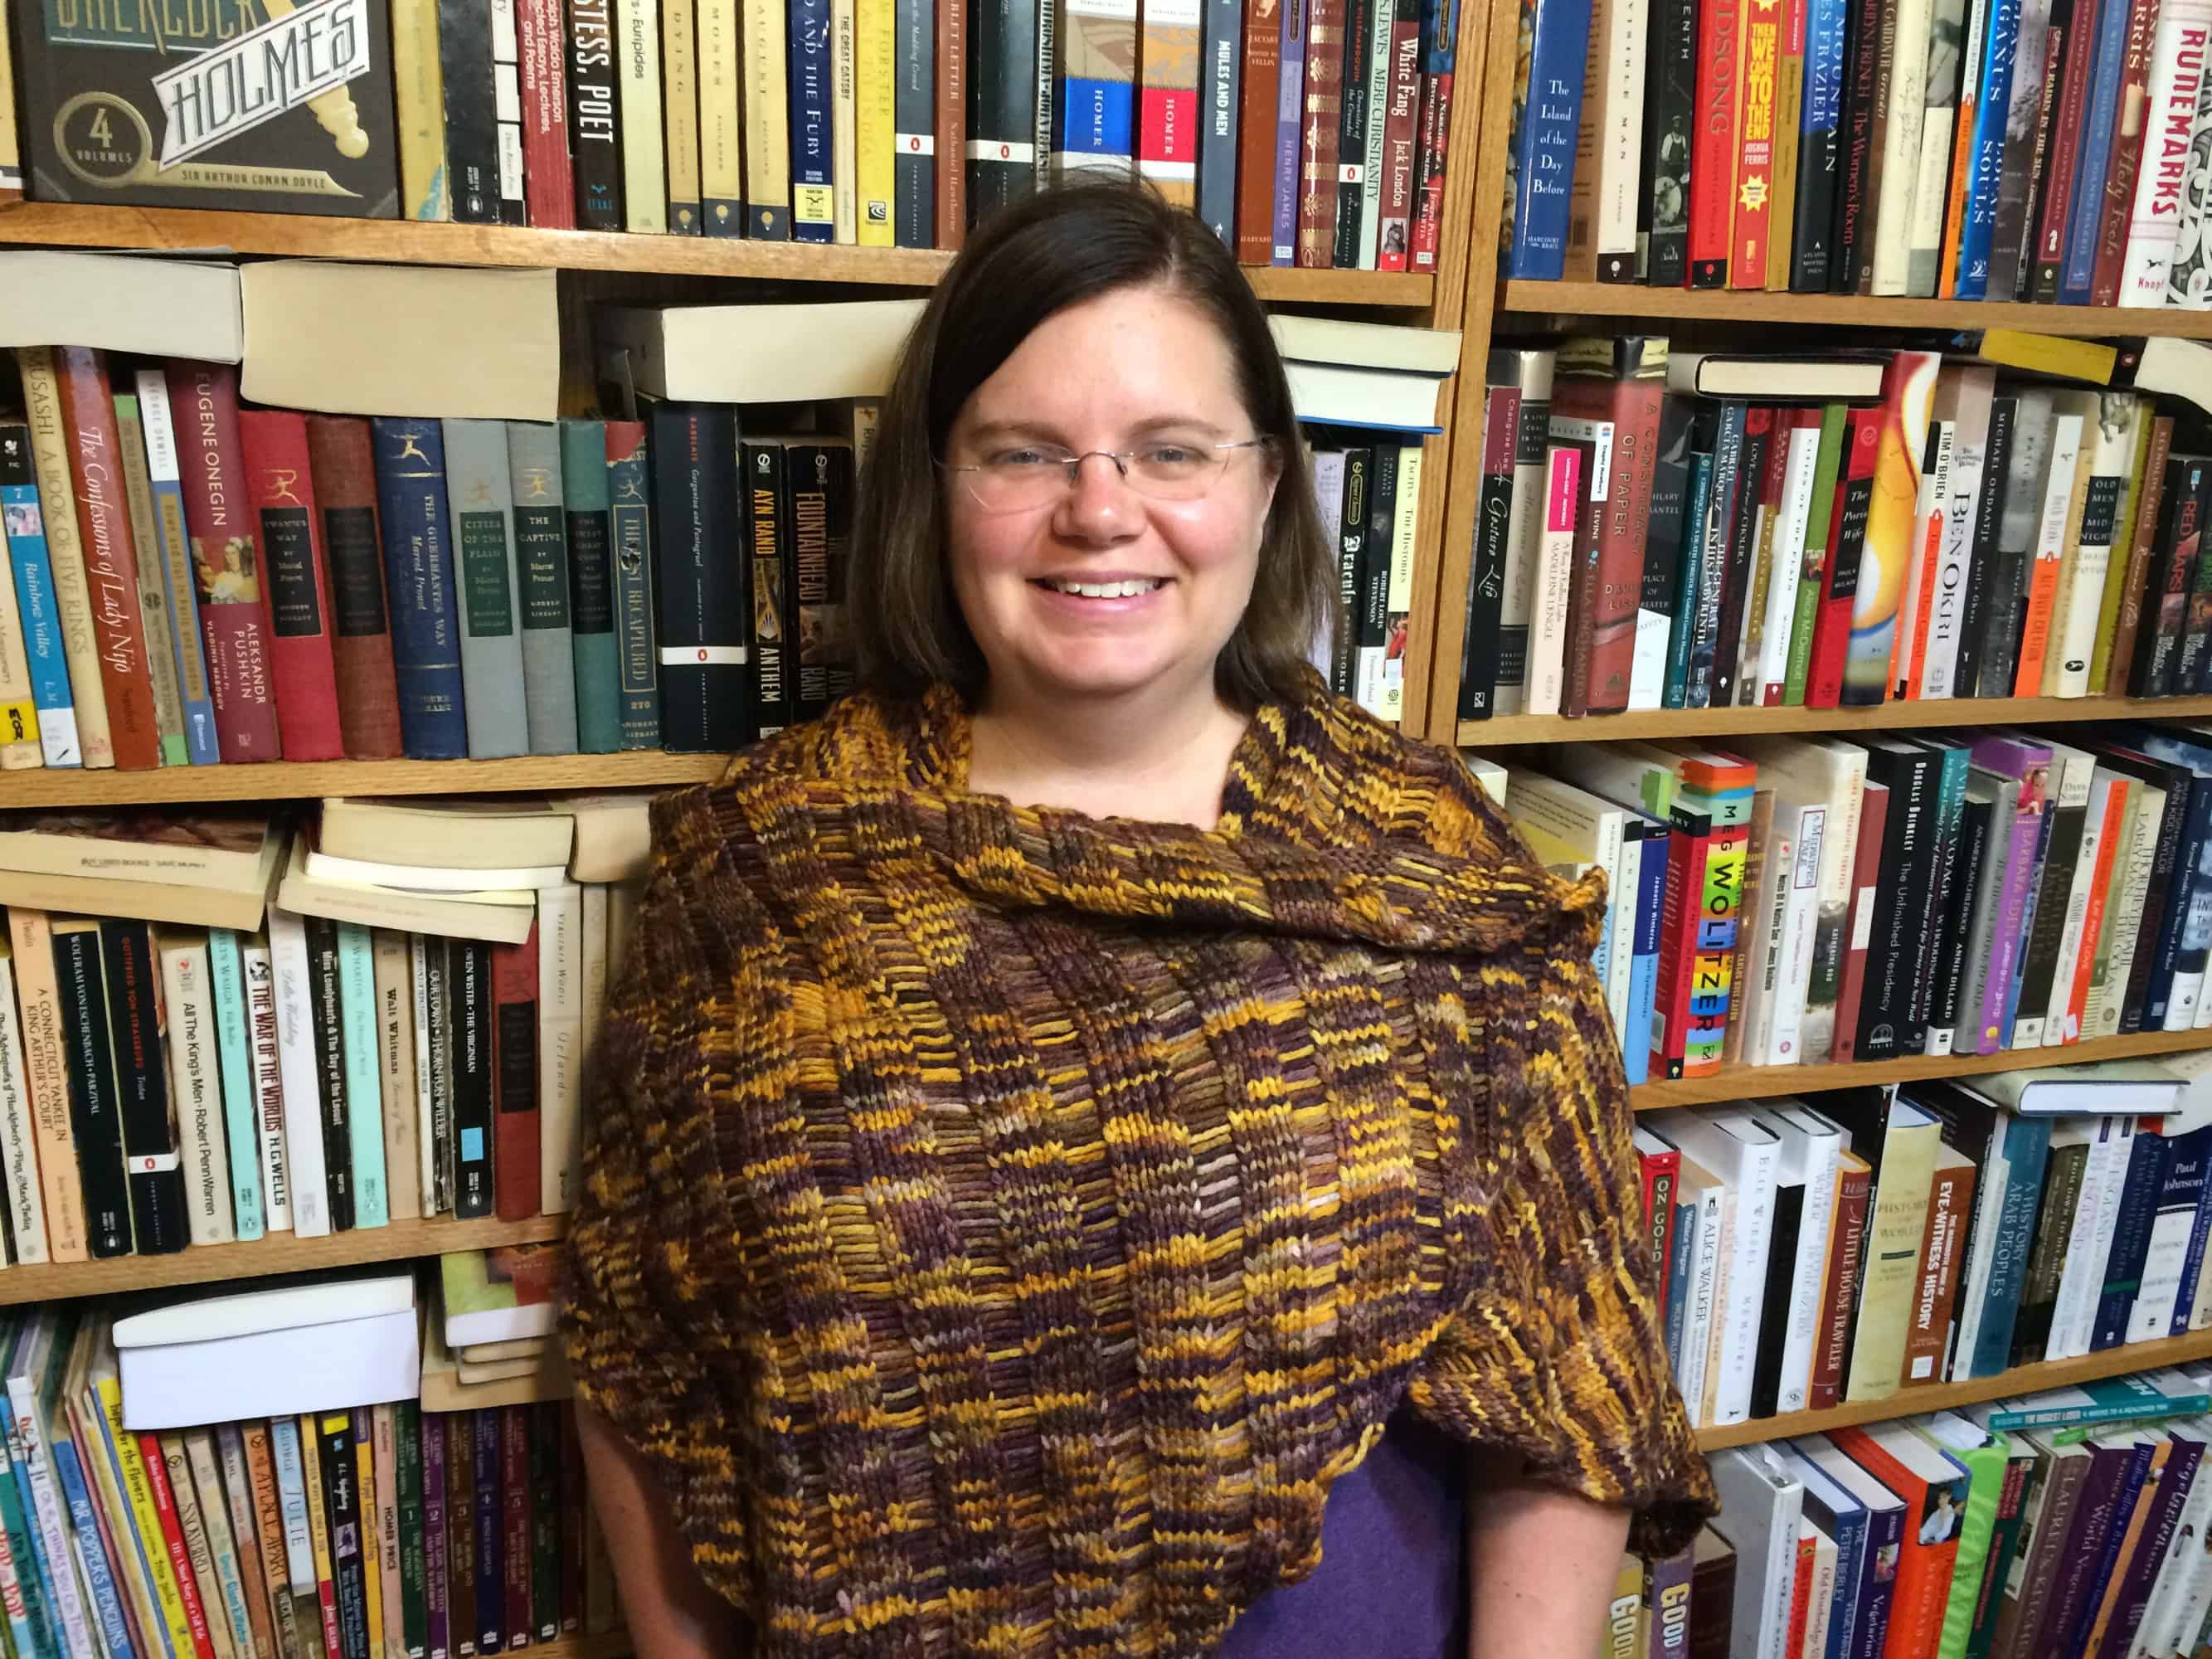
Pattern: Self-designed
Yarn: 880 yards Knit Picks Gloss Lace in Winter Night
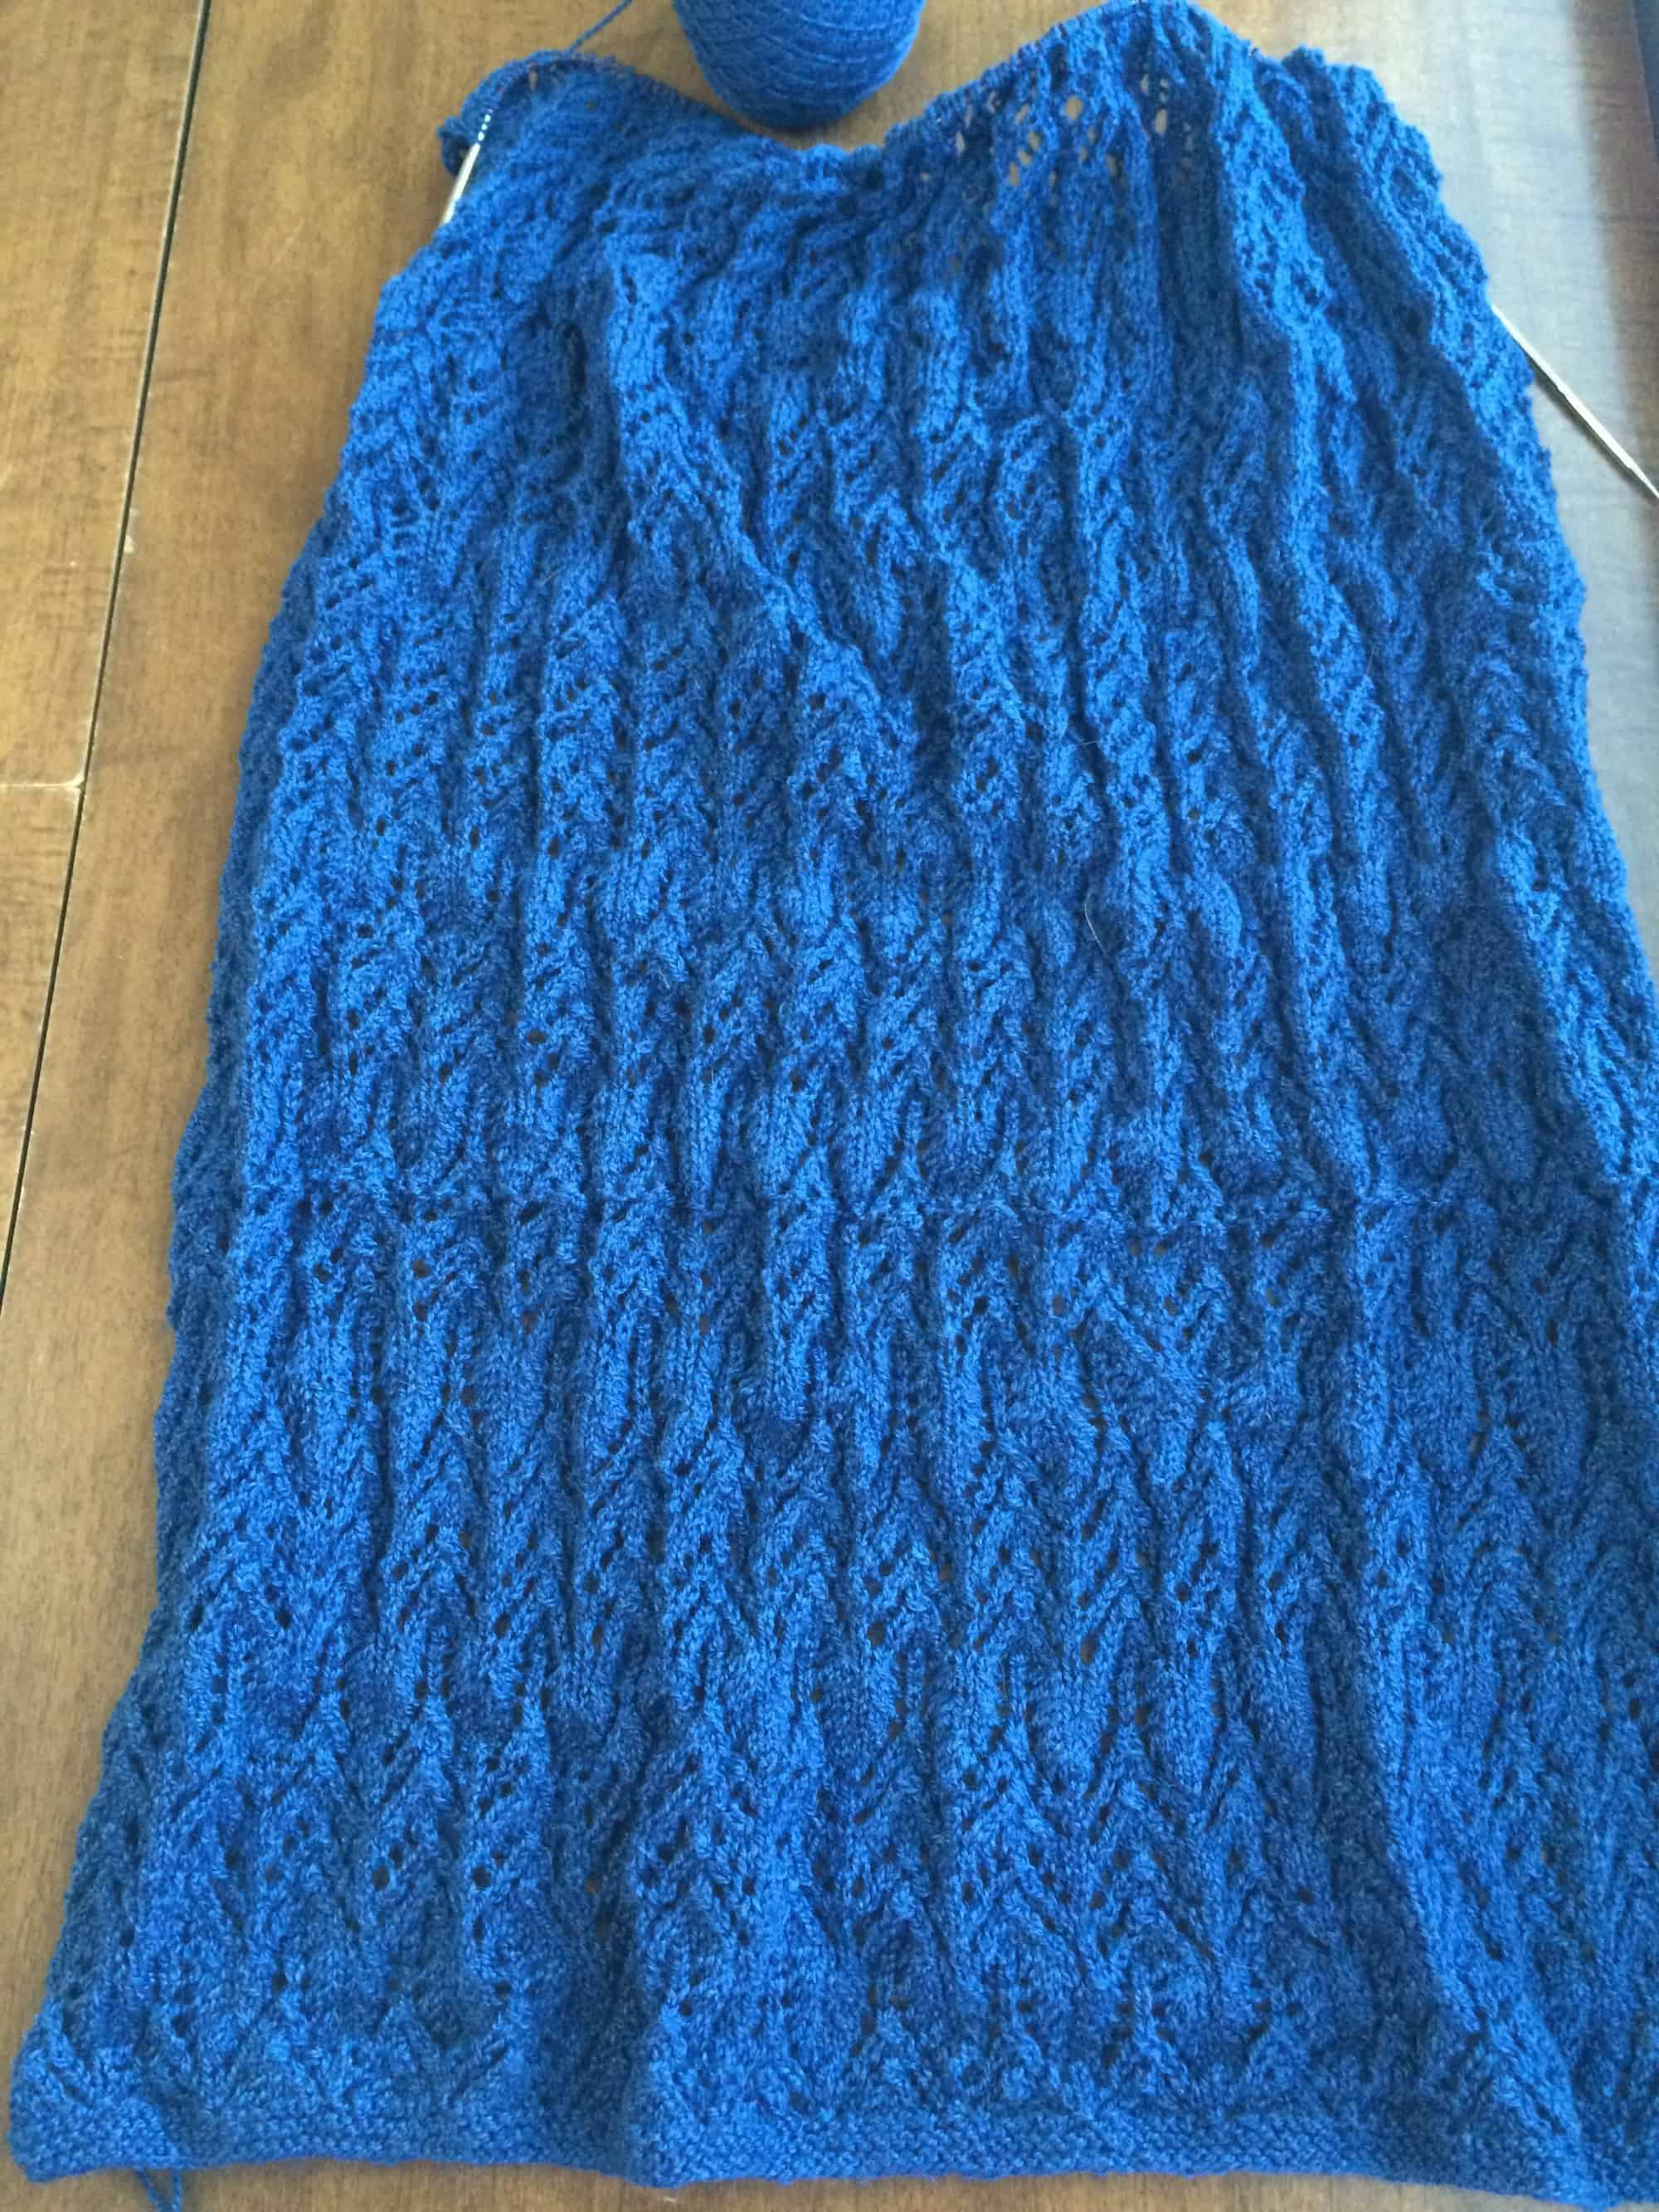
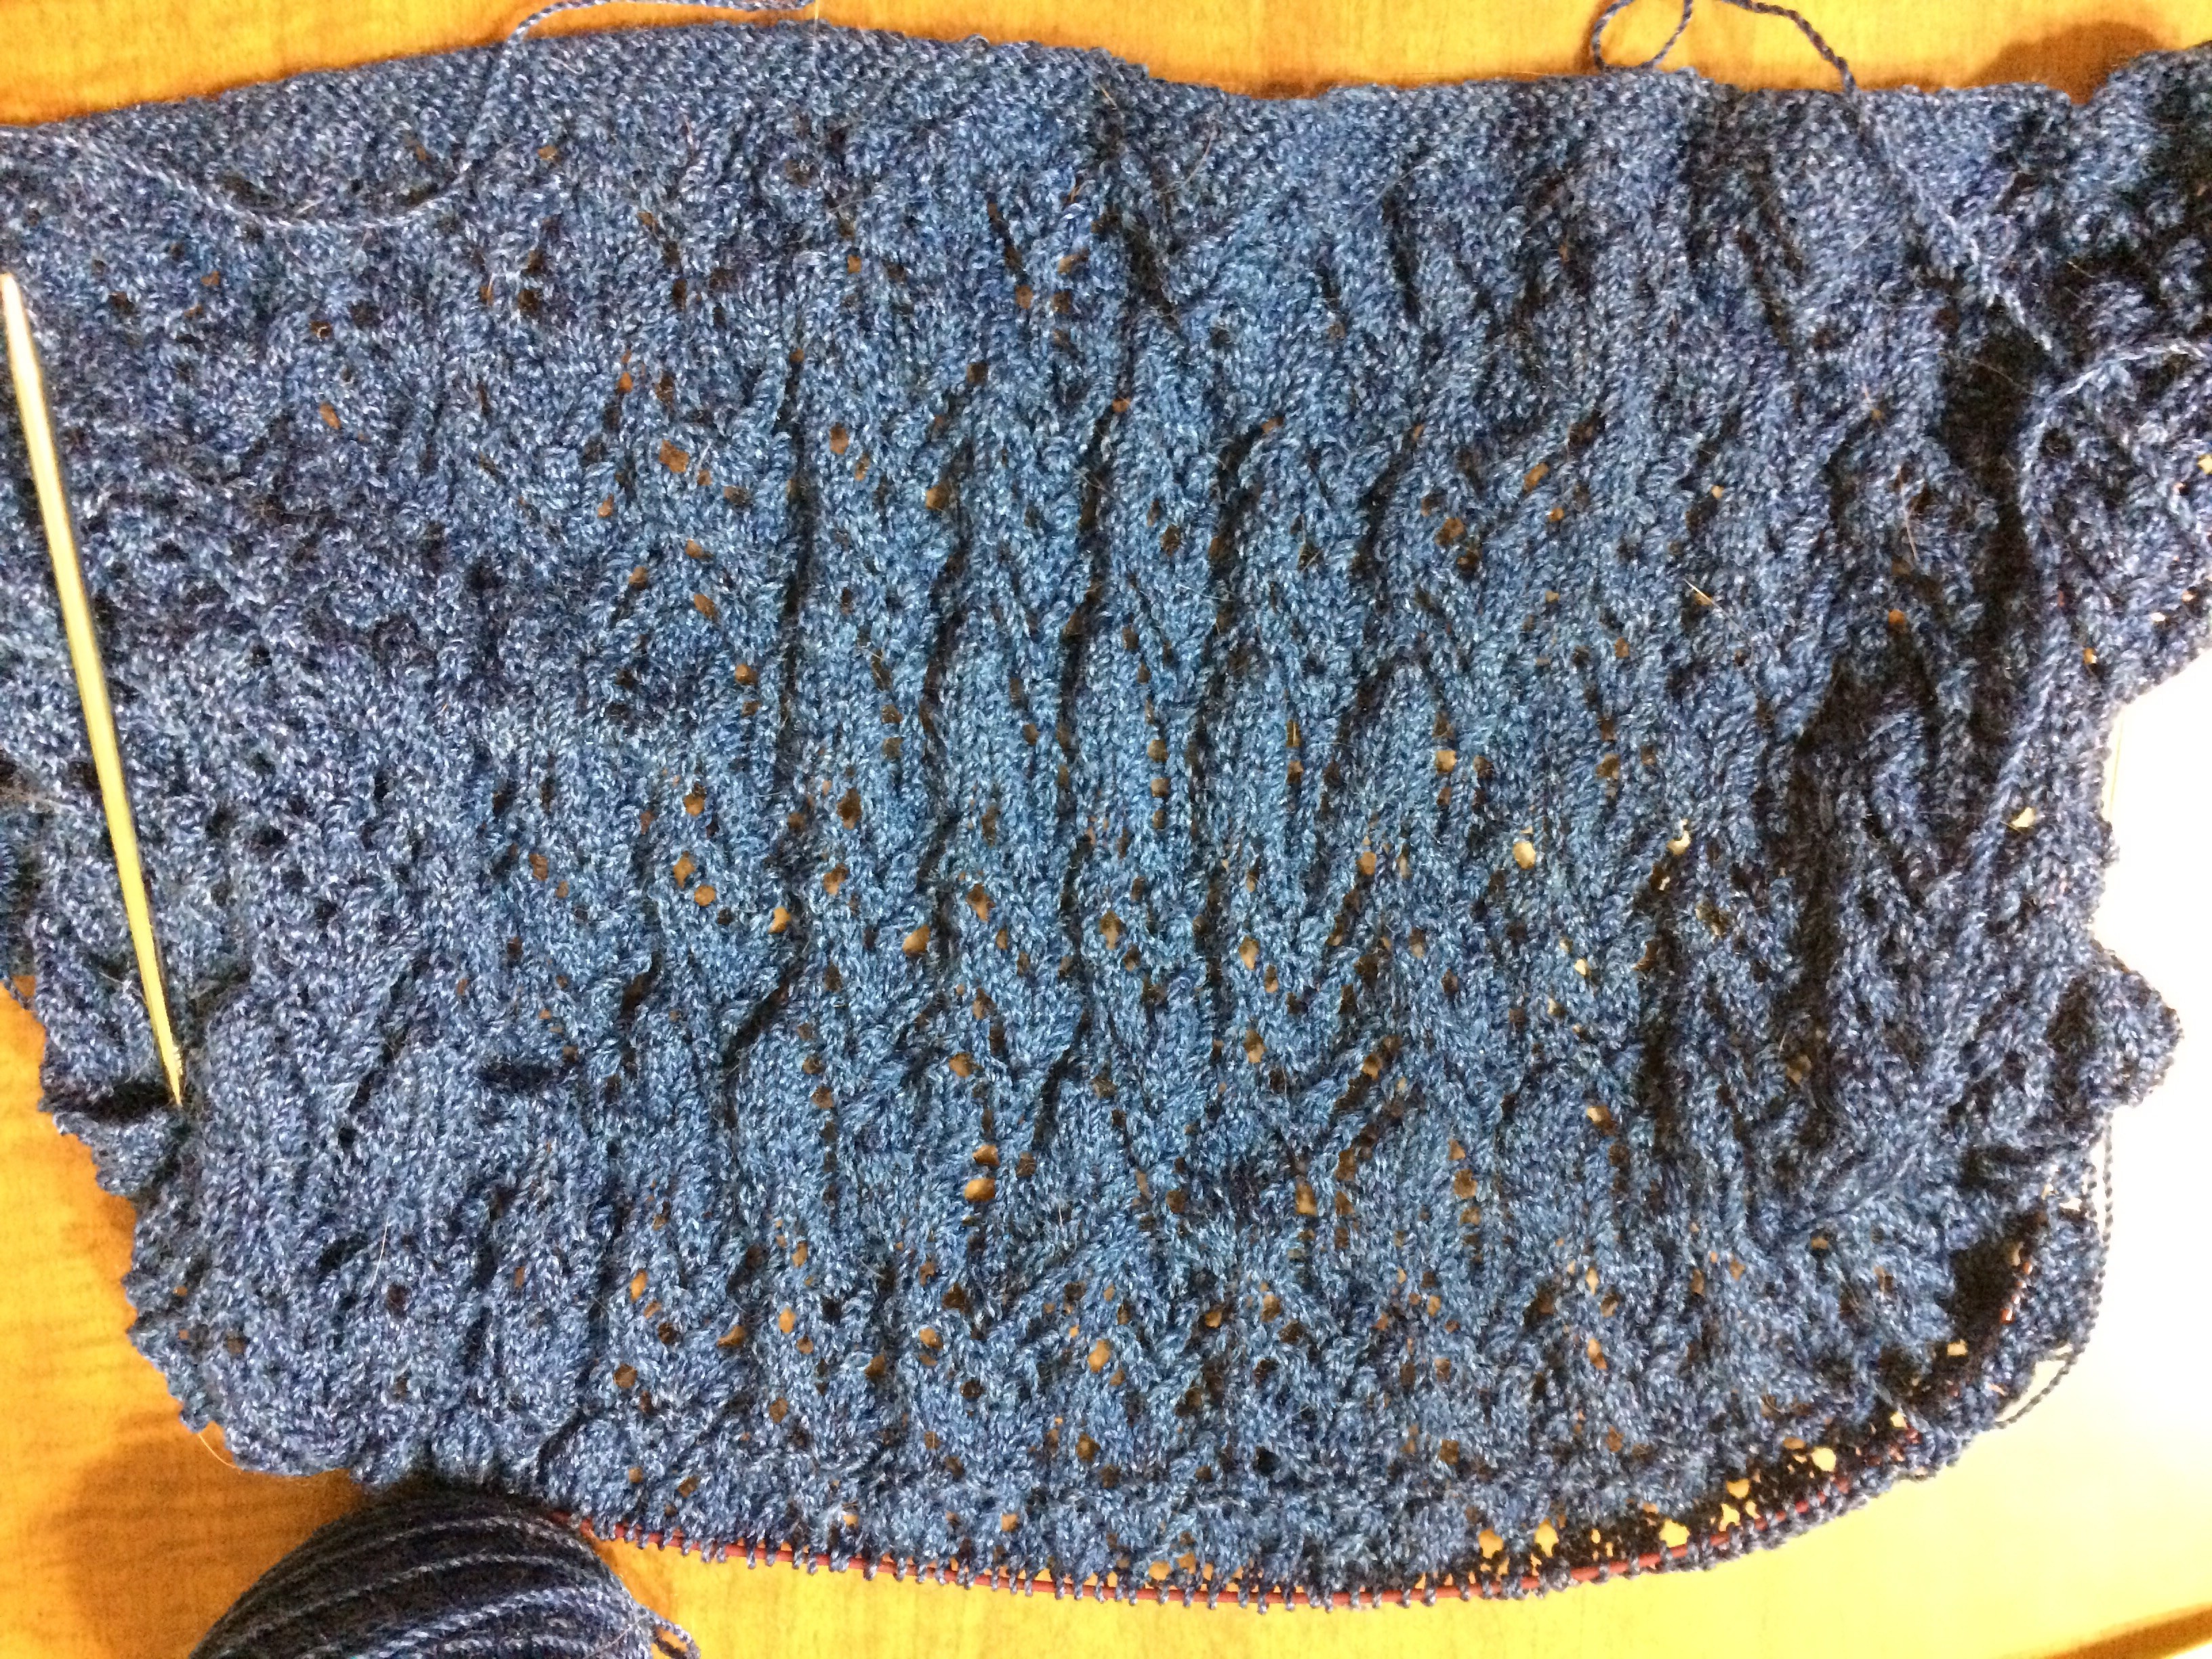
This is my first attempt at designing anything. It’s straightforward — a single stitch pattern and a rectangular shawl. My single biggest snafu was estimating yardage. I measured and weighed the swatch to calculate the yardage I used to knit it. I used that information to calculate final dimensions and yardage for the shawl. These calculations were off by a significant margin. I probably needed another skein of yarn to get the dimensions I wanted. I cannibalized my swatch to get a couple extra inches. I will be doing some research on yardage calculation and trying again!
I’m working on three big yardage projects right now, and it feels like I’m making progress on all of them. I love that feeling!
Super Secret Shawl
I’ve finished a total of 9 or 10 repeats of the pattern.
Clapotis
I wanted to finish this project before I went to India, but I ran out of yarn. After I got back from India, I ripped back all the way through my last straight section and put the project back onto the needles. This week I started knitting the decrease section again.
Cat Bed
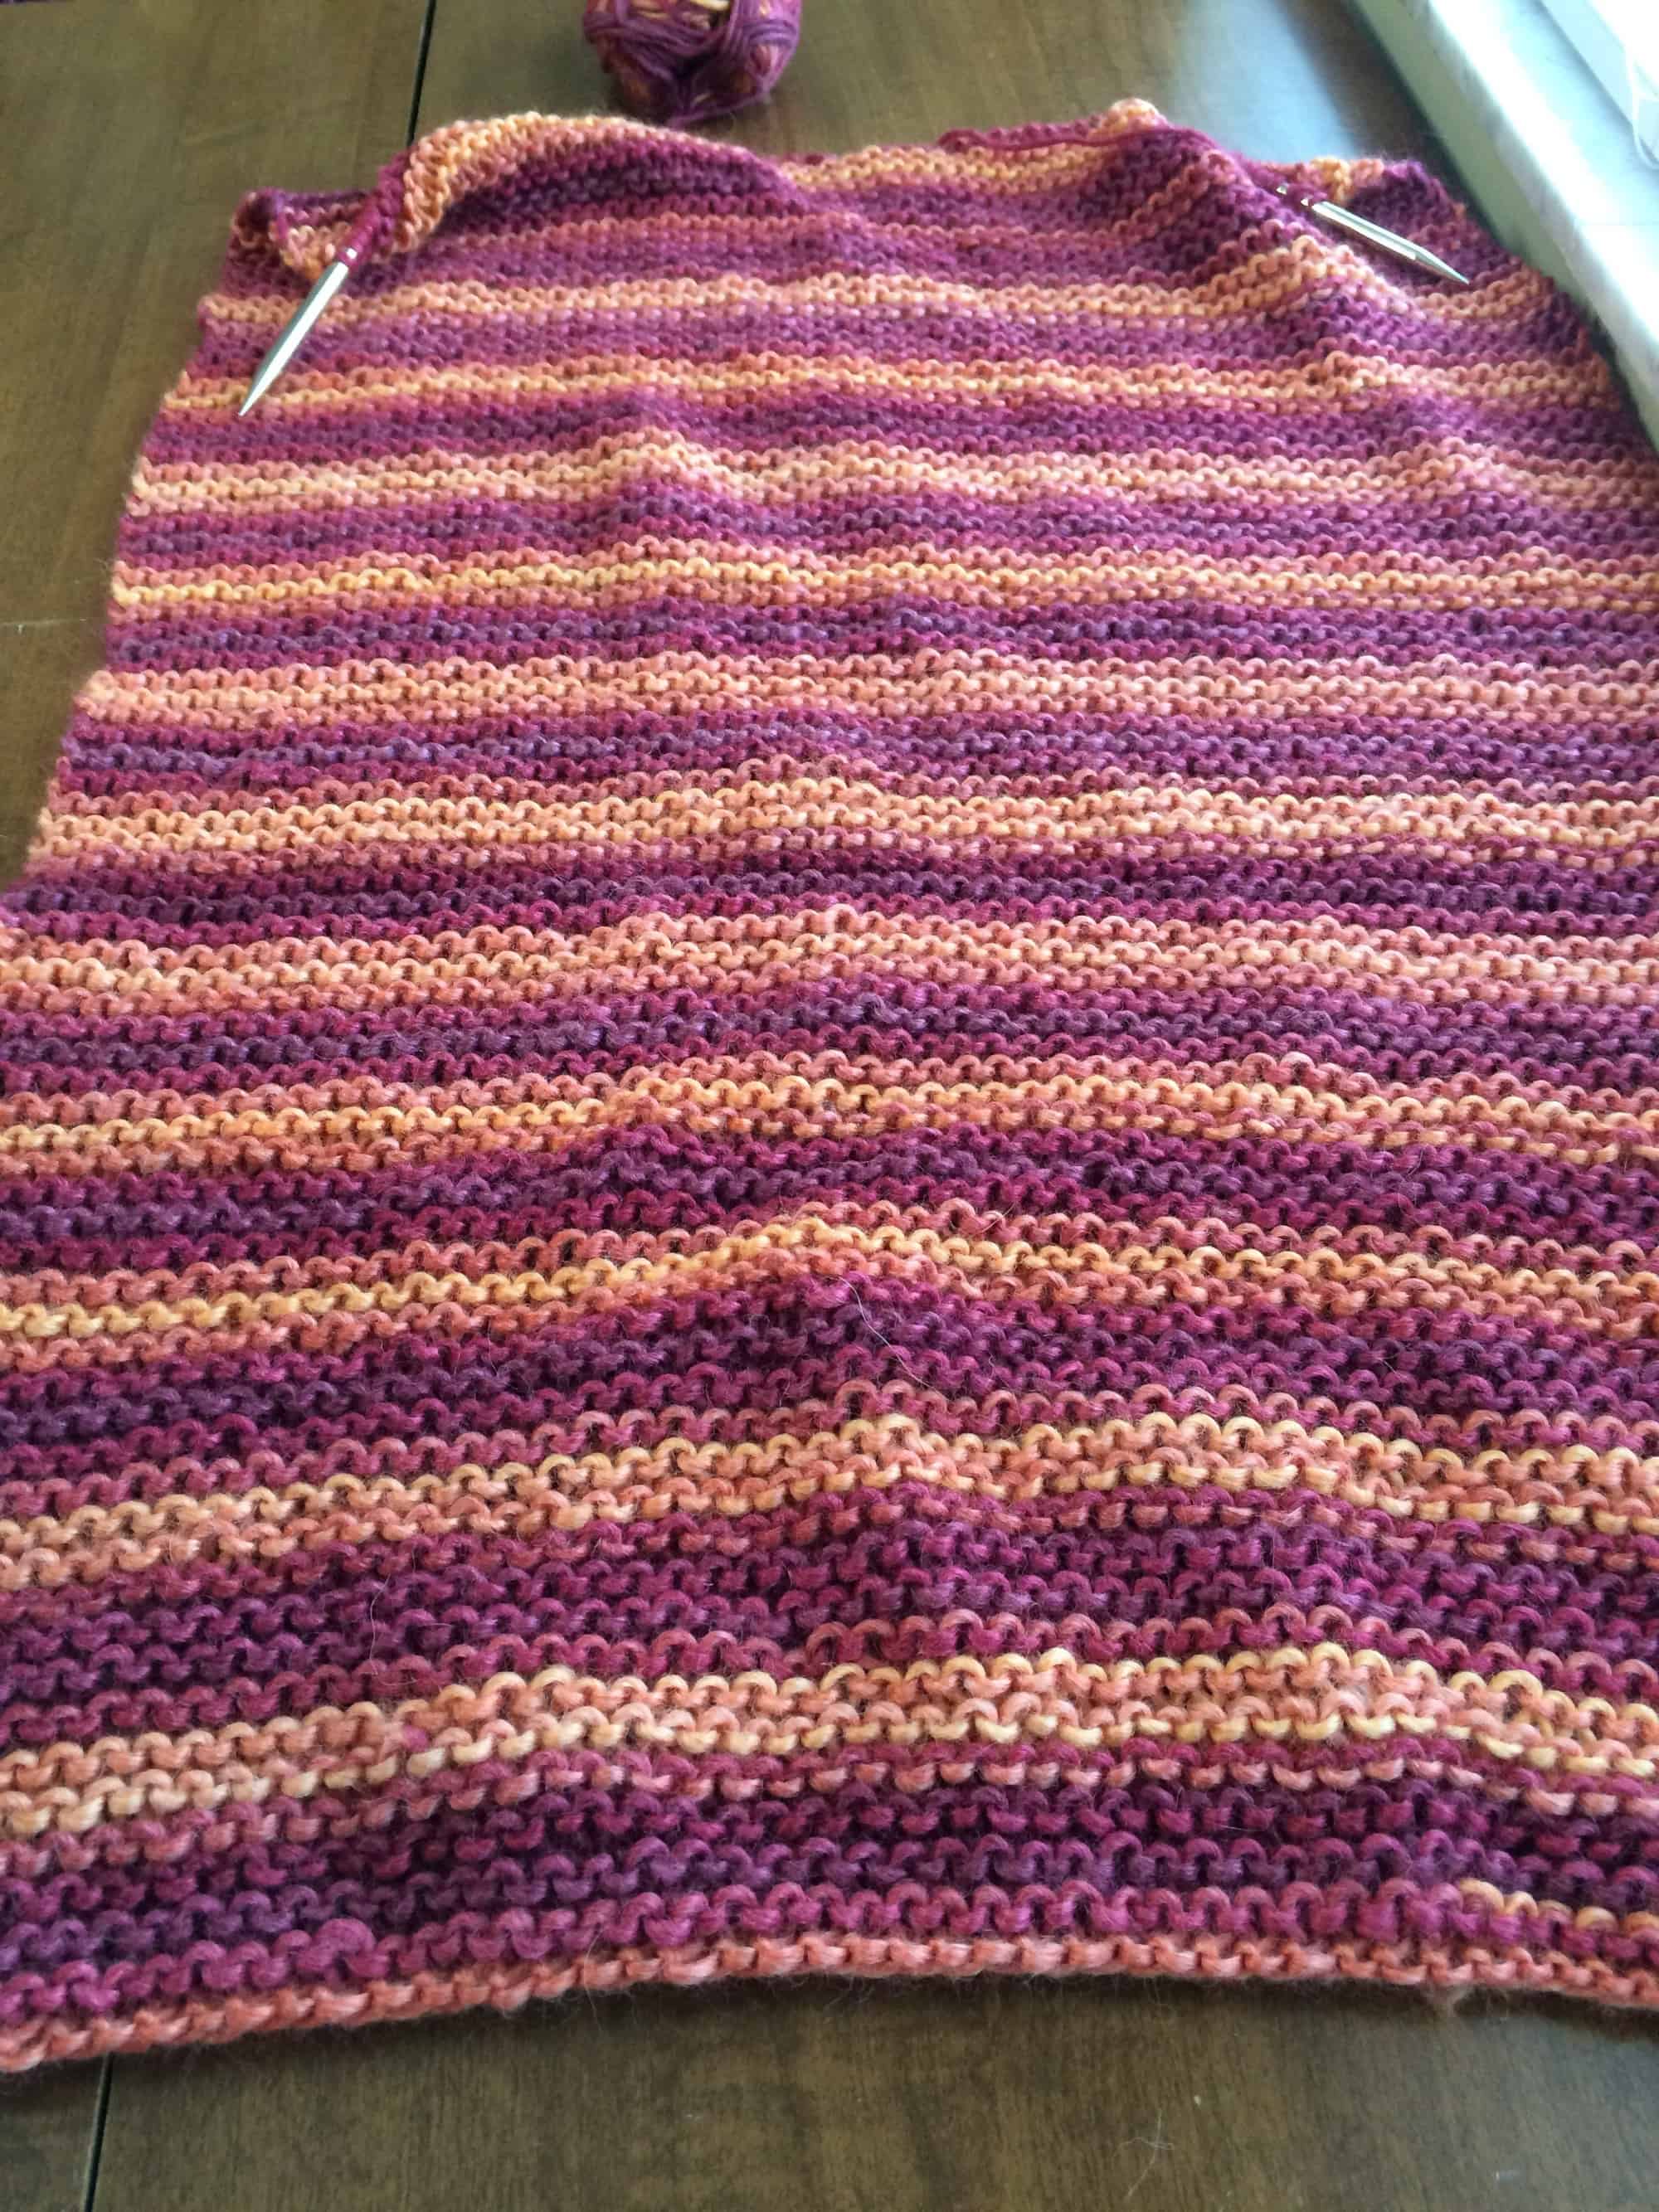
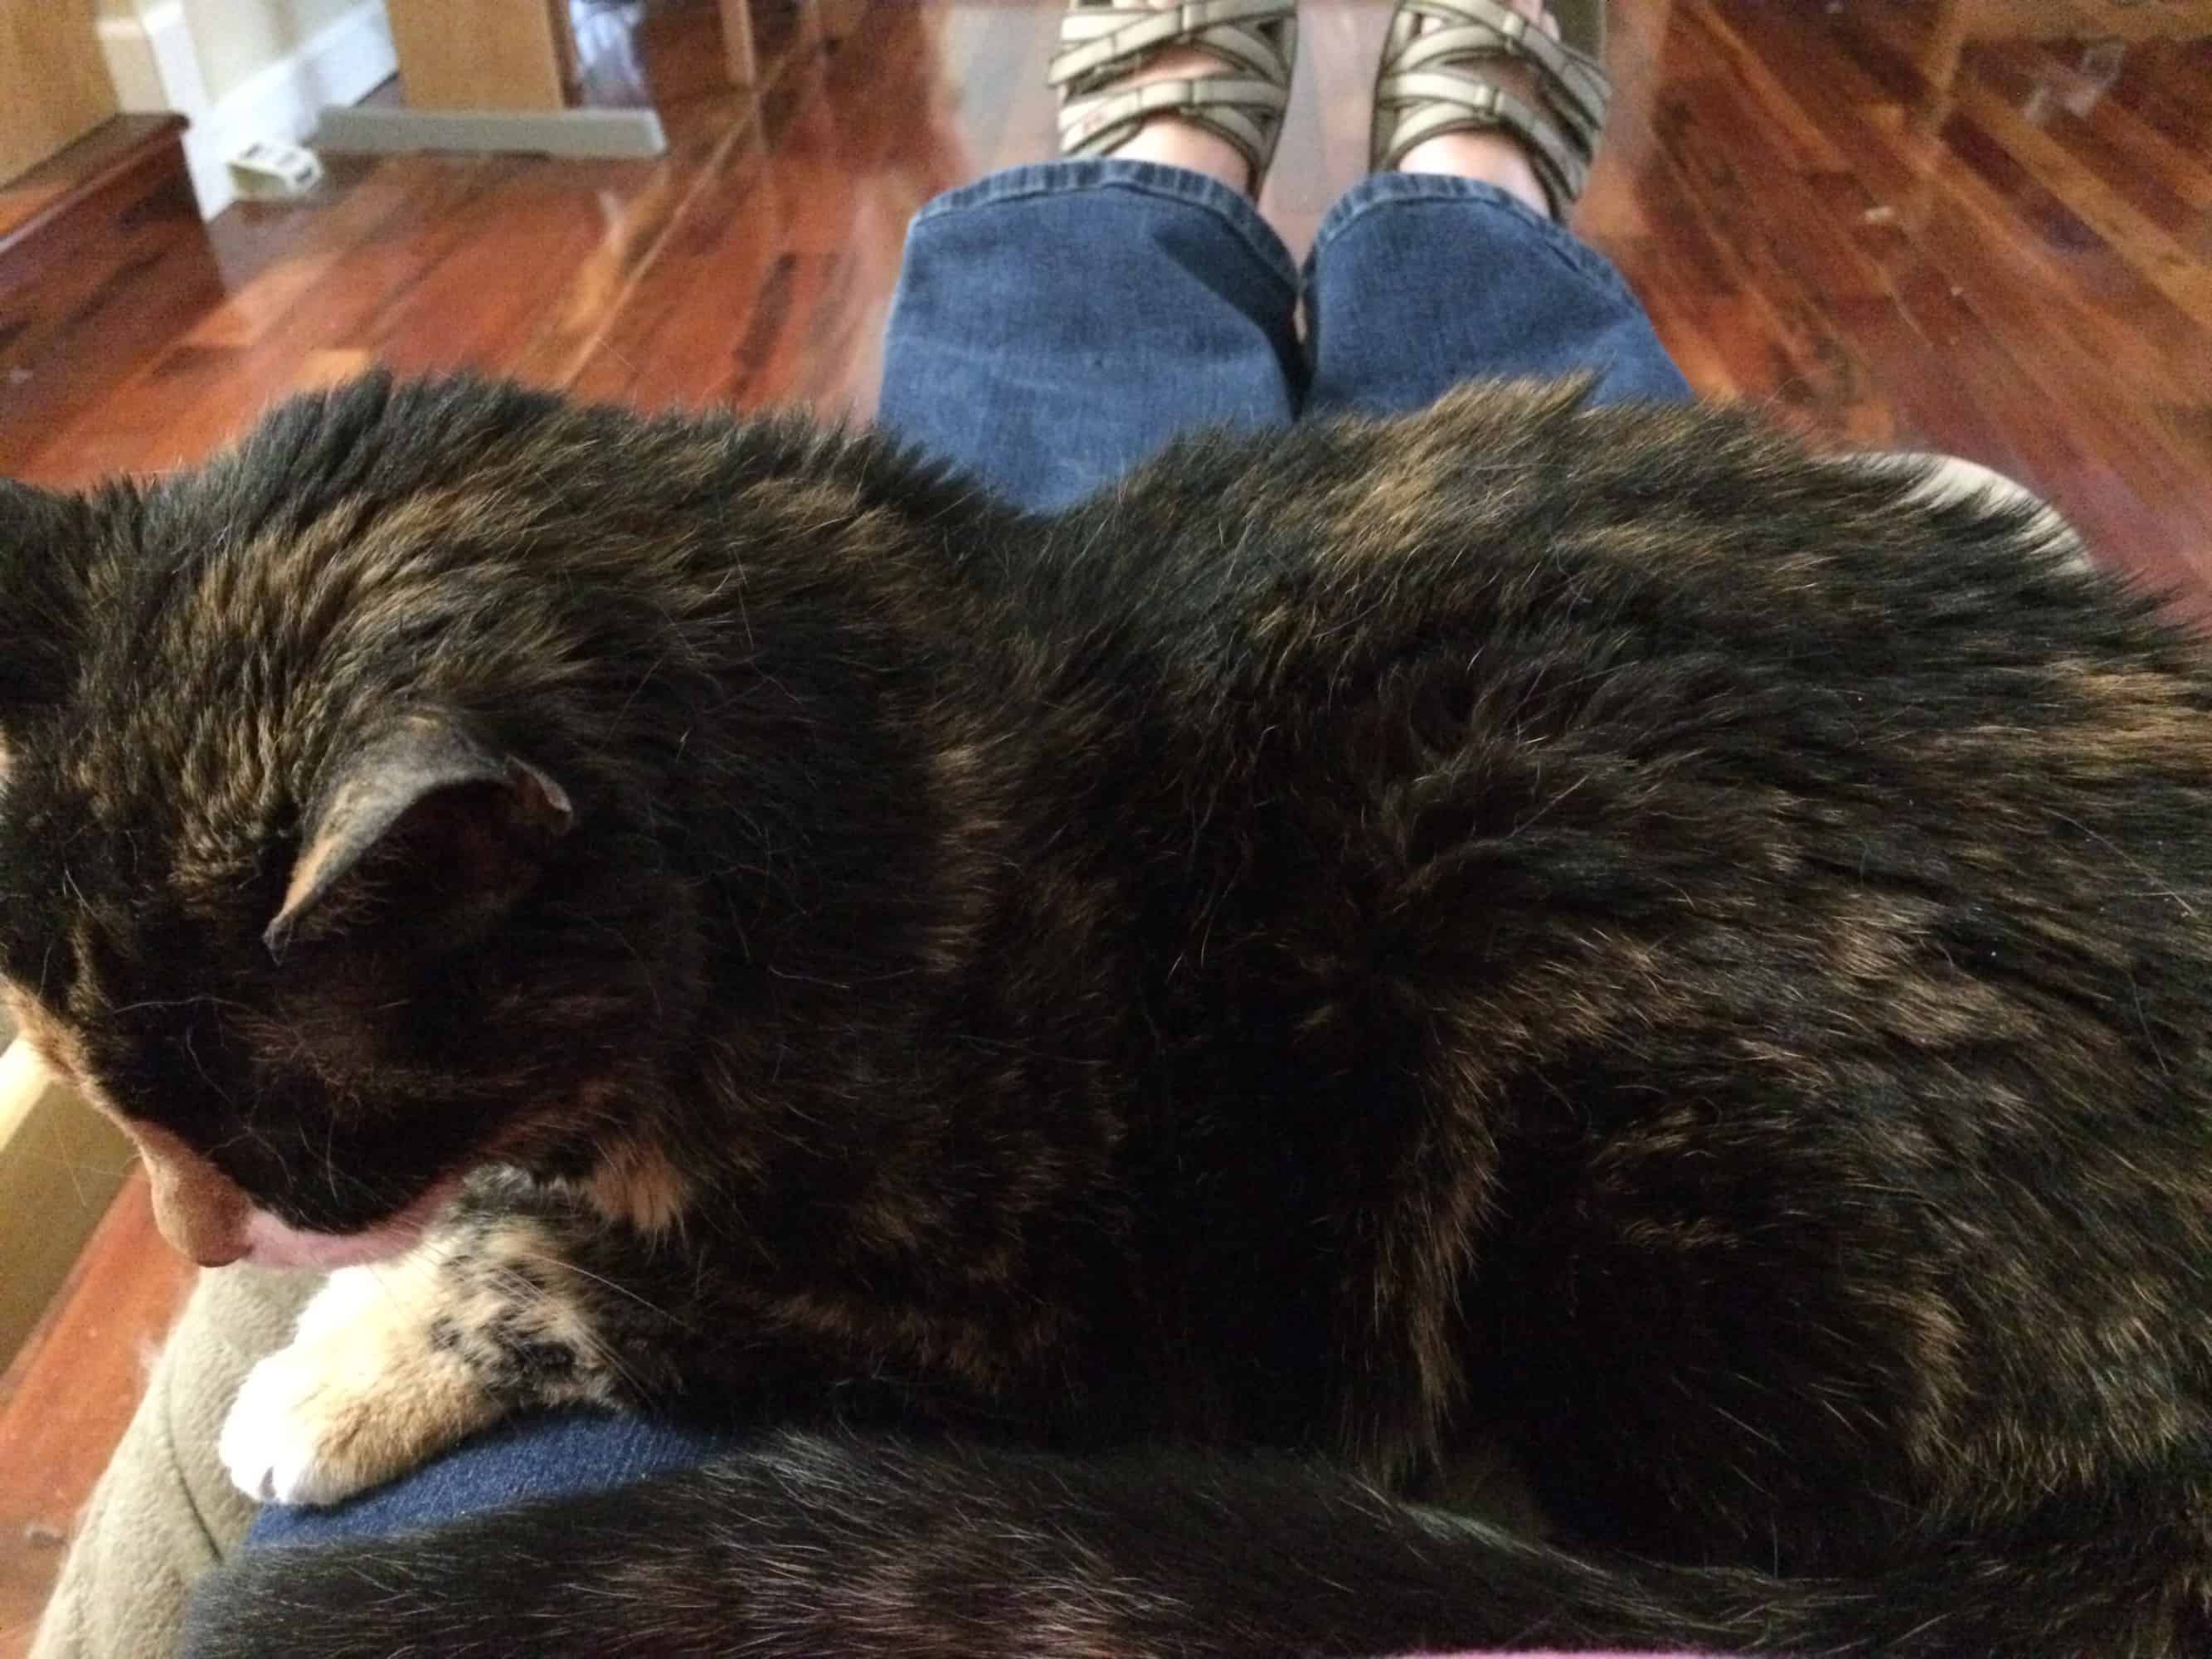
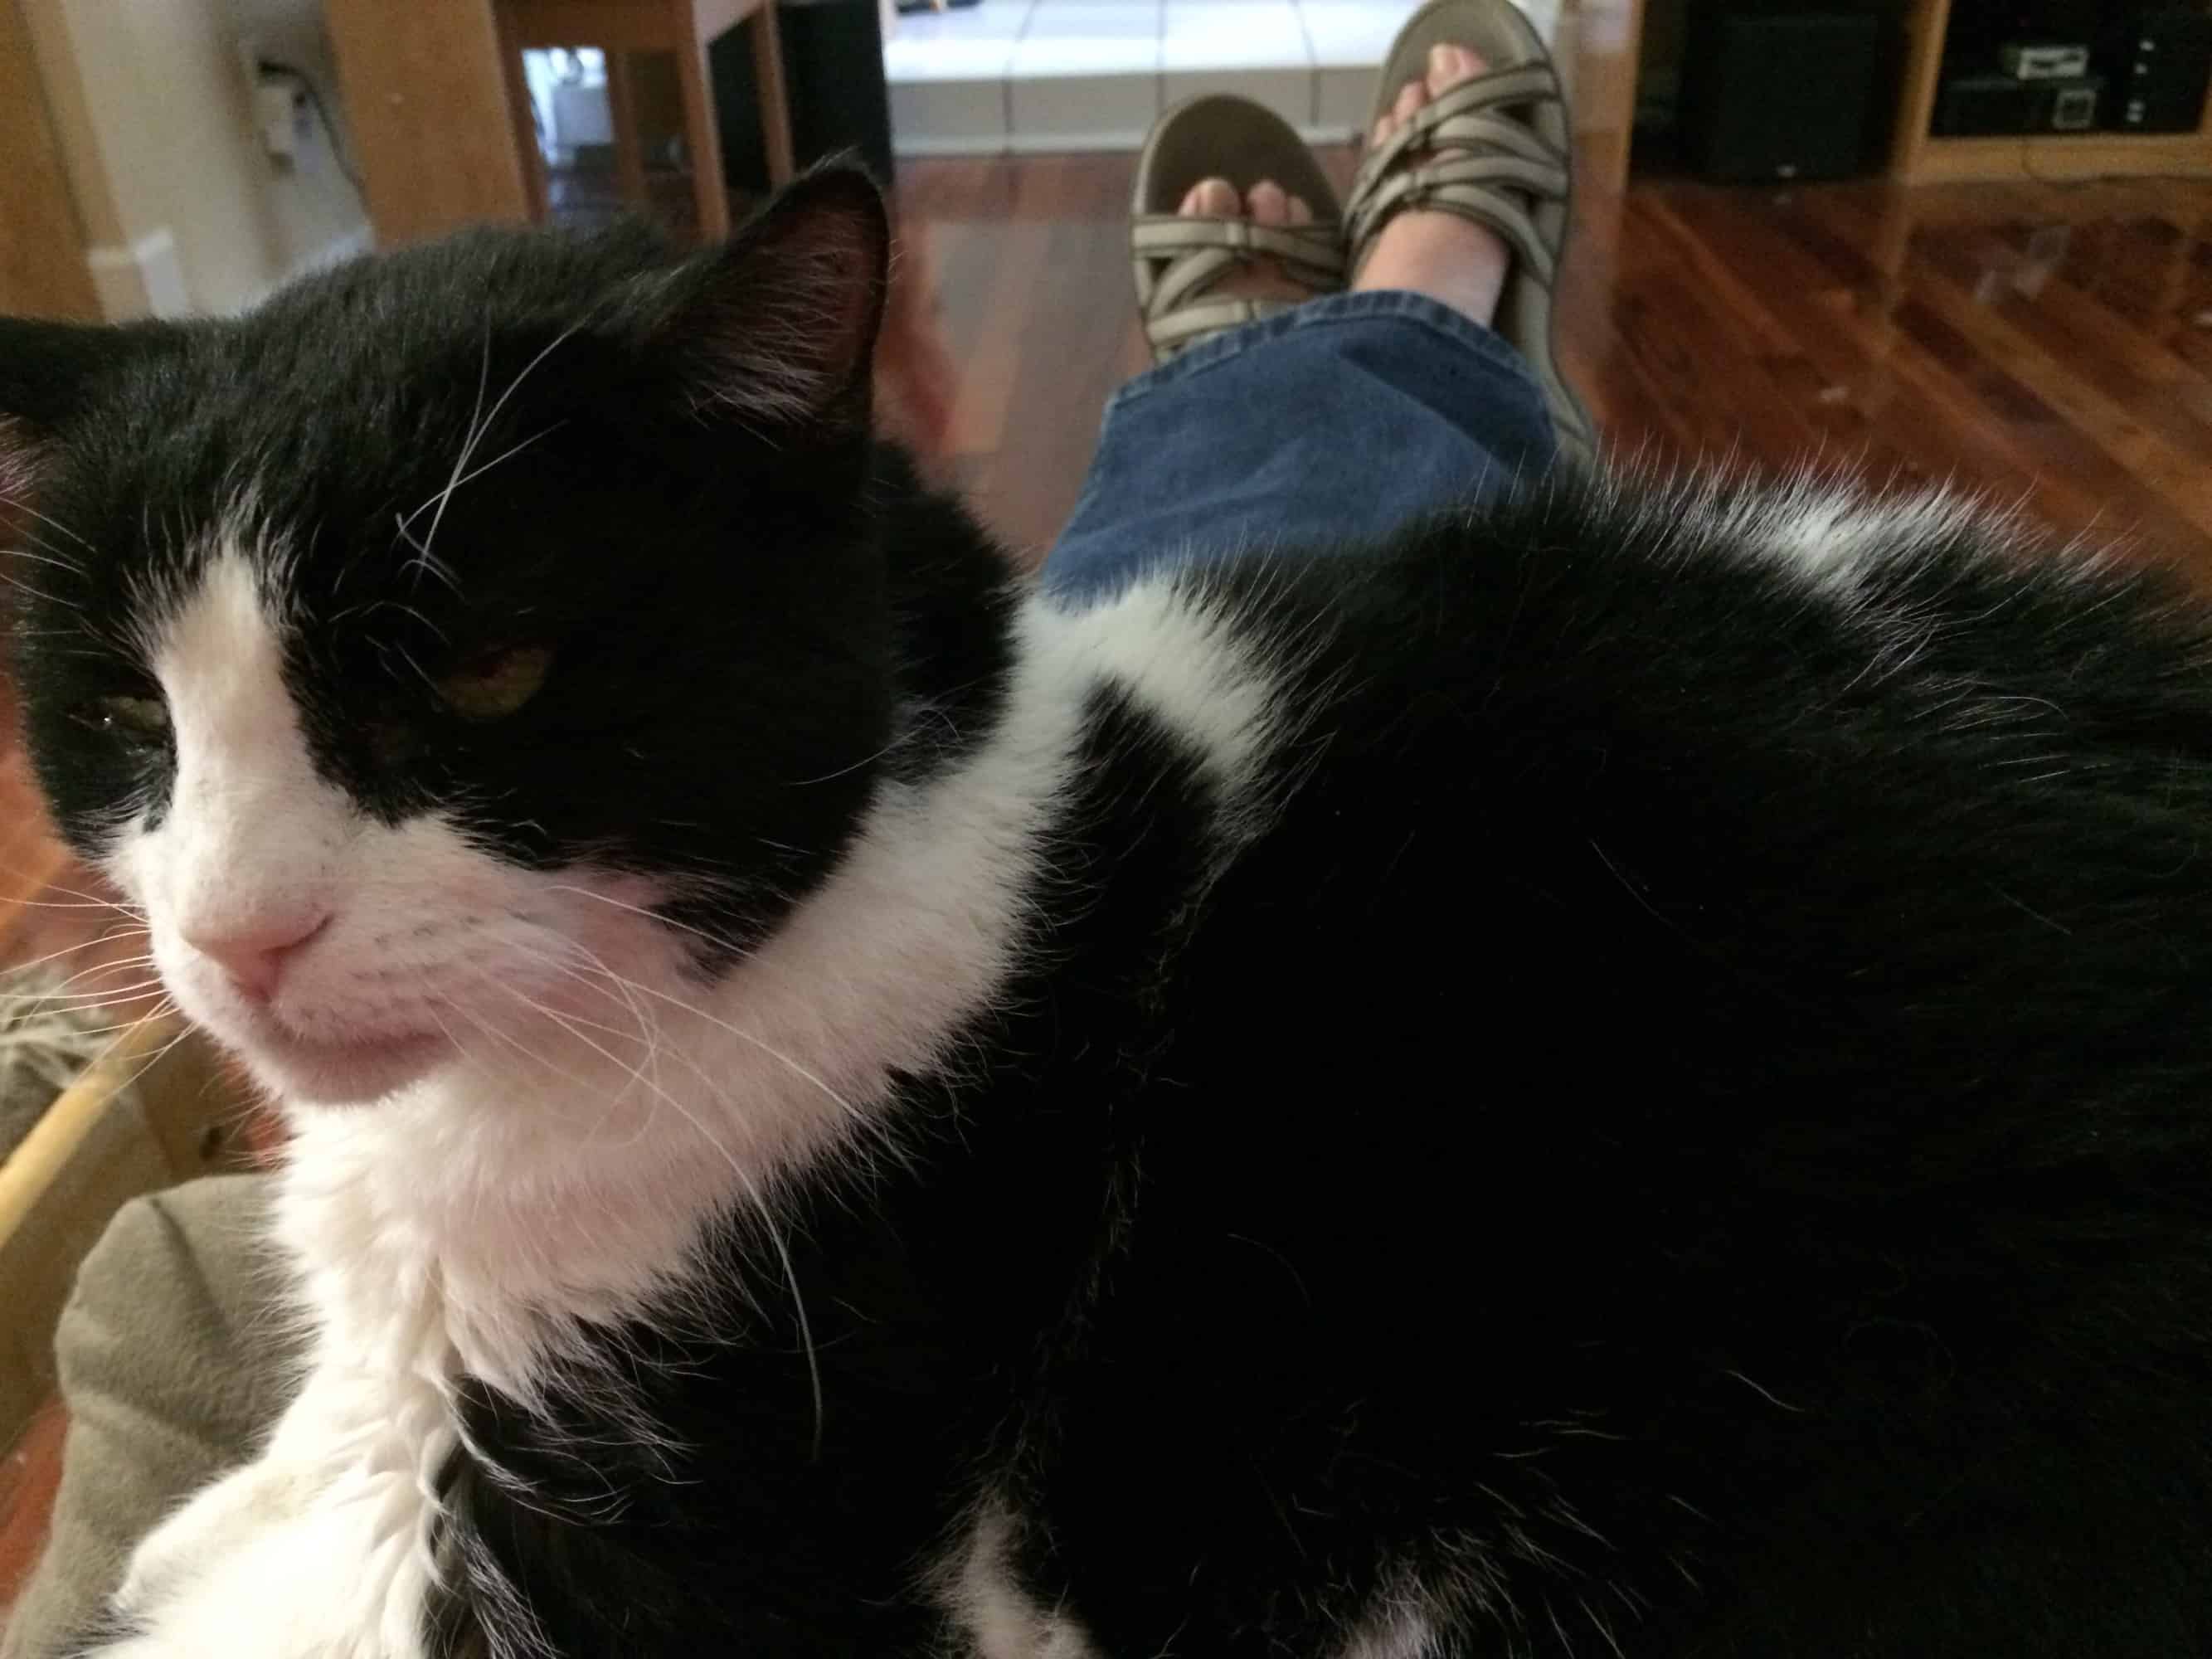
Pepper spends her nights in my office, to keep her away from the other cats. She’s fragile, they are bigger than her, and I’m afraid they might accidentally hurt her. Her arthritis is bad enough that I don’t think she can get down the steps into the garage to get to the litter box. I’ve left one bottom shelf of my bookcase empty because she likes to sleep in there. I decided to make a felted sleeping pad for that space, to make it a more enticing sleeping spot. I cast on about twice the width of the space and will knit about twice the length. Since it’s just garter stitch, it is going fast. I just cast on last Saturday night and I expect to be done knitting through 500 yards of yarn by tomorrow!
Today’s prompt is to share the contents of our knitting bag, crafting caddy, or other tool organization system with you. I don’t usually use a knitting bag and I don’t have a bag dedicated to that purpose. I keep each WIP in its own gallon-sized Ziploc bag which contains the yarn, needles, pattern, embellishments (like beads) or unusual tools needed for the project. When I will be crafting out of the house, I might just grab one of the WIP Ziplocs and toss it in my purse. If I will be working on multiple projects or the project is large, I’ll put everything into an appropriately sized bag to make it easier to carry. While I have a pretty impressive stash of yarn and fiber, I don’t have an extensive tool collection. I like my tools streamlined and multifunctional. It’s fun to dig through my stash, looking for just the right fiber. Once I find it, I want to get to work with as little fuss as possible!
I’m writing this post a few days after the St. Johns River Festival of the Arts (see my blog post about that), when I spent two entire days in the Weavers of Orlando booth, doing demos. On Saturday, I mostly spun and on Sunday I mostly wove. I also brought a knitting project with me. This is the most stuff I ever carry at a time, so I figured I would take pictures of everything in the bag. It’ll give you a good sense of the scope of my tools.
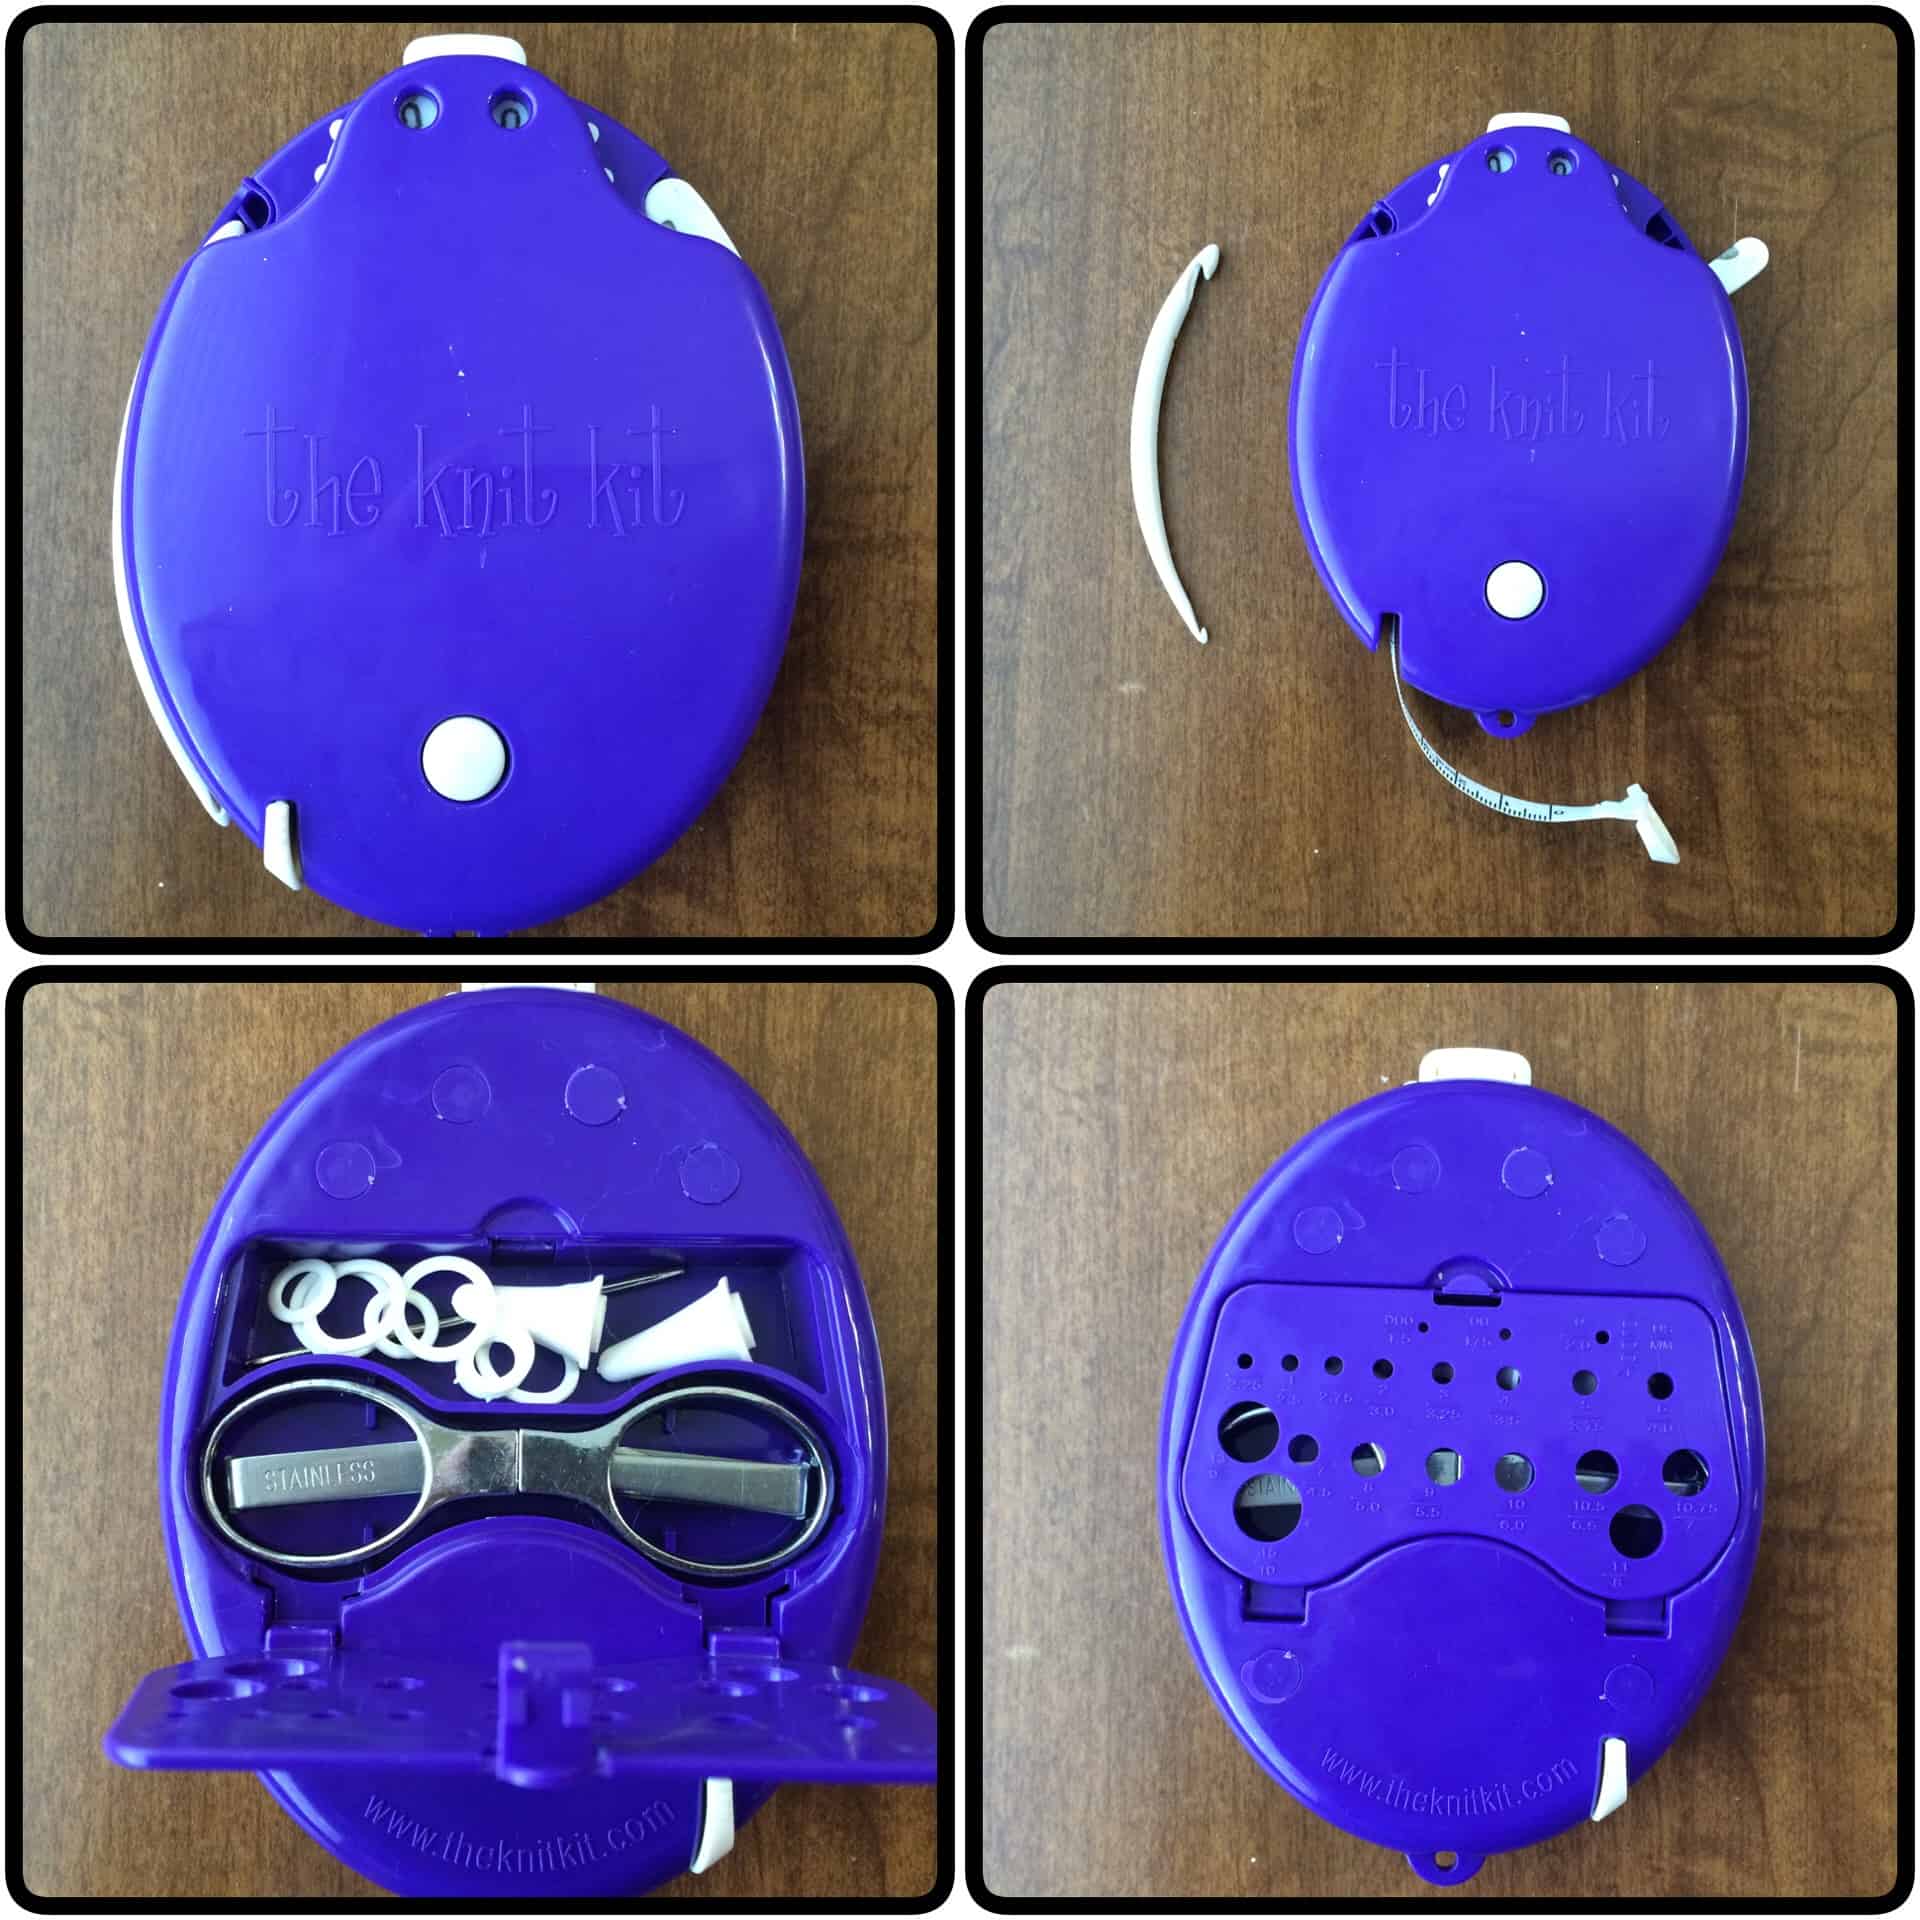
My Knit Kit
I love my Knit Kit. It’s the one thing I carry with me wherever I’m crafting. It fits in my purse and it’s got all the everyday tools I might need in a pinch. I had a Knit Kit, but left it at my sister’s when I was helping her move, so I just bought a new one at Distaff Day in January.
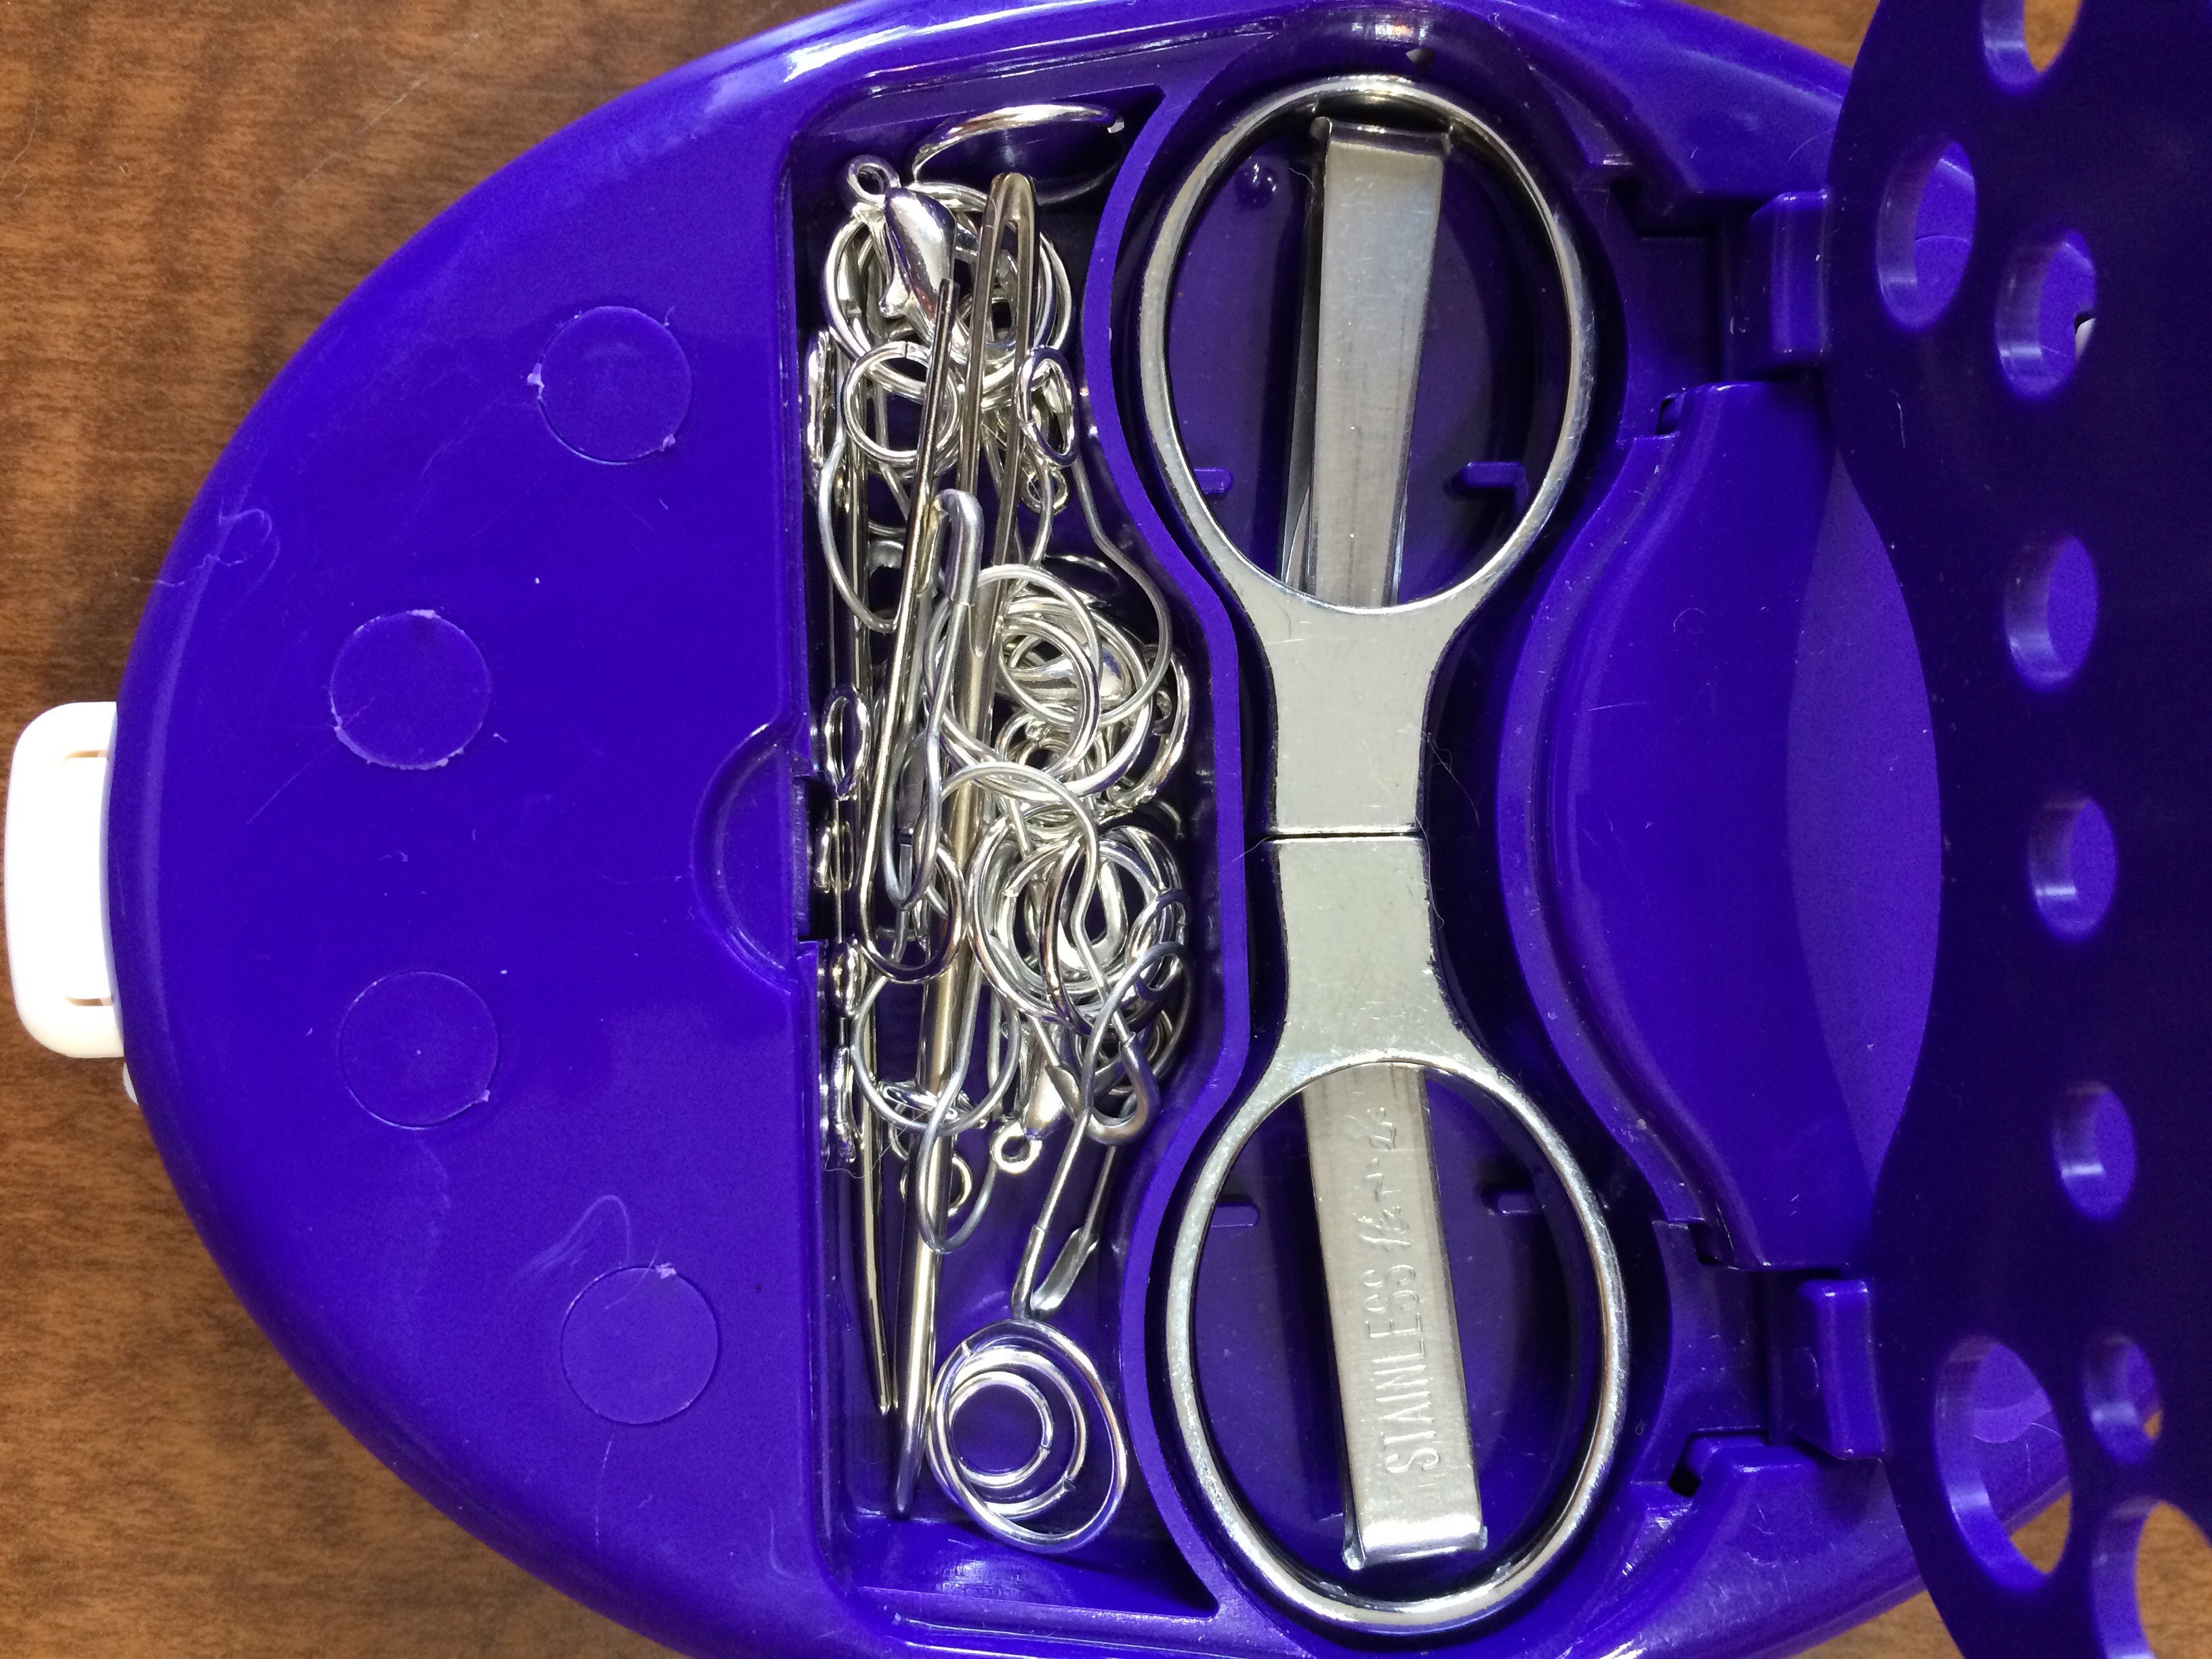
It’s got a row counter, double-ended crochet hook, tape measure, and blade built into it. The cover on the bag is a needle / hook sizer. The interior compartment holds a pair of folding scissors, stitch markers, and tip protectors. I never use tip protectors and don’t like the rubber stitch markers, so I removed them and stocked the back with my own preferred tools:
Two tapestry needles, a sewing needling, a key for KnitPicks interchangeable needles, lobster claw clasps, gourd safety pins, and jump rings with interior dimensions of 3mm, 5 mm, 8 mm, and 10 mm.
I use the jump rings as stitch markers. I use the lobster claw clasps and the gourd safety pins (available on Amazon (affiliate link)) as row markers.
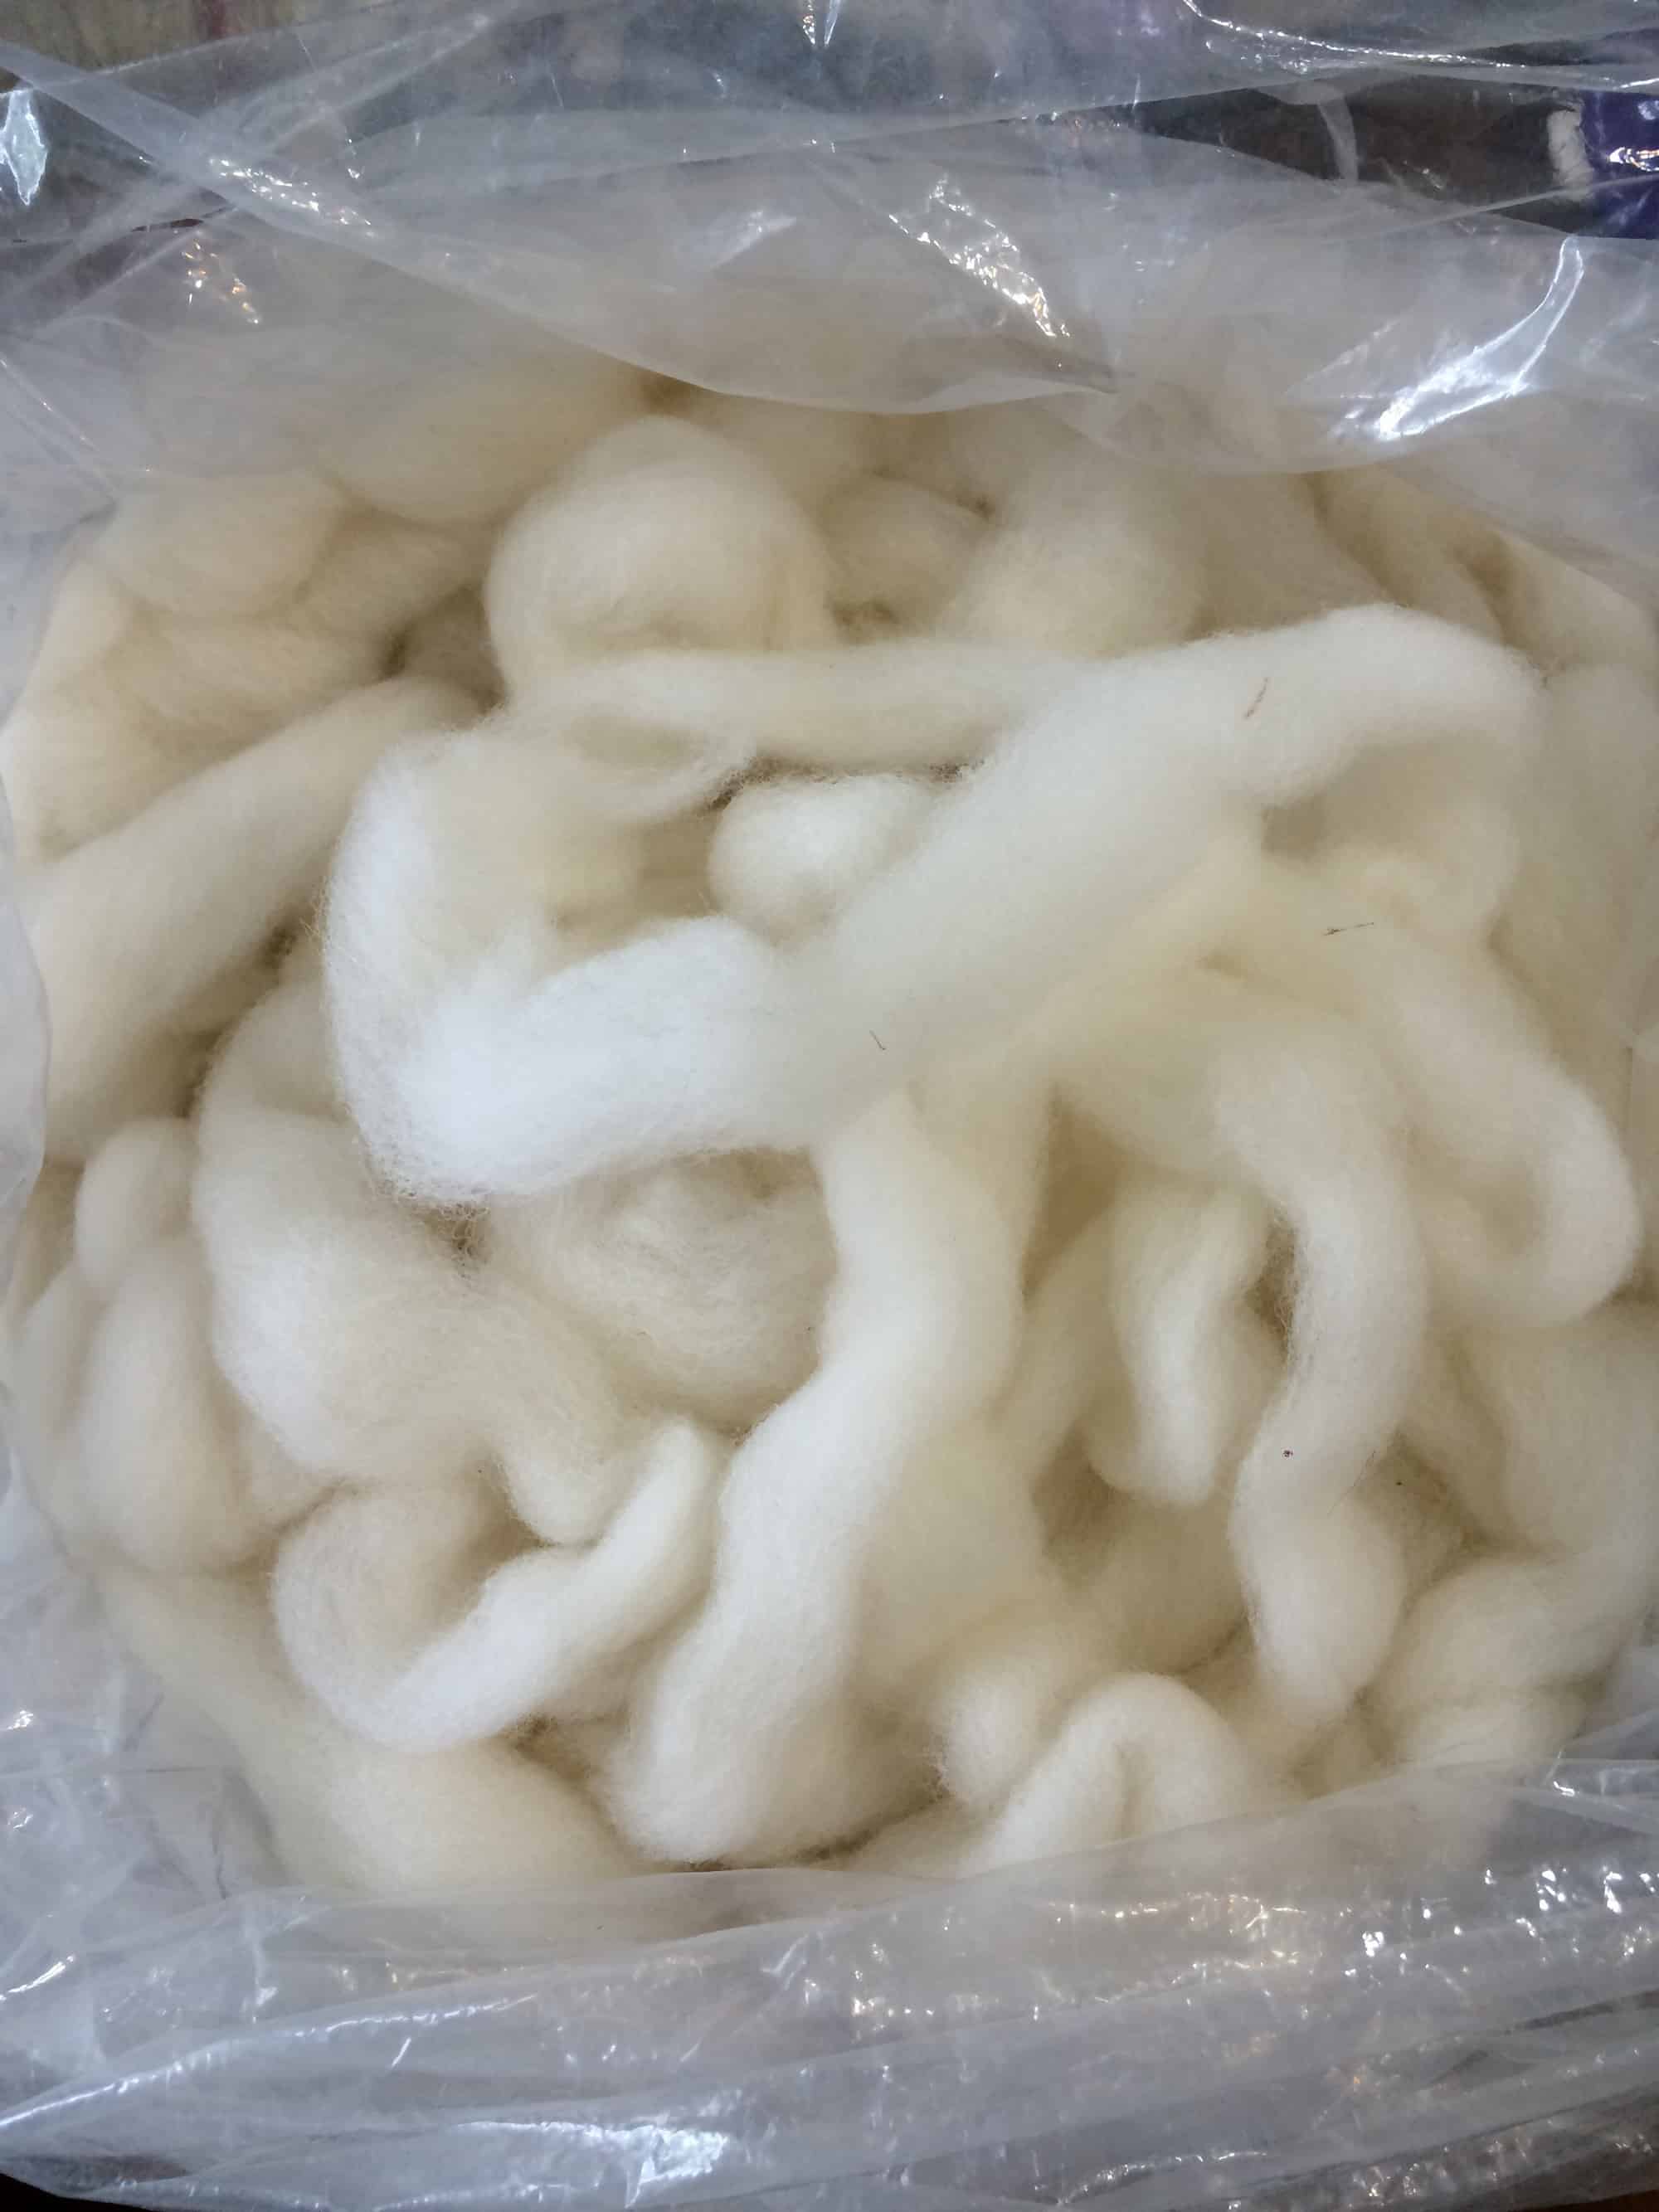
Spinning Supplies
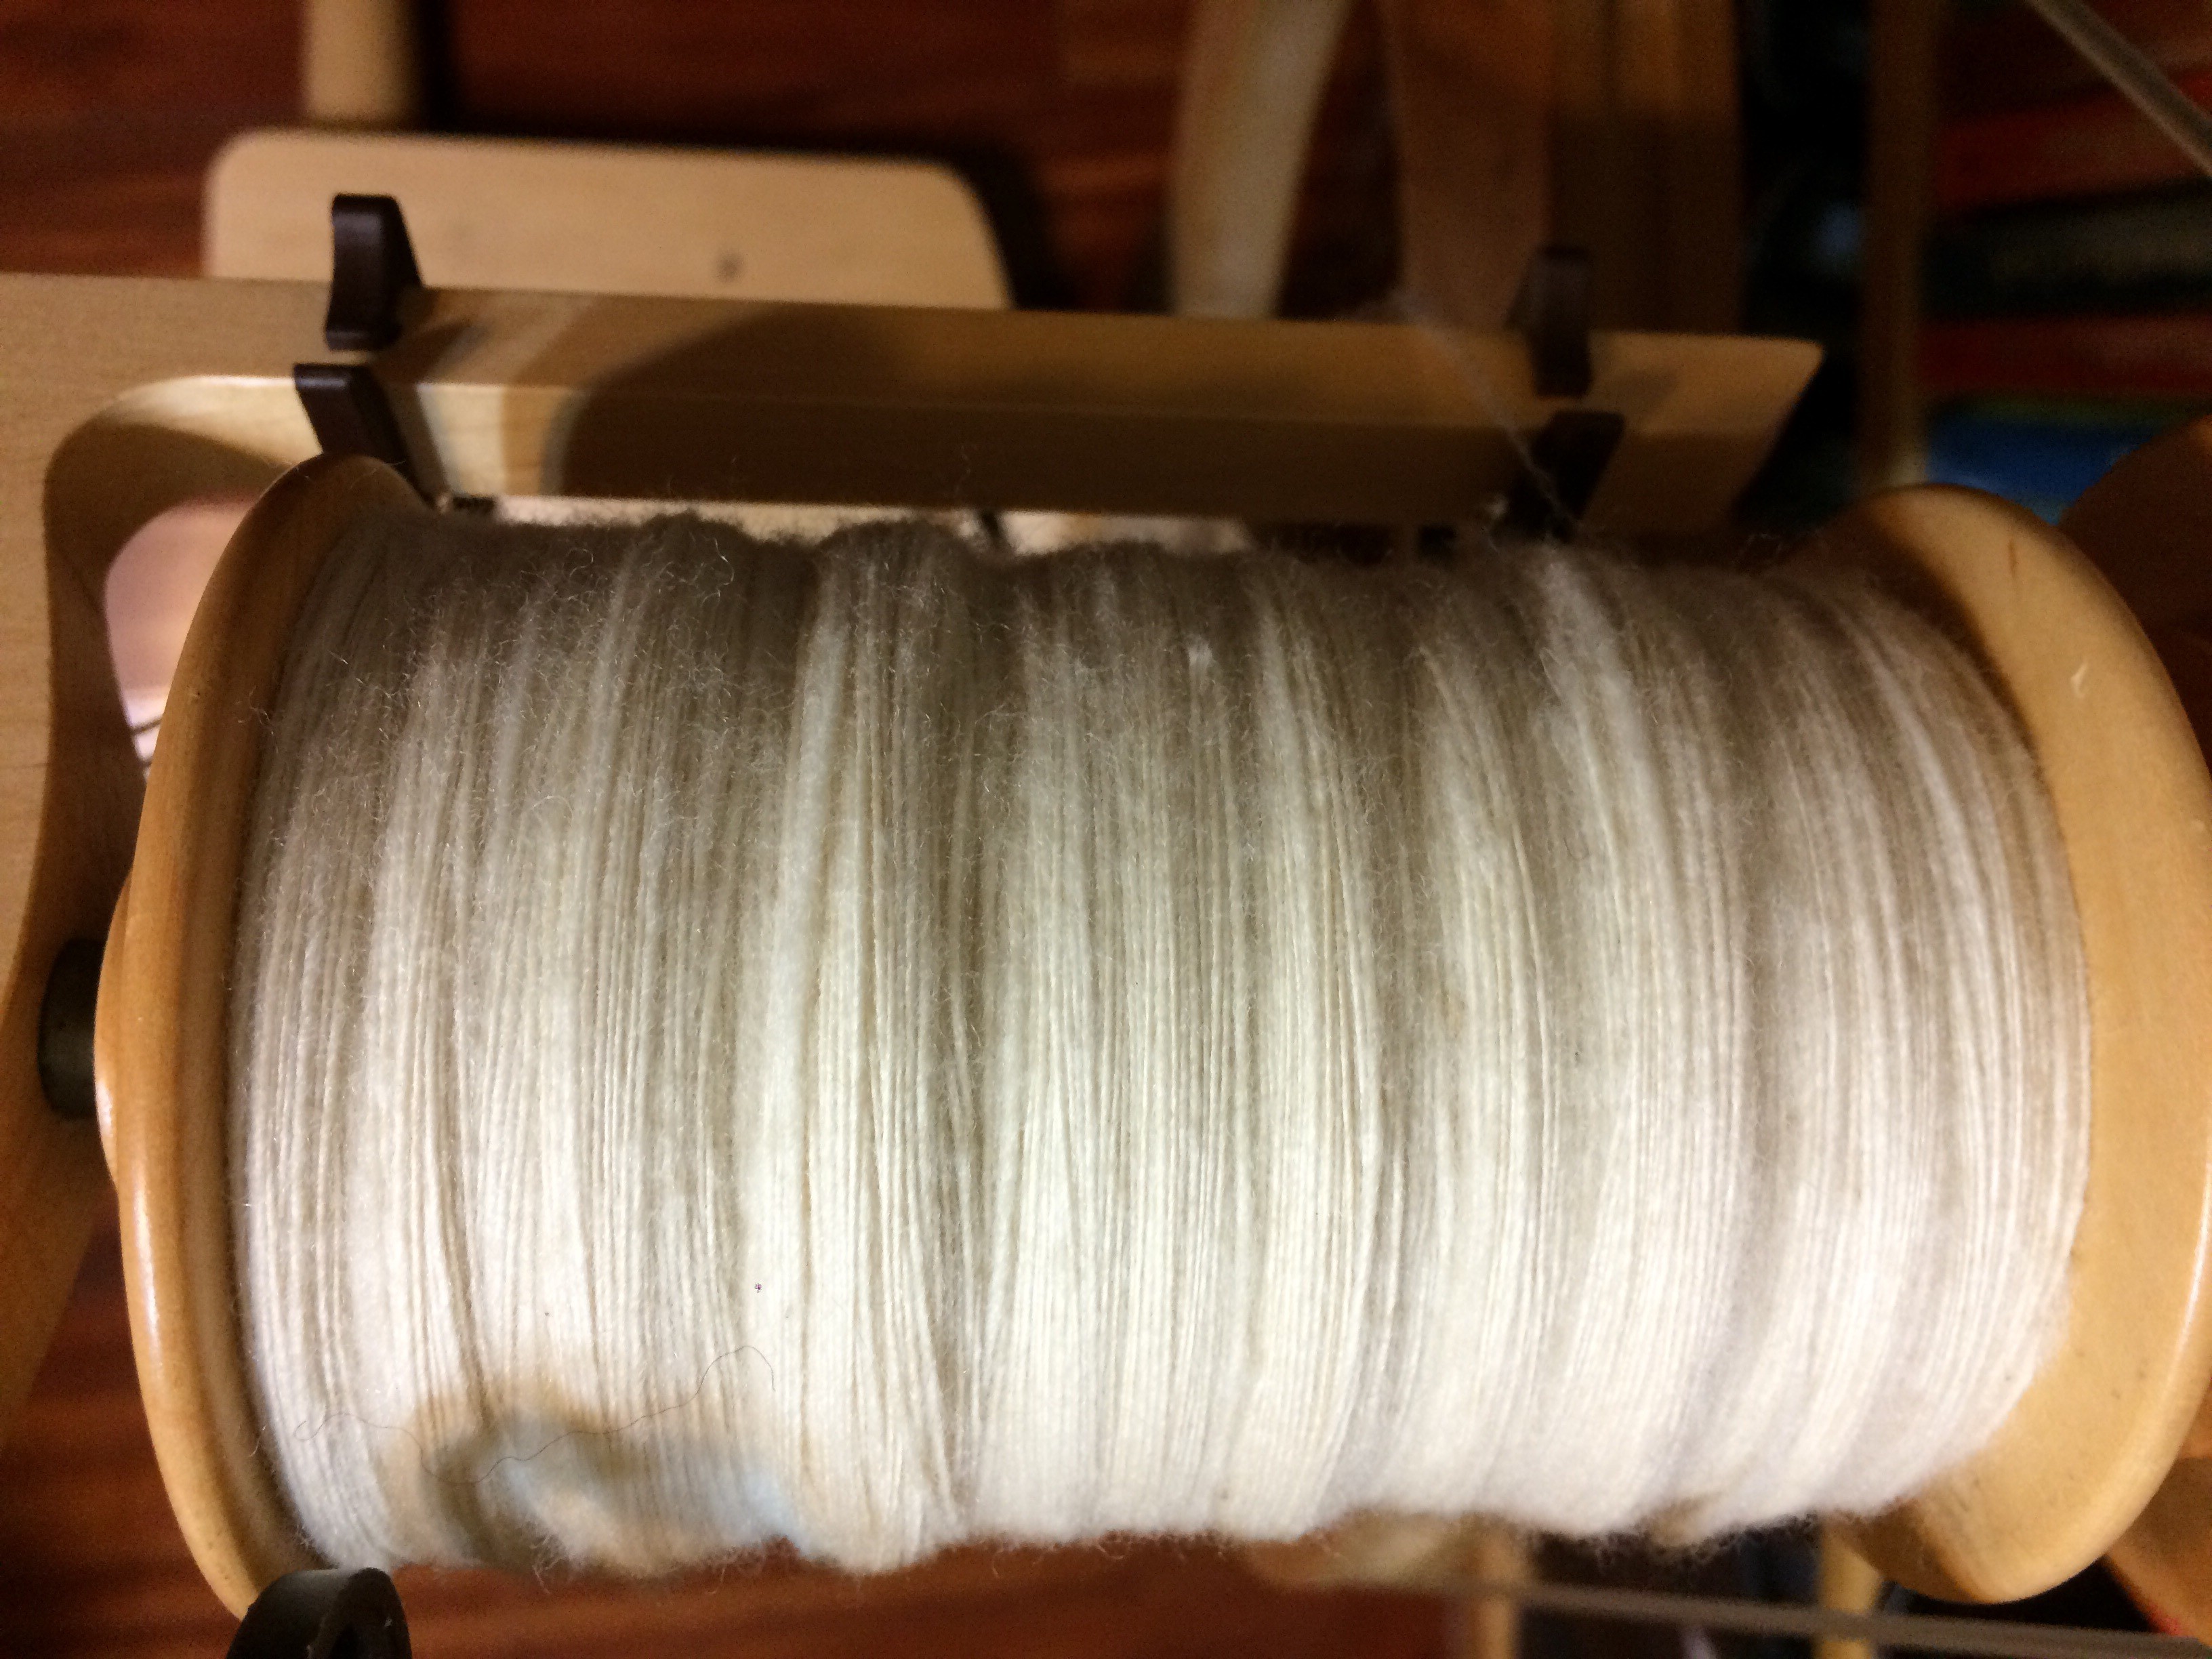
Of course, I had the Cormo that I’m currently spinning.
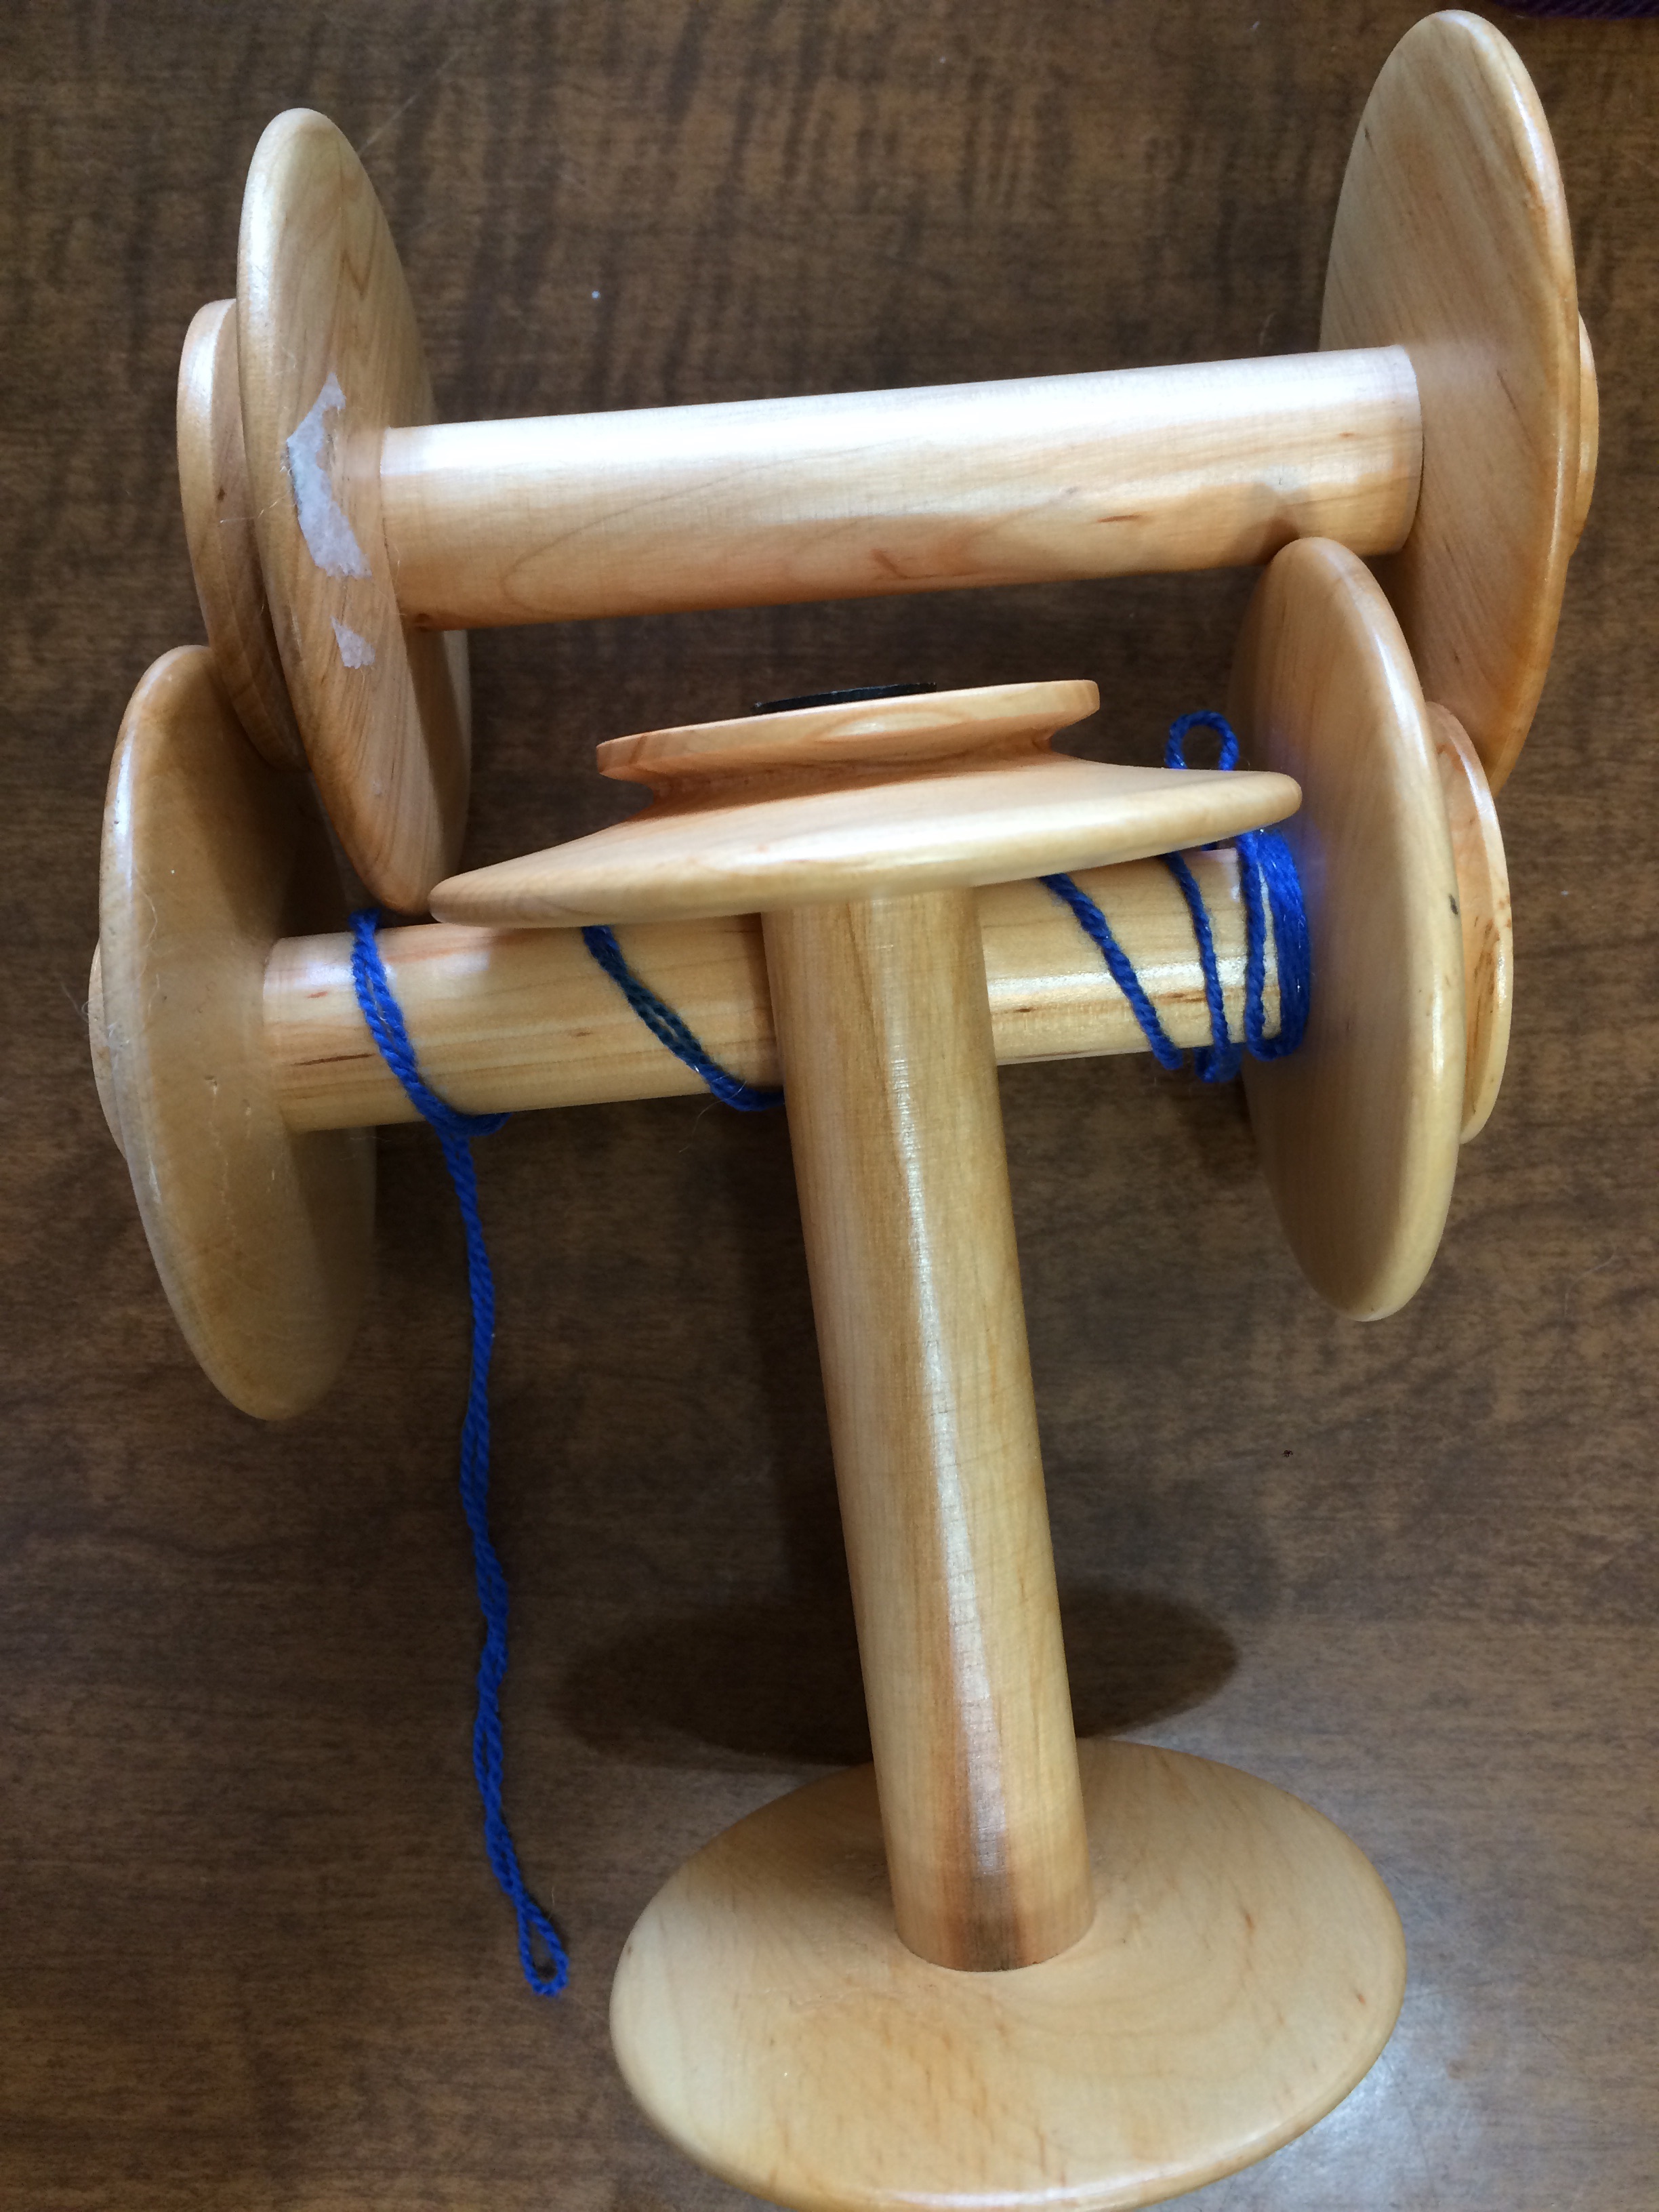
I had extra bobbins, just in case I filled the one on the wheel.
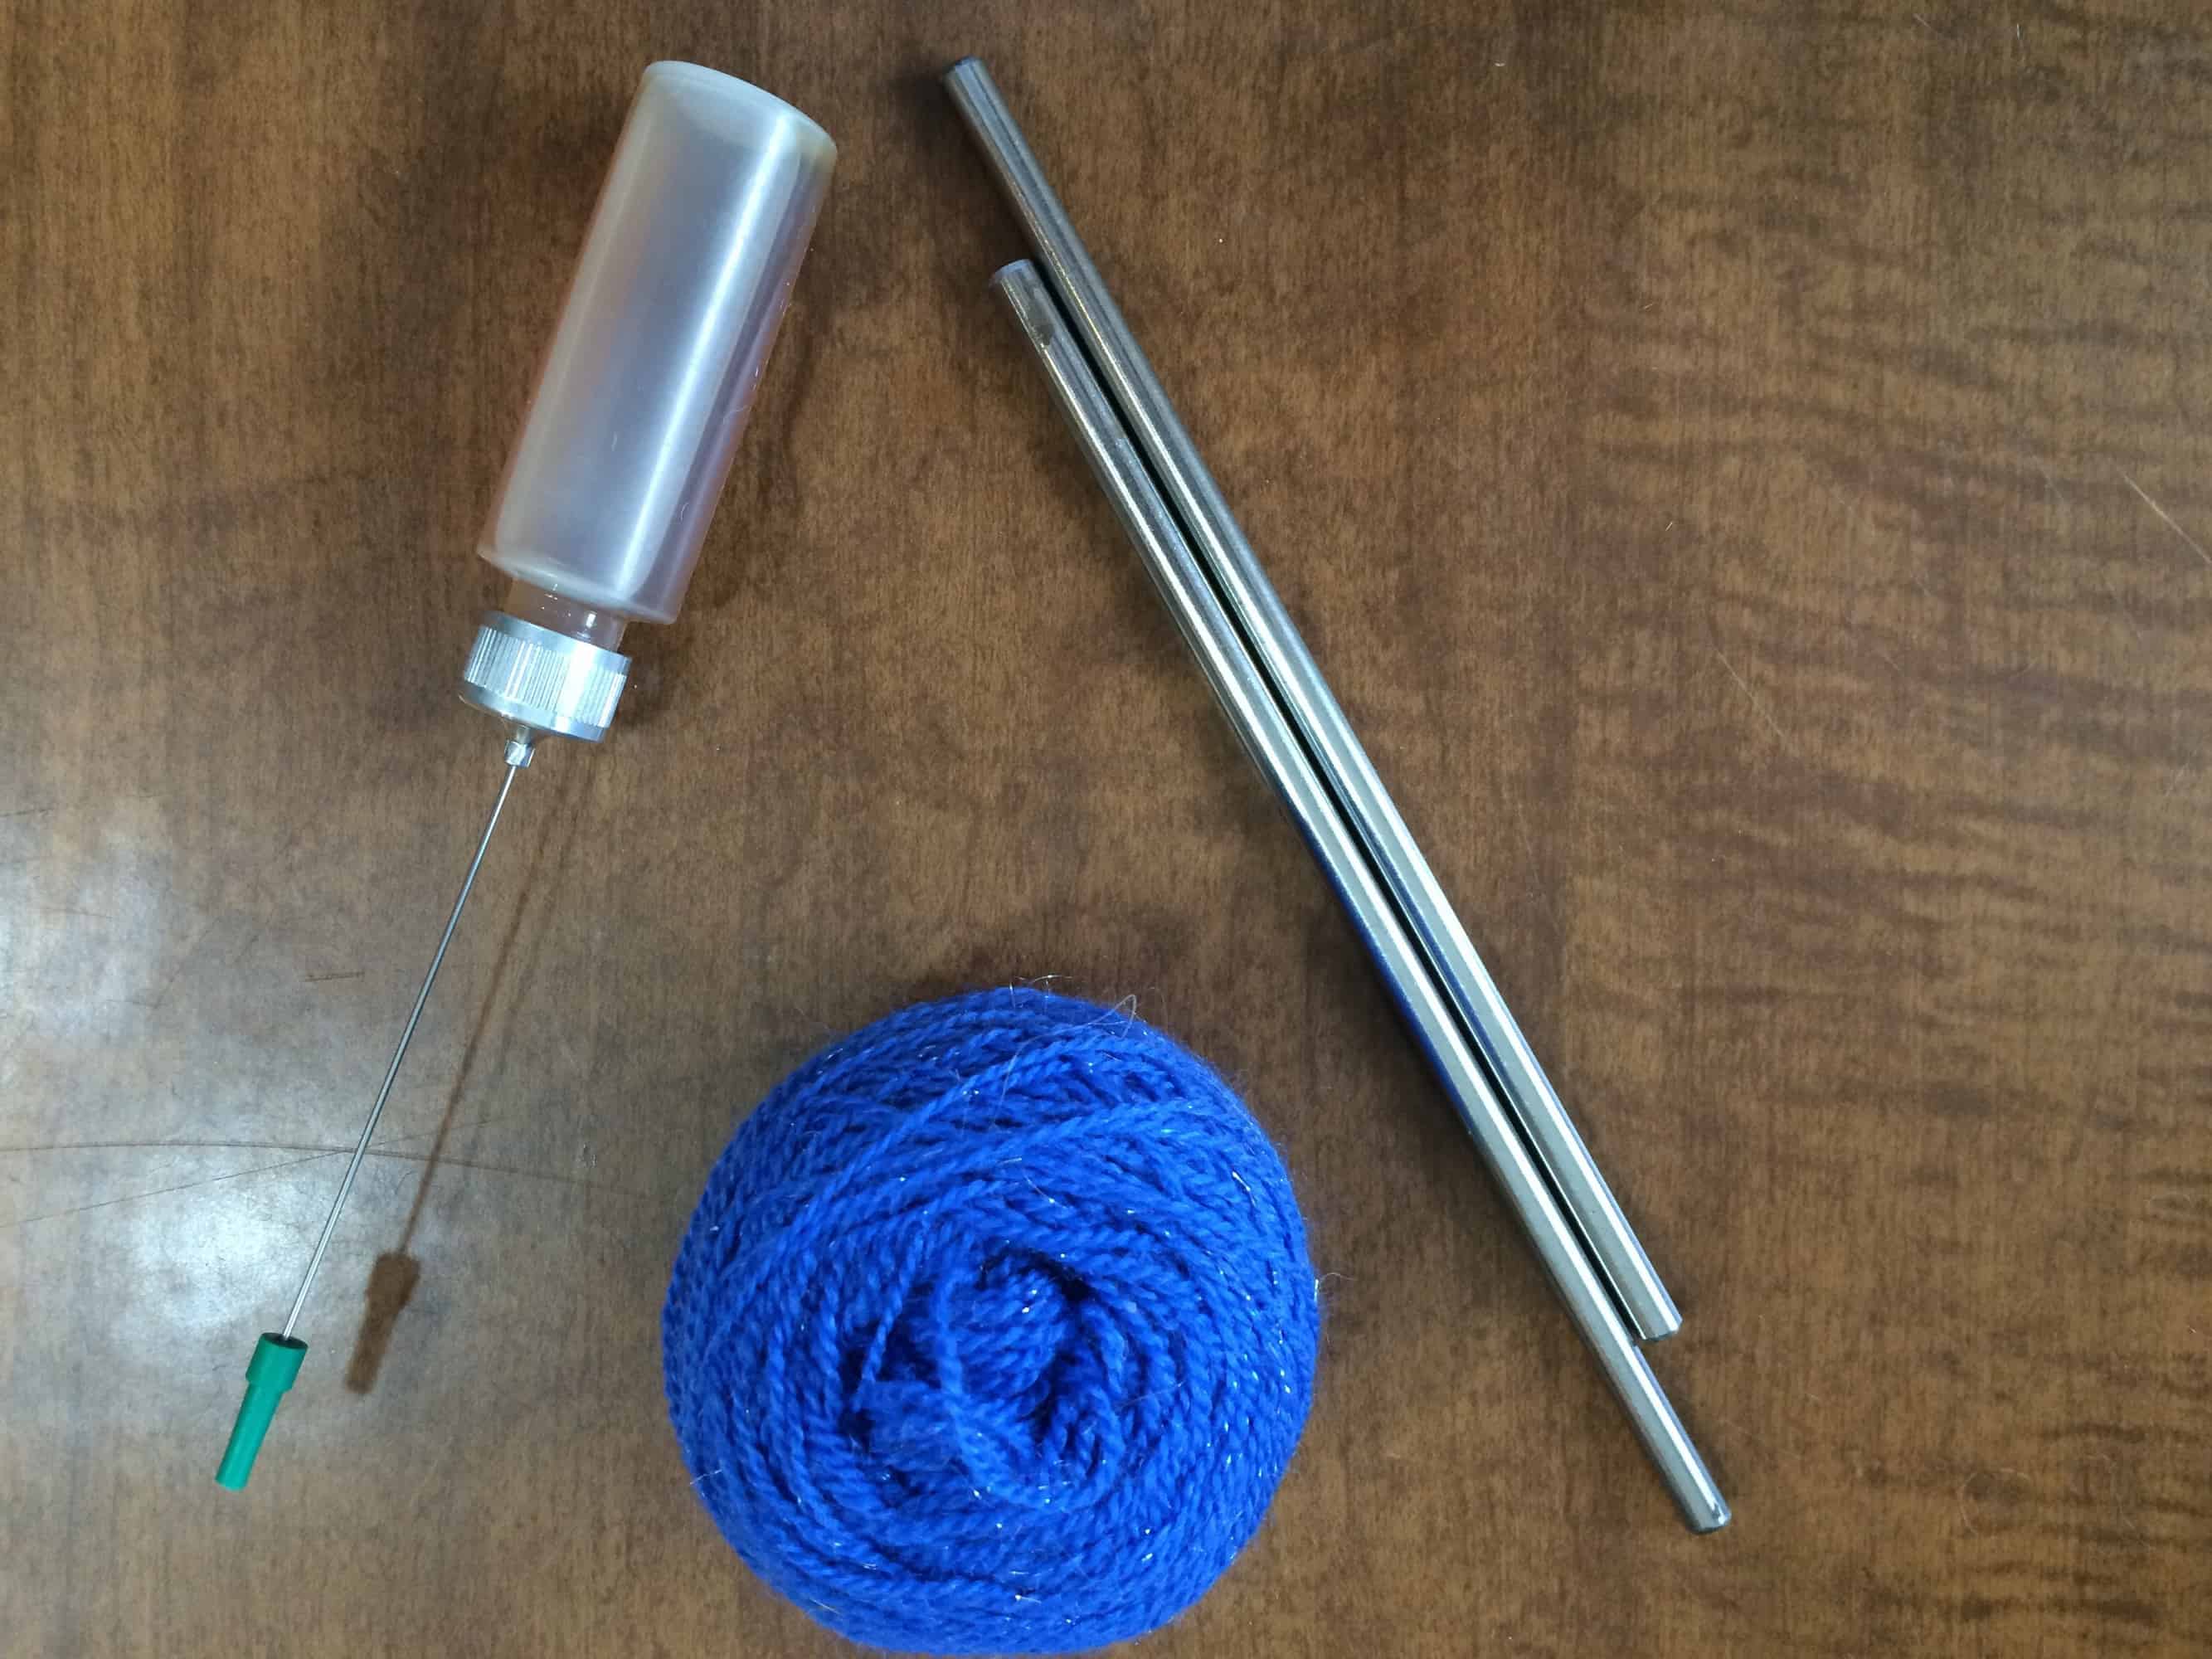
I had the two metal posts for my built-in lazy Kate, the ball of yarn I’m using for leaders, and spinning wheel oil. I take the metal posts of the lazy Kate out of the wheel when I’m transporting it so that they don’t damage my car.
Weaving Supplies
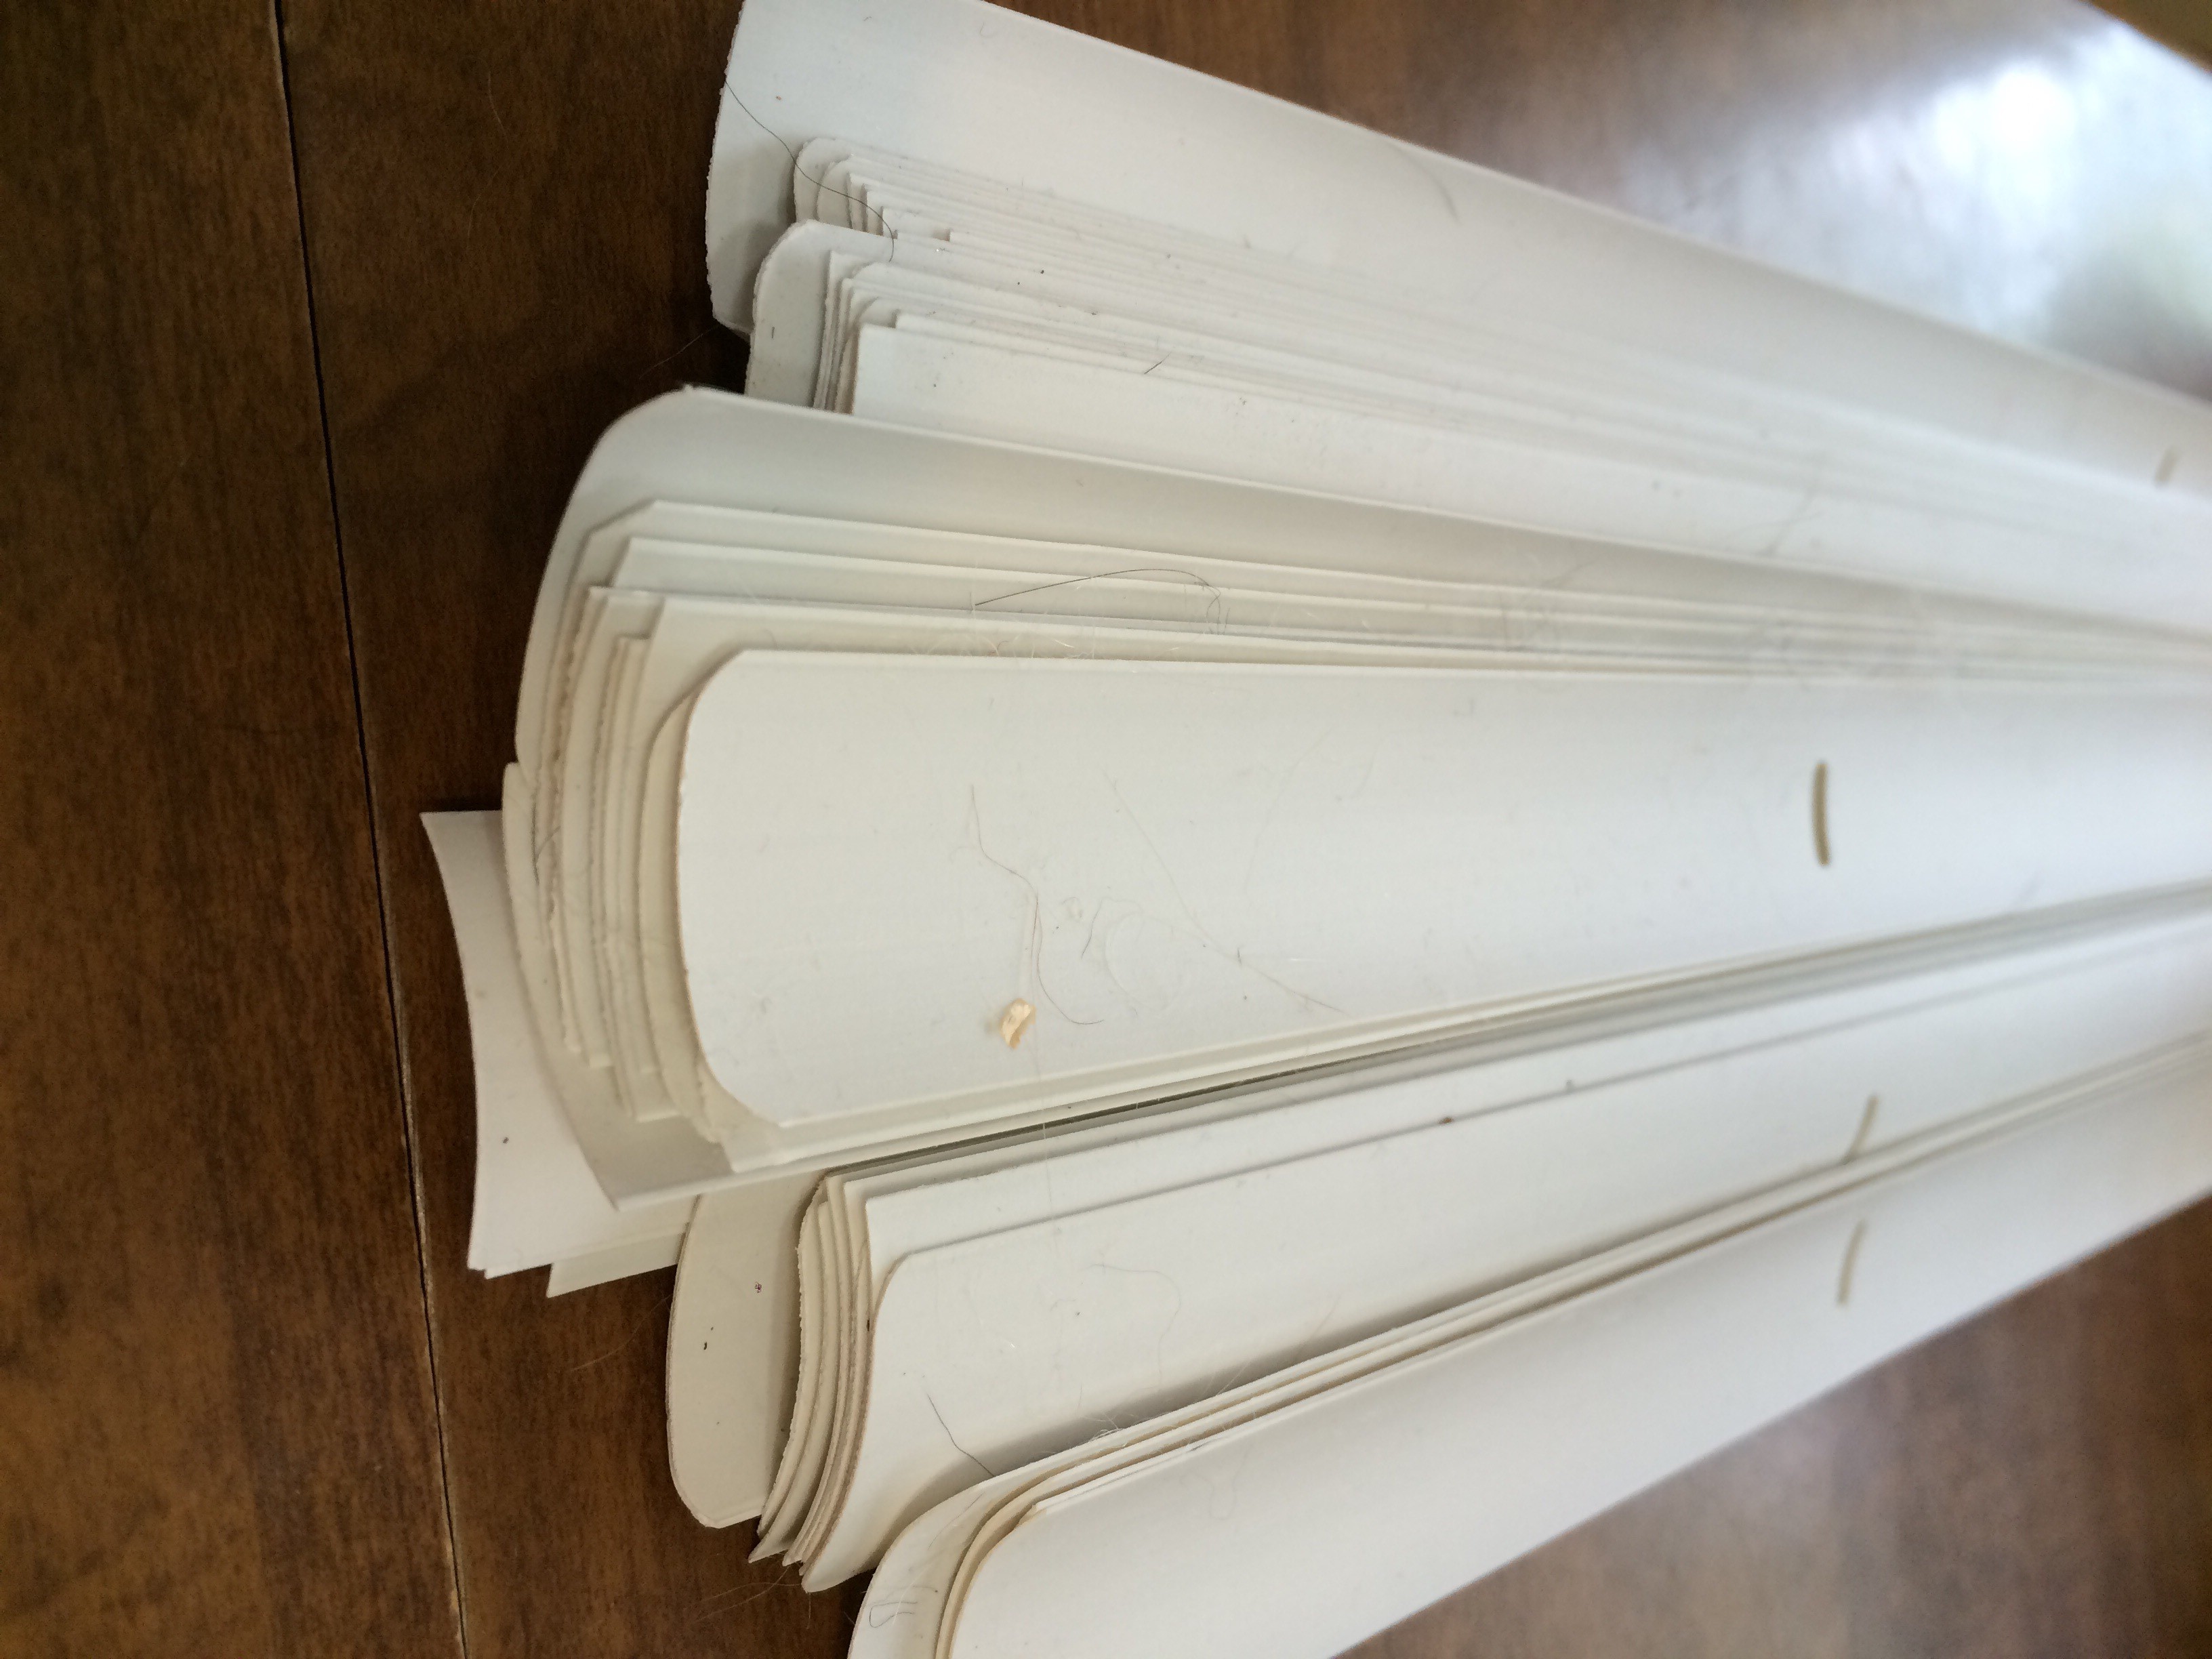
I had a pile of warping sticks. I brought some with me to place around the knots as I wound the beginning part of the weaving on the cloth beam. The rest of these came out of the weaving. They’re dirty because they fell out of the weaving on to the pavement or floor as I wove and because the llama yarn that is my current warp is pretty hairy and shedding a lot. Fortunately, they are easy to clean since they are vinyl.
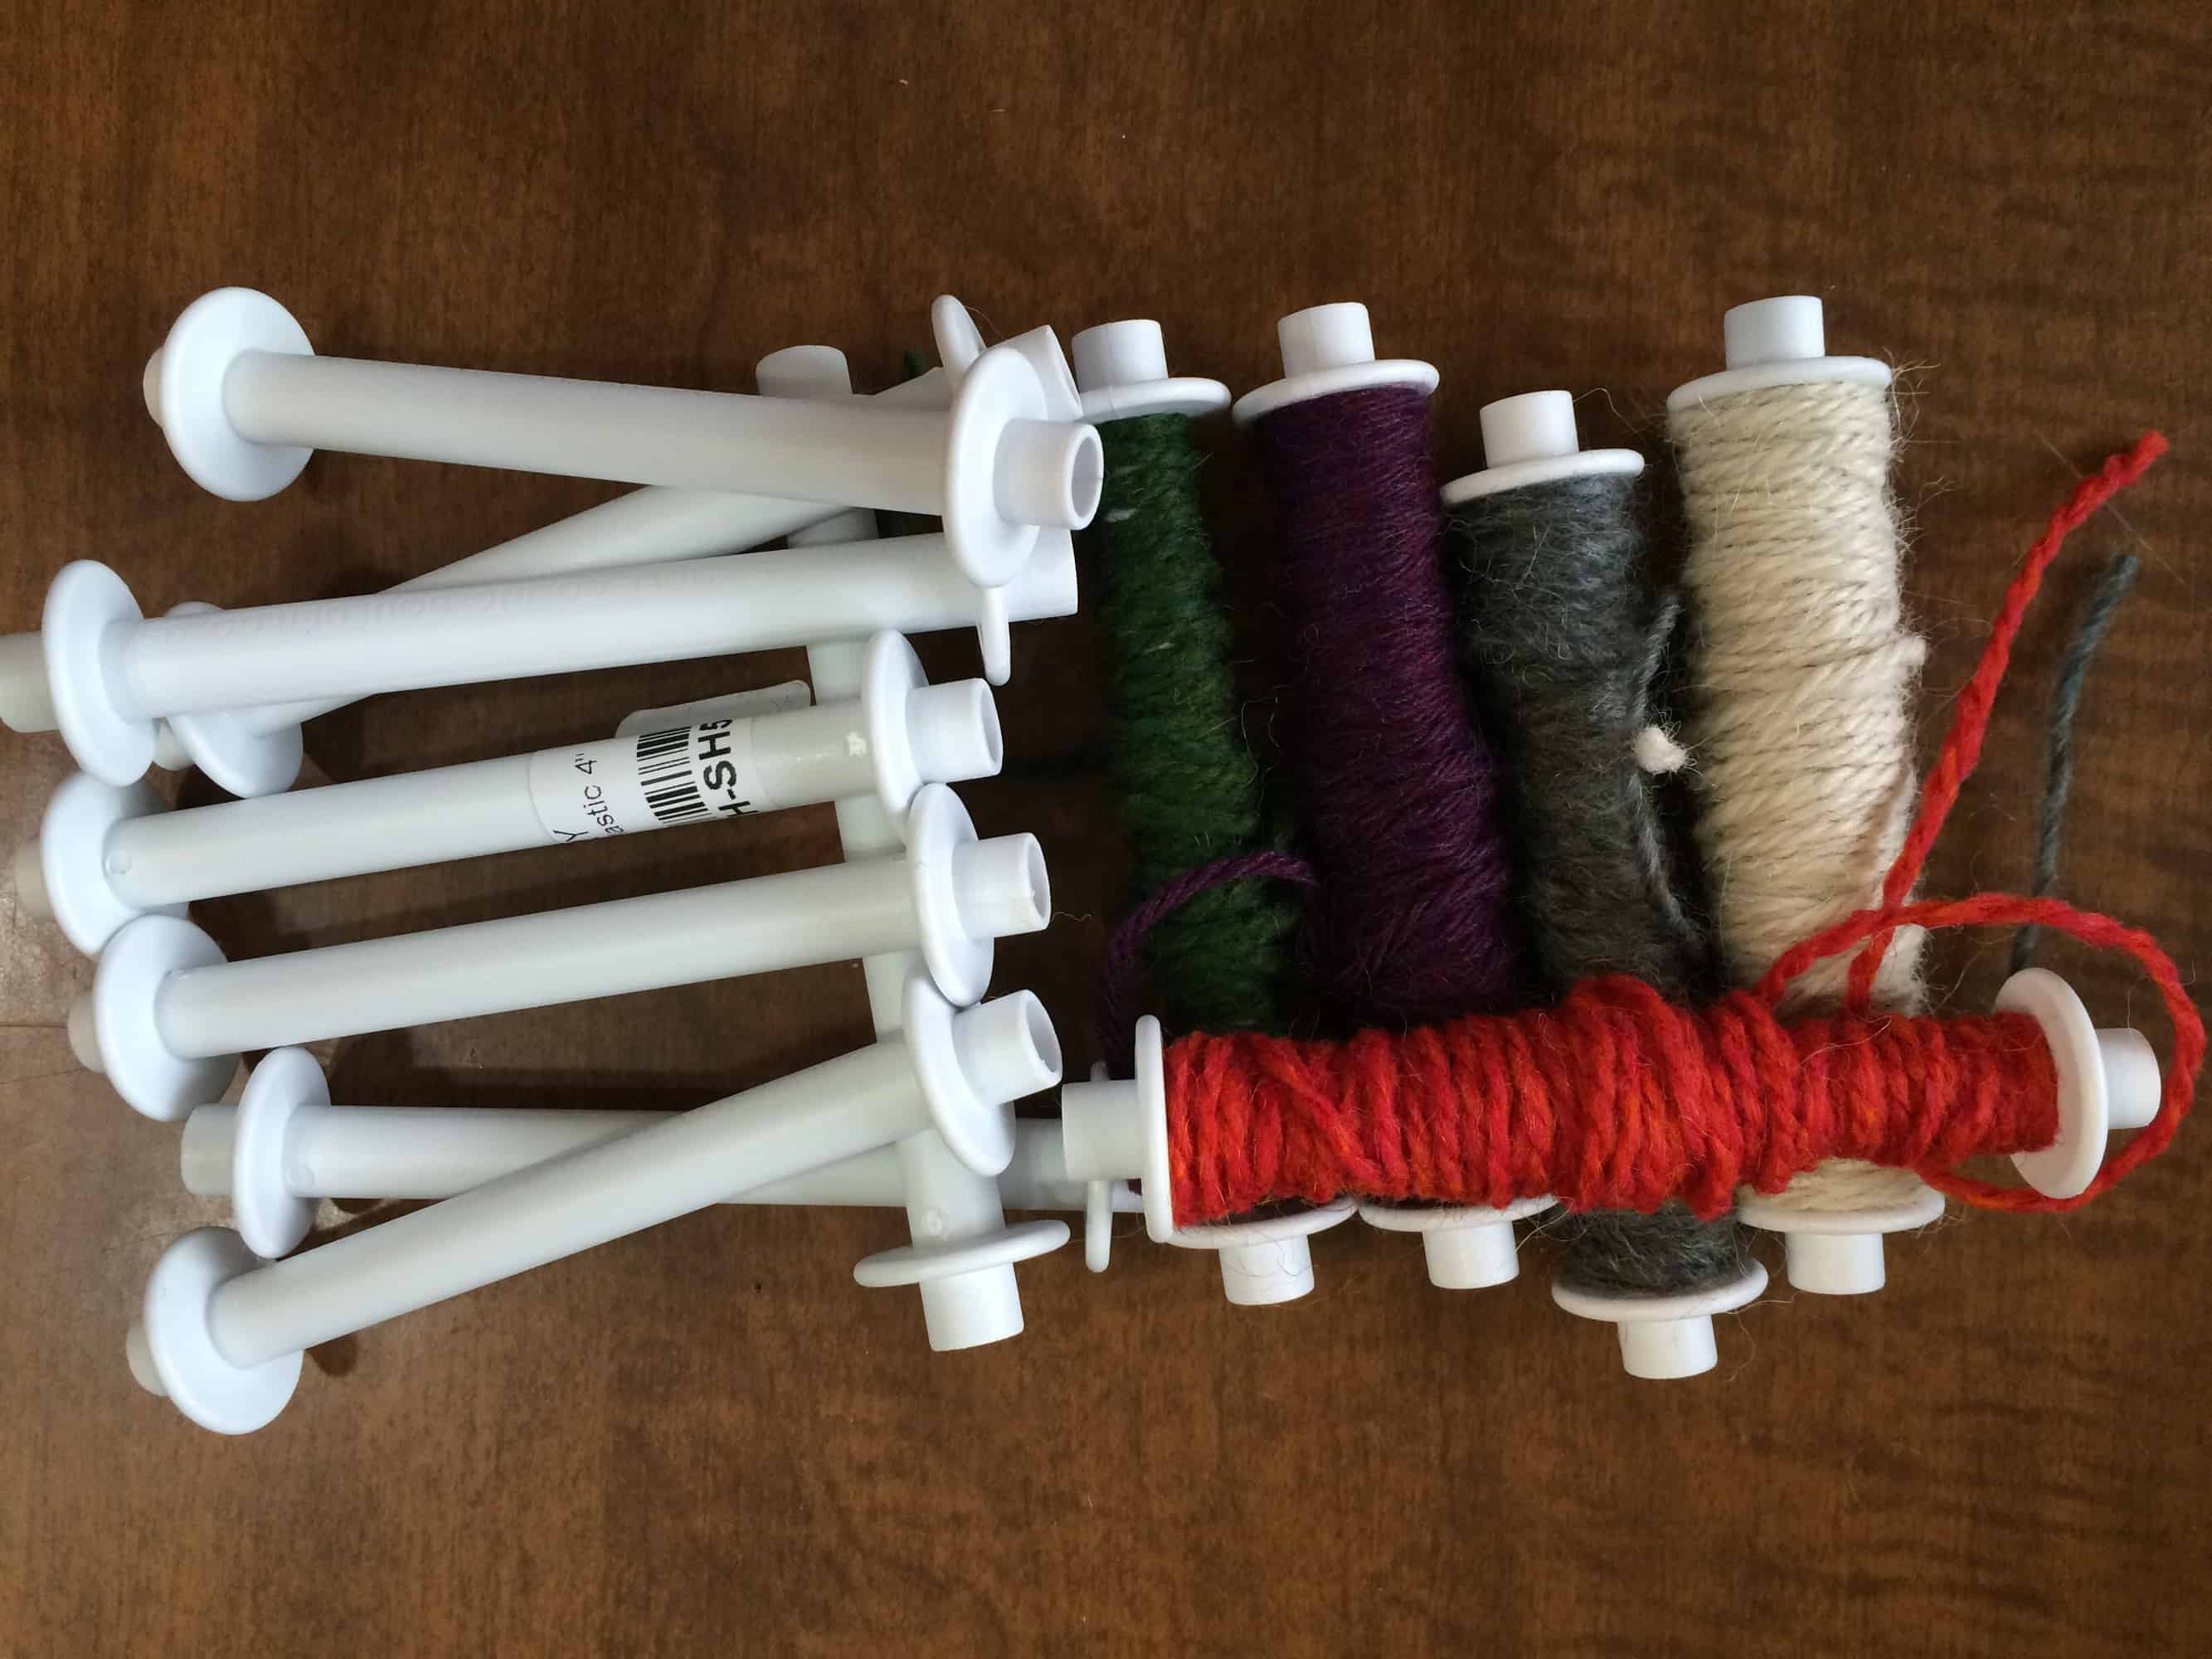
Bobbins with the yarns for the current project and empty ones that I already used.
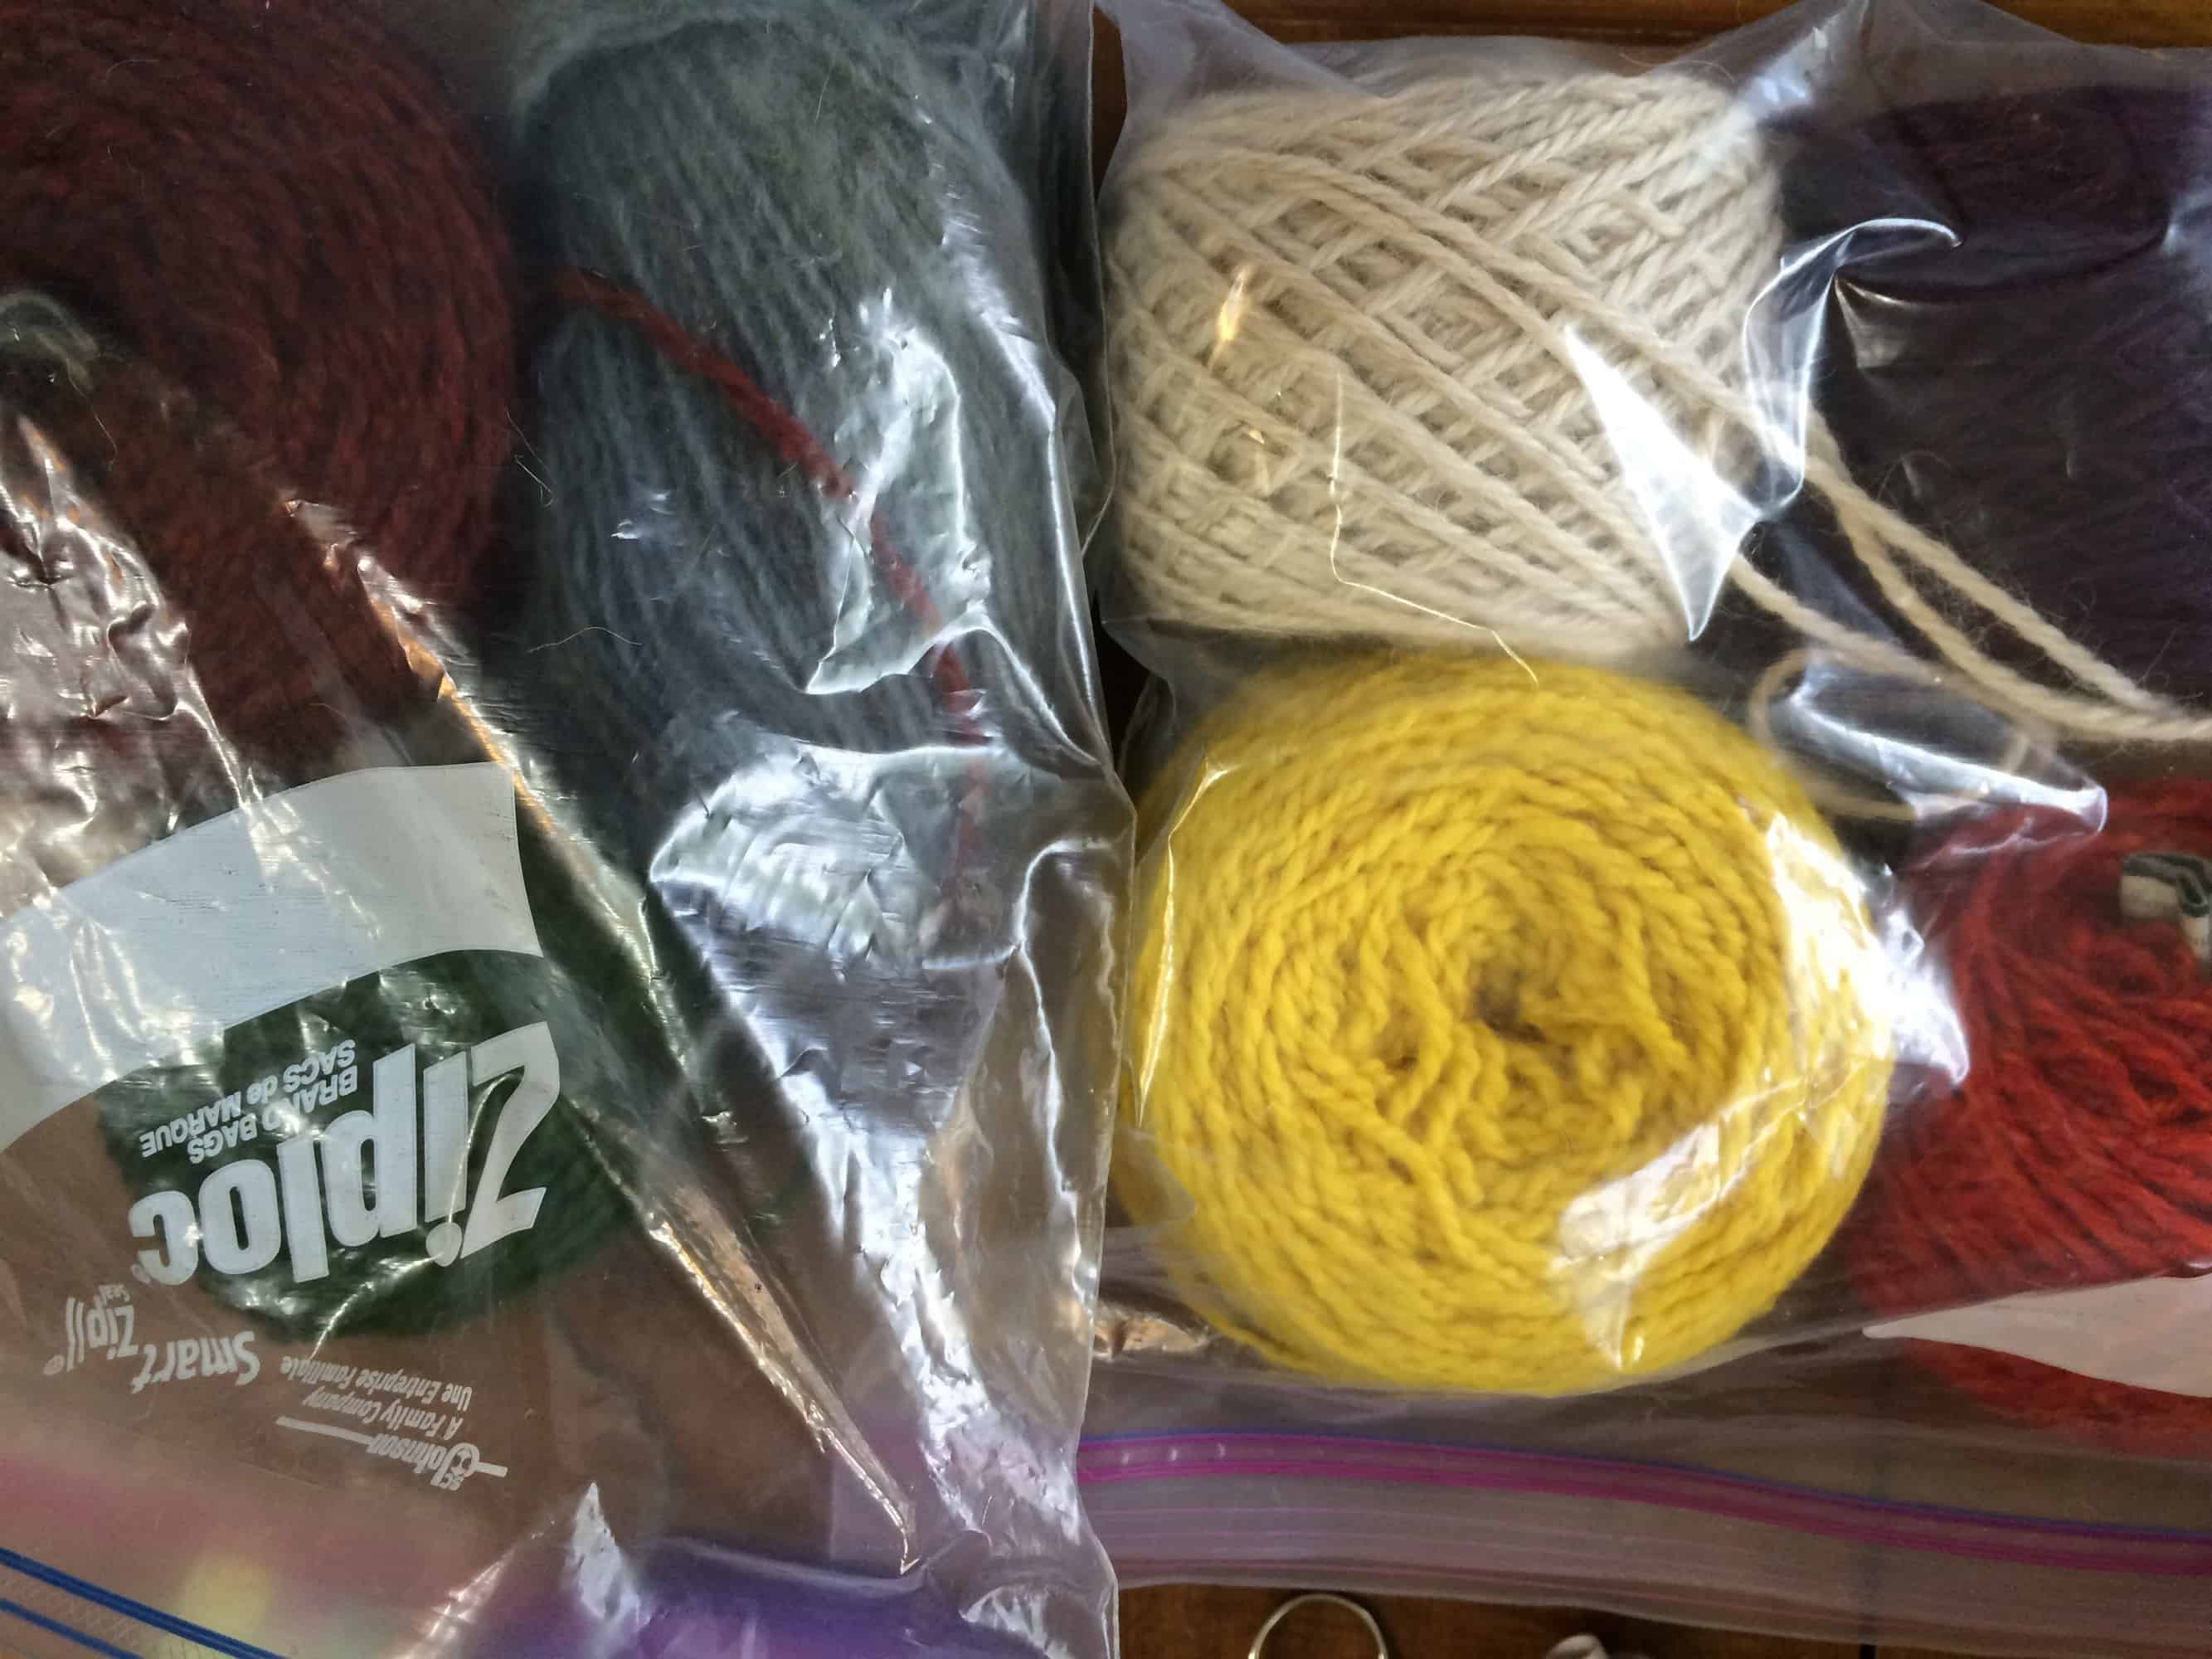
The balls of yarns for the current project, for when I need to wind more yarn on the bobbins.
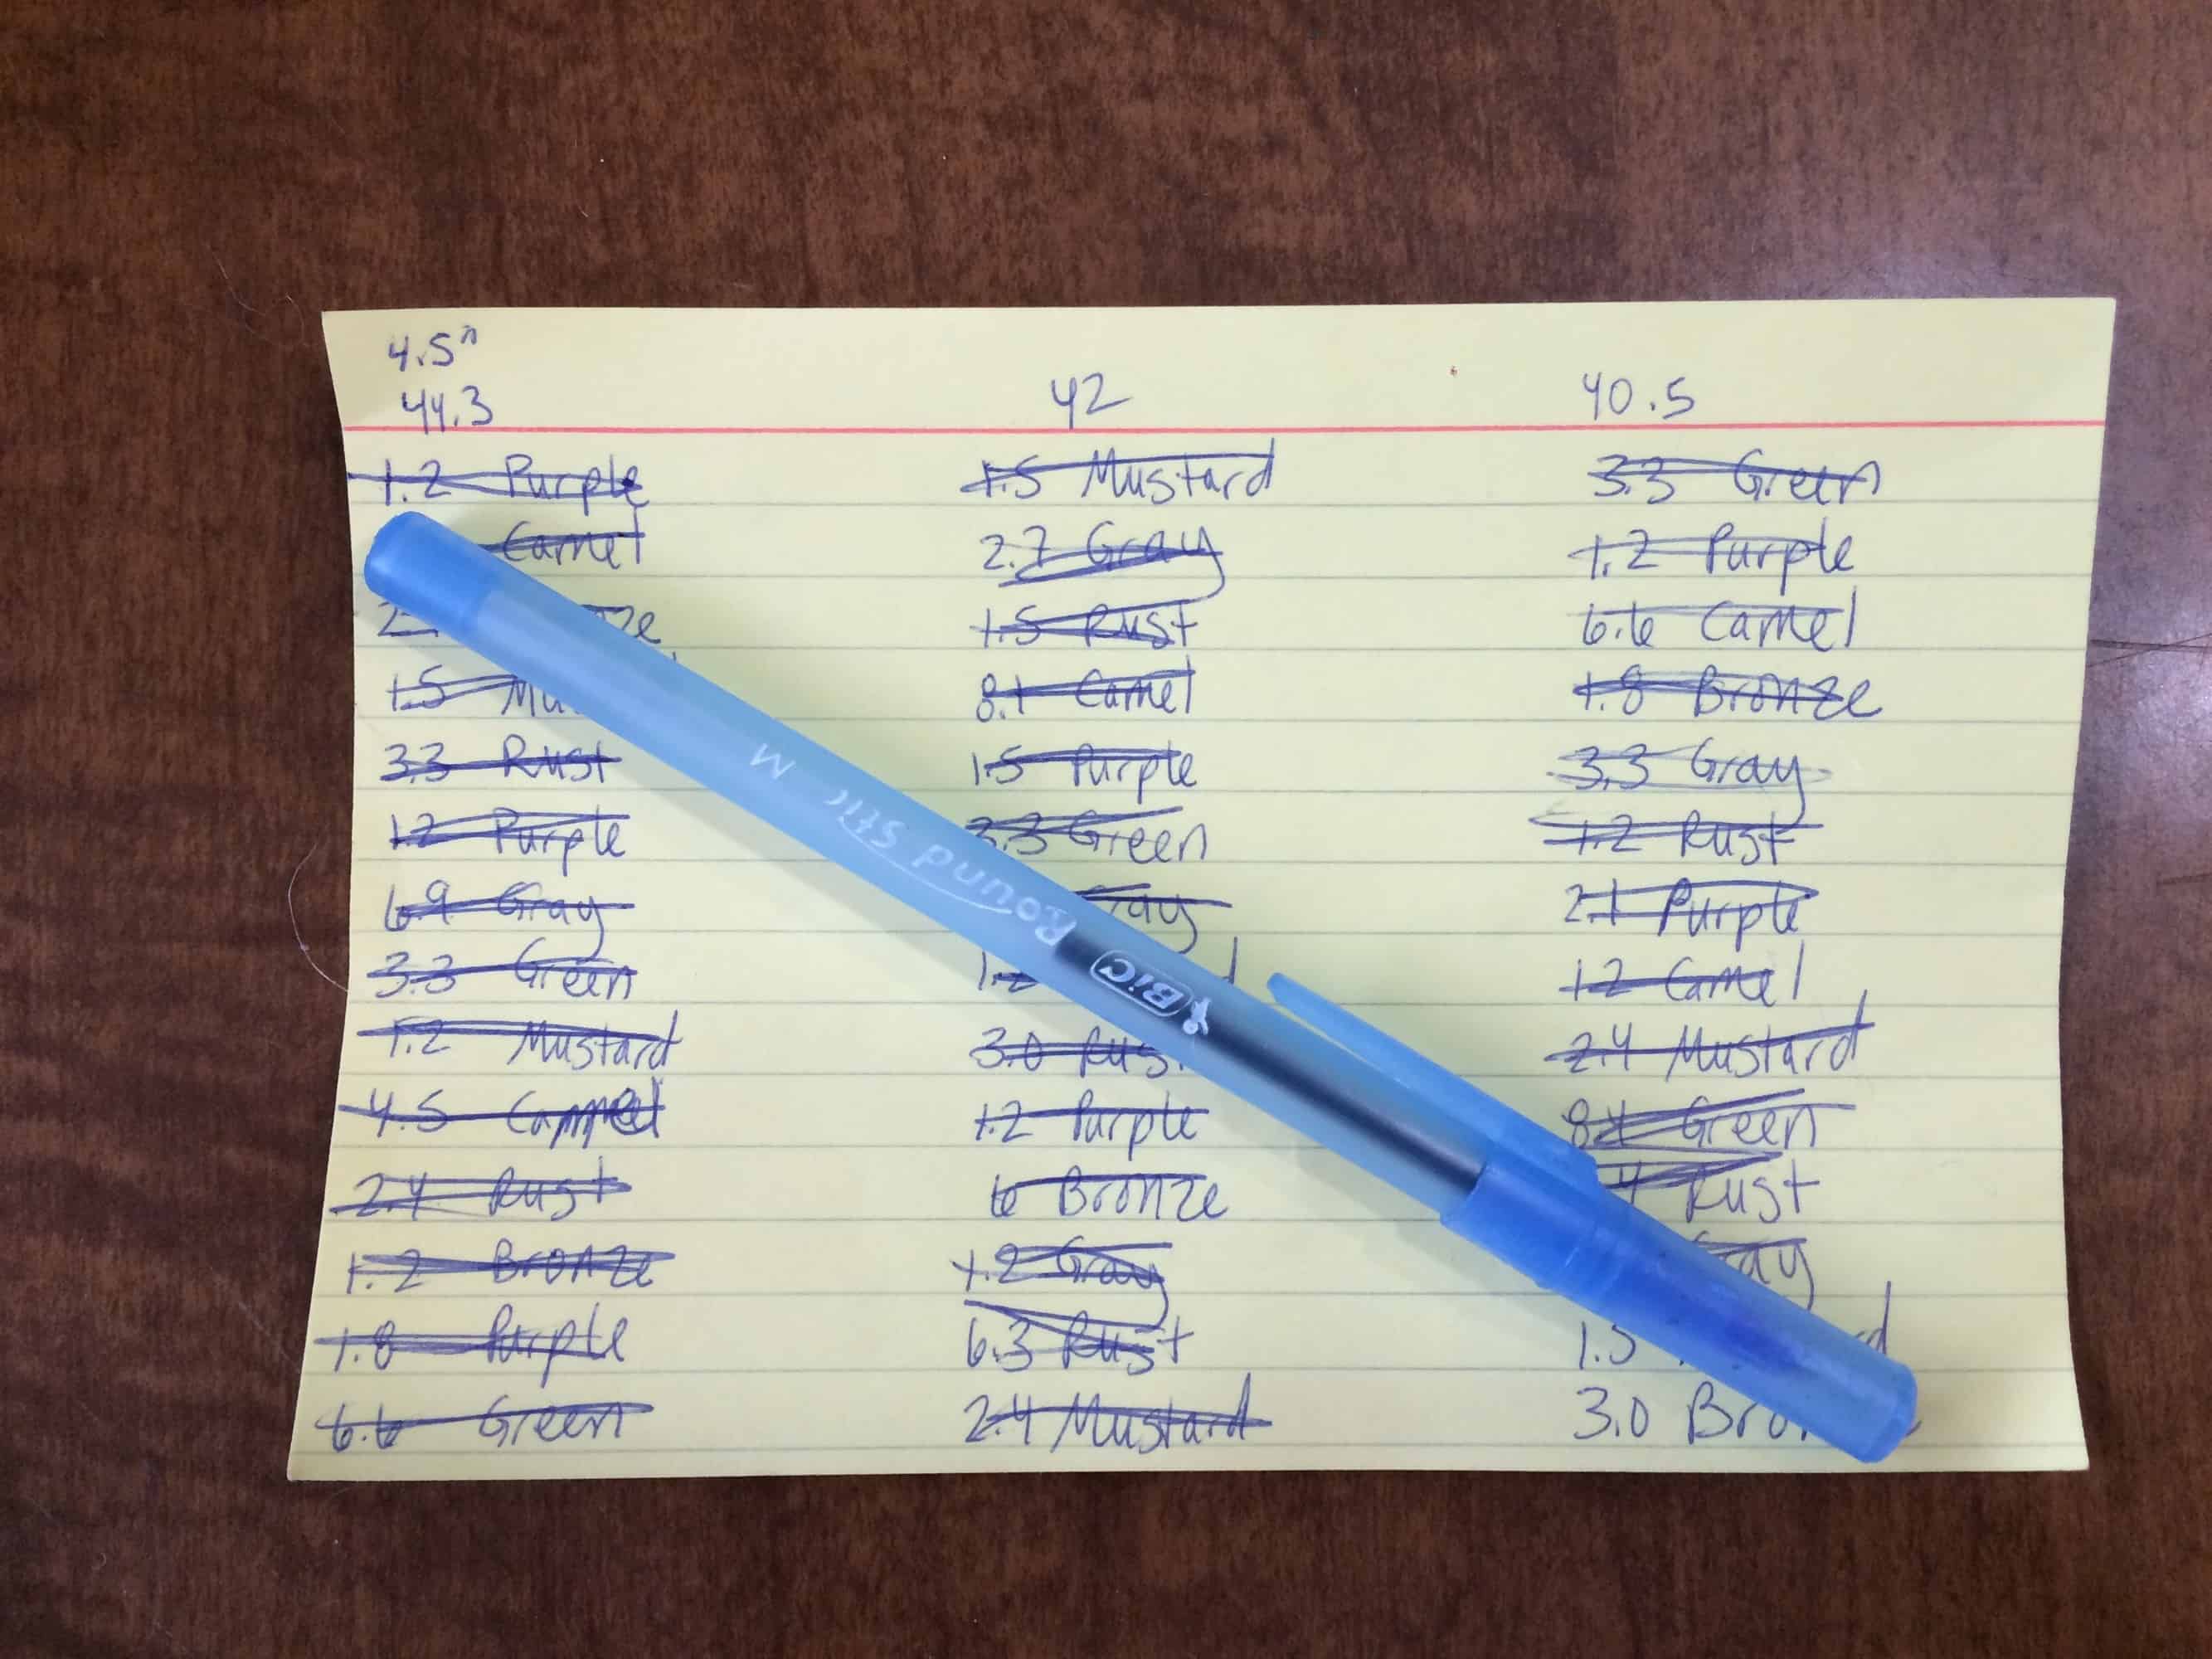
The card telling me how many inches of each color to weave, and a pen to cross off when I’ve finished that section. (If you want to weave a Dr. Who scarf, don’t bother trying to copy this down from here. Next week, I’ll have a blog post with a link to the Google spreadsheet that has all the information you need).
Miscellaneous Bag Contents
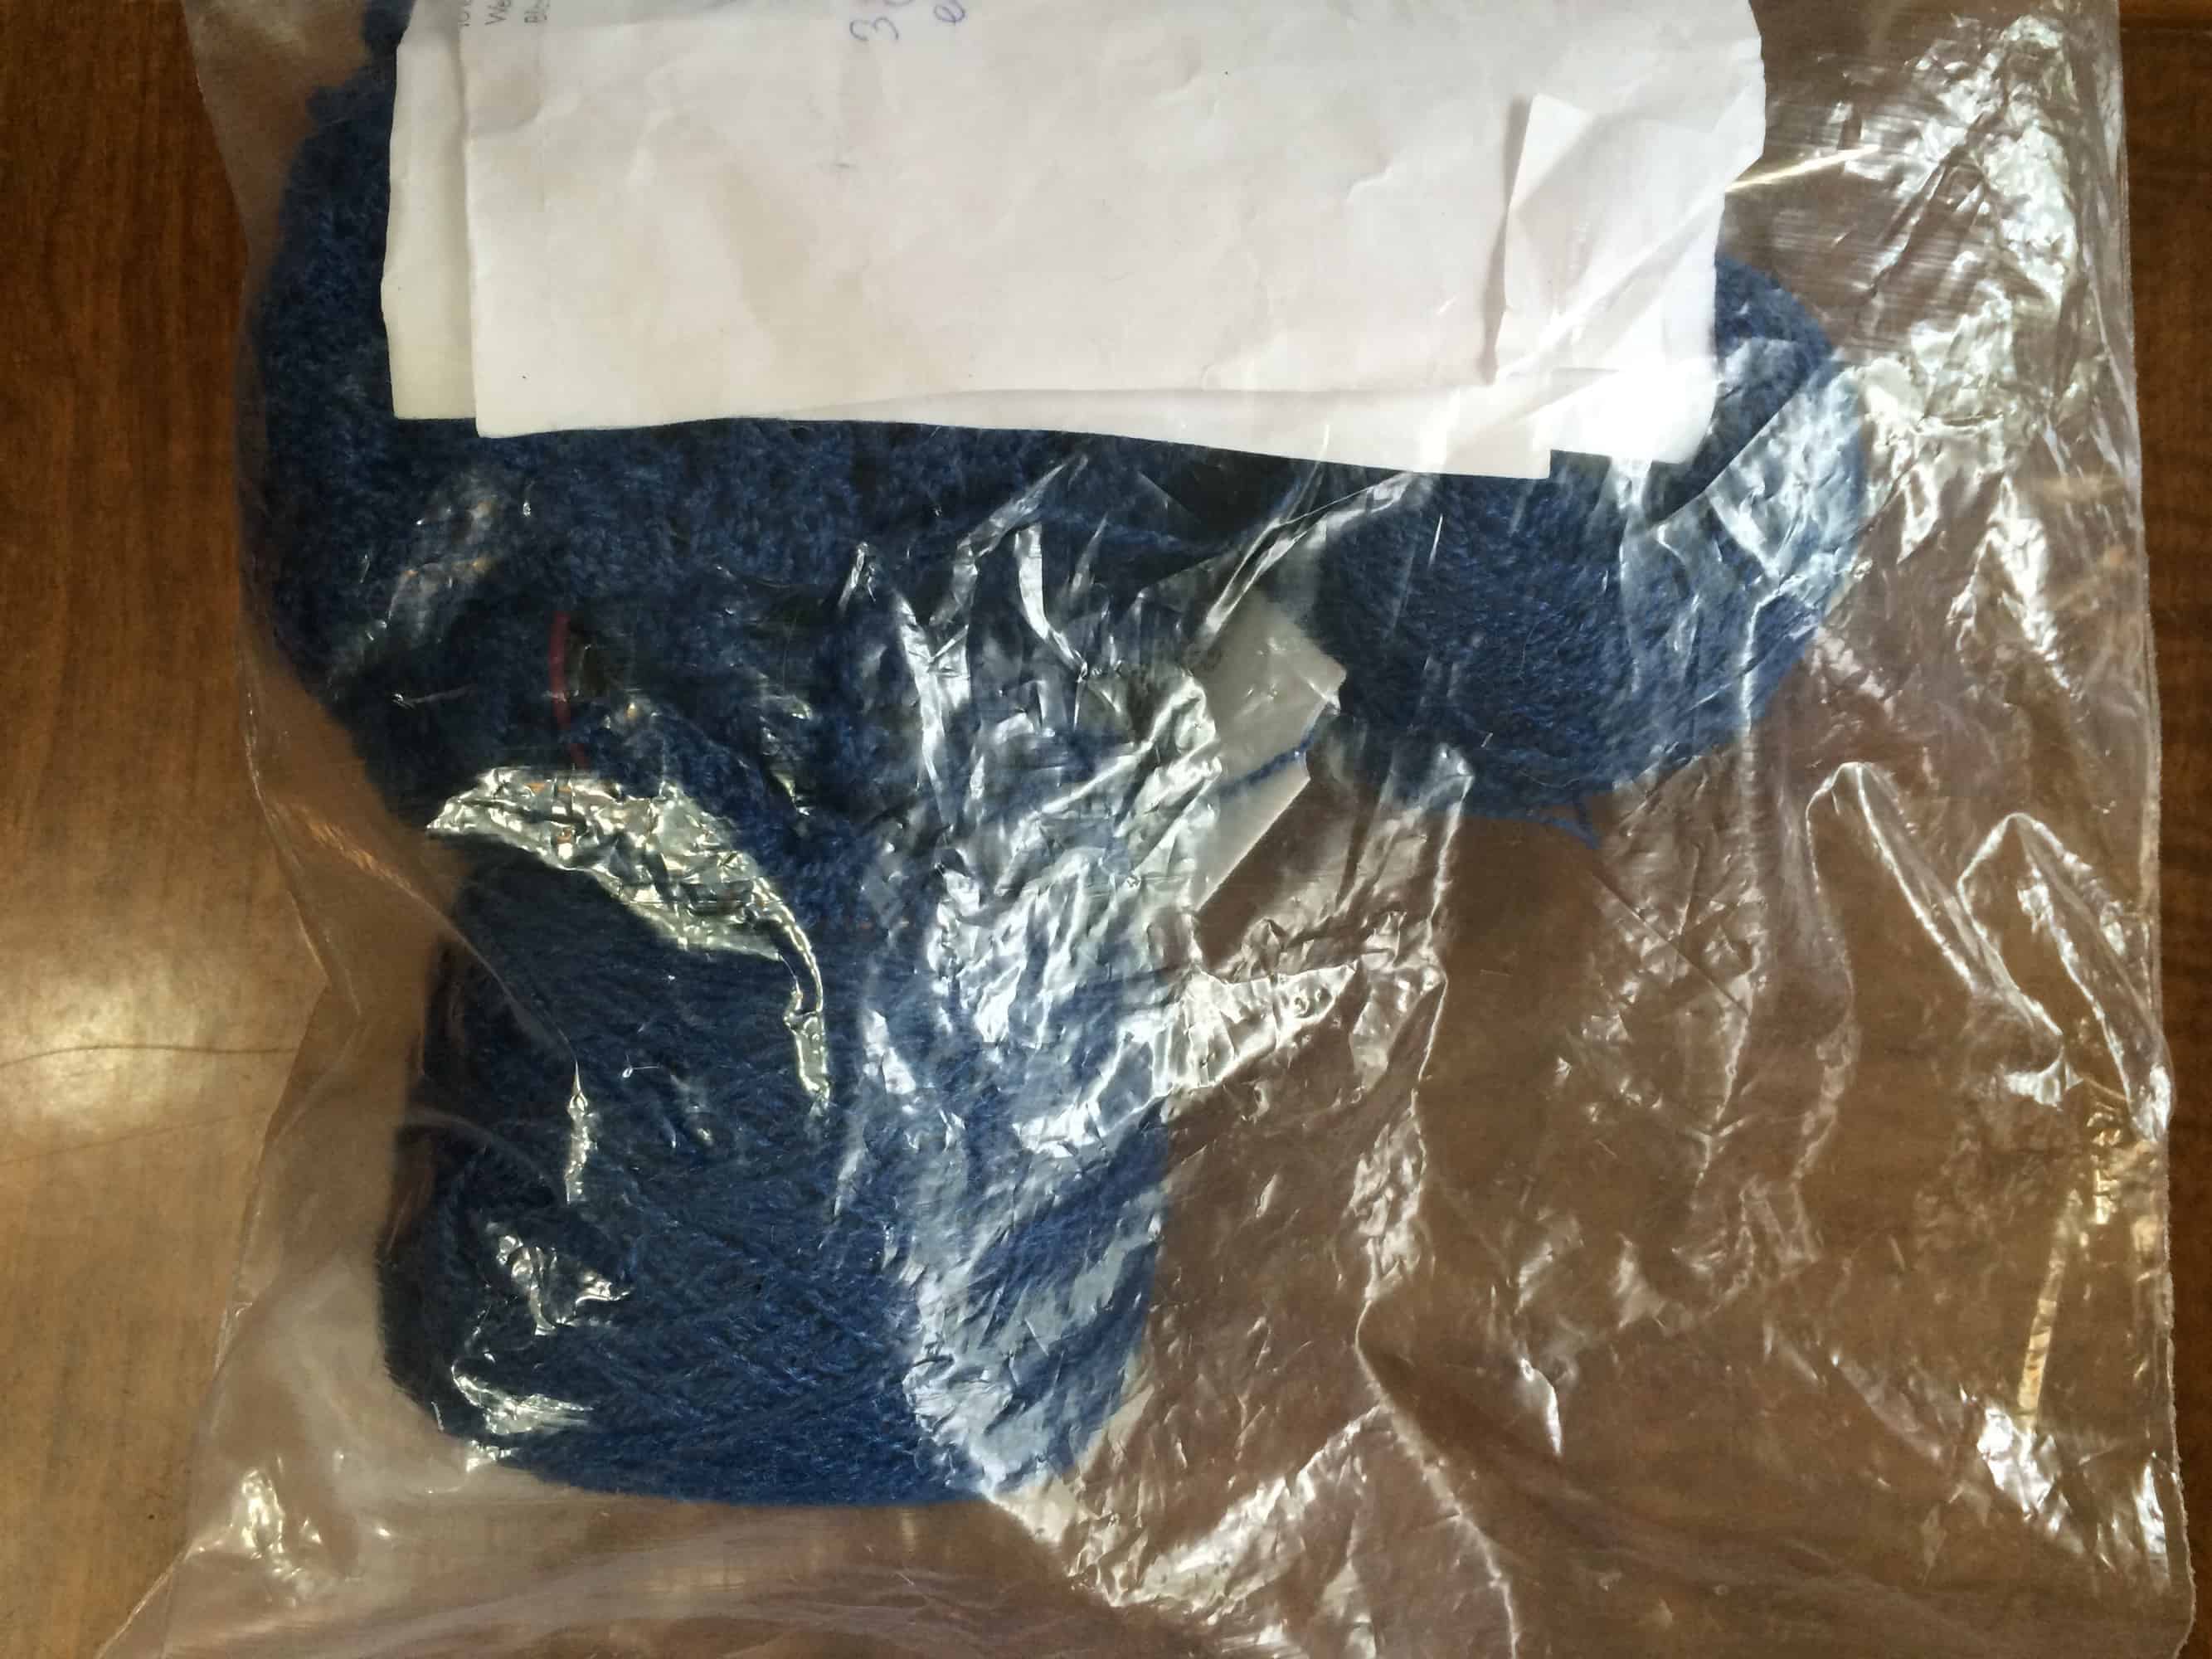
The Super Secret Shawl in its project bag, in case I wanted to knit rather than spin or weave. I ended up not knitting at all during the weekend.
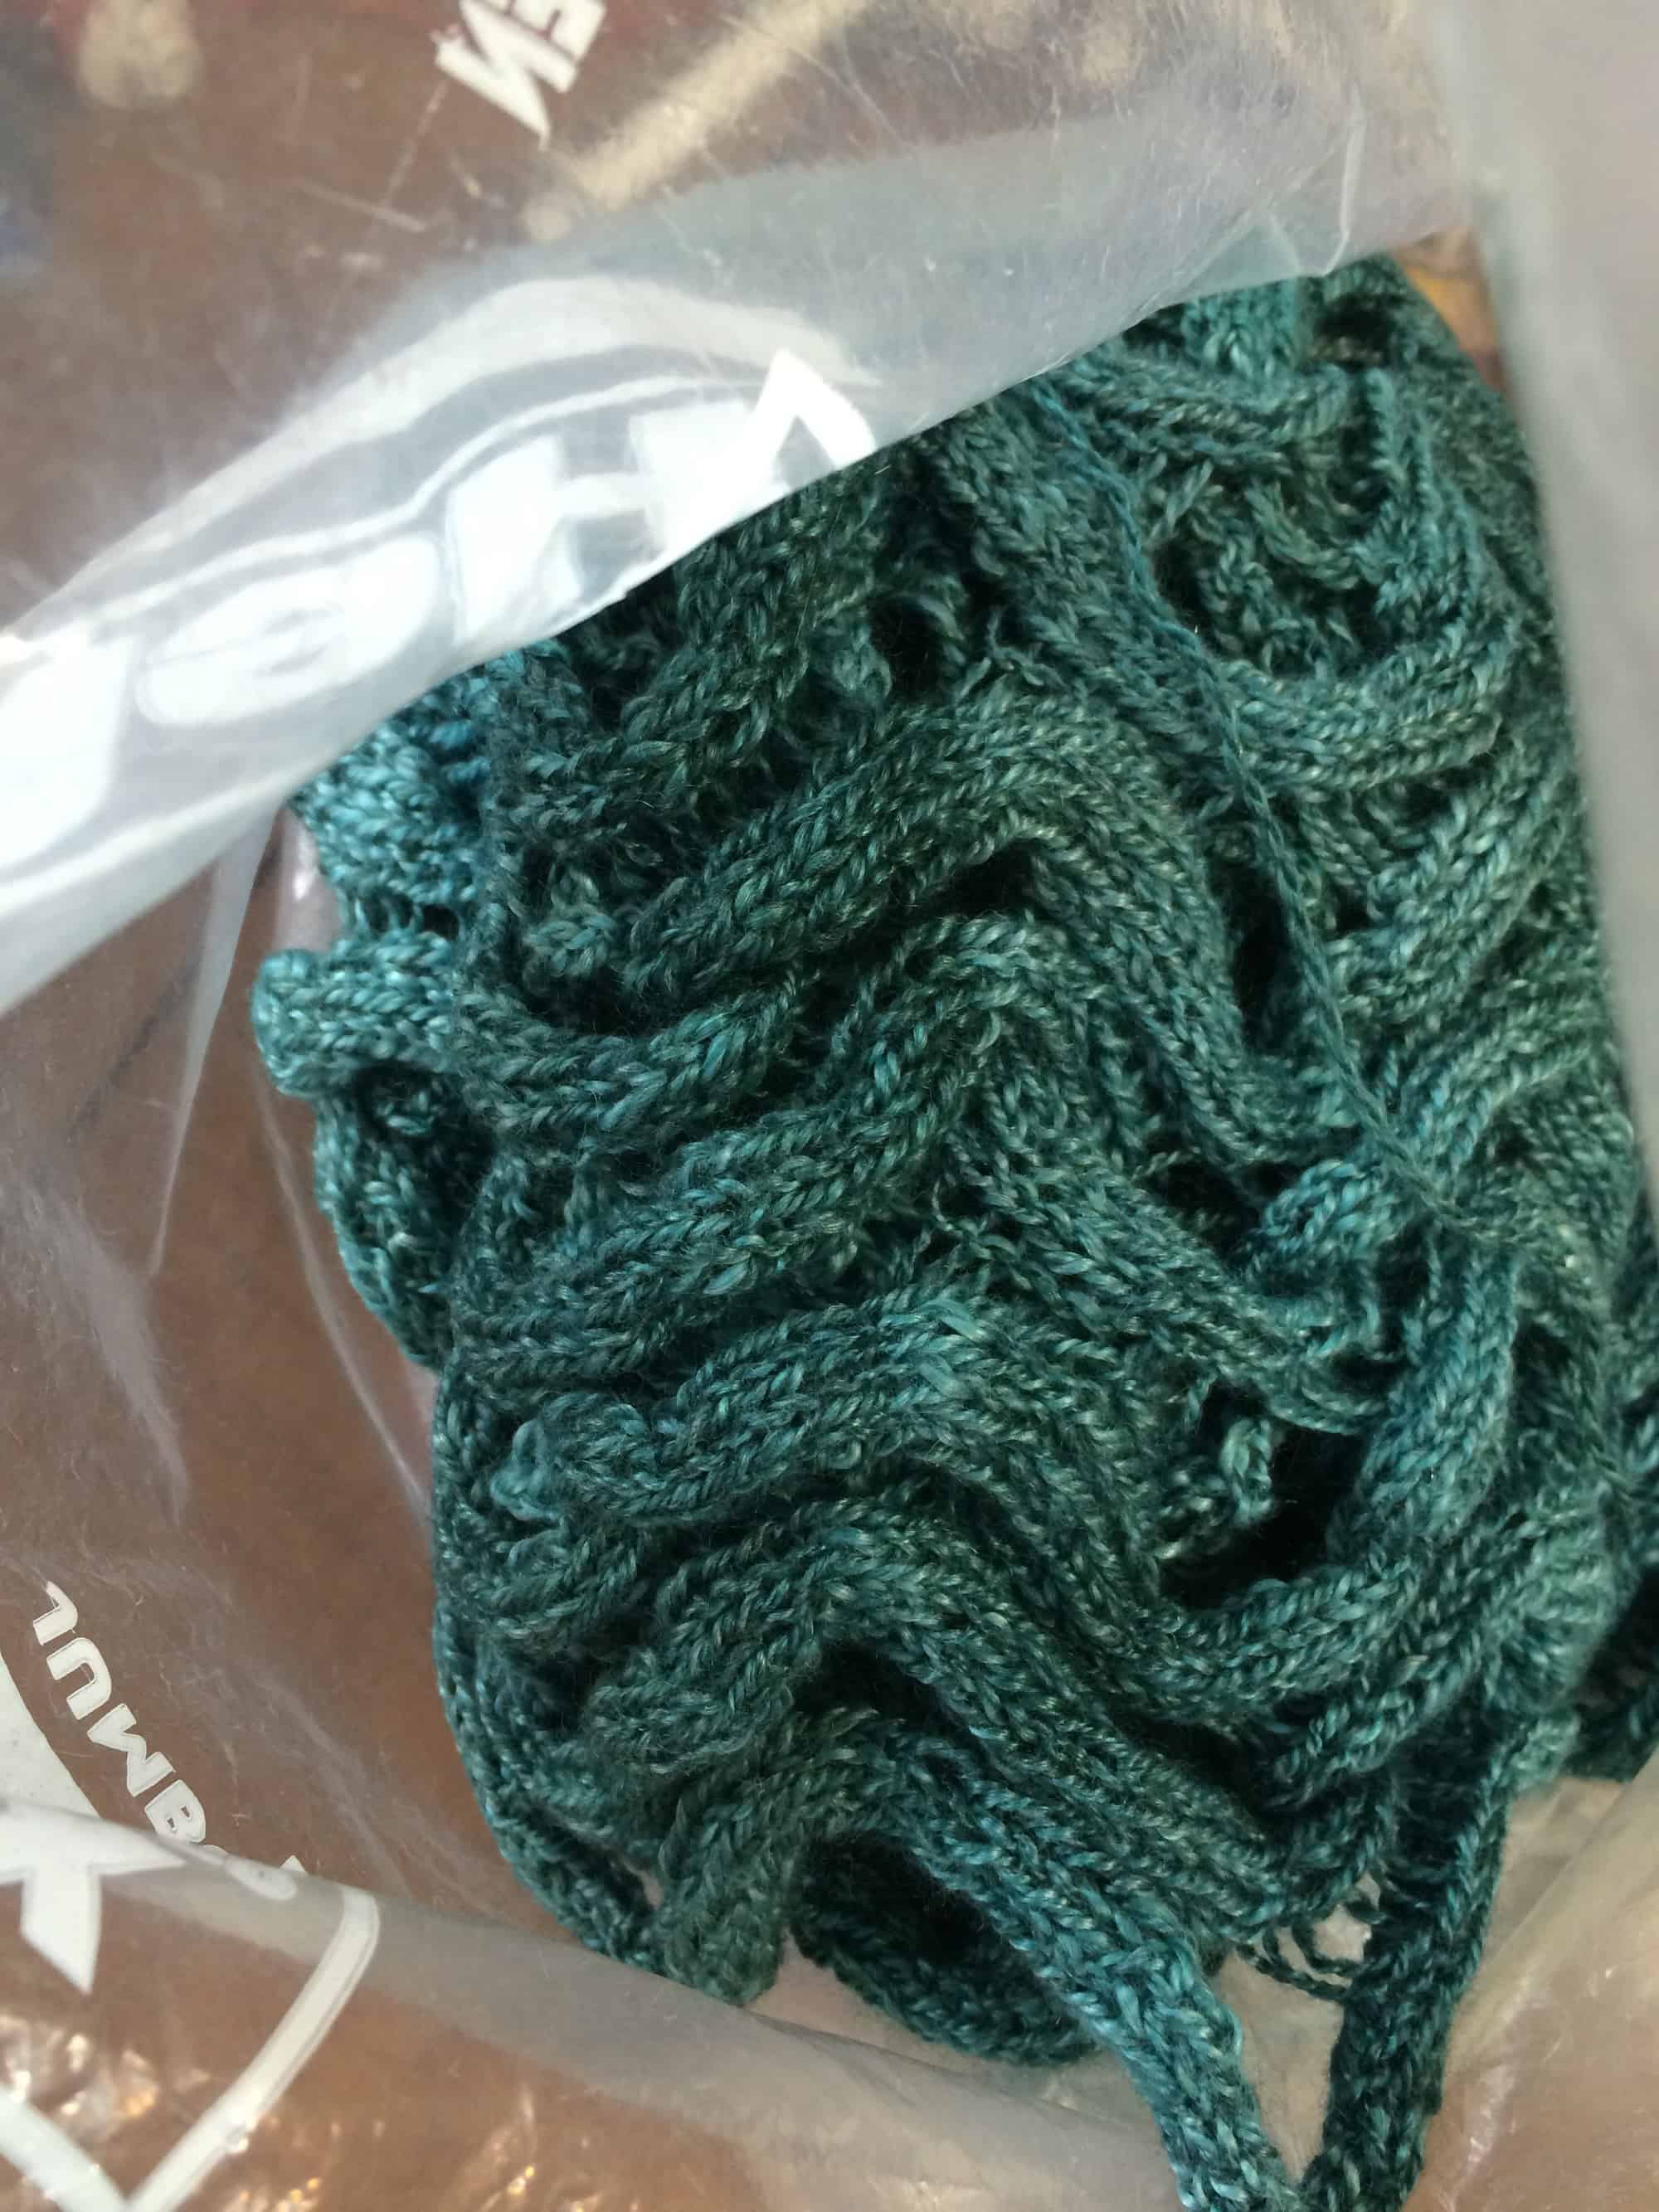
A finished Summit shawl, knit by a friend. She asked me to block it for her and gave it to me while we were at the Festival.
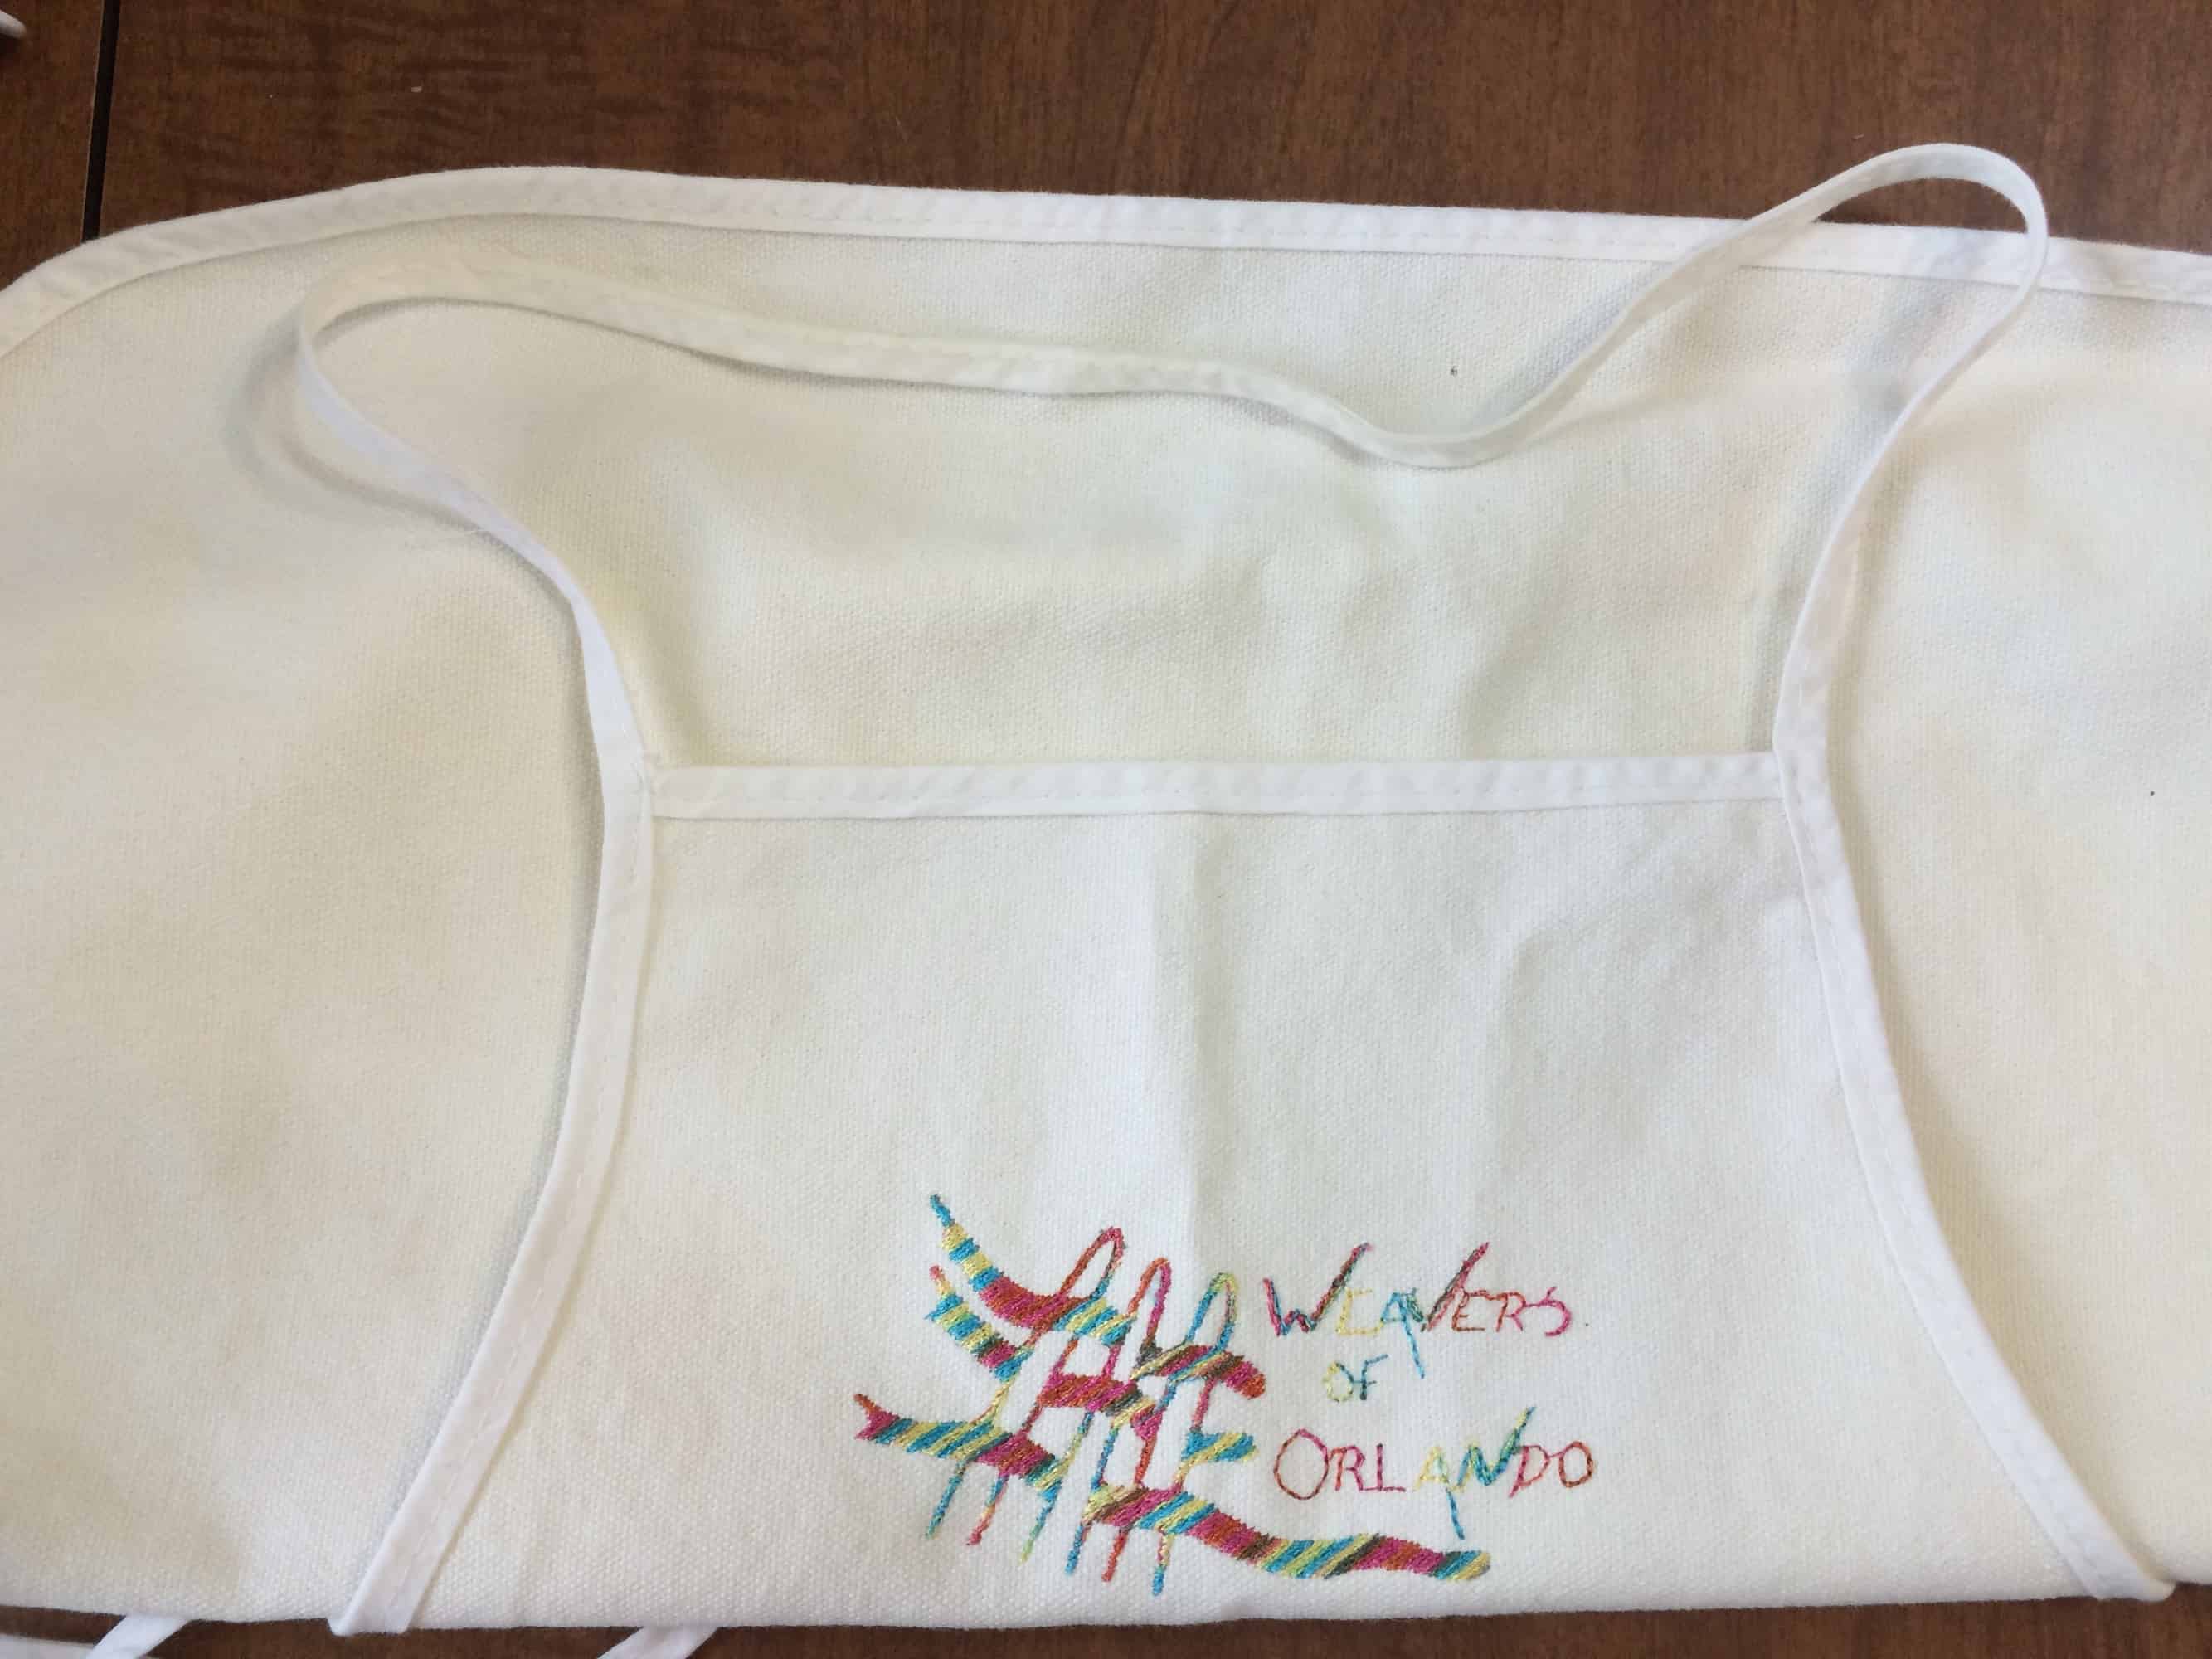
The apron I was wearing while doing demos on Sunday.
Not in the Bag
I have a few tools that I really like, but didn’t need to carry over this weekend.
My fiber scale. I have a kitchen scale that I use only for cooking, and this scale which I use only for fiber-related purposes. I weigh dye on it. I weigh leftover skeins of yarn to calculate the yardage in a finished object. I weigh loom waste to calculate how much yardage I lost in the waste. I weigh bags of fiber to see how much I have left to spin. I love this scale. It weighs in either grams (down to 0.1 gram) or ounces. It has a tare function so I can put a bowl on top, reset the weight to zero and put larger items in the bowl for easier weighing. It weighs up to 2000 g (about 5 pounds), which is sufficient for my fibery purposes.
My mini scissors. When I travel, I take the foldable scissors out of the Knit Kit and put them in my checked luggage. Technically, I should be able to take them in carry on because they are less than 4″ long, but I hate to take the chance. If I don’t have checked luggage, I leave the foldable scissors at home and toss these mini ones into my carry on. Unfortunately, they are a little too fat to fit in the Knit Kit scissors section, but I love them anyway.
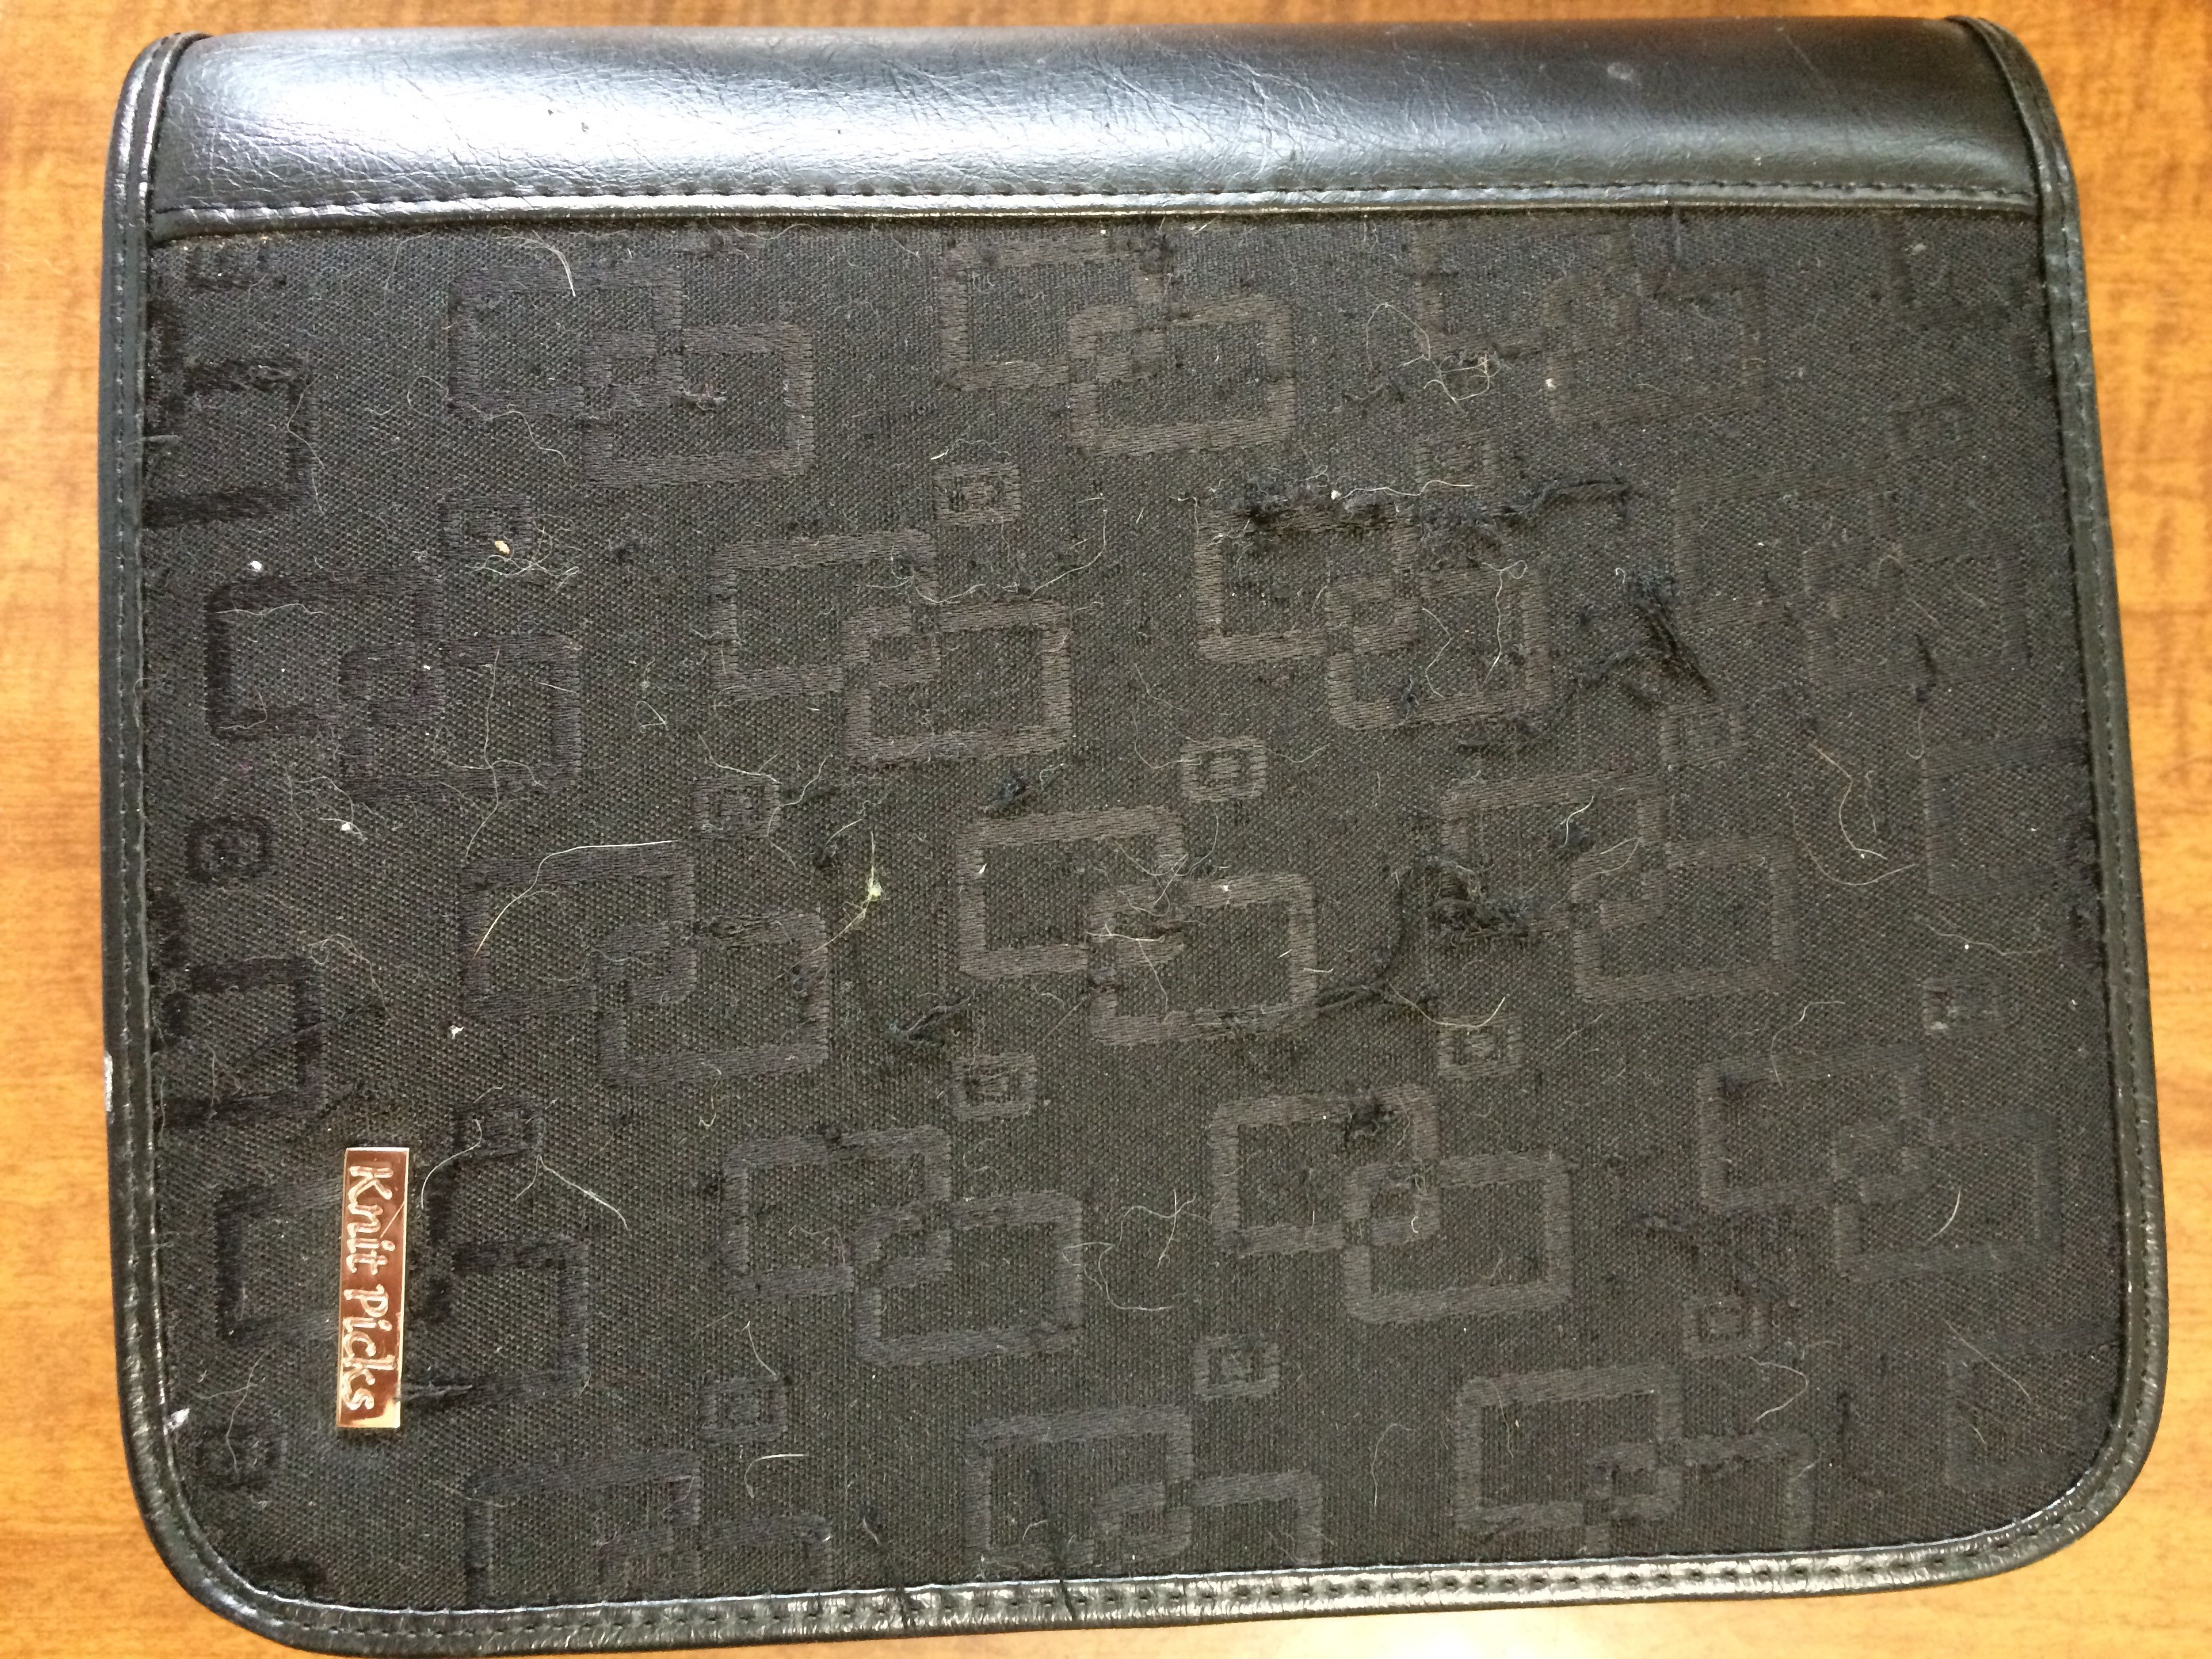
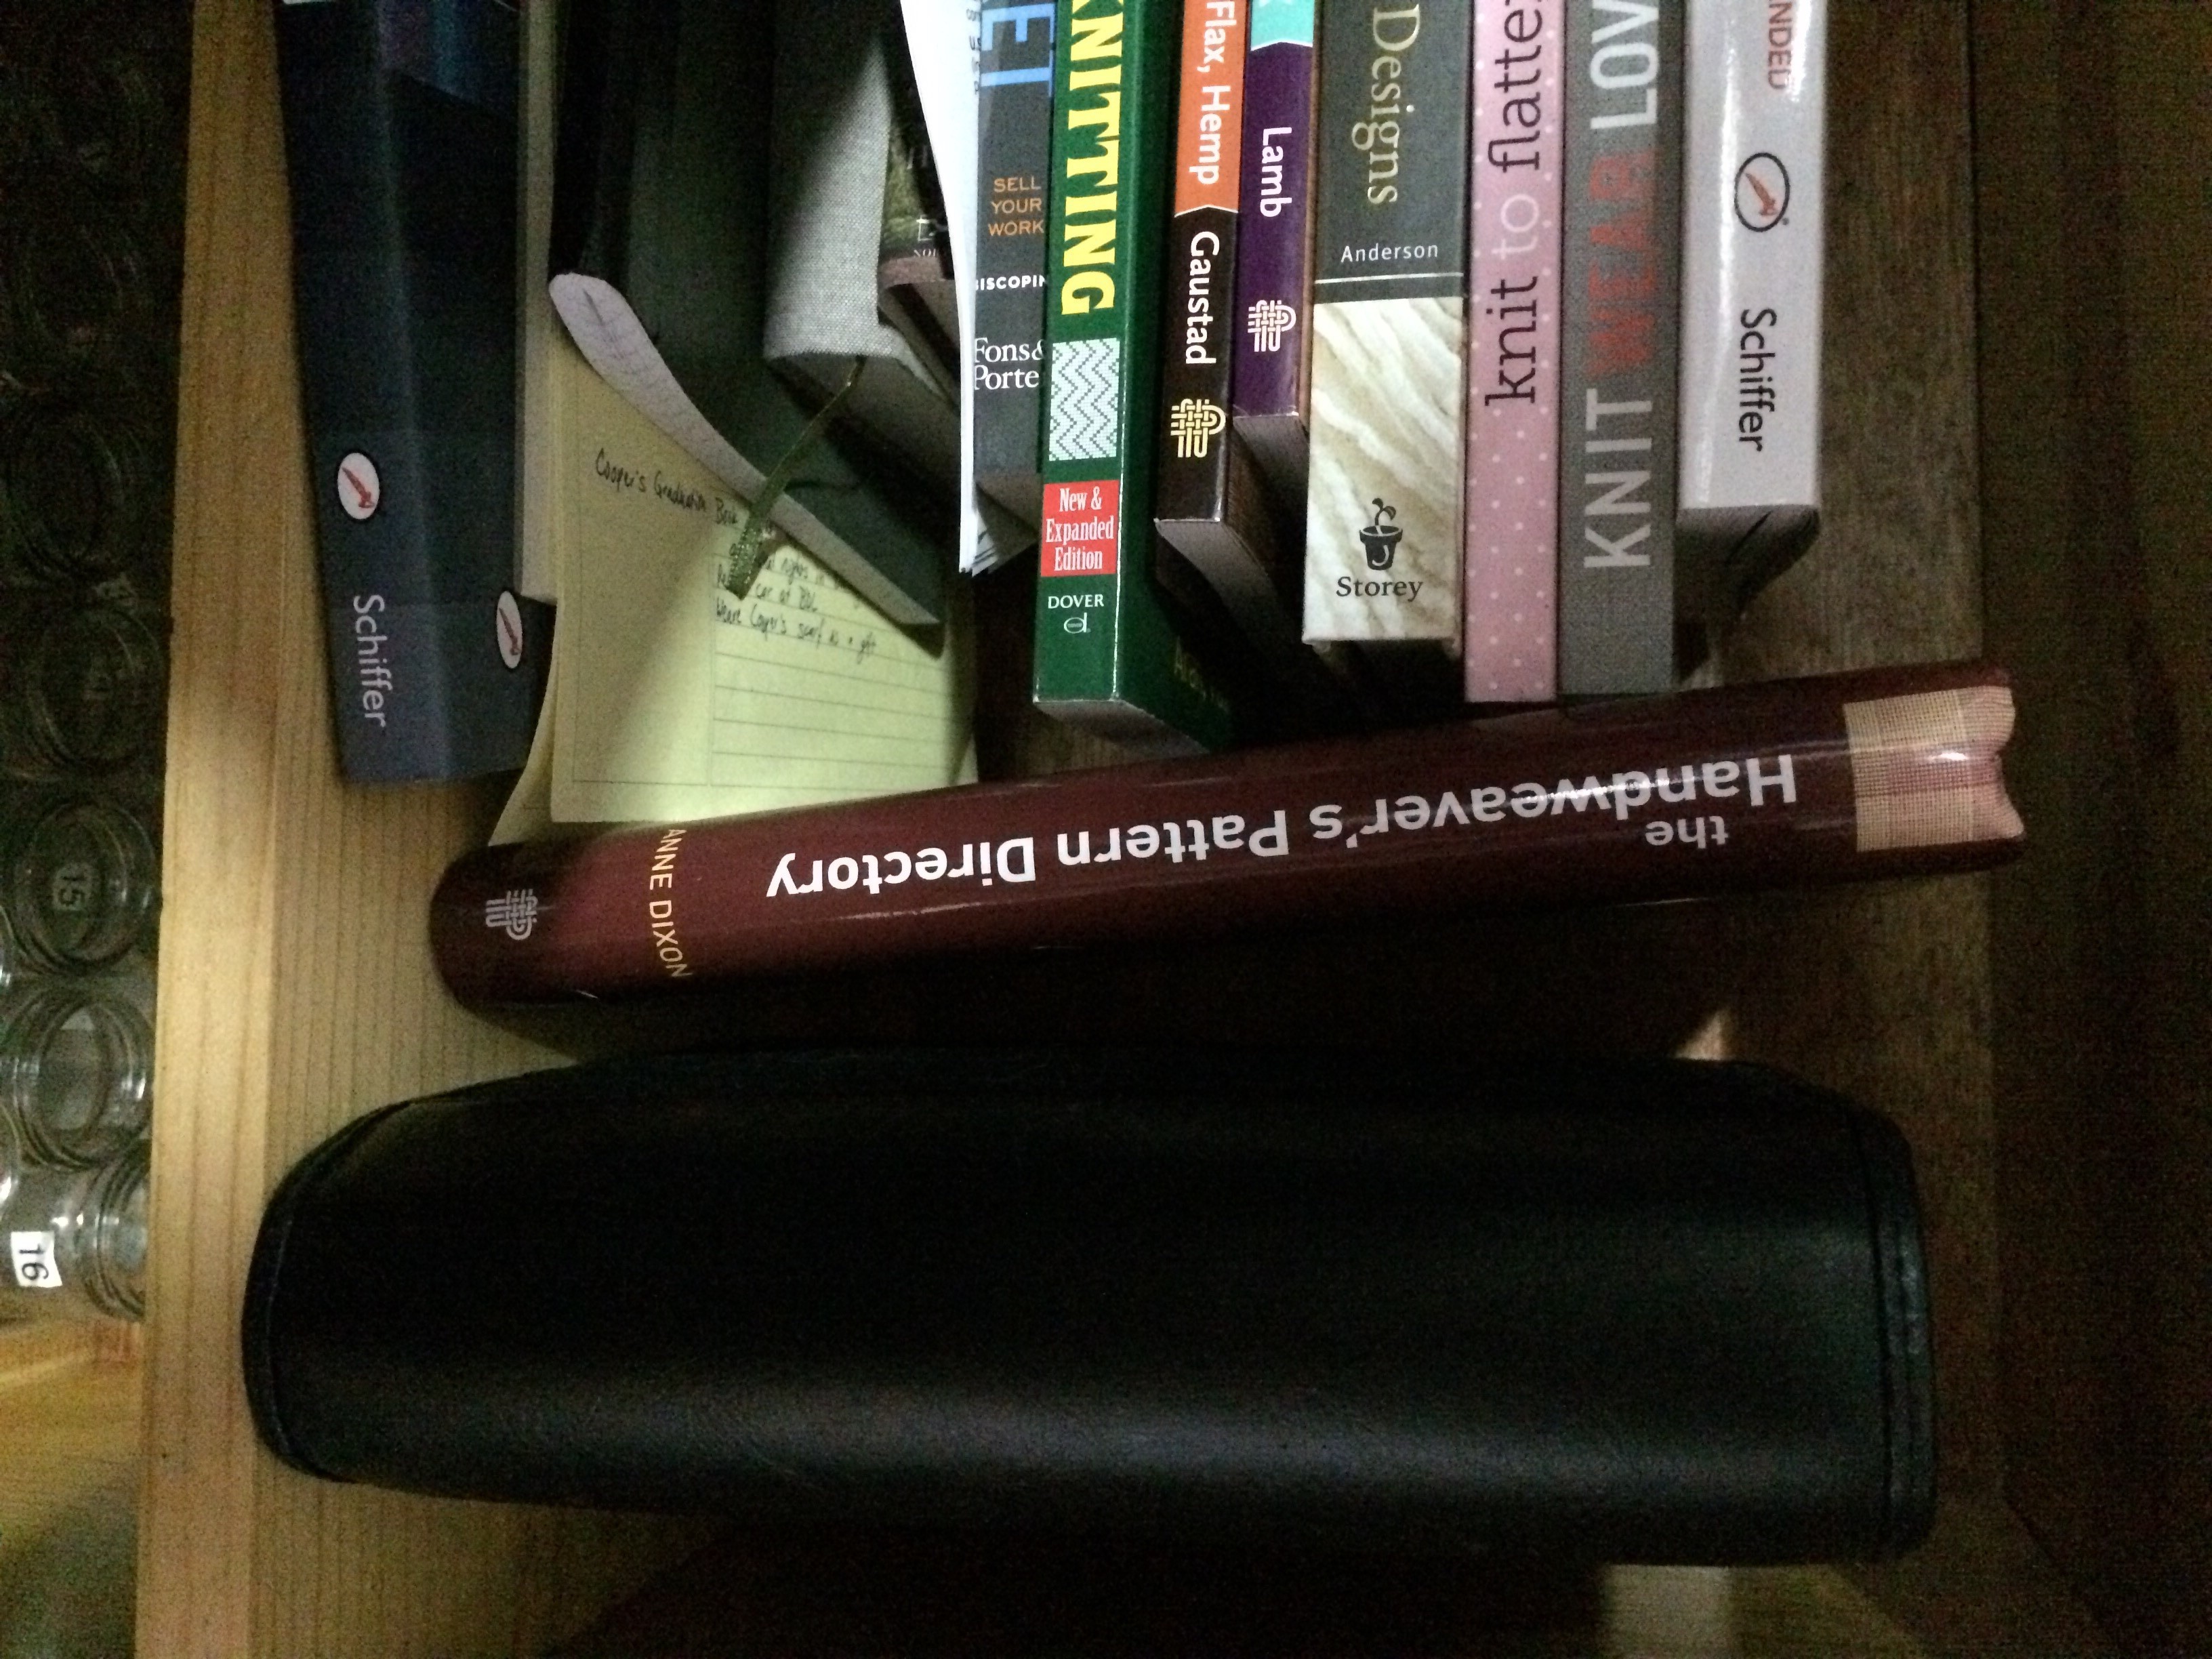
My needle notebook. My entire collection of knitting needles and crochet hooks lives in one zip up binder notebook. The entire collection. If I wanted to, I could carry all my needles with me all the time. I rarely take the notebook with me, though. I just don’t need to have all my needles with me. I probably will bring the binder with me to the TKGA Conference in July, and think it’s awesome that it is so easy for me to do so. I purchased this binder from KnitPicks, back when I first bought my interchangeable needle set in 2005 or 2006. A few of the interior zipper pockets came with the binder, and I bought more pages separately. Unfortunately, KnitPicks discontinued the binder several years ago. I think it’s the best item they’ve ever sold for needle storage and don’t know why they discontinued it!
At some point, one or the other of my cats sharpened their claws on the front 🙁
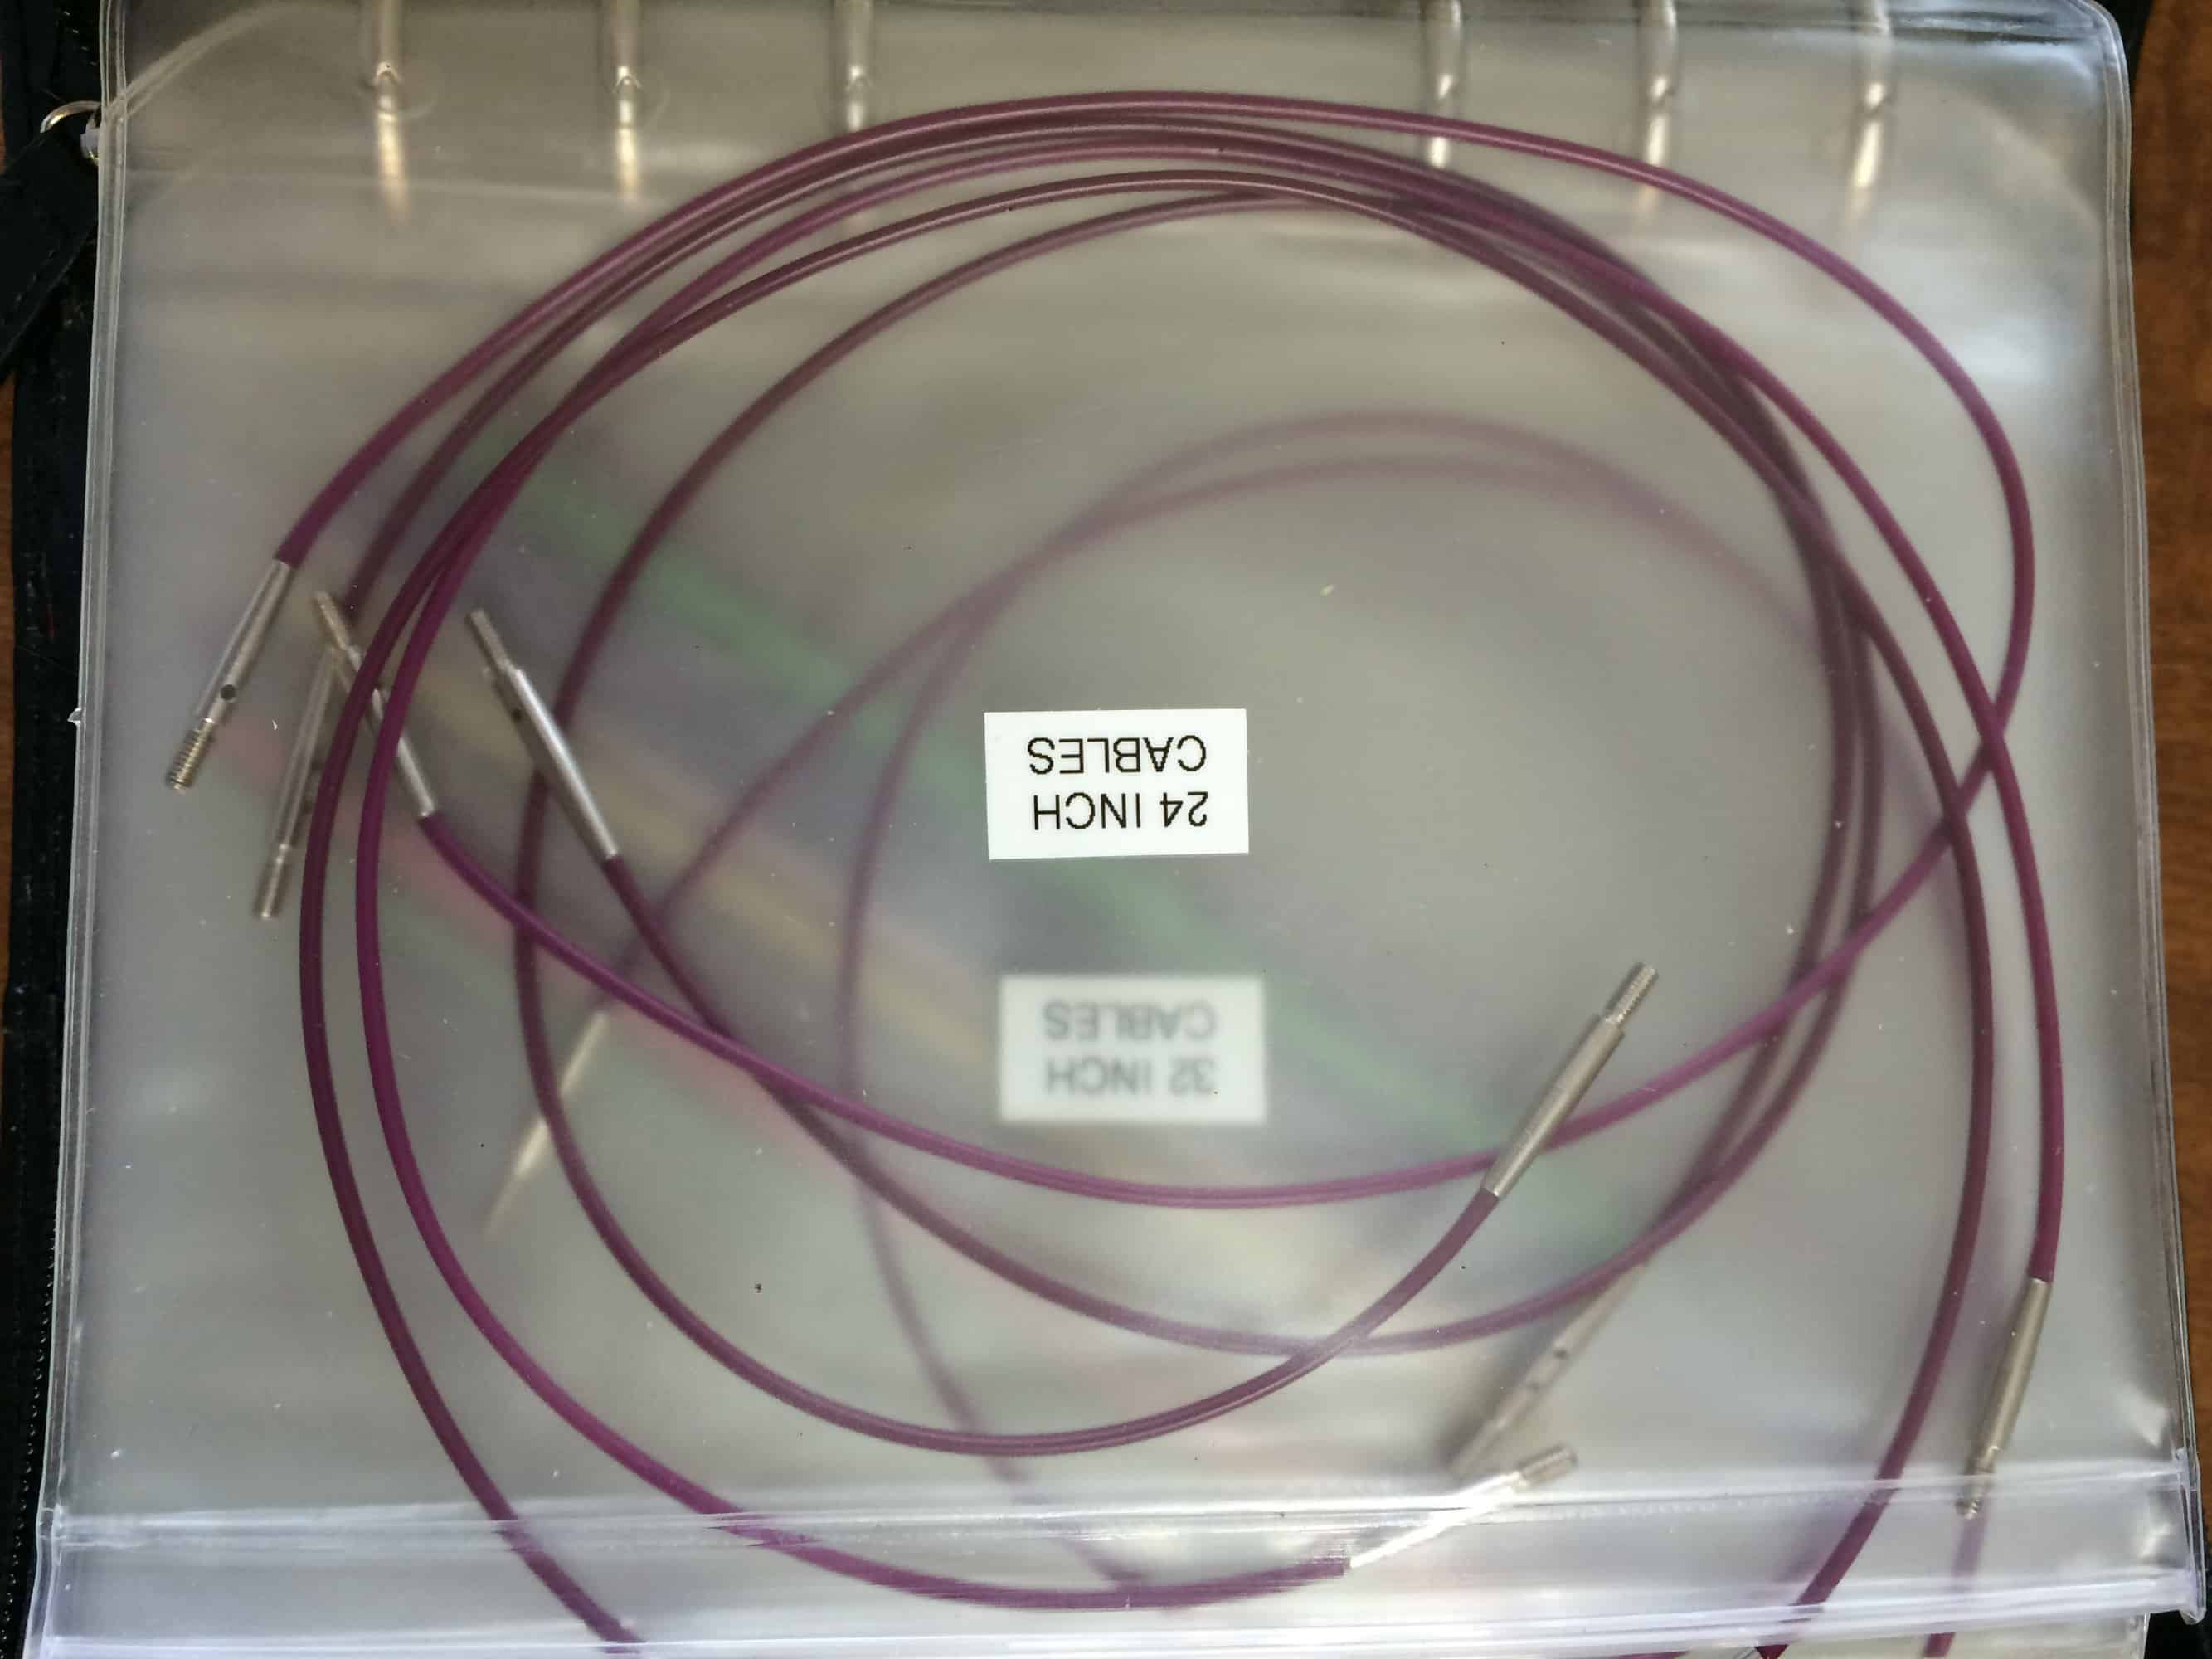
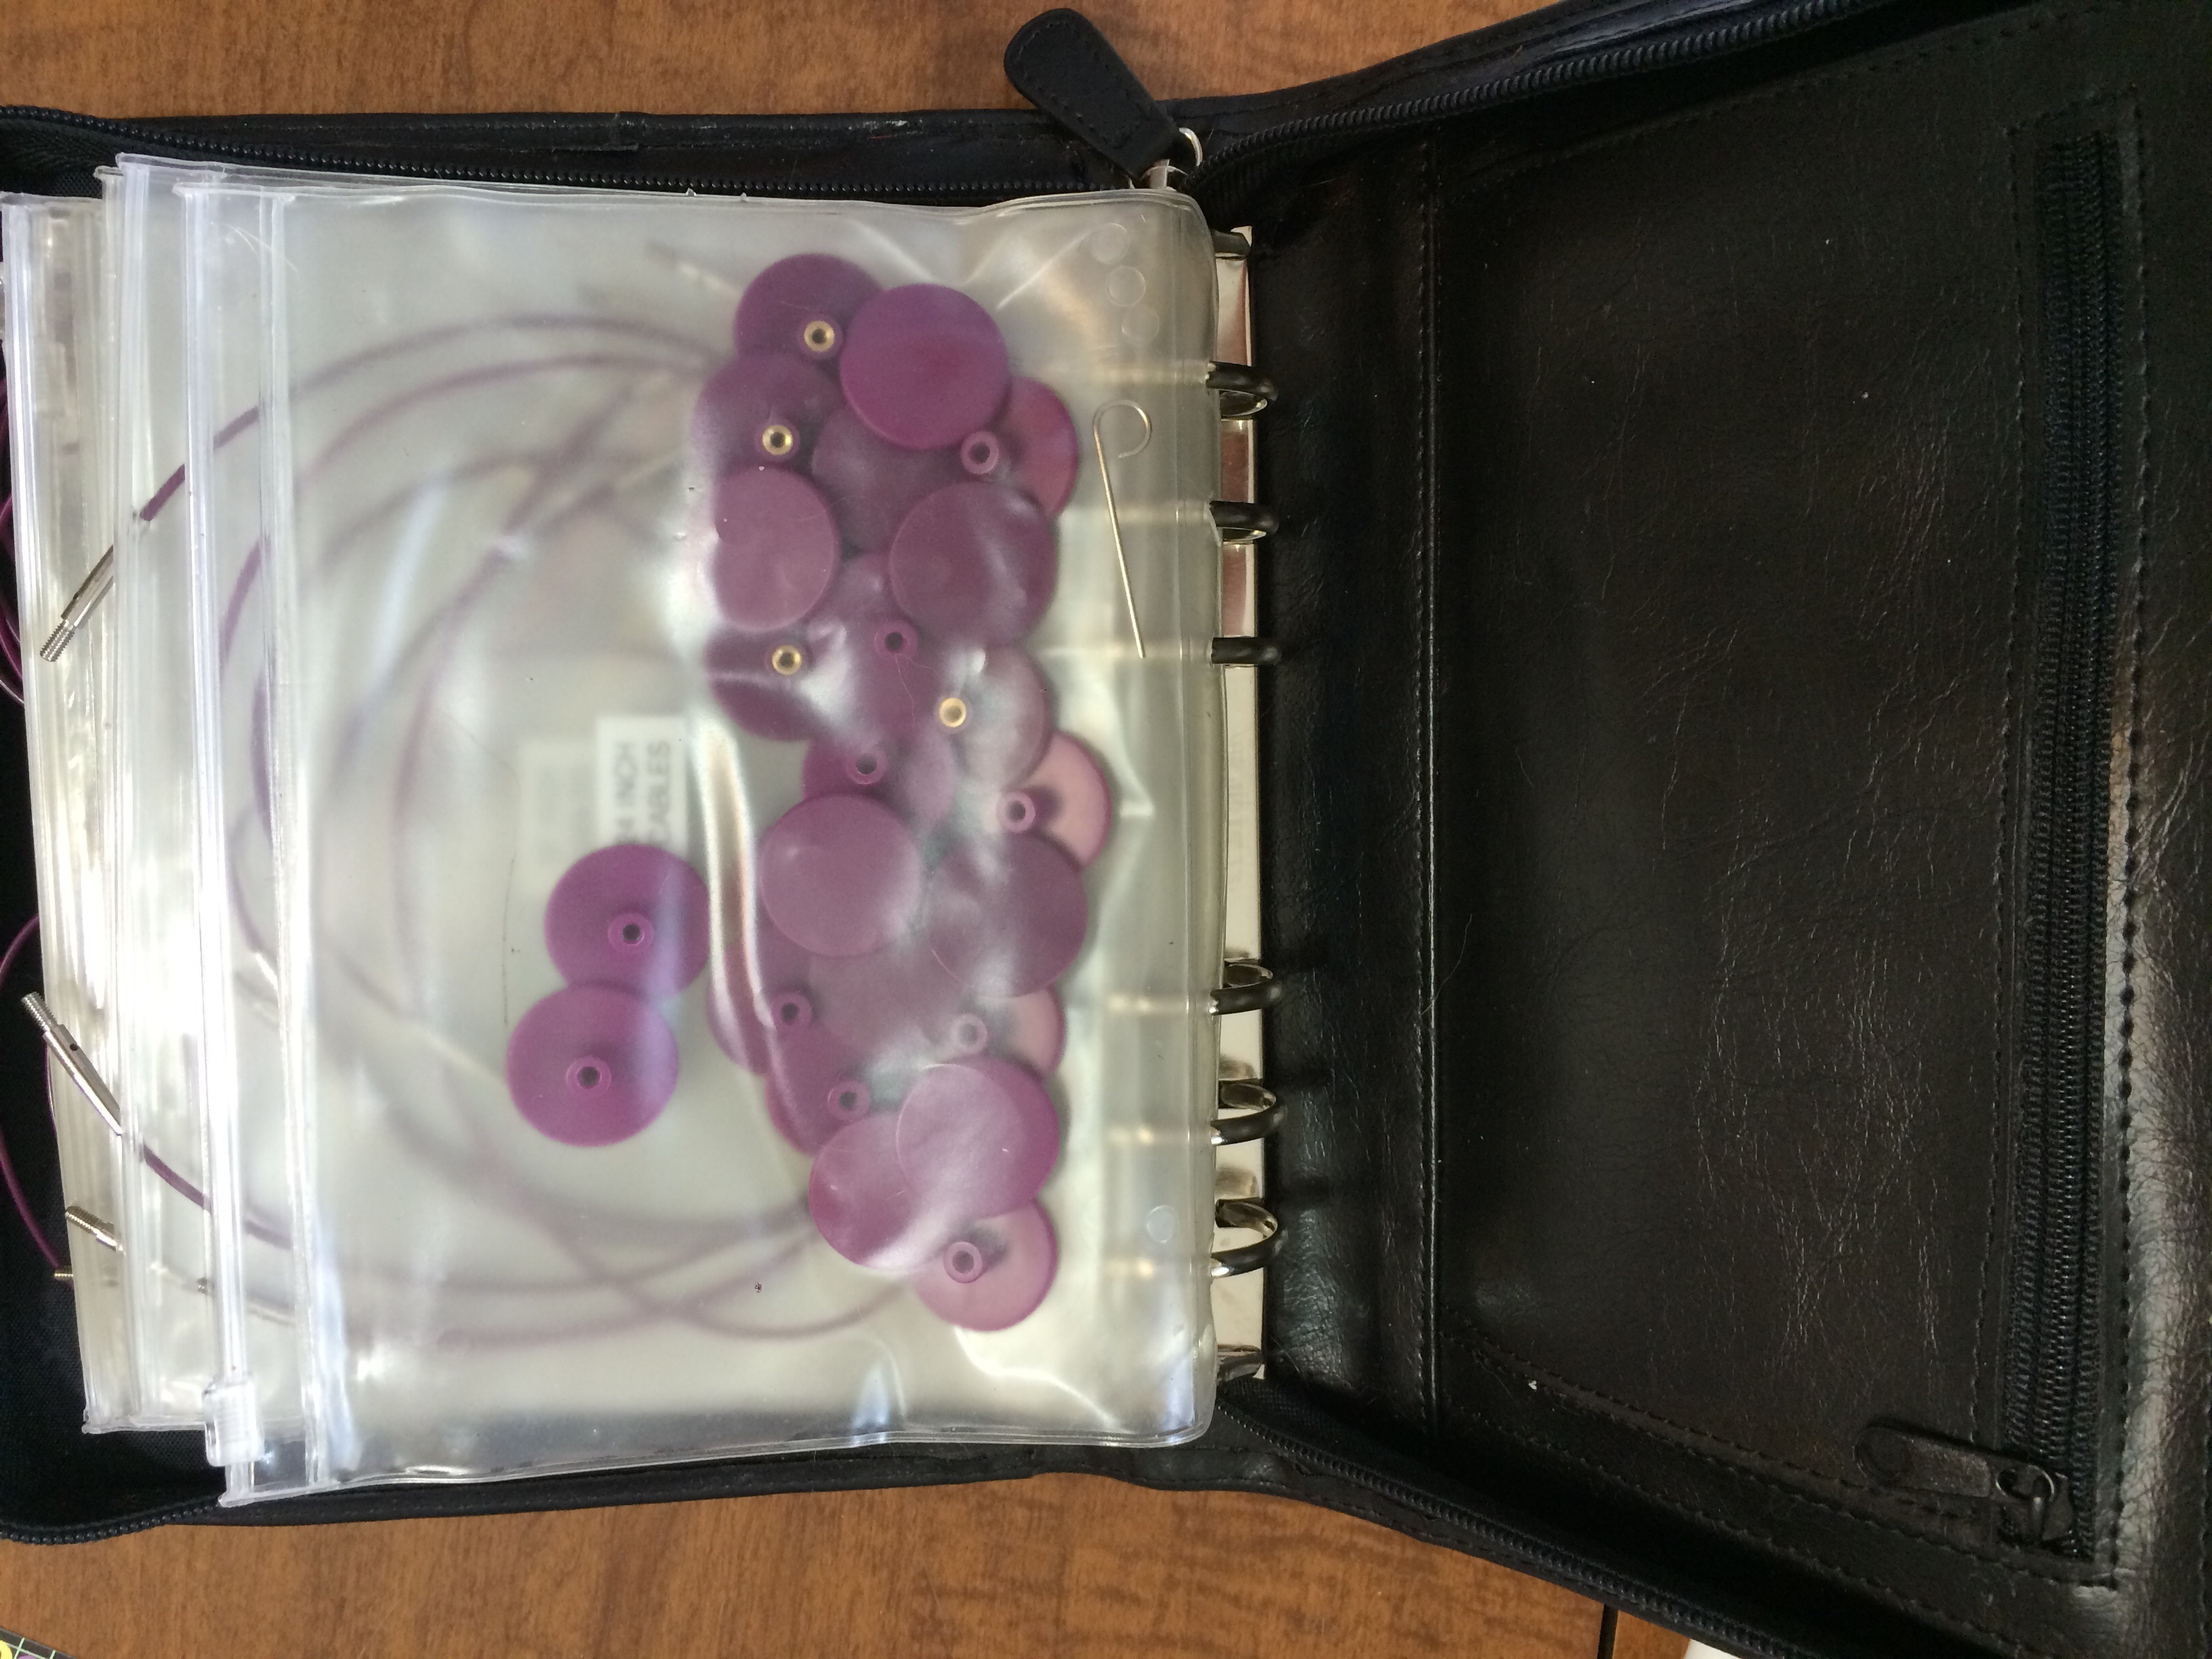
Each pouch zips shut. This one, in the very front, has the extra keys and cord end caps.
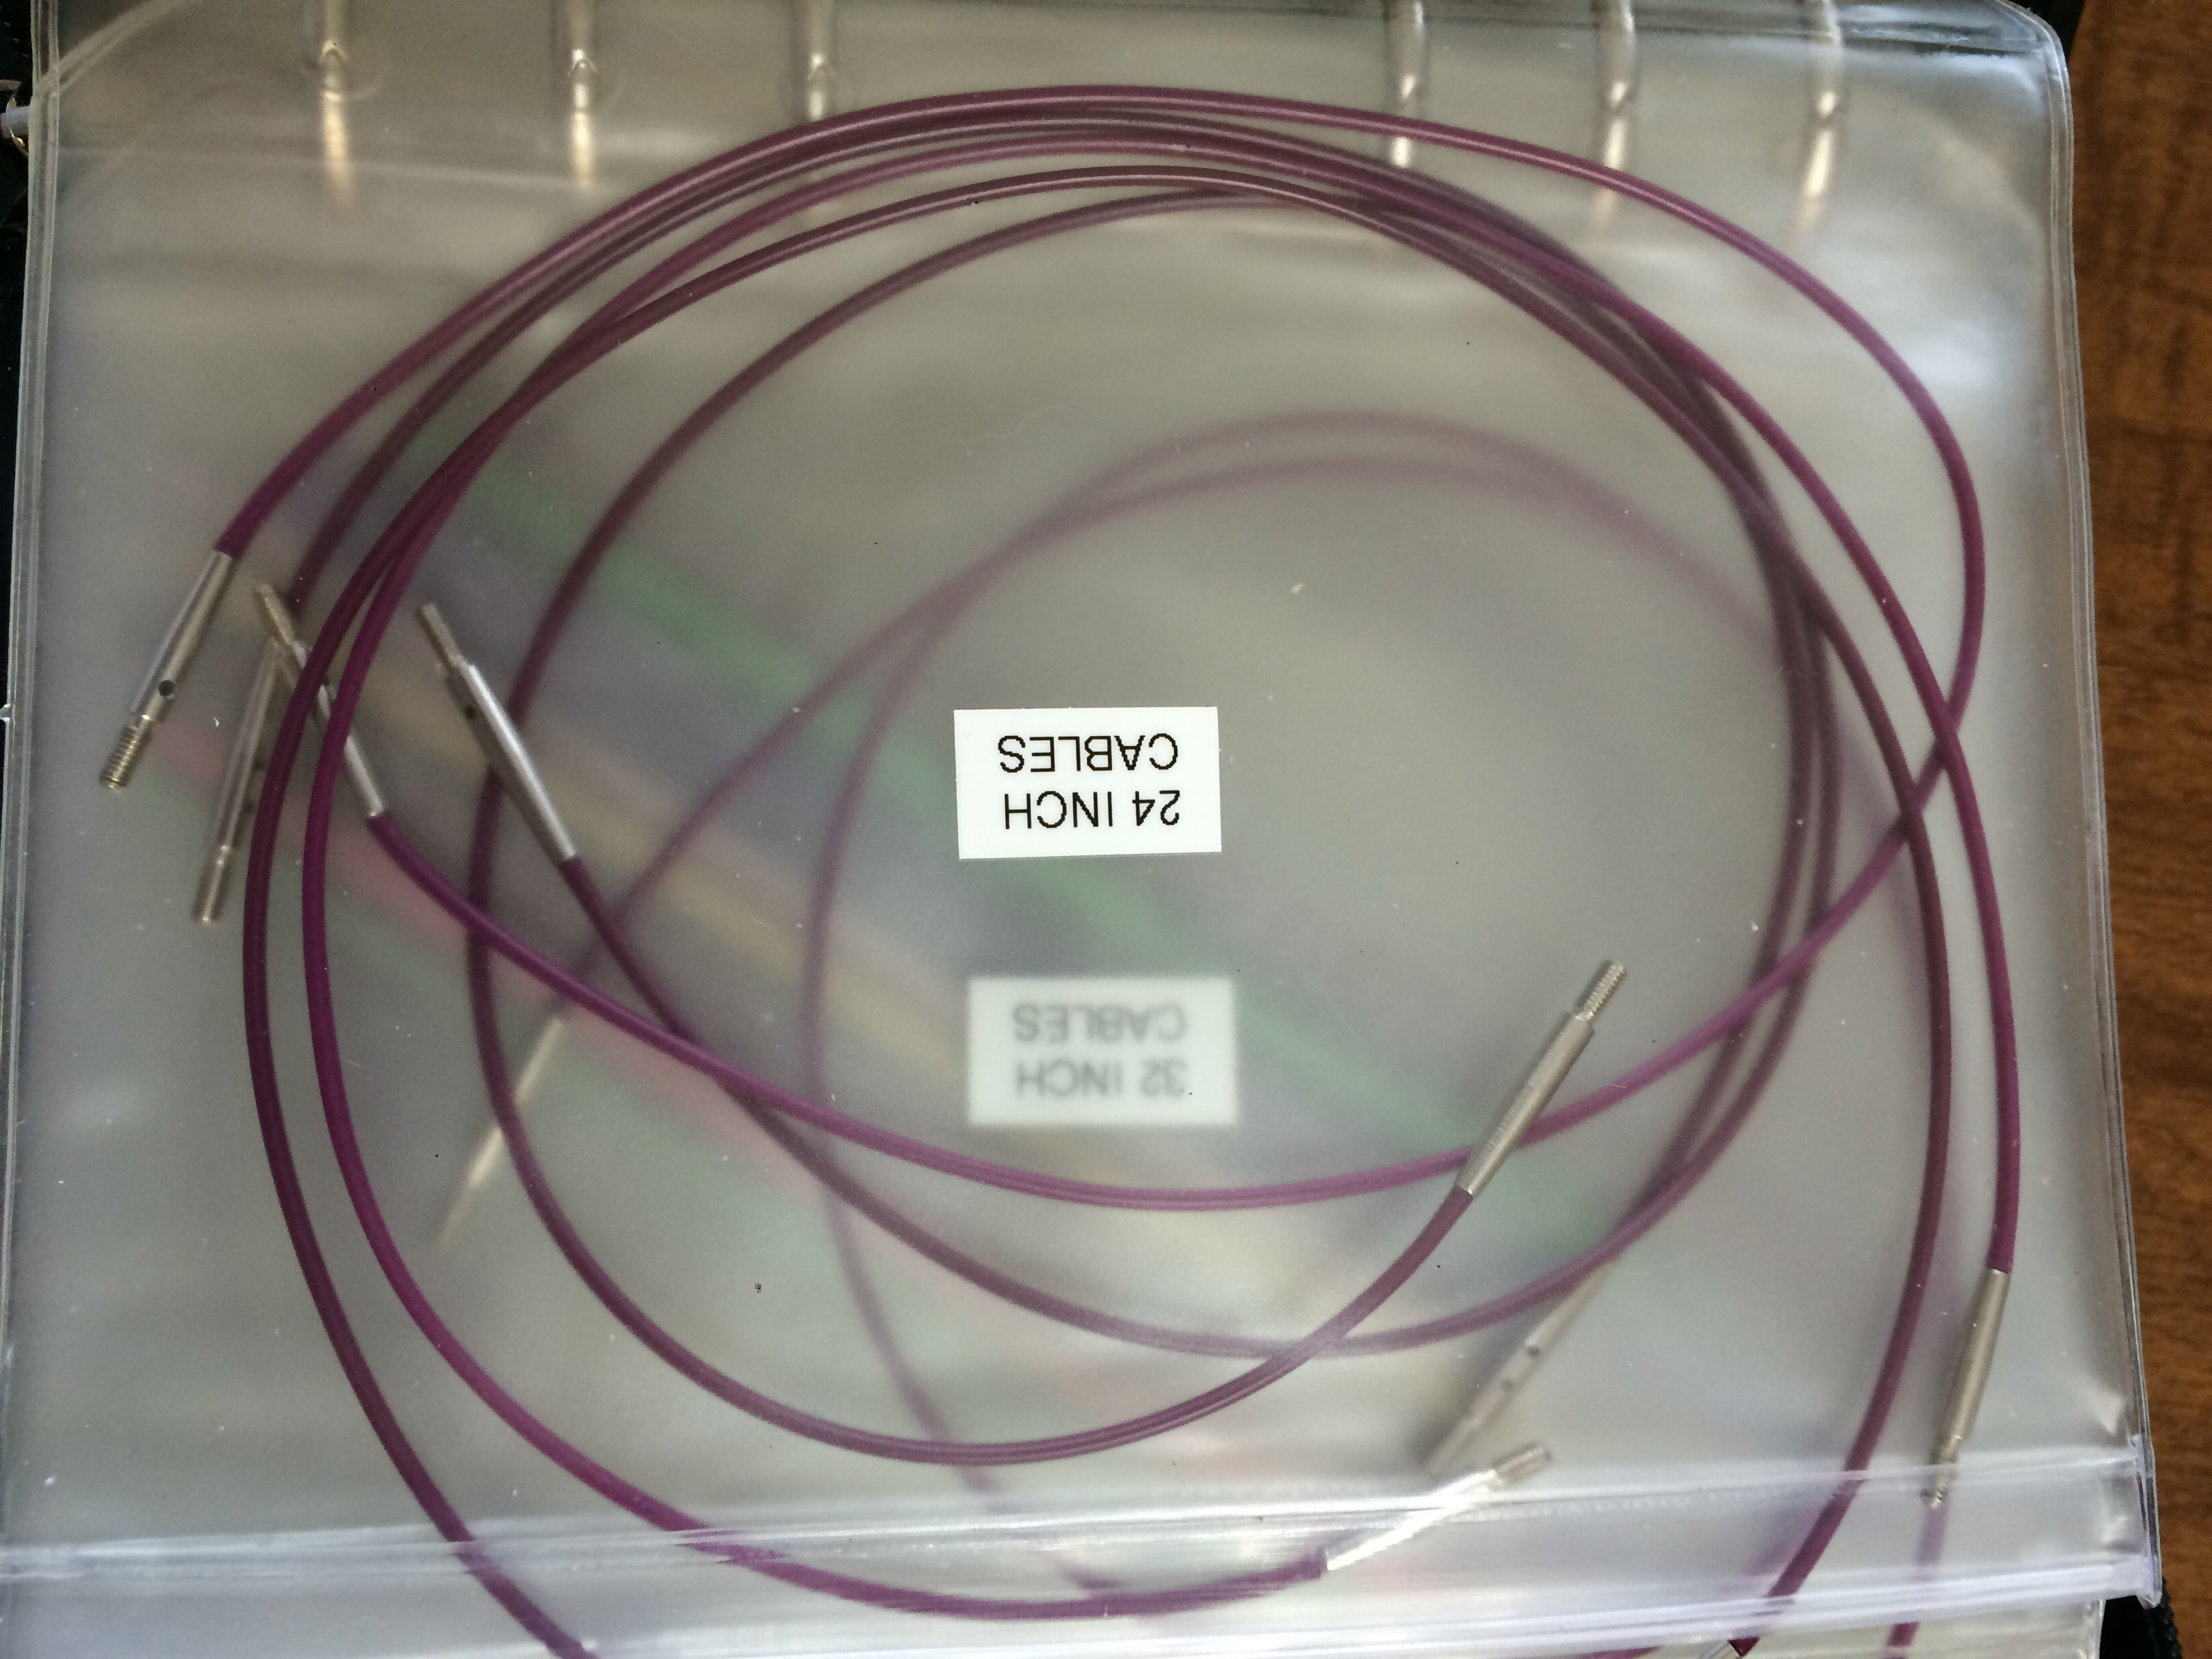
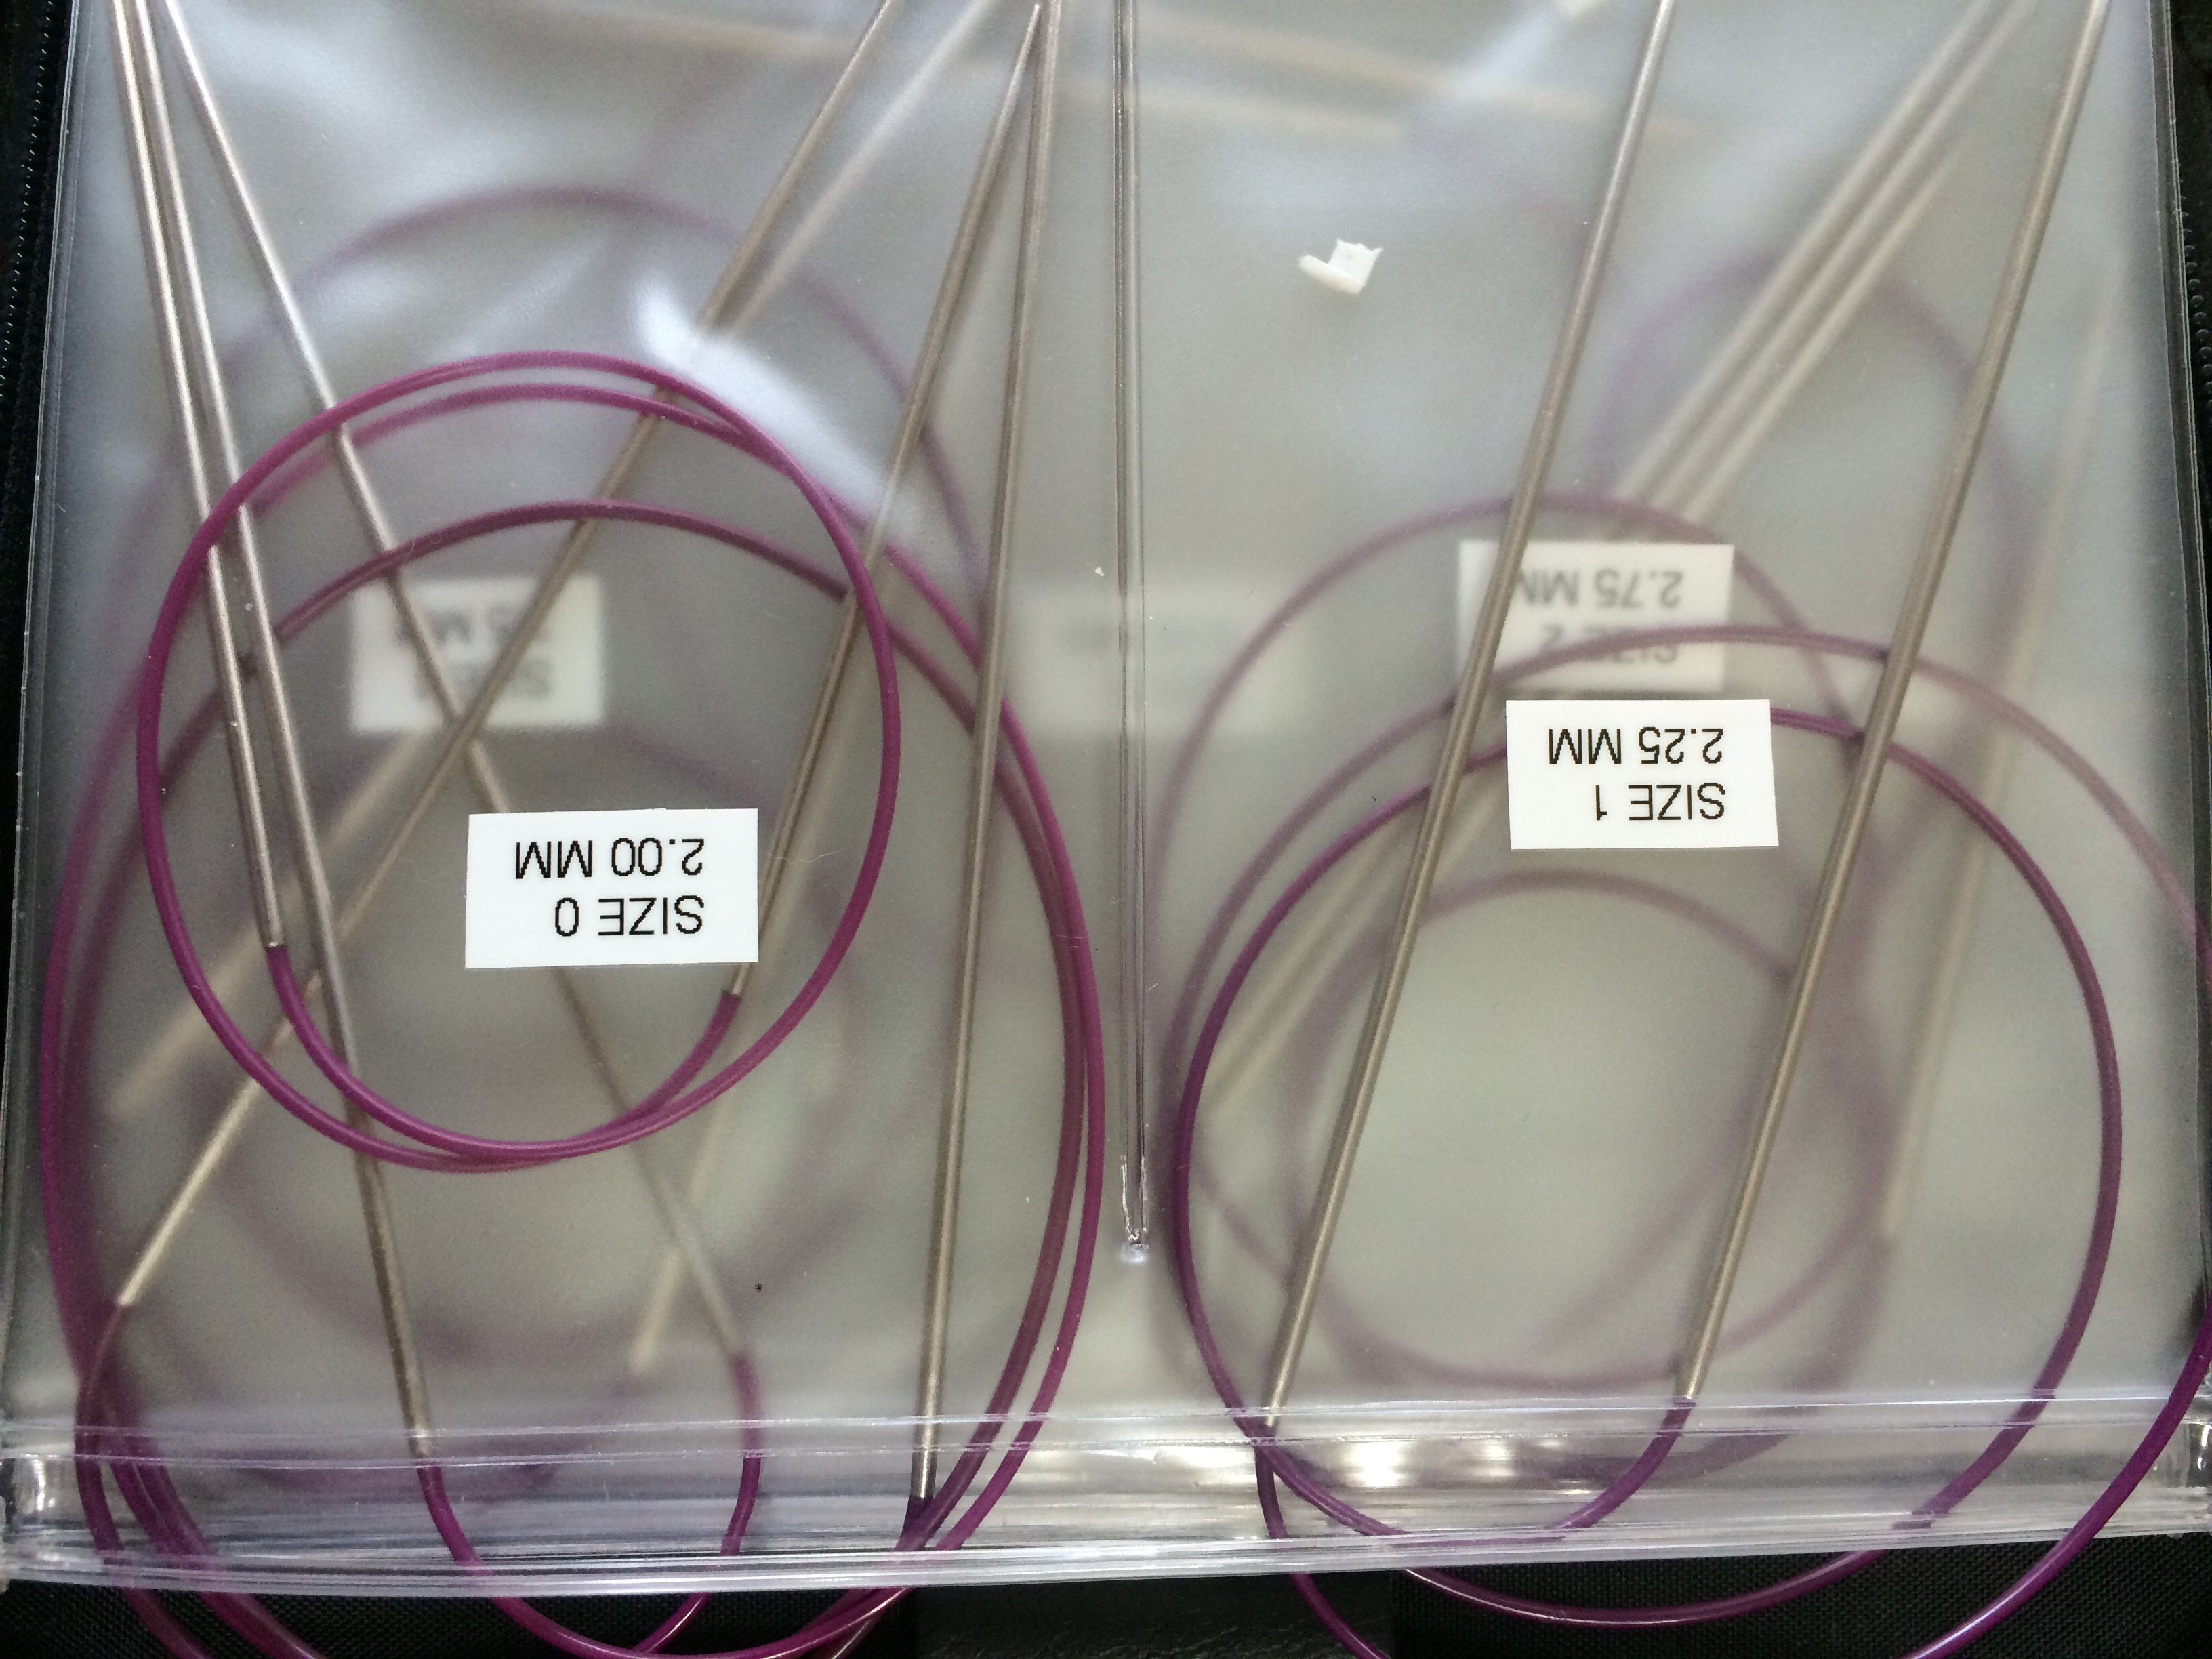
Each size cord has its own pouch. I made the labels; the pouches did not come labeled.
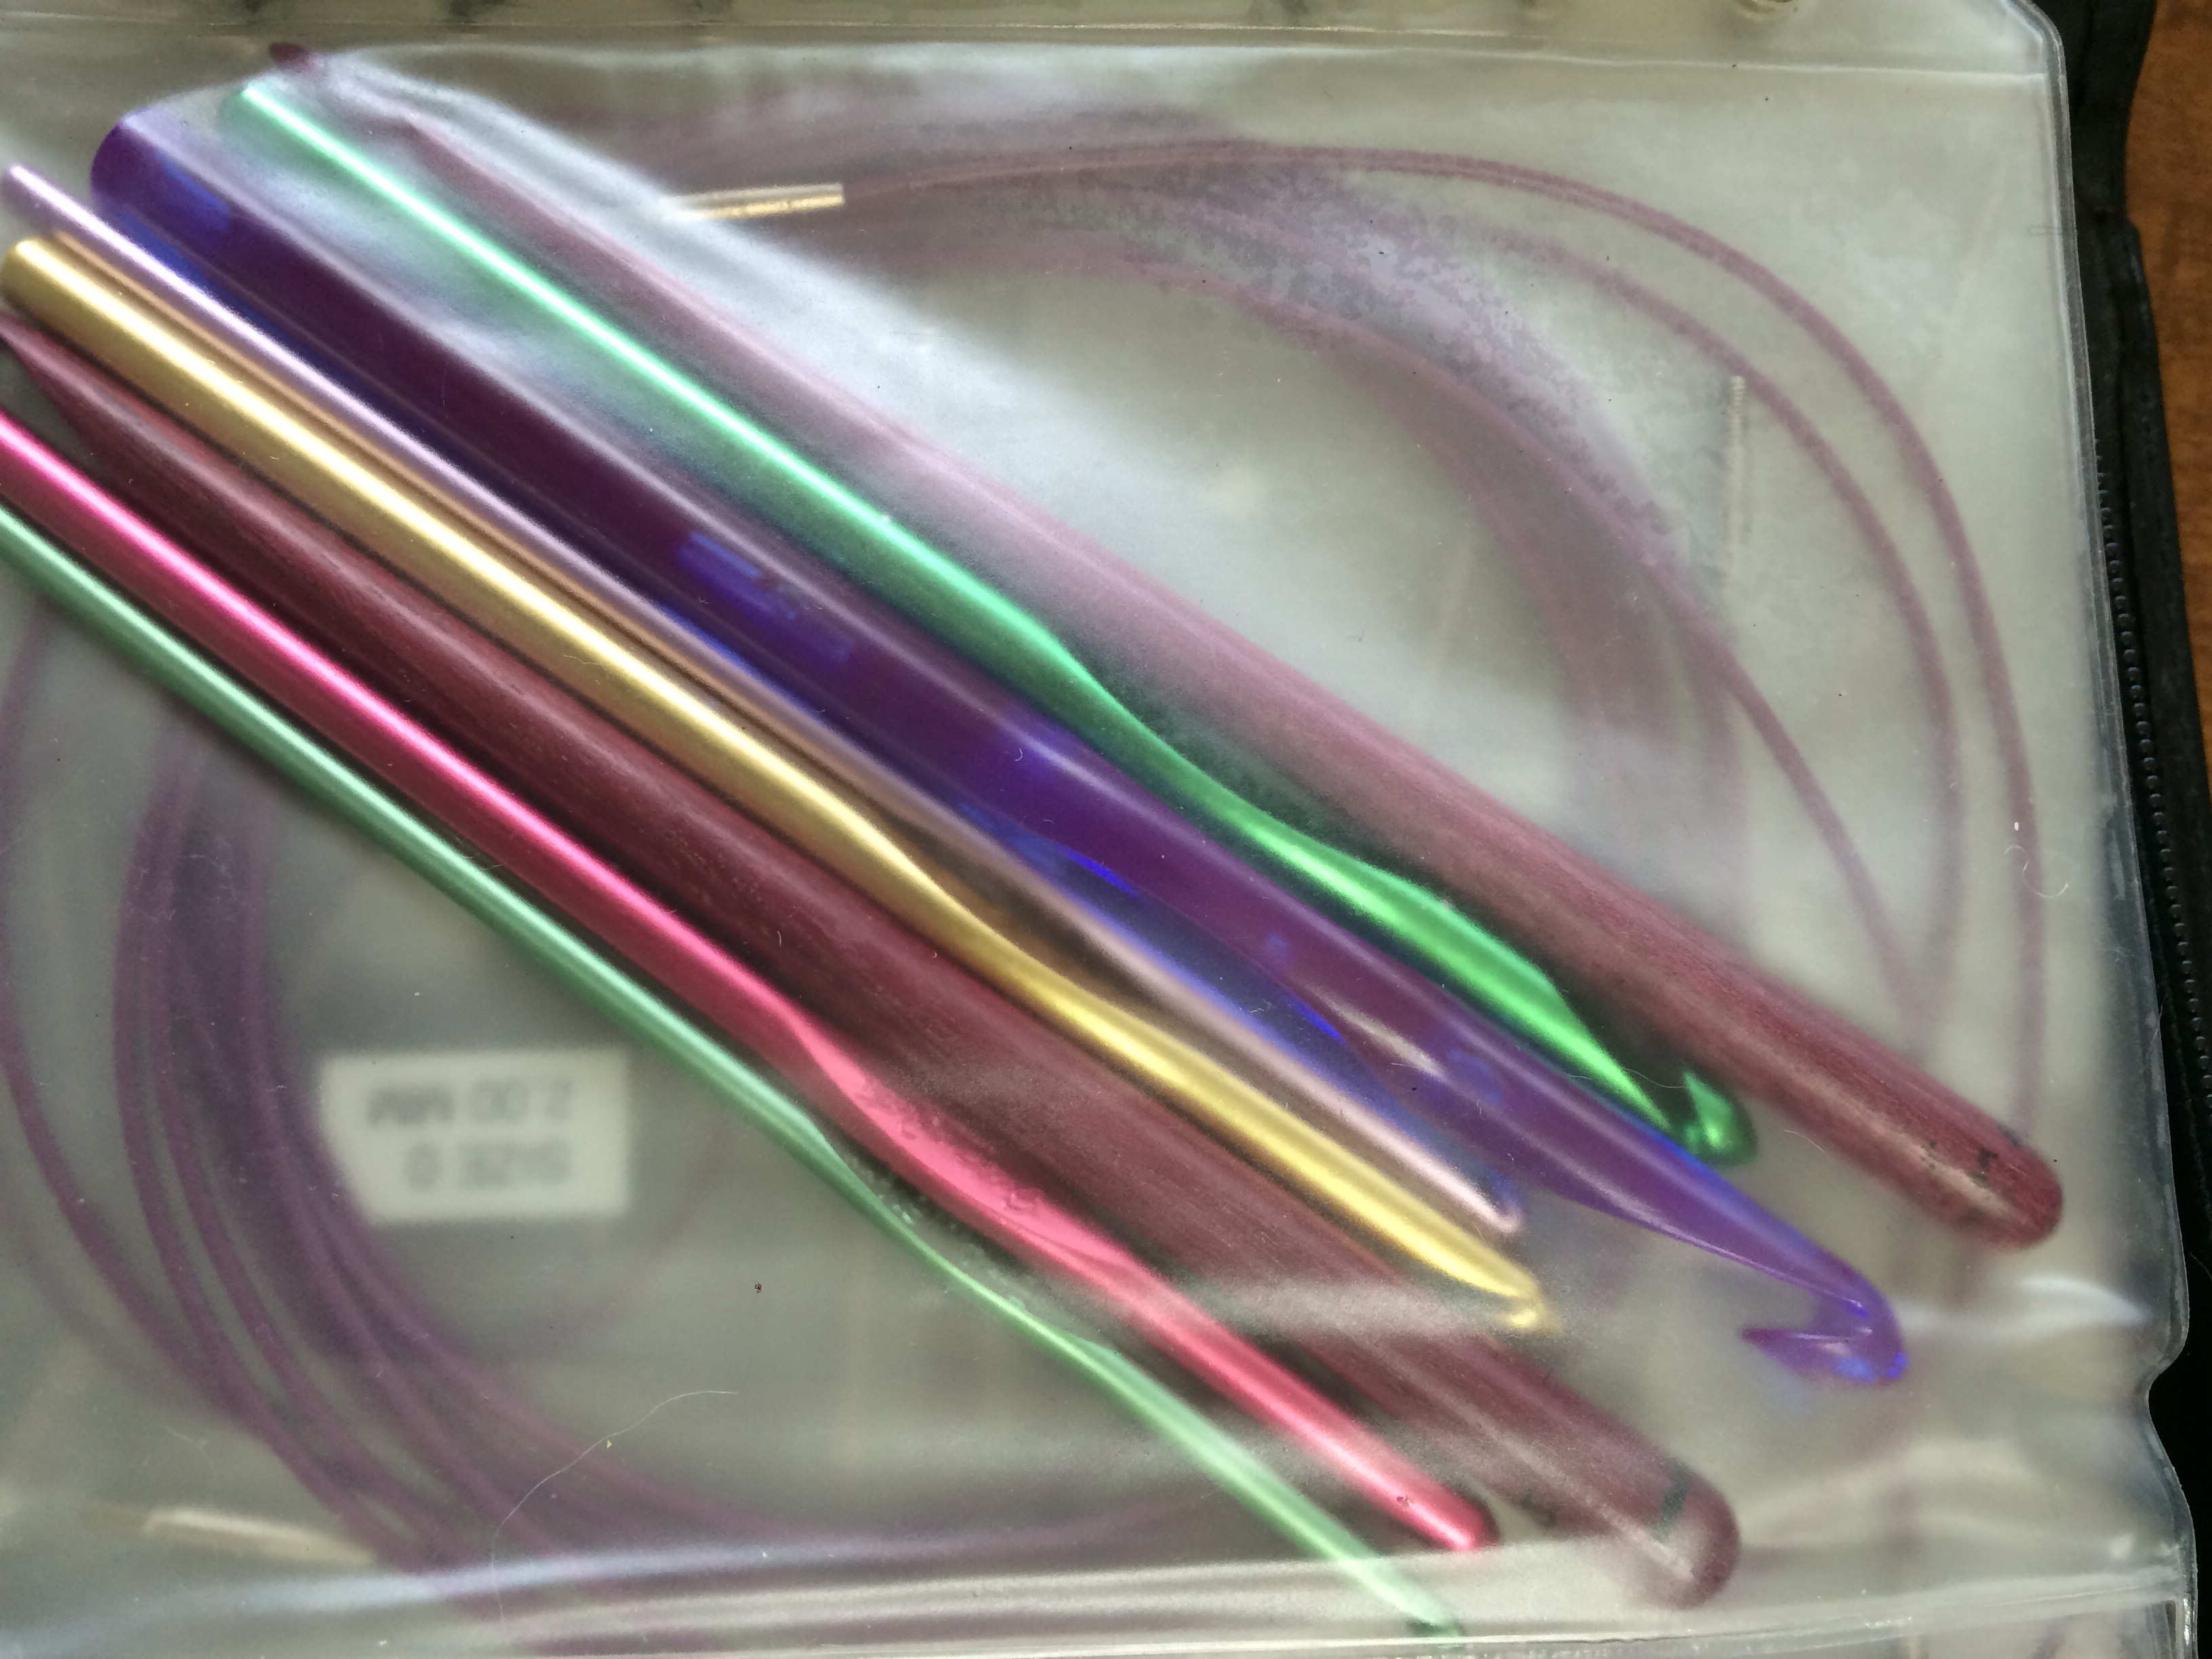
My crochet hooks.
US size 3 and smaller aren’t available as interchangeables and are the only needles I have as fixed circulars.
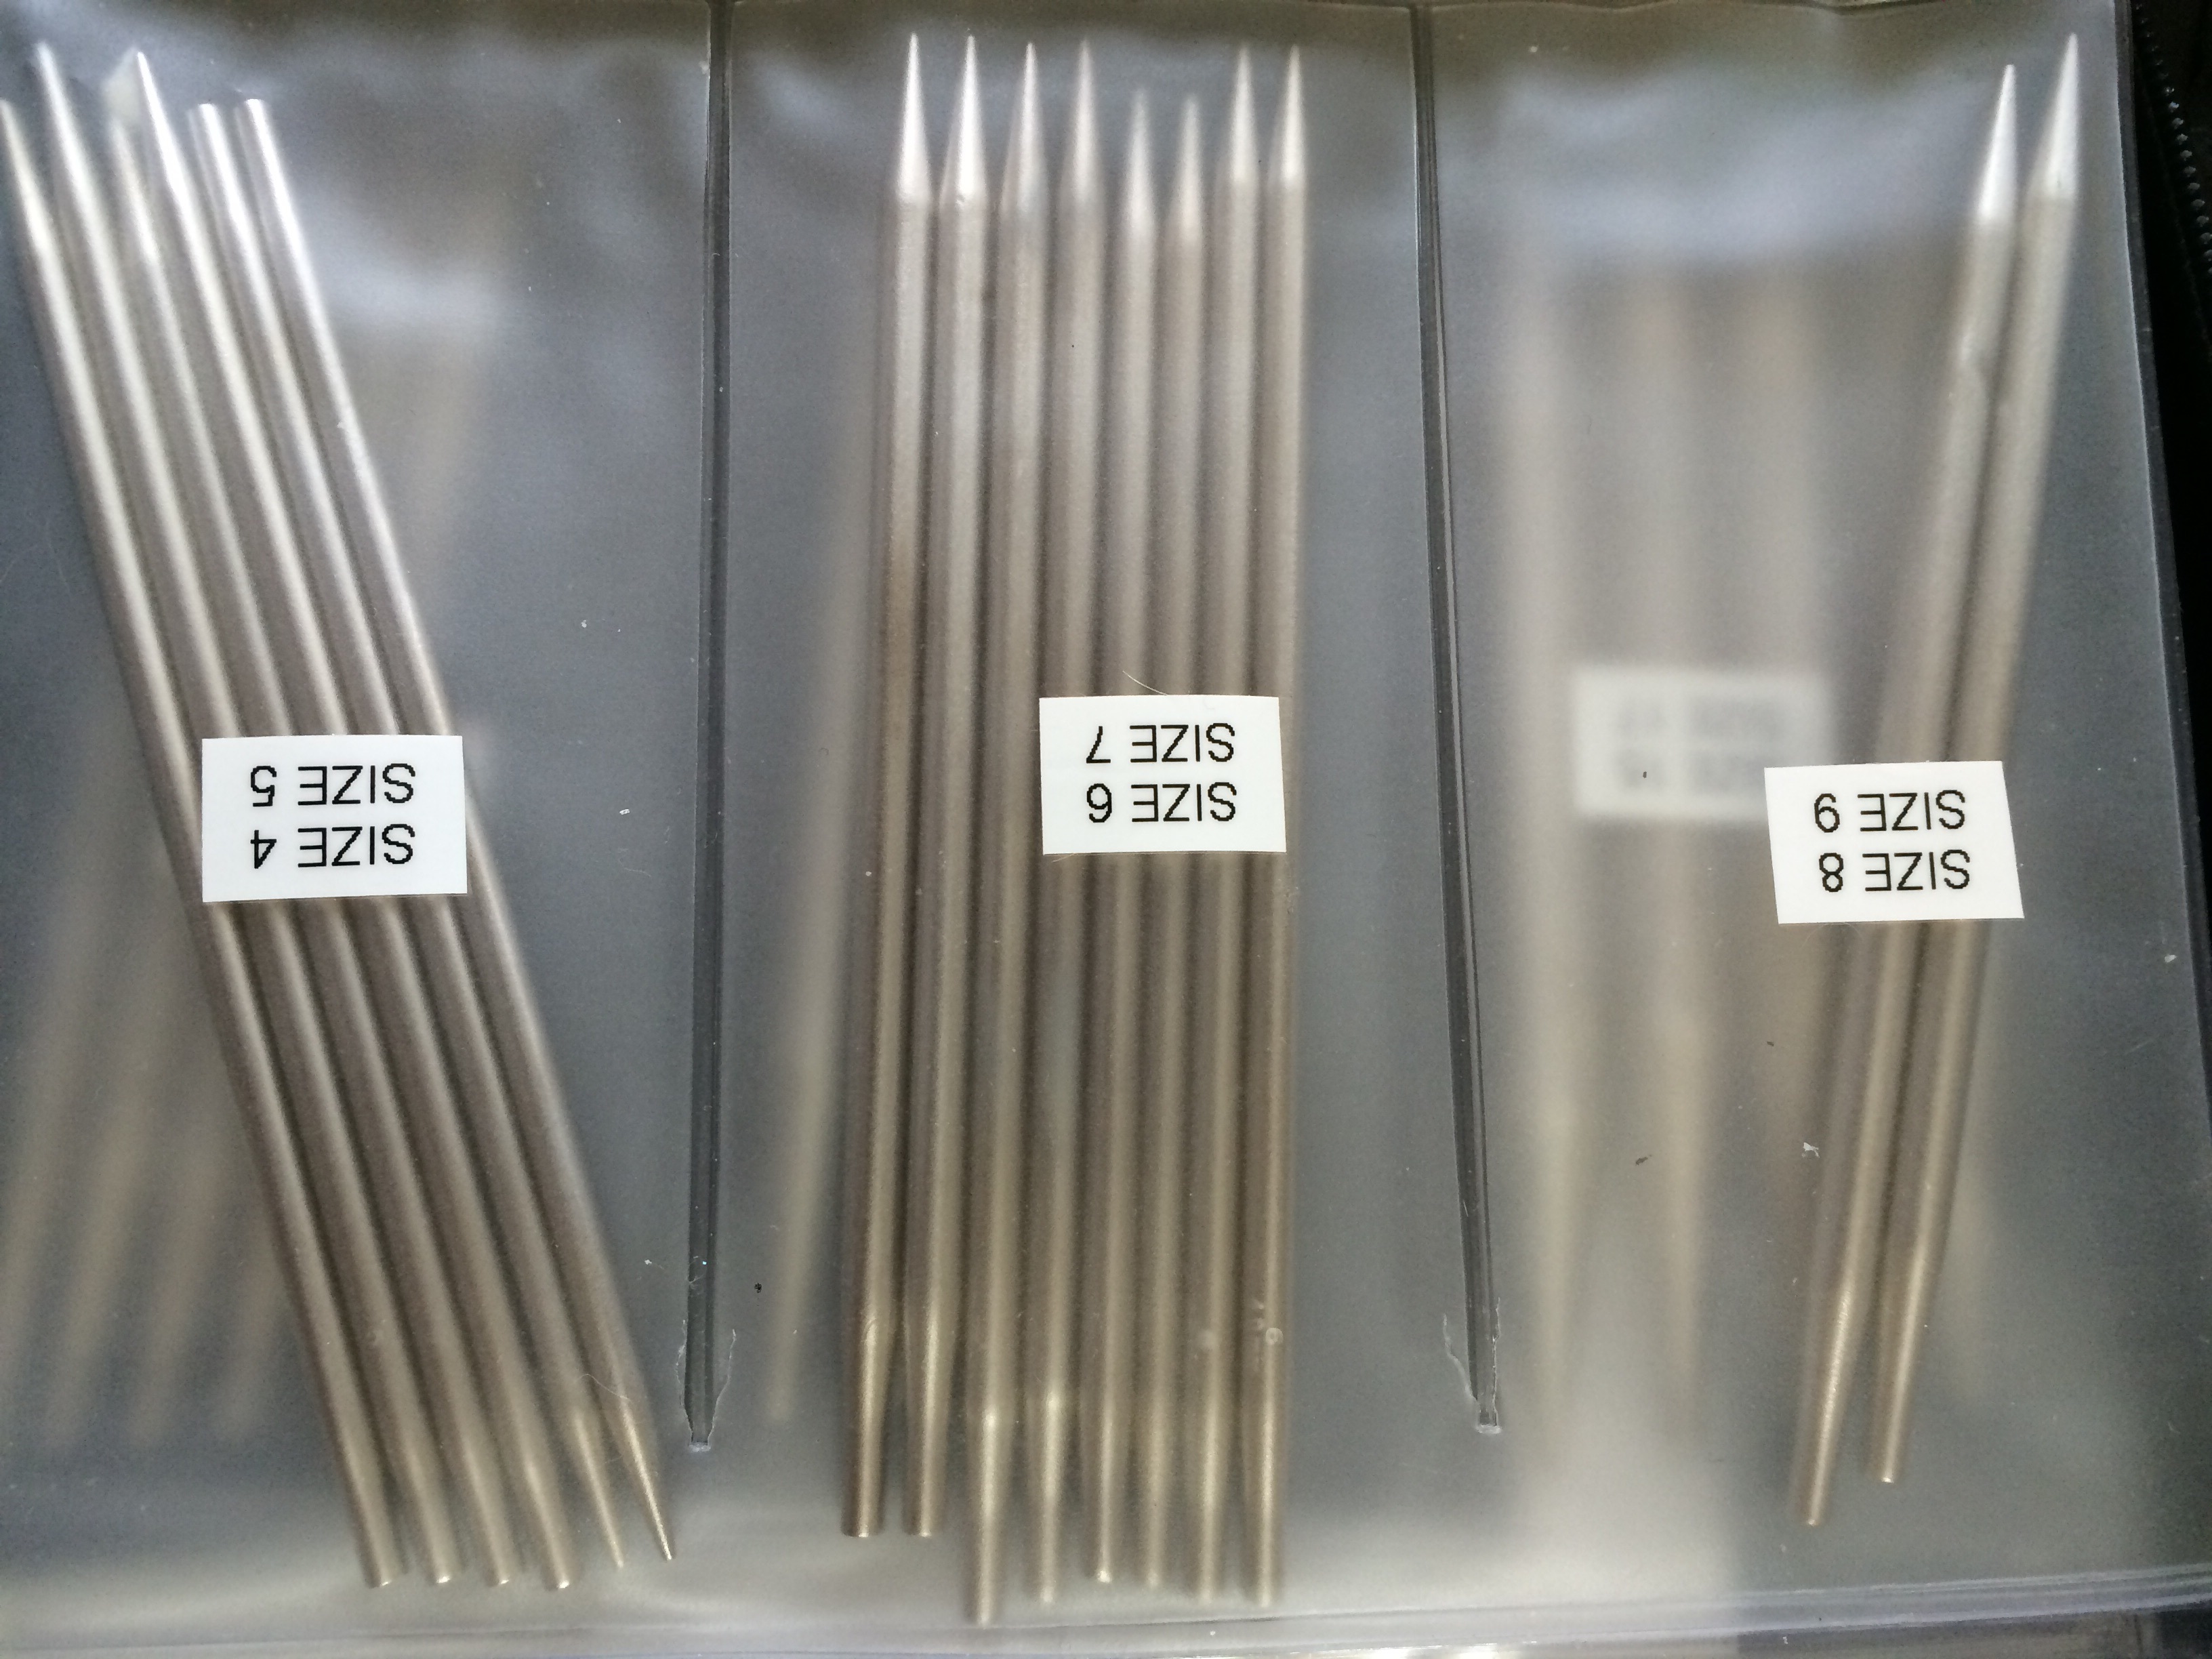
There’s usually two sizes of needle tips per section. In the mid-range of sizes (US 4-9), I have at least two pairs of tips in each size. I use larger sizes infrequently, so only have one pair of tips per size from US size 10 through US size 17.
I keep a KnitPicks needle sizer in the front pocket of the binder. KnitPicks has two different size needles (2.25 mm and 2.5 mm) marked as US 1s and two sizes (2.75 mm and 3.0 mm) marked as US 2s. I have needles in all 4 sizes, and only KnitPicks branded sizers have slots to differentiate between them.
The binder lives on a bookshelf in my office, tucked in with the fiber library.
It’s been another busy week of crafting! Spending the entire weekend doing demos helped in that regard. I worked slower than usual, since I was chatting with Festival attendees and regularly leaving my work aside to show an interested person how to weave on the floor loom, but I was there for so many hours that I got a lot done despite the frequent interruptions.
Super Secret Shawl
I only got 1/2 of a repeat done this week. I will be bringing this project with me as travel knitting next week, and expect to get a great deal more finished.
Cormo Spinning
I spent most of Saturday spinning. Three hours at my weekly spinning group followed by 5 hours spinning at the Festival of the Arts was enough time to spin at least half of the bobbin that is on my wheel (2.5 to 3 ounces).
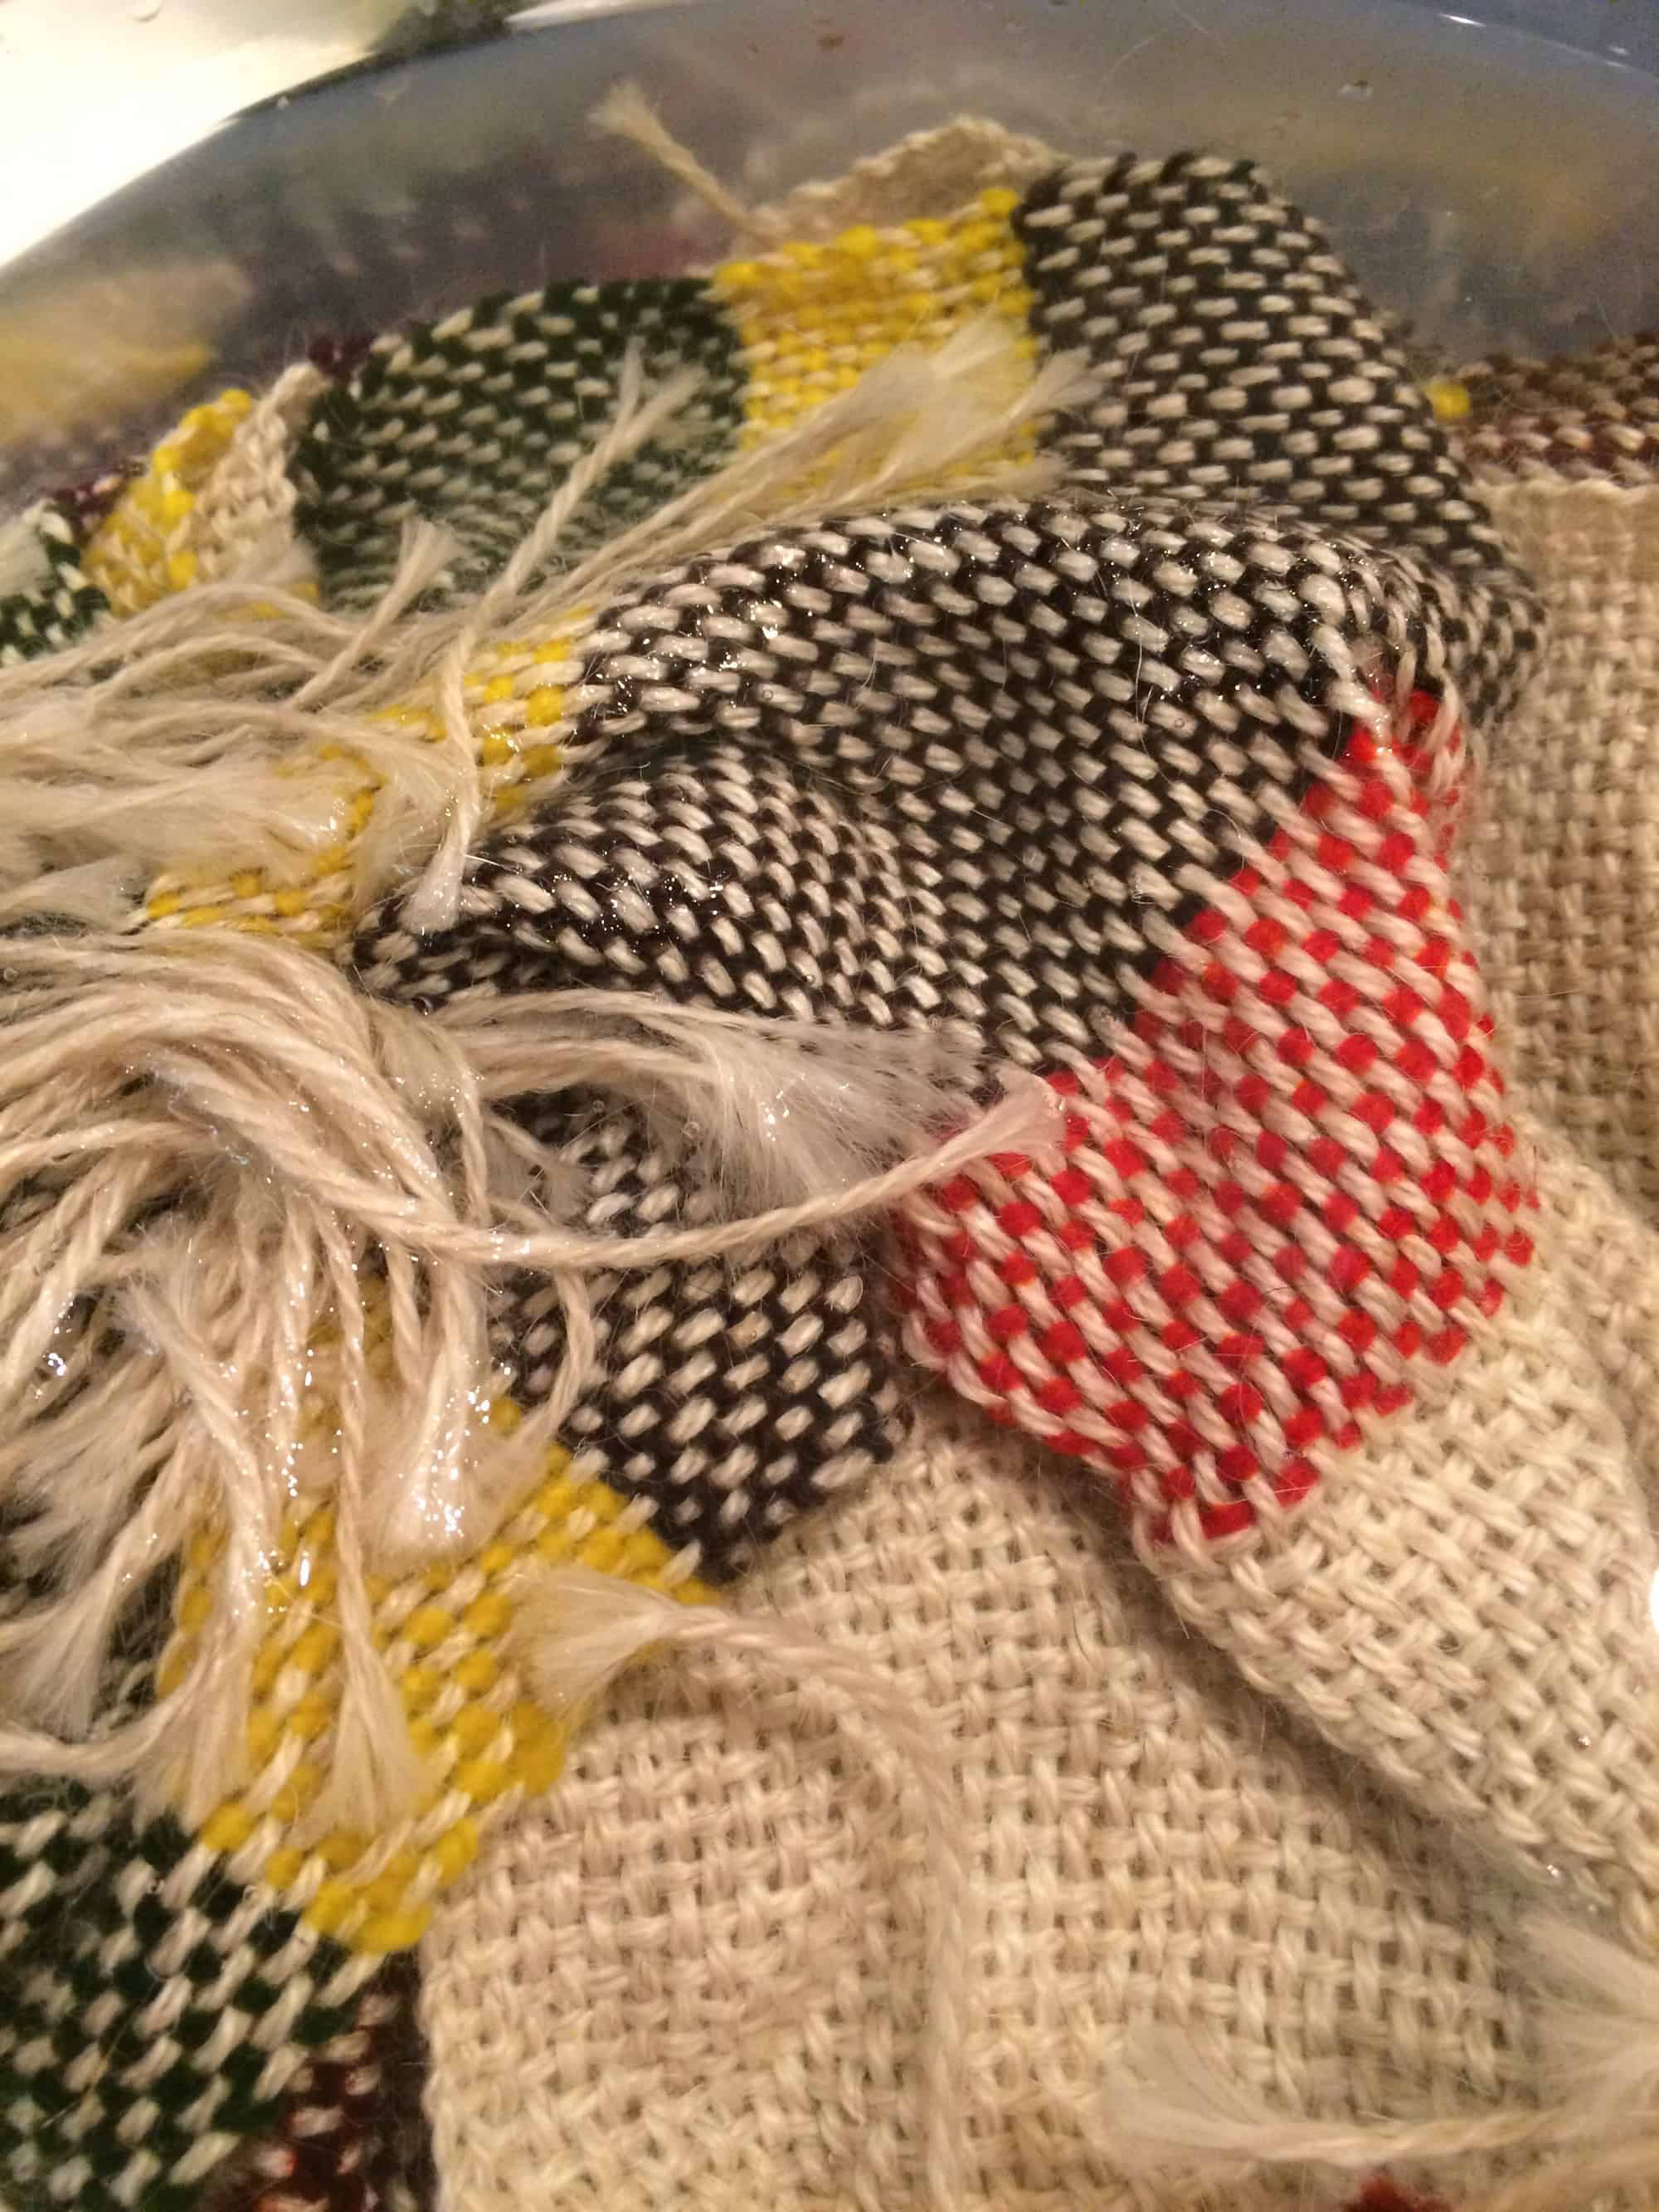
Woven Doctor Who Scarf
On Saturday night, I tied this scarf on to my rigid heddle loom. This evening I finished weaving it and it is currently soaking for wet finishing.
I’m home from India, but continuing to work on the same two projects! I’m also starting to work on the TKGA Master Hand Knitting Level 1.
Super Secret Shawl
I’ve now completed 3 repeats of the pattern.
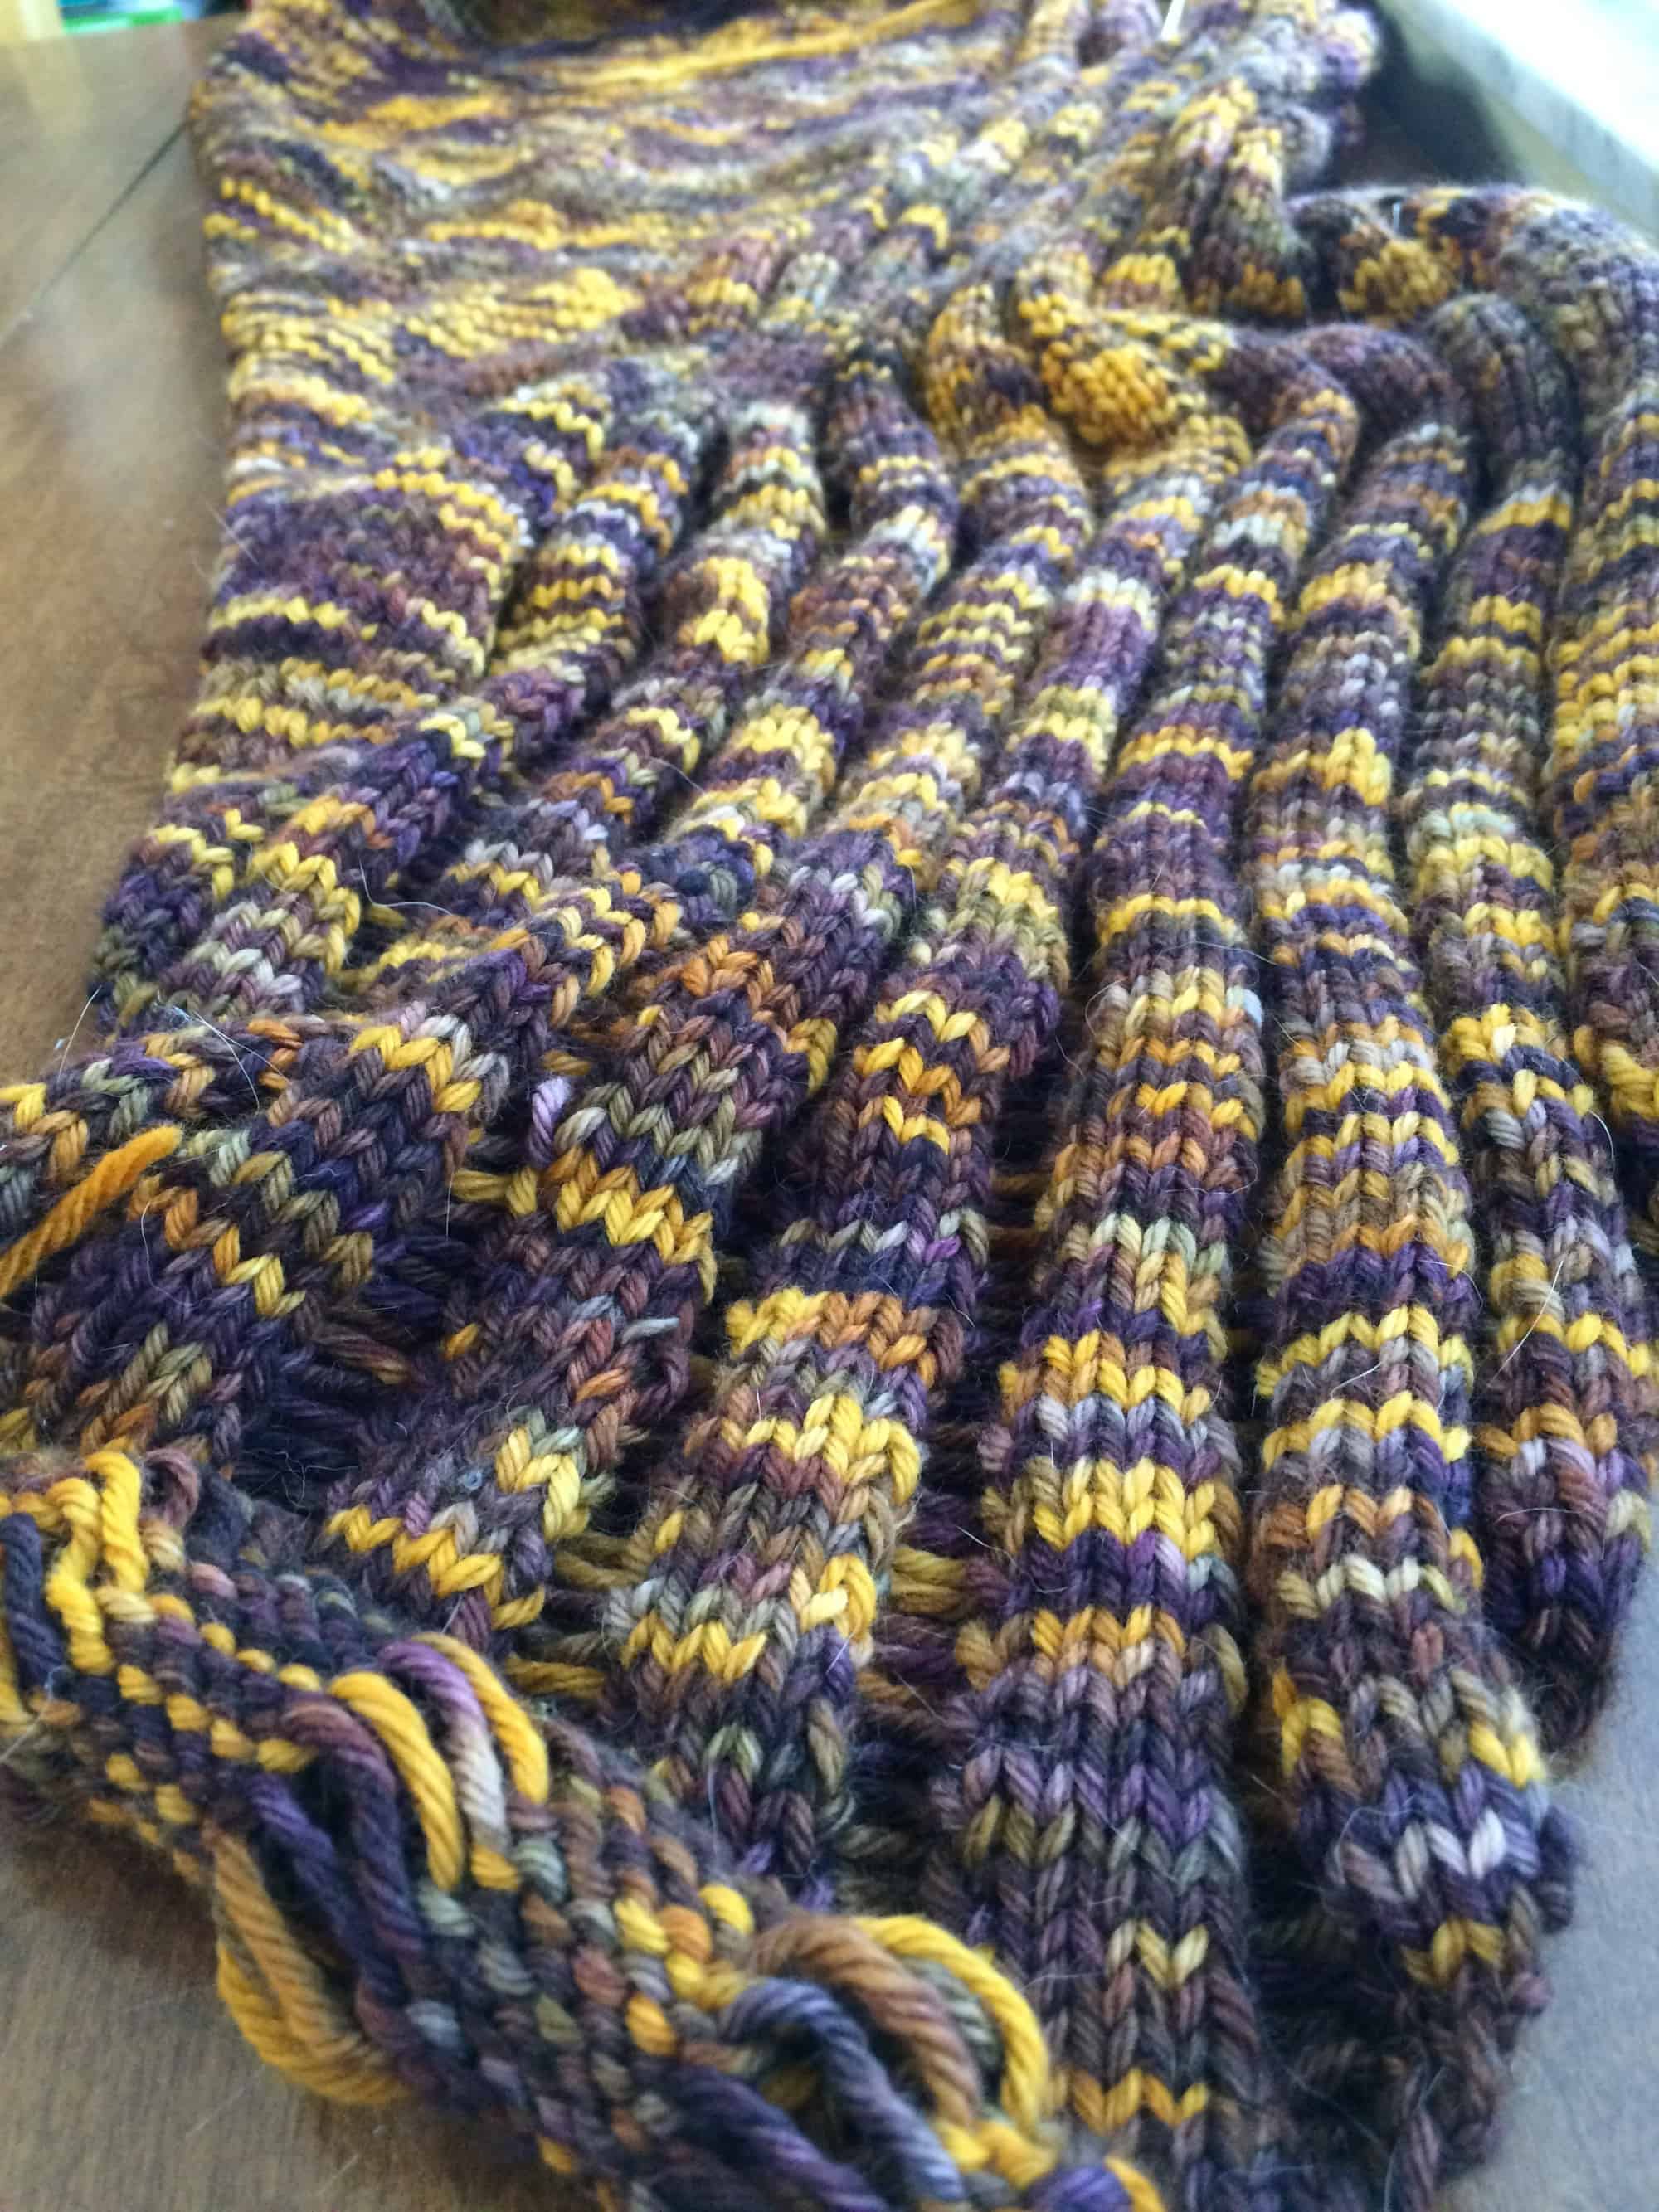
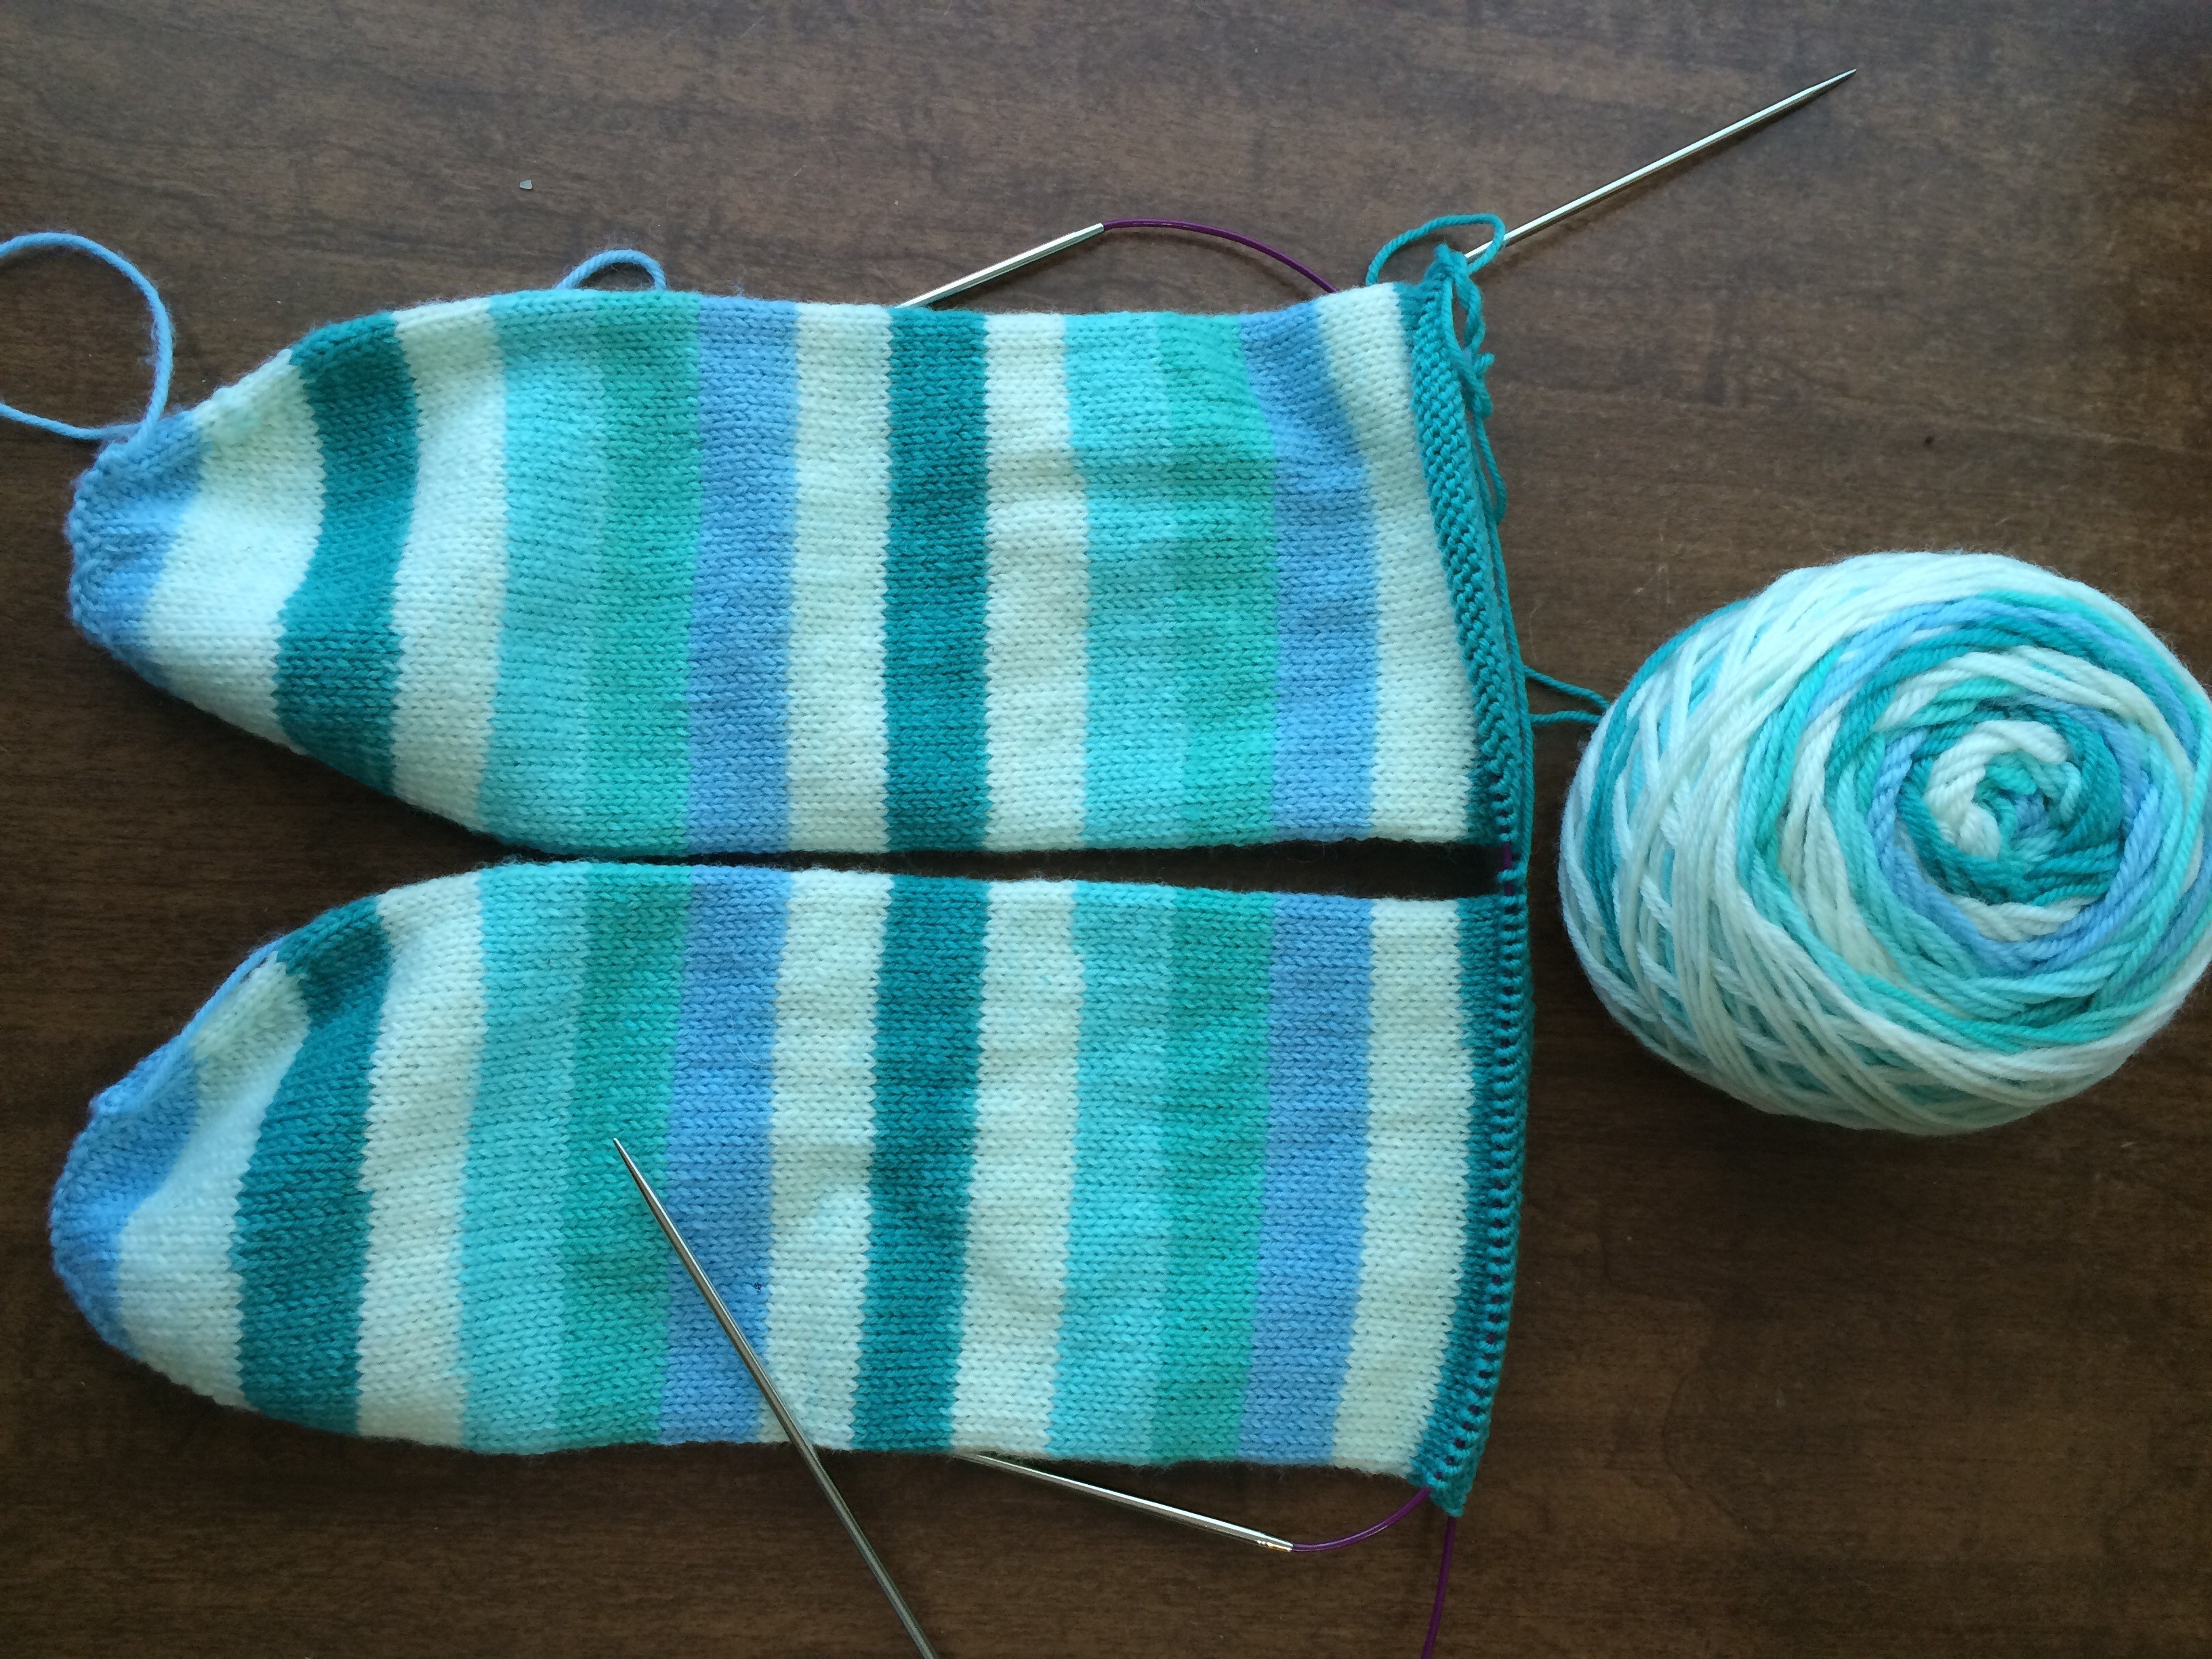
Splash Socks
I hoped to finish these while traveling, but while in India I spent most of my knitting time on the shawl, leaving these socks for the flights. The trip home involved 20+ hours actually on planes, with little to no time on layovers. I dozed off and on throughout the trip home, leaving less time for knitting than I had planned. Still, I got 5 stripes done on the trip home. Since I hadn’t brought appropriate waste yarn to mark the heels, I just kept knitting. I’m going to steek for heels — the first time I’ve ever done that!
TKGA Master Hand Knitting Level 1
I purchased the Master Hand Knitting Level 1 at the end of February and blogged about it in mid-March. When I discovered that we were going to India, I decided I wouldn’t work on the program until I returned. However, before we left, I did make myself a detailed checklist, breaking down each step of the project. Now that I’m back from the trip, I want to focus on finishing Level 1. I have an extremely ambitious goal: mail off the Level 1 binder by the first week of June. The reason for this ambitious goal is that I will be attending the TKGA Conference in San Diego July 21-26. If I can get Level 1 mailed off by the first week in June, it’s possible (though tight) that I might get the reviewed binder back before I go to the conference. Since I’m attending the Master’s Day program on July 21 and taking a workshop with Arenda Holladay, I’ll have the opportunity to ask any questions I have regarding necessary corrections for Level 1.
My personal approach to Level 1 is to research all the questions relevant to a swatch and write draft answers prior to knitting the swatch. Then I knit and block the swatch and edit the answer based on the experience of knitting and blocking. Yesterday, I did the research for the blocking report and wrote a draft that includes all the information other than how I blocked the swatches. Today I did the research for the first question and wrote a draft answer. As I write, I am compiling the References sheet that is one component of the binder. Every time I use a new source, I add it to the References section immediately. I expect to take significant time to edit the written work after all the swatching is complete. Proceeding in the manner I described makes that easier because I won’t have to switch back and forth between writing and editing. Switching back and forth slows me down considerably!
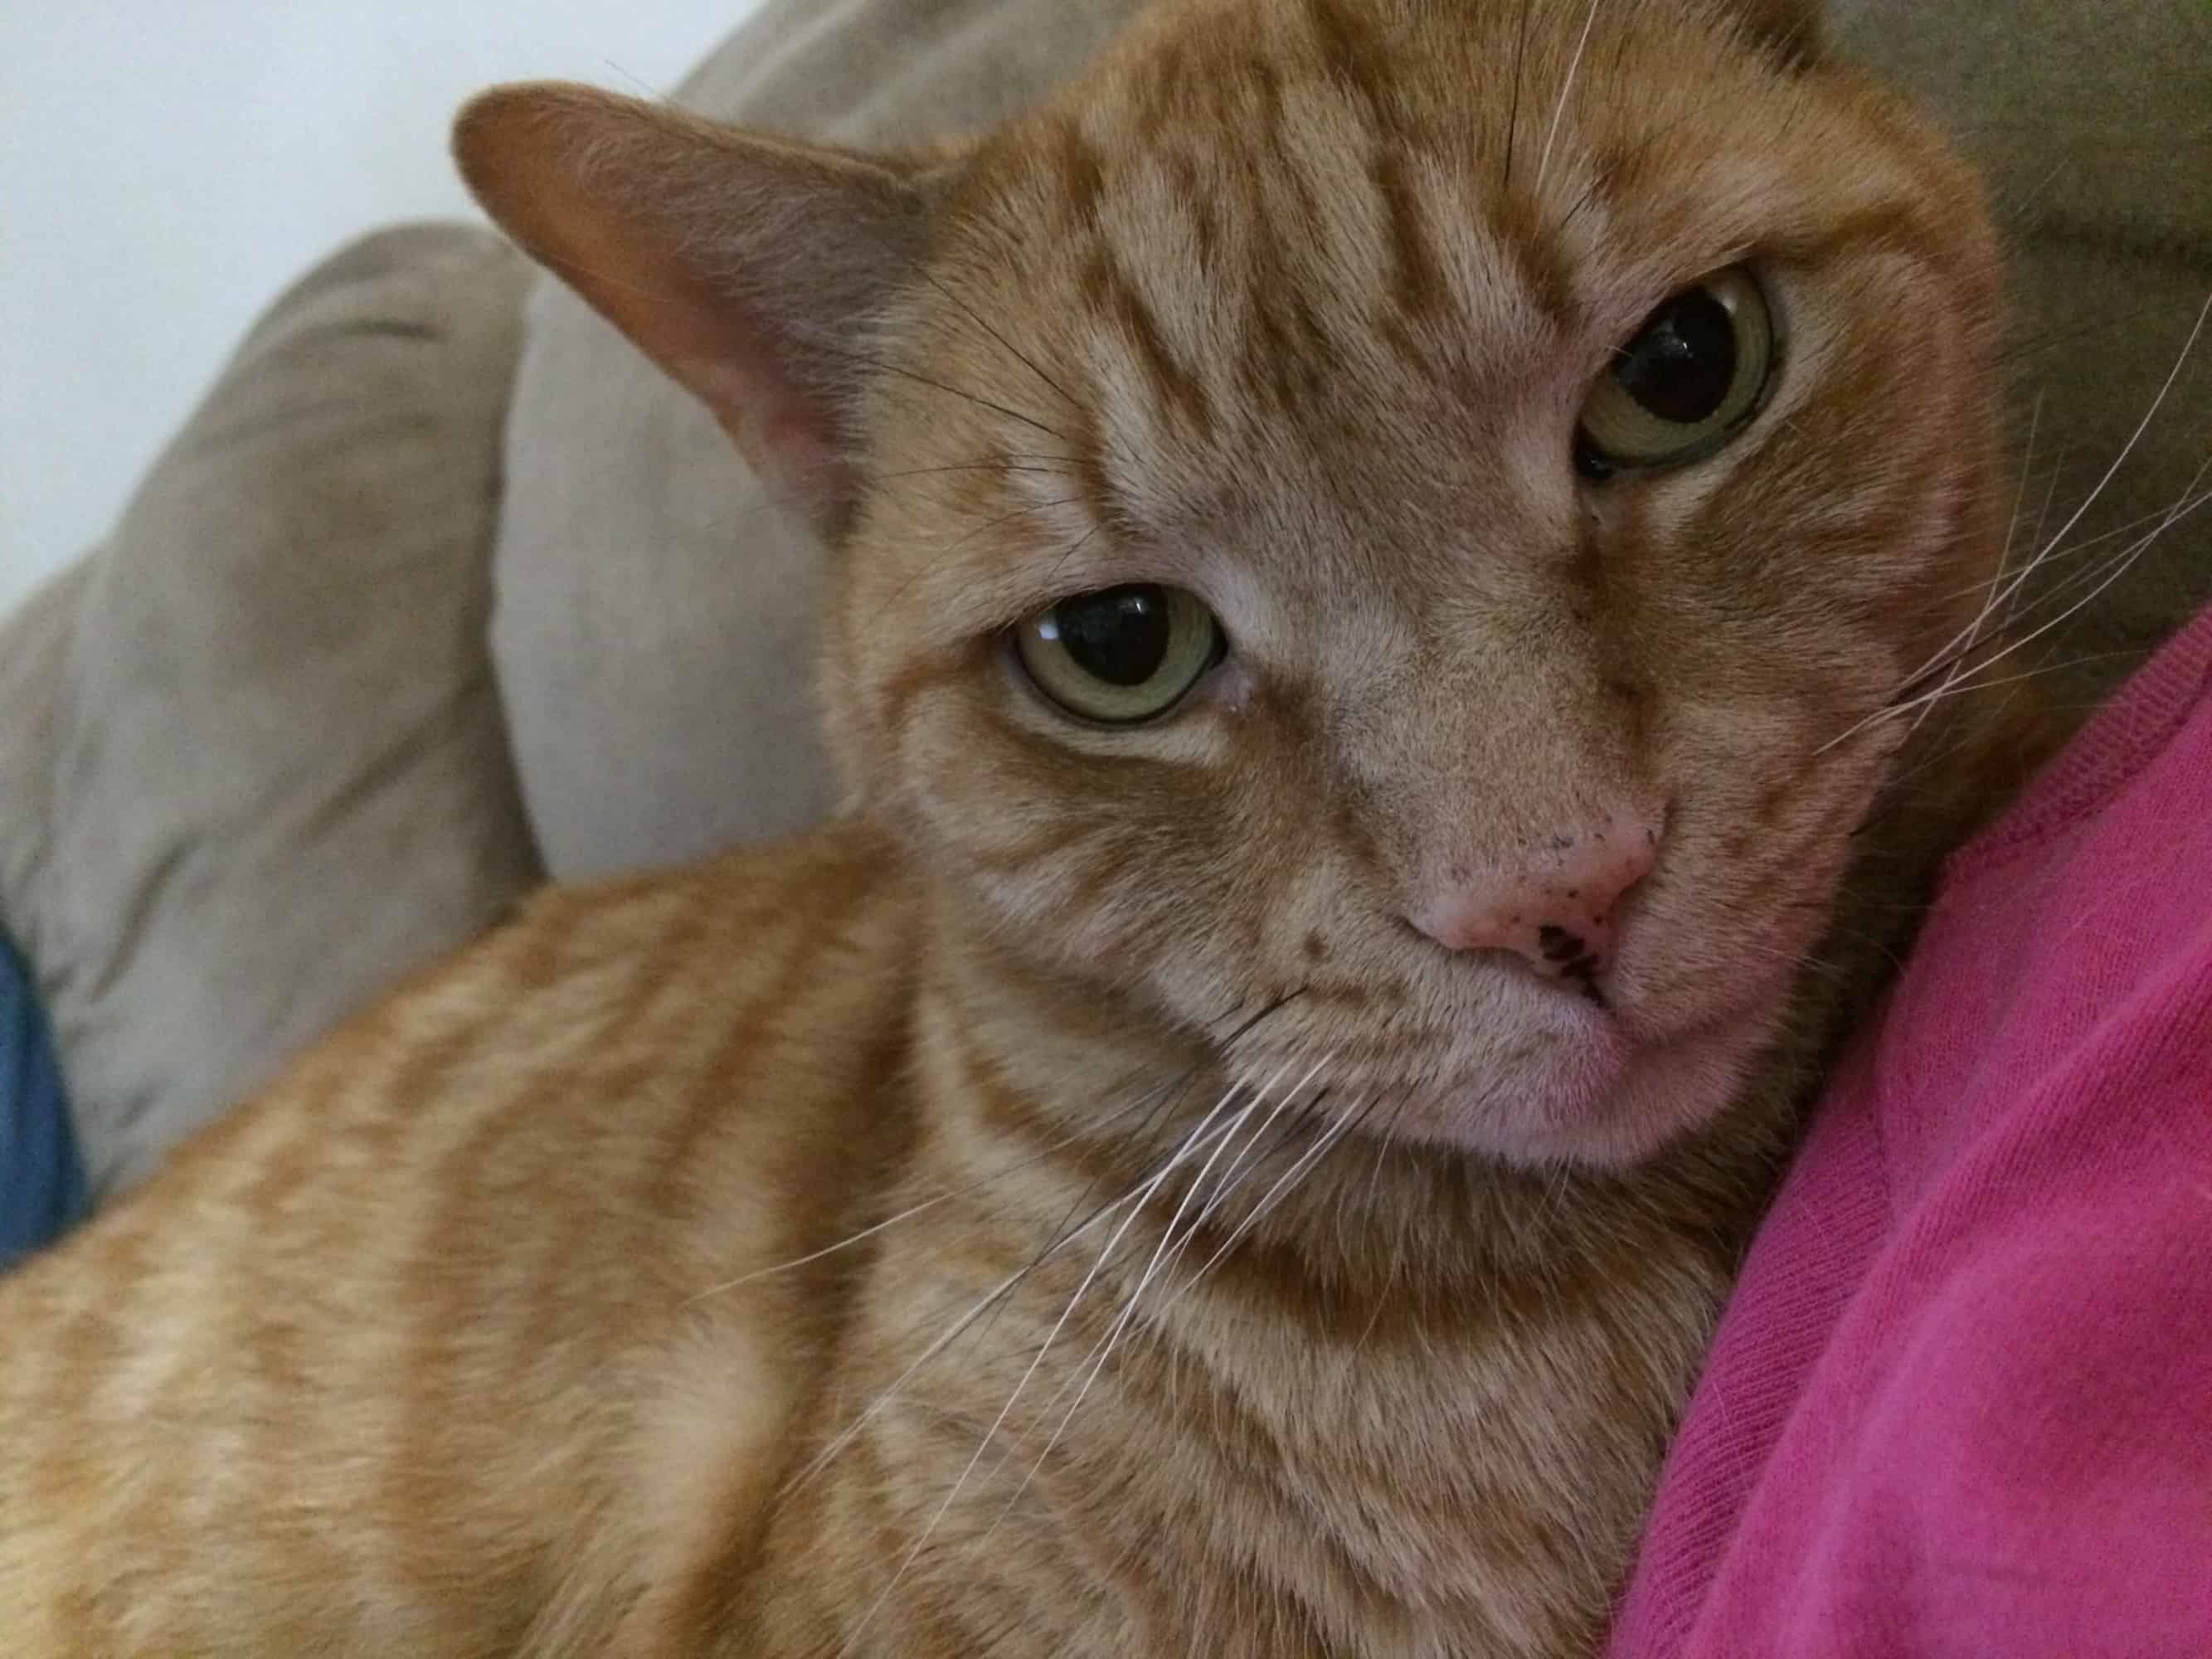
My single biggest worry about the swatches is that there will be cat hair all over them. The directions specifically say that the swatches should be free of pet hair. This seems like an impossible standard in my house. We’ve got three very cuddly cats in varying colors that mean no matter what you are wearing, the cat hair stands out from a mile away. Since we got back from India, they are even more cuddly than usual. They were well cared for while we were away, but they obviously missed us!