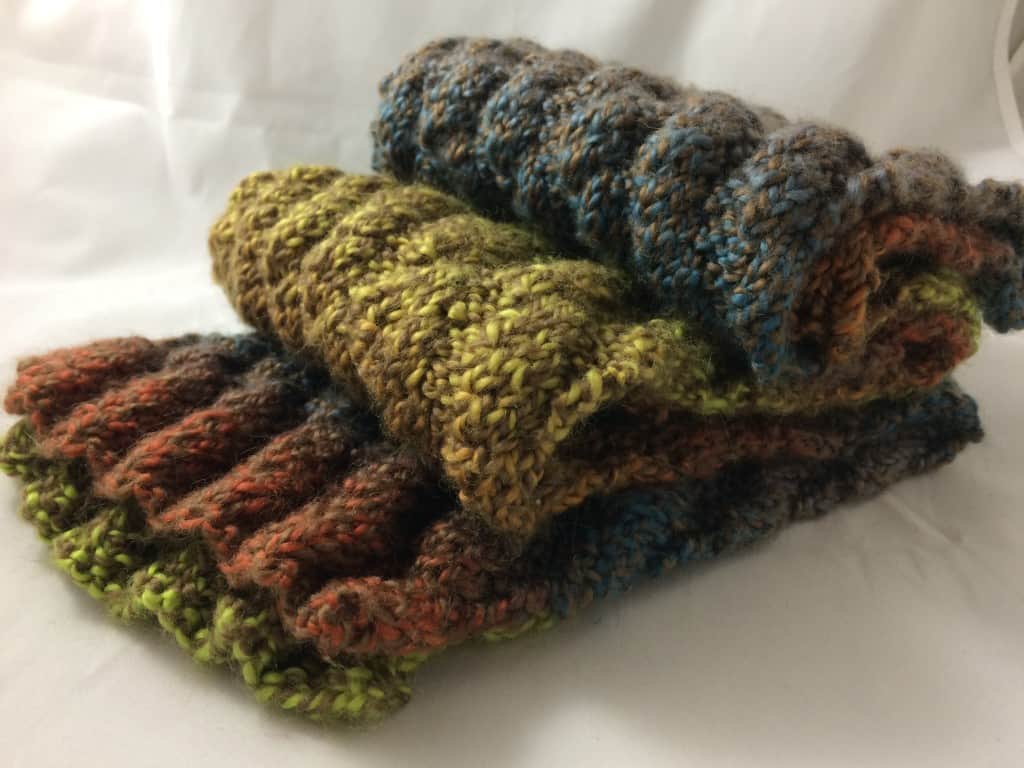
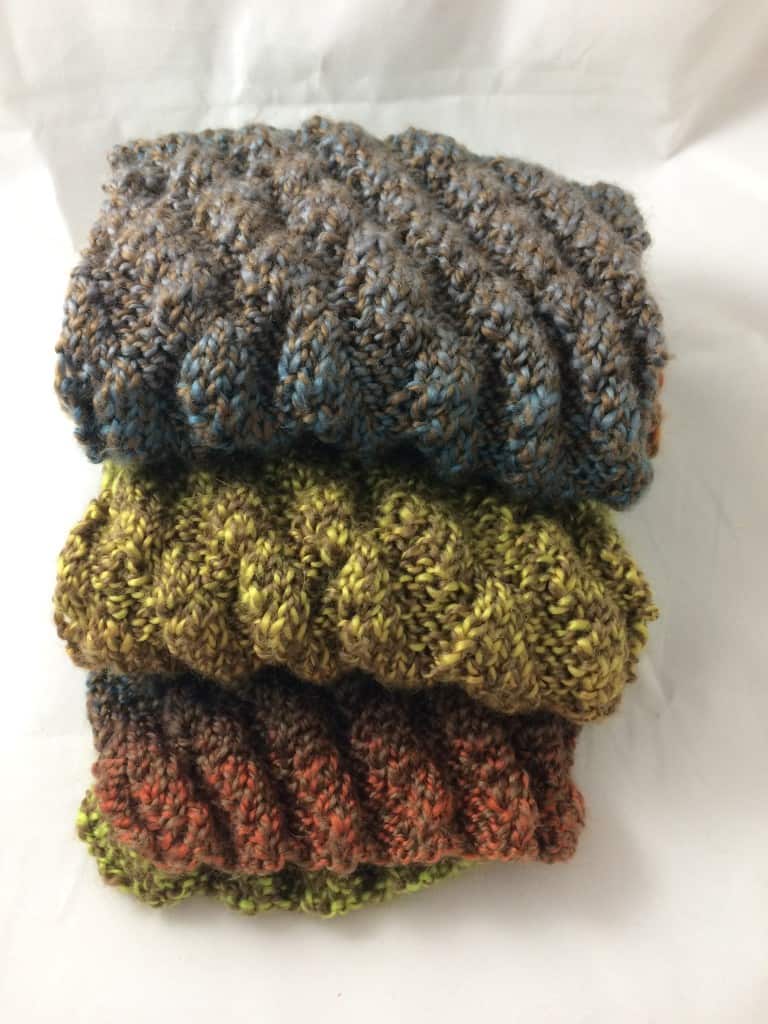
I have been knitting, crocheting, spinning, and weaving away, but have not been writing posts on each of my finished projects. I received a private message on Ravelry, asking for the details of this project, so thought I’d write it up to share with all of you!
Official Stats
- Date Started: September 16, 2015
- Date Finished: September 28, 2015
- Pattern: as discussed below
- Yarn: Cascade Pinwheel in Autumn Leaves (#21)
- Needles: US 8 , 5.0 mm
- Finished Dimensions: I forgot to write down the measurements; but approximately 6″ x 65″
- Made for: Charity
- Ravelry Project Page
- PDF version of this pattern: A Traveling Scarf
About this Project
I bought the Pinwheel yarn specifically to knit for charity. I got two skeins of most colors so I could make matching sets with a scarf, mittens, and hat. The scarf takes one skein and I can just squeak a hat and mittens out of a second. For three colorways, I only had one skein because that was all that the shop had. In September, I decided to knit up a couple of those skeins into scarves. I looked at the free patterns on Ravelry, but didn’t find anything that caught my eye that I hadn’t already knit. So I pulled out my Barbara Walker treasuries and found stitch patterns. This scarf uses the Traveling Rib pattern from page 180 of A Fourth Treasury of Knitting Patterns.
When I first started this project, I planned to add a couple selvedge stitches, but after knitting the repeat a couple times, I didn’t like how that looked, so I ripped it out and started over, using just the stitches for the pattern. Ribbing isn’t going to roll and makes a nice stretchy fabric. It doesn’t really need a frame to give the fabric structure.
Abbreviations:
- K = Knit
- P = Purl
- RS = Right Side
- WS = Wrong Side
This pattern uses a 7 stitch repeat. I’ve been casting on somewhere close to 40 stitches for all the scarves I’ve made with Pinwheel. This gives me a finished scarf of 5″ to 6″ wide and 60″ to 65″ long, depending on the stitch pattern. For this particular pattern, I assumed the ribbing would pull the fabric in so chose to cast on more stitches than usual. I cast on 7 repeats (49 stitches), using the long tail cast on, which is my default.
- Row 1 (RS): K1, *P3, K4* 5 times, end P3, K3
- Row 2 (WS): P2, *K4, P3* 5 times, end K4, P1
- Row 3. K2, *P3, K4* 5 times, end P3, K2
- Row 4: P1, *K4, P3* 5 times, end K4, P2
- Row 5: K3, *P3, K4* 5 times, end P3, K1
- Row 6: *K4, P3* repeat to end of row
- Row 7: *K4, P3* repeat to end of row
- Row 8: K3, *P3, K4* 5 times, end P3, K1
- Row 9: P1, *K4, P3* 5 times, K4, P2
- Row 10: K2, *P3, K4* 5 times, end P3, K2
- Row 11: P2, *K4, P3* 5 times, end K4, P1
- Row 12: K1, *P3, K4* 5 times, end P3, K3
- Row 13: *P3, K4* repeat to end of row
- Row 14: *P3, K4* repeat to end of row
Repeat Rows 1 – 14 until scarf is desired length, ending on either Row 6 or 13. BO loosely and in pattern. In this case, that means working Row 7 or 14 as written, and passing the preceding stitch over the just worked stitch as you work across the row, using larger needles if needed to keep your bind off loose.
This scarf is reversible; I’ve only marked a right side and wrong side in the pattern to help keep track of where you are. If you look closely at the pattern, it may appear that rows repeat, but while the instructions repeat, you are on the opposite side of the fabric when you work it (Rows 1 & 12, 2 & 11, 3 & 10, 4 & 9, 5 & 8, 6 & 7, 13 & 14). As a result, if you put your work down and come back to it later, it may be difficult for you to tell where you are in the pattern. If you think you’re on Row 1 and you were really on Row 12 or vice versa, you will find that the direction of your rib changes midstream! You may want to mark the right side of the work, by hanging a locking stitch marker on that side.


