
Today’s Yarn Love Challenge prompt is “Currently Making.” If you haven’t read my previous posts, this is the third in the series. If you’d like to start from the beginning, here’s the link to day 1. At the end of each post there’s a link to the next post in the series. If you’ve read the earlier posts, but missed yesterday’s, click here to catch up!
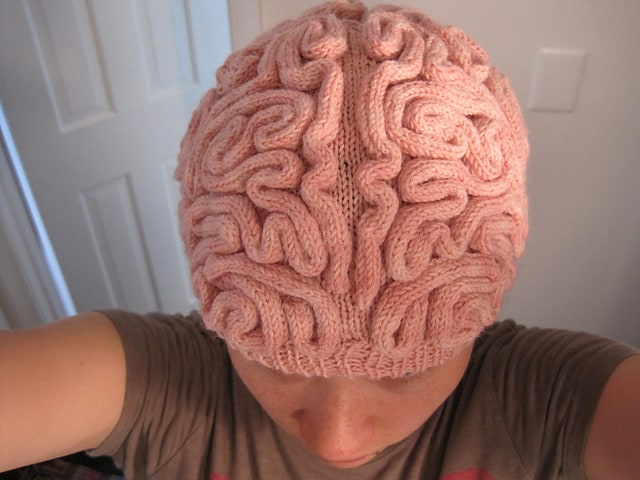
I’ve mostly been making brains. Perhaps you’ve heard about the March for Science scheduled for April 22? The date was set in early February, not long after the Women’s March. Crafters excited about the impact of the pussy hats immediately started discussing options for hats for the March for Science. Many scientists and science lovers expressed an interest in Brain Hats.
As even a non-knitter can probably tell, this hat is far more complicated than the brain hats. In the March for Science Ravelry group and Brain Hats Facebook group, there’s much discussion regarding better ways to make these hats, so sufficient numbers can be made before the march. The project breaks down into three primary tasks: (1) Creation of the skull cap, which is a straight forward and fast knit; (2) Creation of the i-cord, which isn’t difficult but is tedious and time-consuming; (3) Attaching the i-cord to the skull cap. Since I’m lucky to have a number of local fiber friends, I e-mailed them all and asked if anyone was interested in working on this project together.
My friend Katie has knit caps. As of last week, she’d finished 13 of them. I’m sure she’s finished a few more since last week! I am working on the i-cord for the brains. To make this process easier, I procured an Embellish Knit i-cord maker (Amazon Affiliate Link). It’s tough to find them now, even through Amazon, because they either have been or are being discontinued by the manufacturer. I managed to scoop up three of them on clearance at my local Jo-anns. I wind the yarn I’m working with onto a ball winder and leave it there while I crank the i-cord.
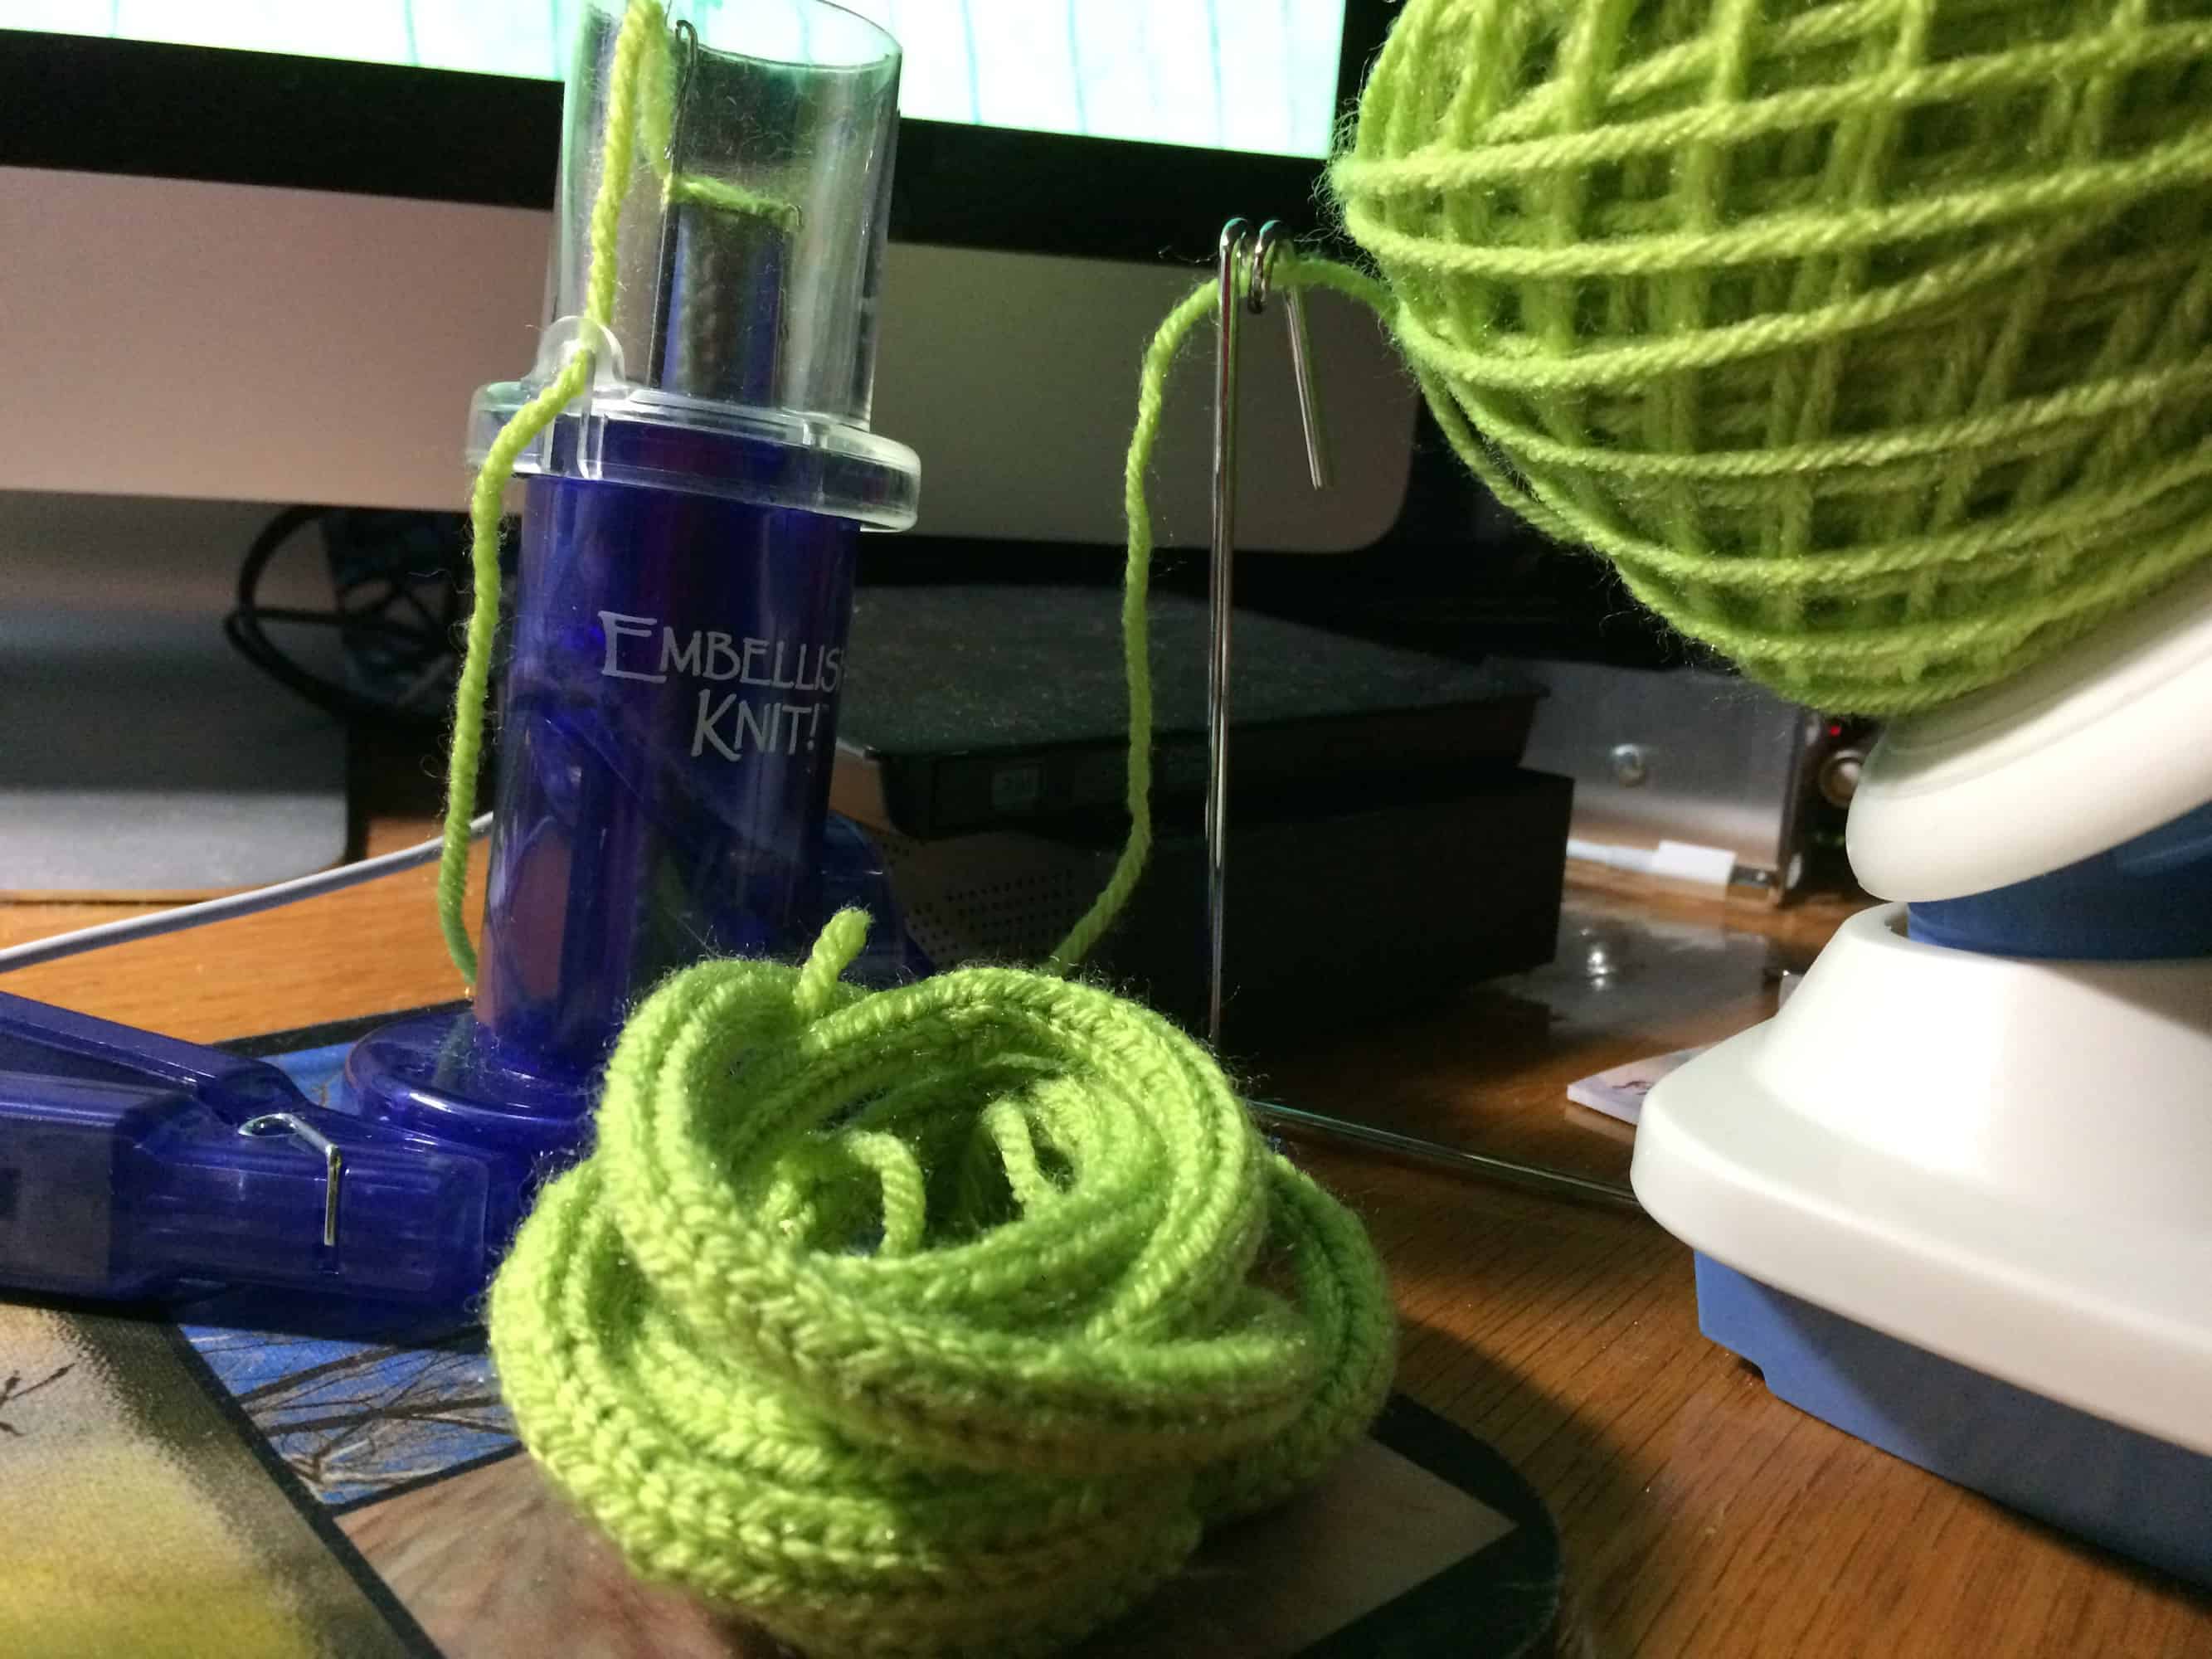
Keeping the working yarn cake on the ball winder helps in two ways. First, the ball of yarn doesn’t hop around all over the floor while I’m working. Second, the working yarn feeding into the Embellish Knit doesn’t get tangled with the finished i-cord coming out of the bottom of the machine. The i-cord doesn’t just move straight down as you crank. It tends to whip around in a circle and quickly become tangled with the working yarn unless you keep the two ends far apart.
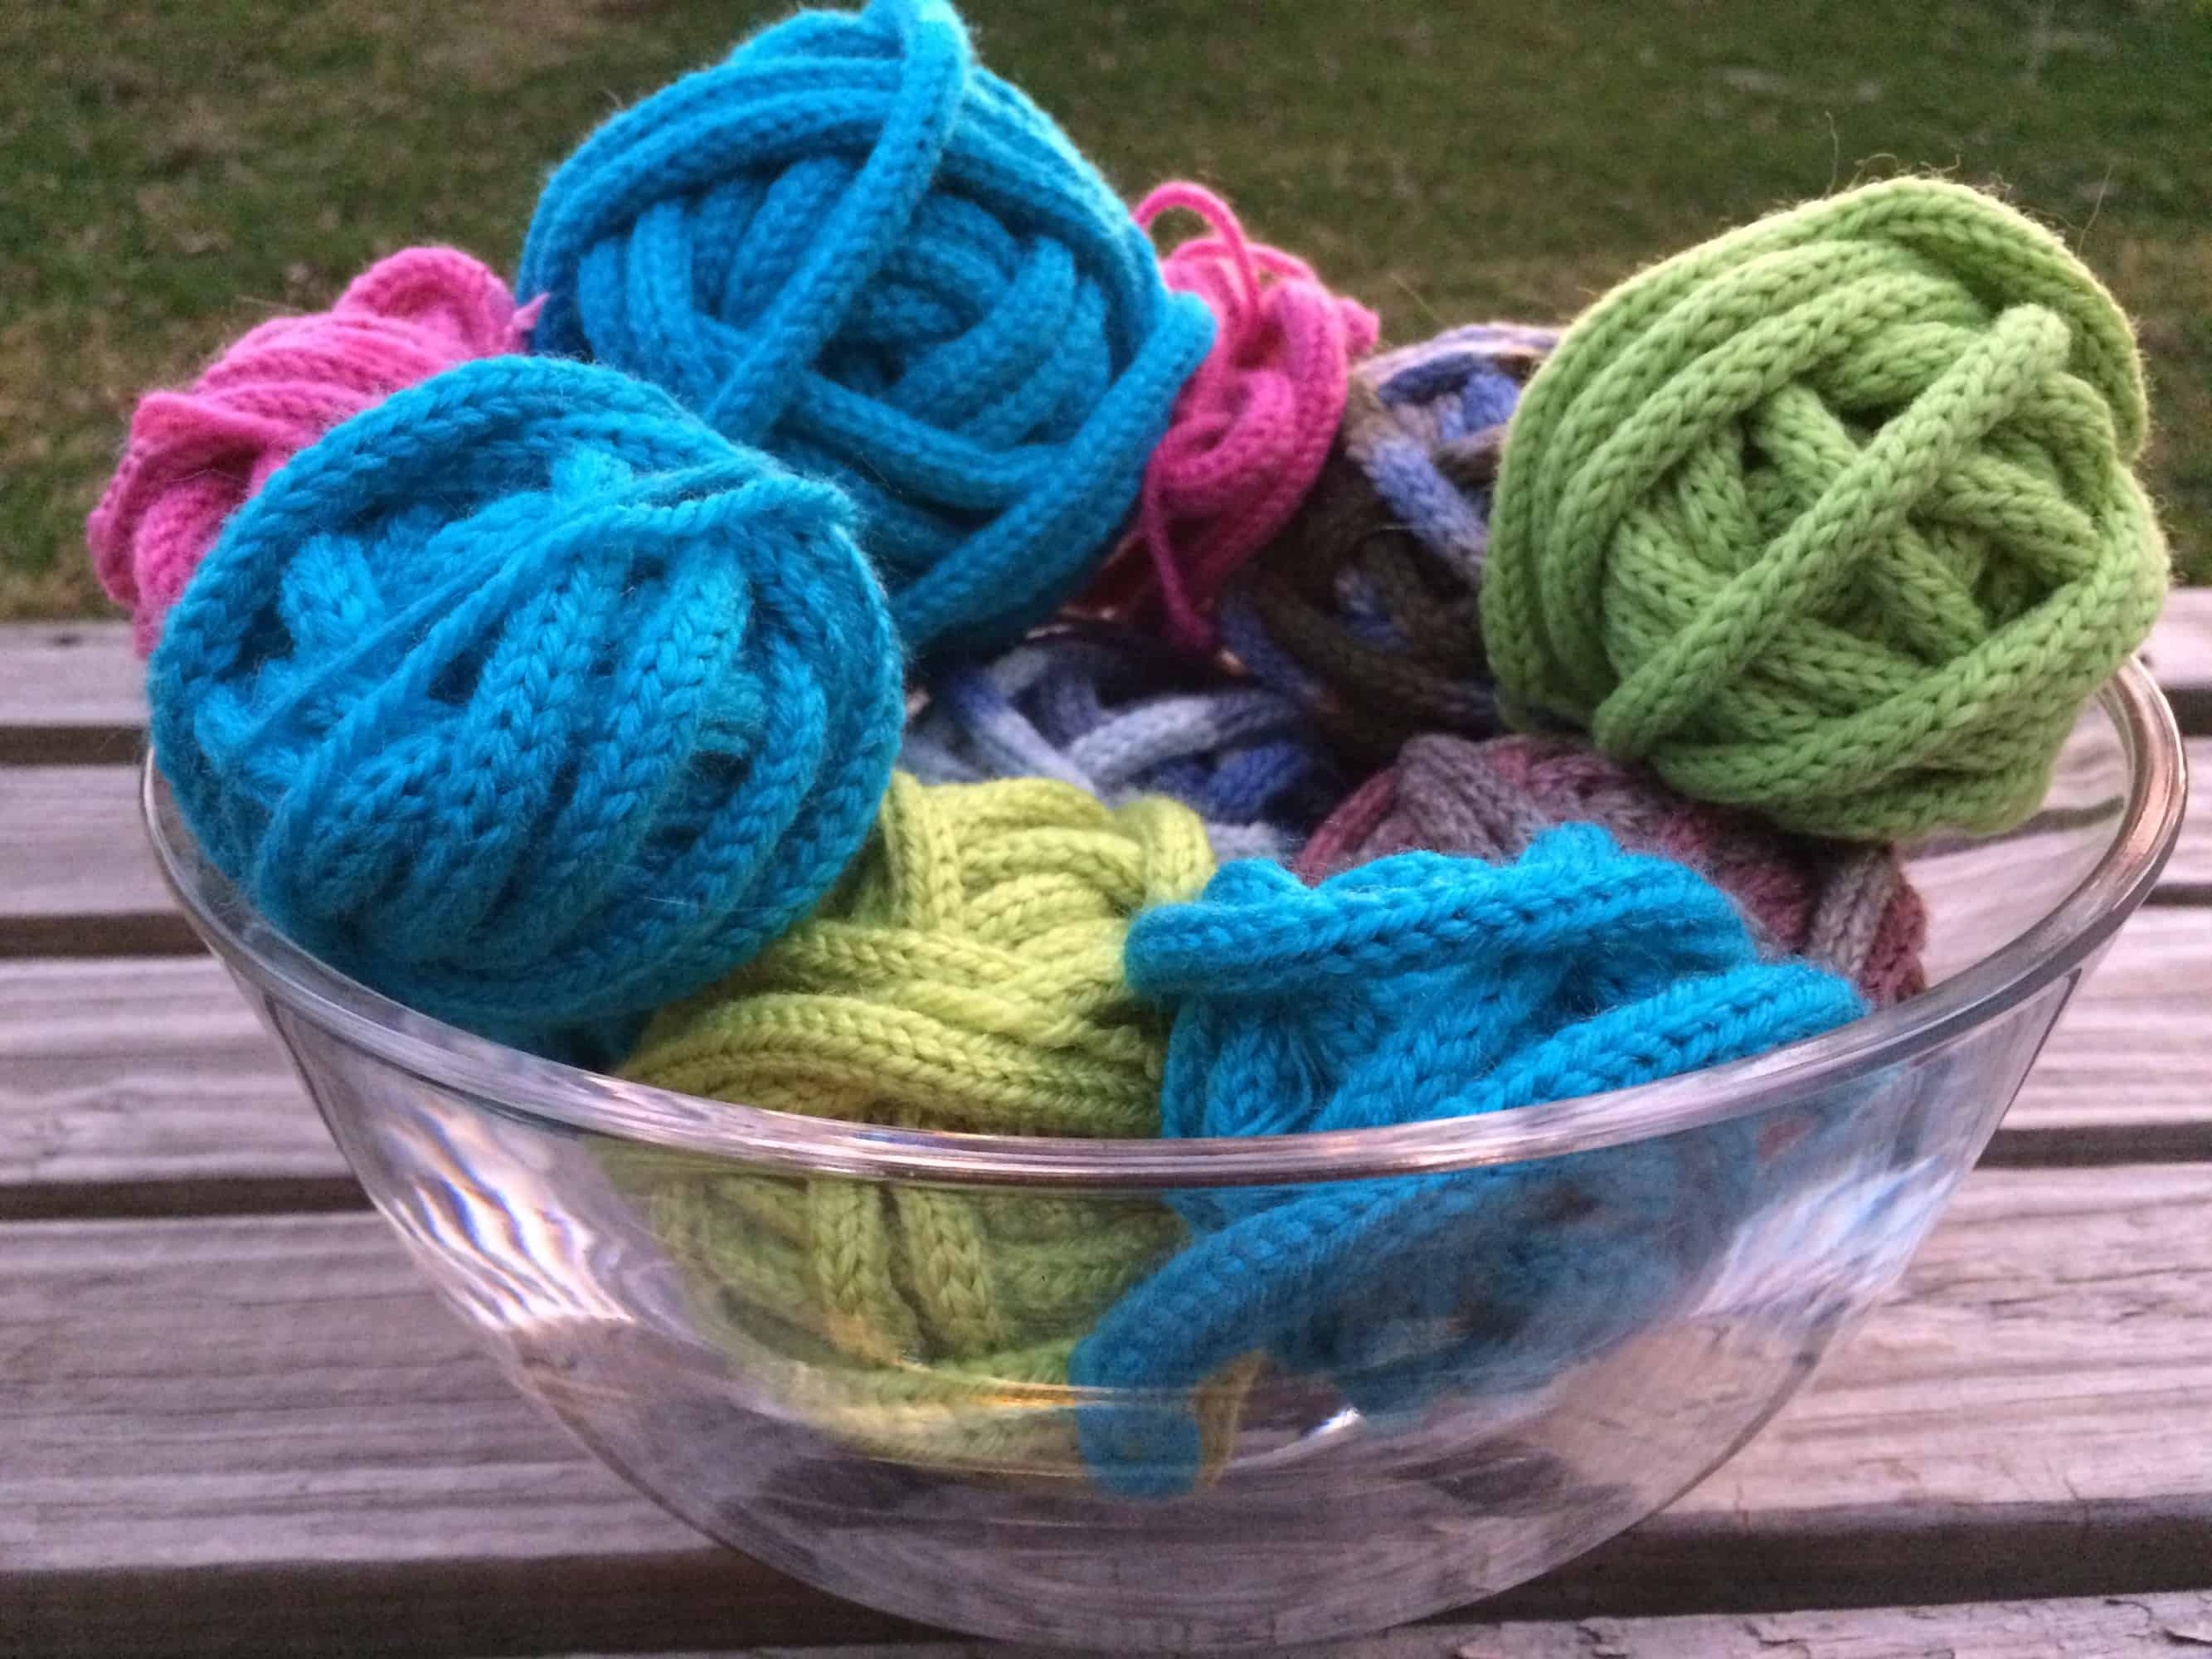
The yarn in the picture above is Vanna’s Choice. The Embellish Knit instructions say that you cannot use anything thicker than fingering weight in the machine. However, after much experimentation, I found that I could use worsted weight yarns as long as they are smooth, slippery yarns. I have to pay attention when setting up the machine and I have to move the weight up to the base of the machine after I’ve cranked about six inches of i-cord. I also can’t crank as quickly as I would if I was using a thinner yarn. However, it is quick enough. Using this set up of Embellish Knit plus ball winder, I am able to crank through an entire skein of Vanna’s Choice in 45 – 60 minutes. Each skein is probably enough brains for one hat.
Sometime soon, we have to start attaching brains to hats. In order to make that process easier, I purchased a styrofoam head meant for displaying wigs.
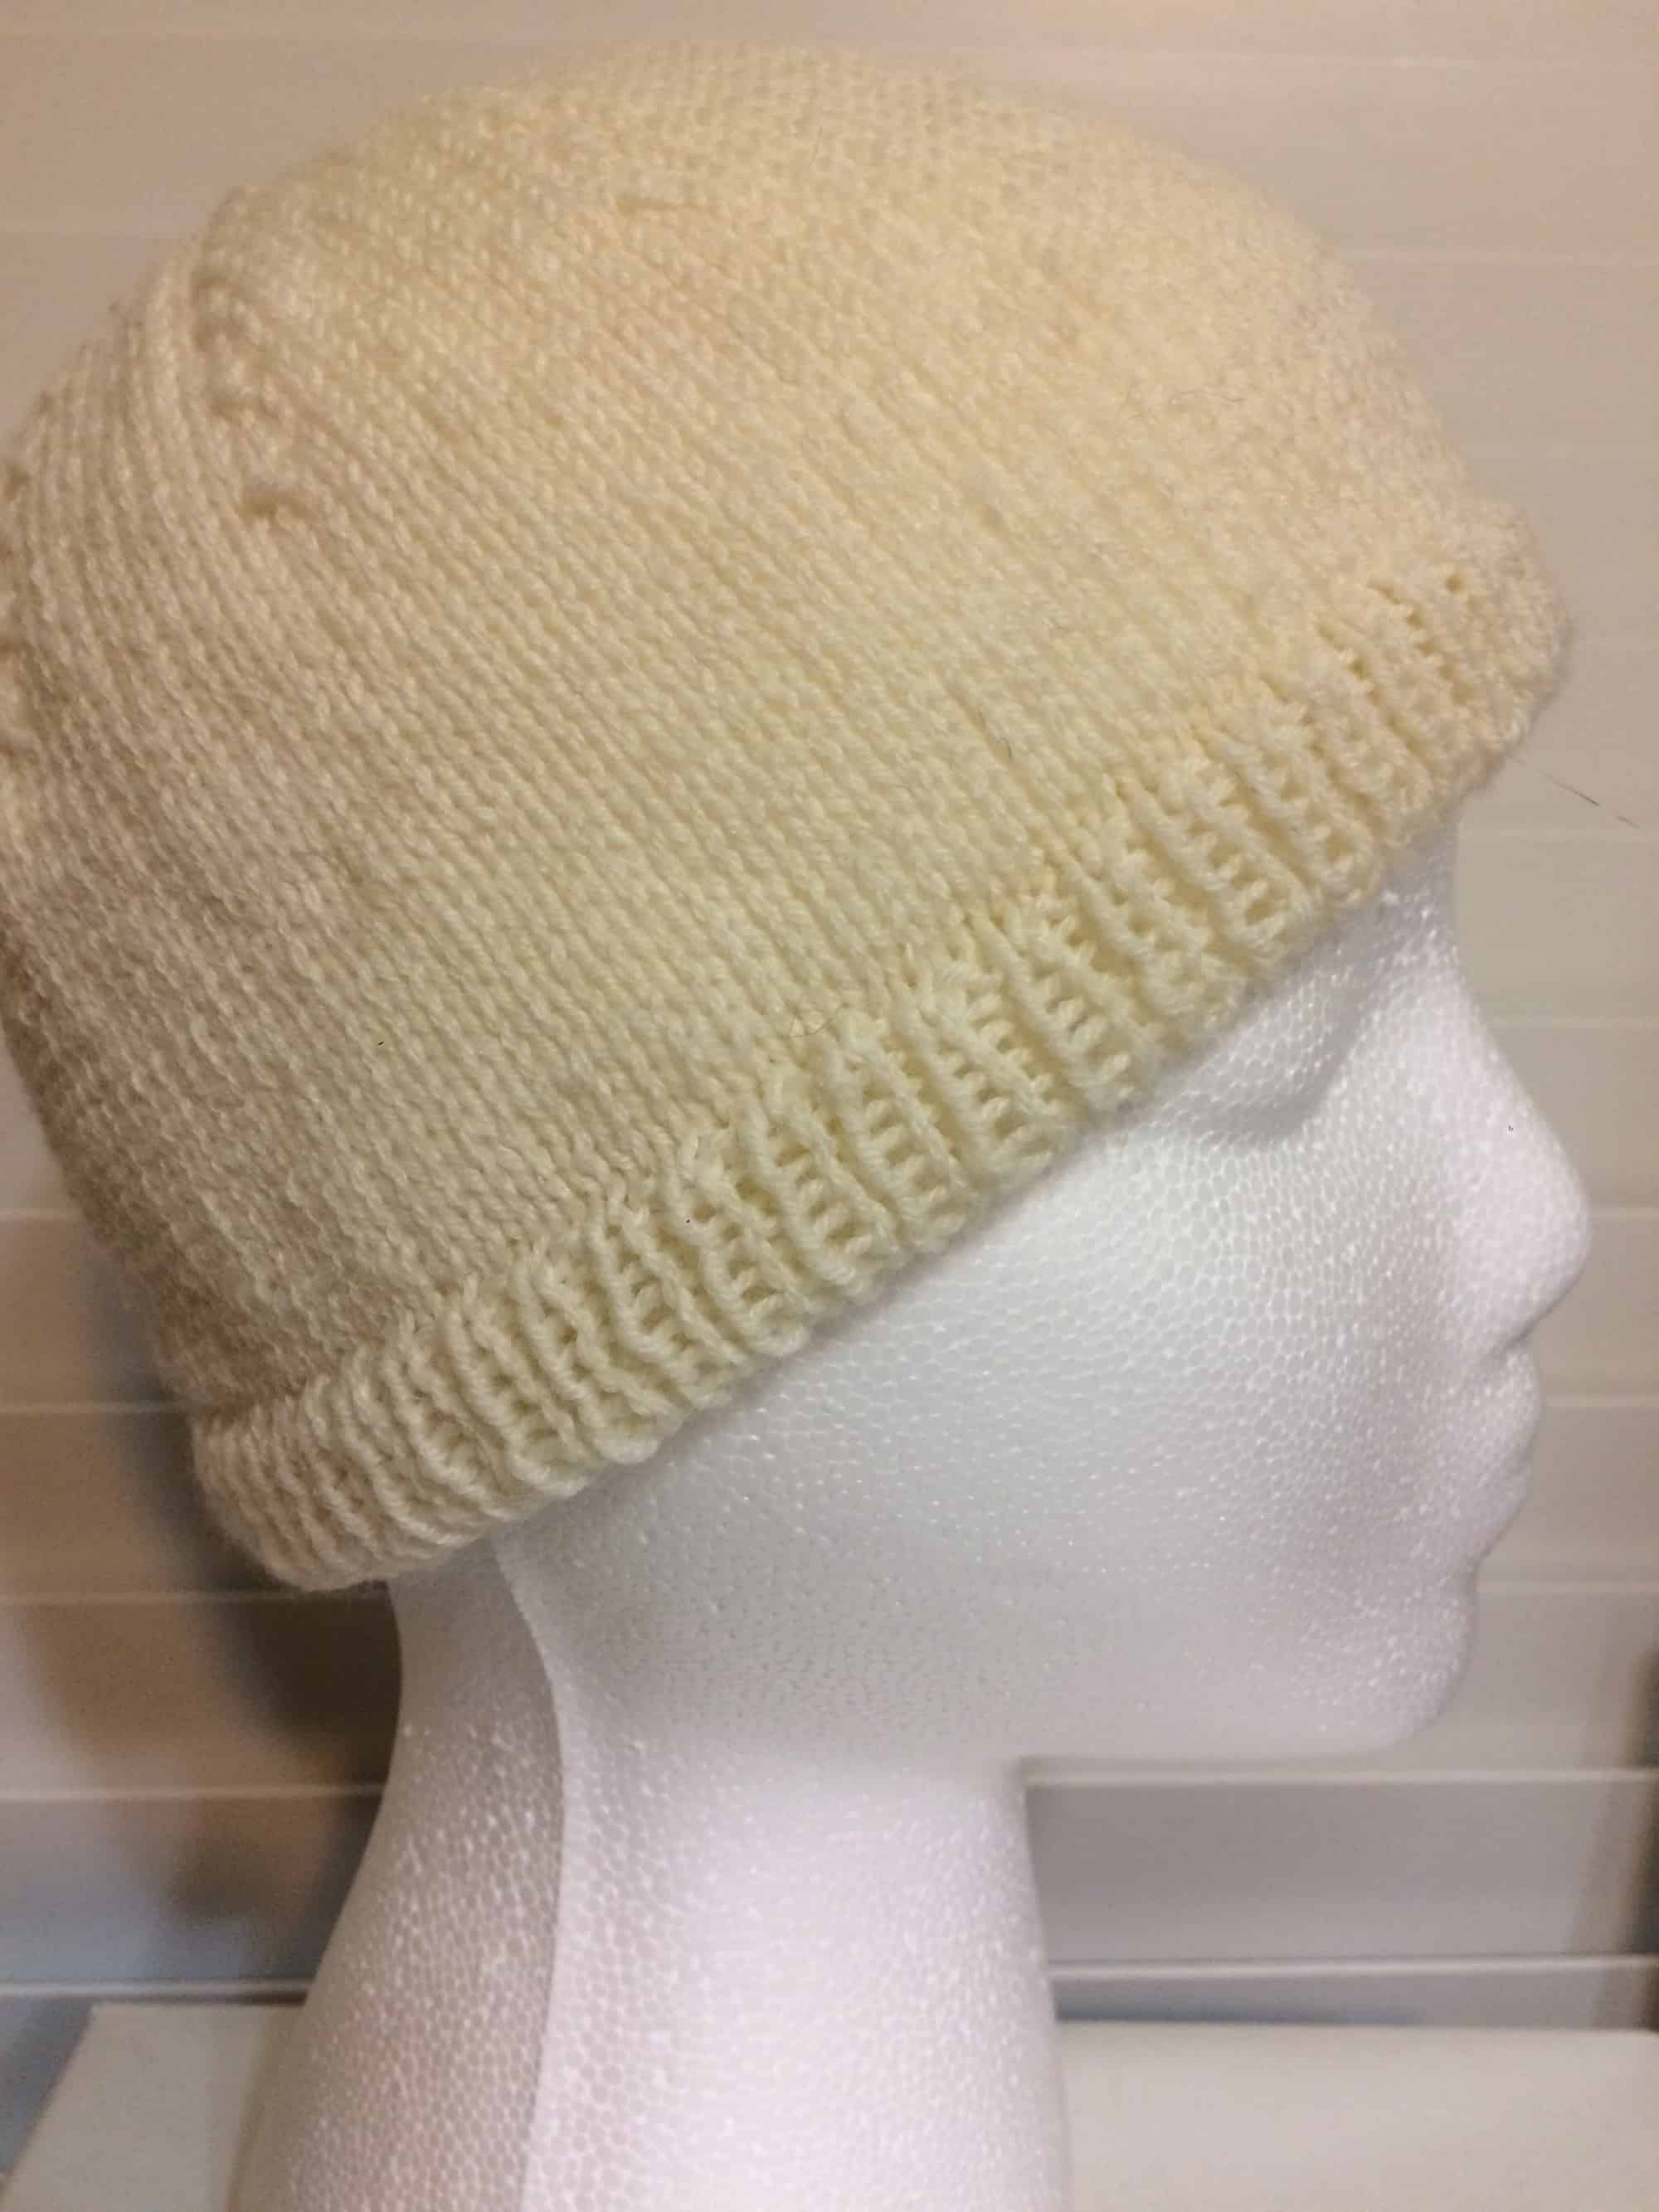
Since attaching the brains will take both hands and since it is better for the hat to be slightly stretched, I needed a way to holding the hat still and stretched while I am working. In the previously mentioned Ravelry and Facebook groups, people have mentioned several options for stretching the hats, but many of the other methods (e.g. a balloon) still required you to hold the stretcher while simultaneously applying the brains. Even some using the styrofoam heads found it challenging to keep the head still while working. They make clamps designed specifically for holding these heads firmly on a surface, so I purchased one of those a the same time I bought the head.