I have not yet used the floor loom that I bought last month. I did not plan to use the loom until I move it out of the dining room and into its permanent location in my home office. In order to do that, I have to rearrange my office, including emptying two file cabinets. Progress on that project completely stalled when we had a houseguest for three weeks. The loom needs a little TLC to get it into weaving trim and I’ve been slowly working on that. I also needed a few tools, especially a raddle and warping board. The raddle was a fairly quick and easy project, which my husband and I finished up last night.
Before You Start
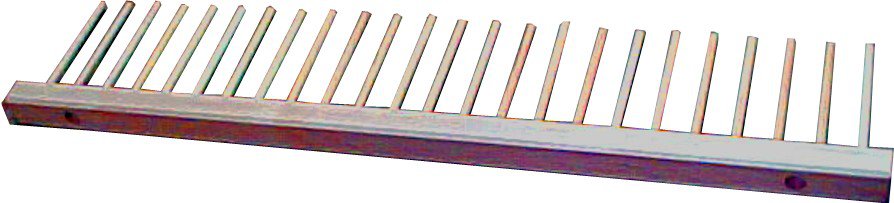
A raddle consists of two components: a long piece of wood with either nails or dowels stuck into it. Here’s pictures of a couple of commercially available raddles.

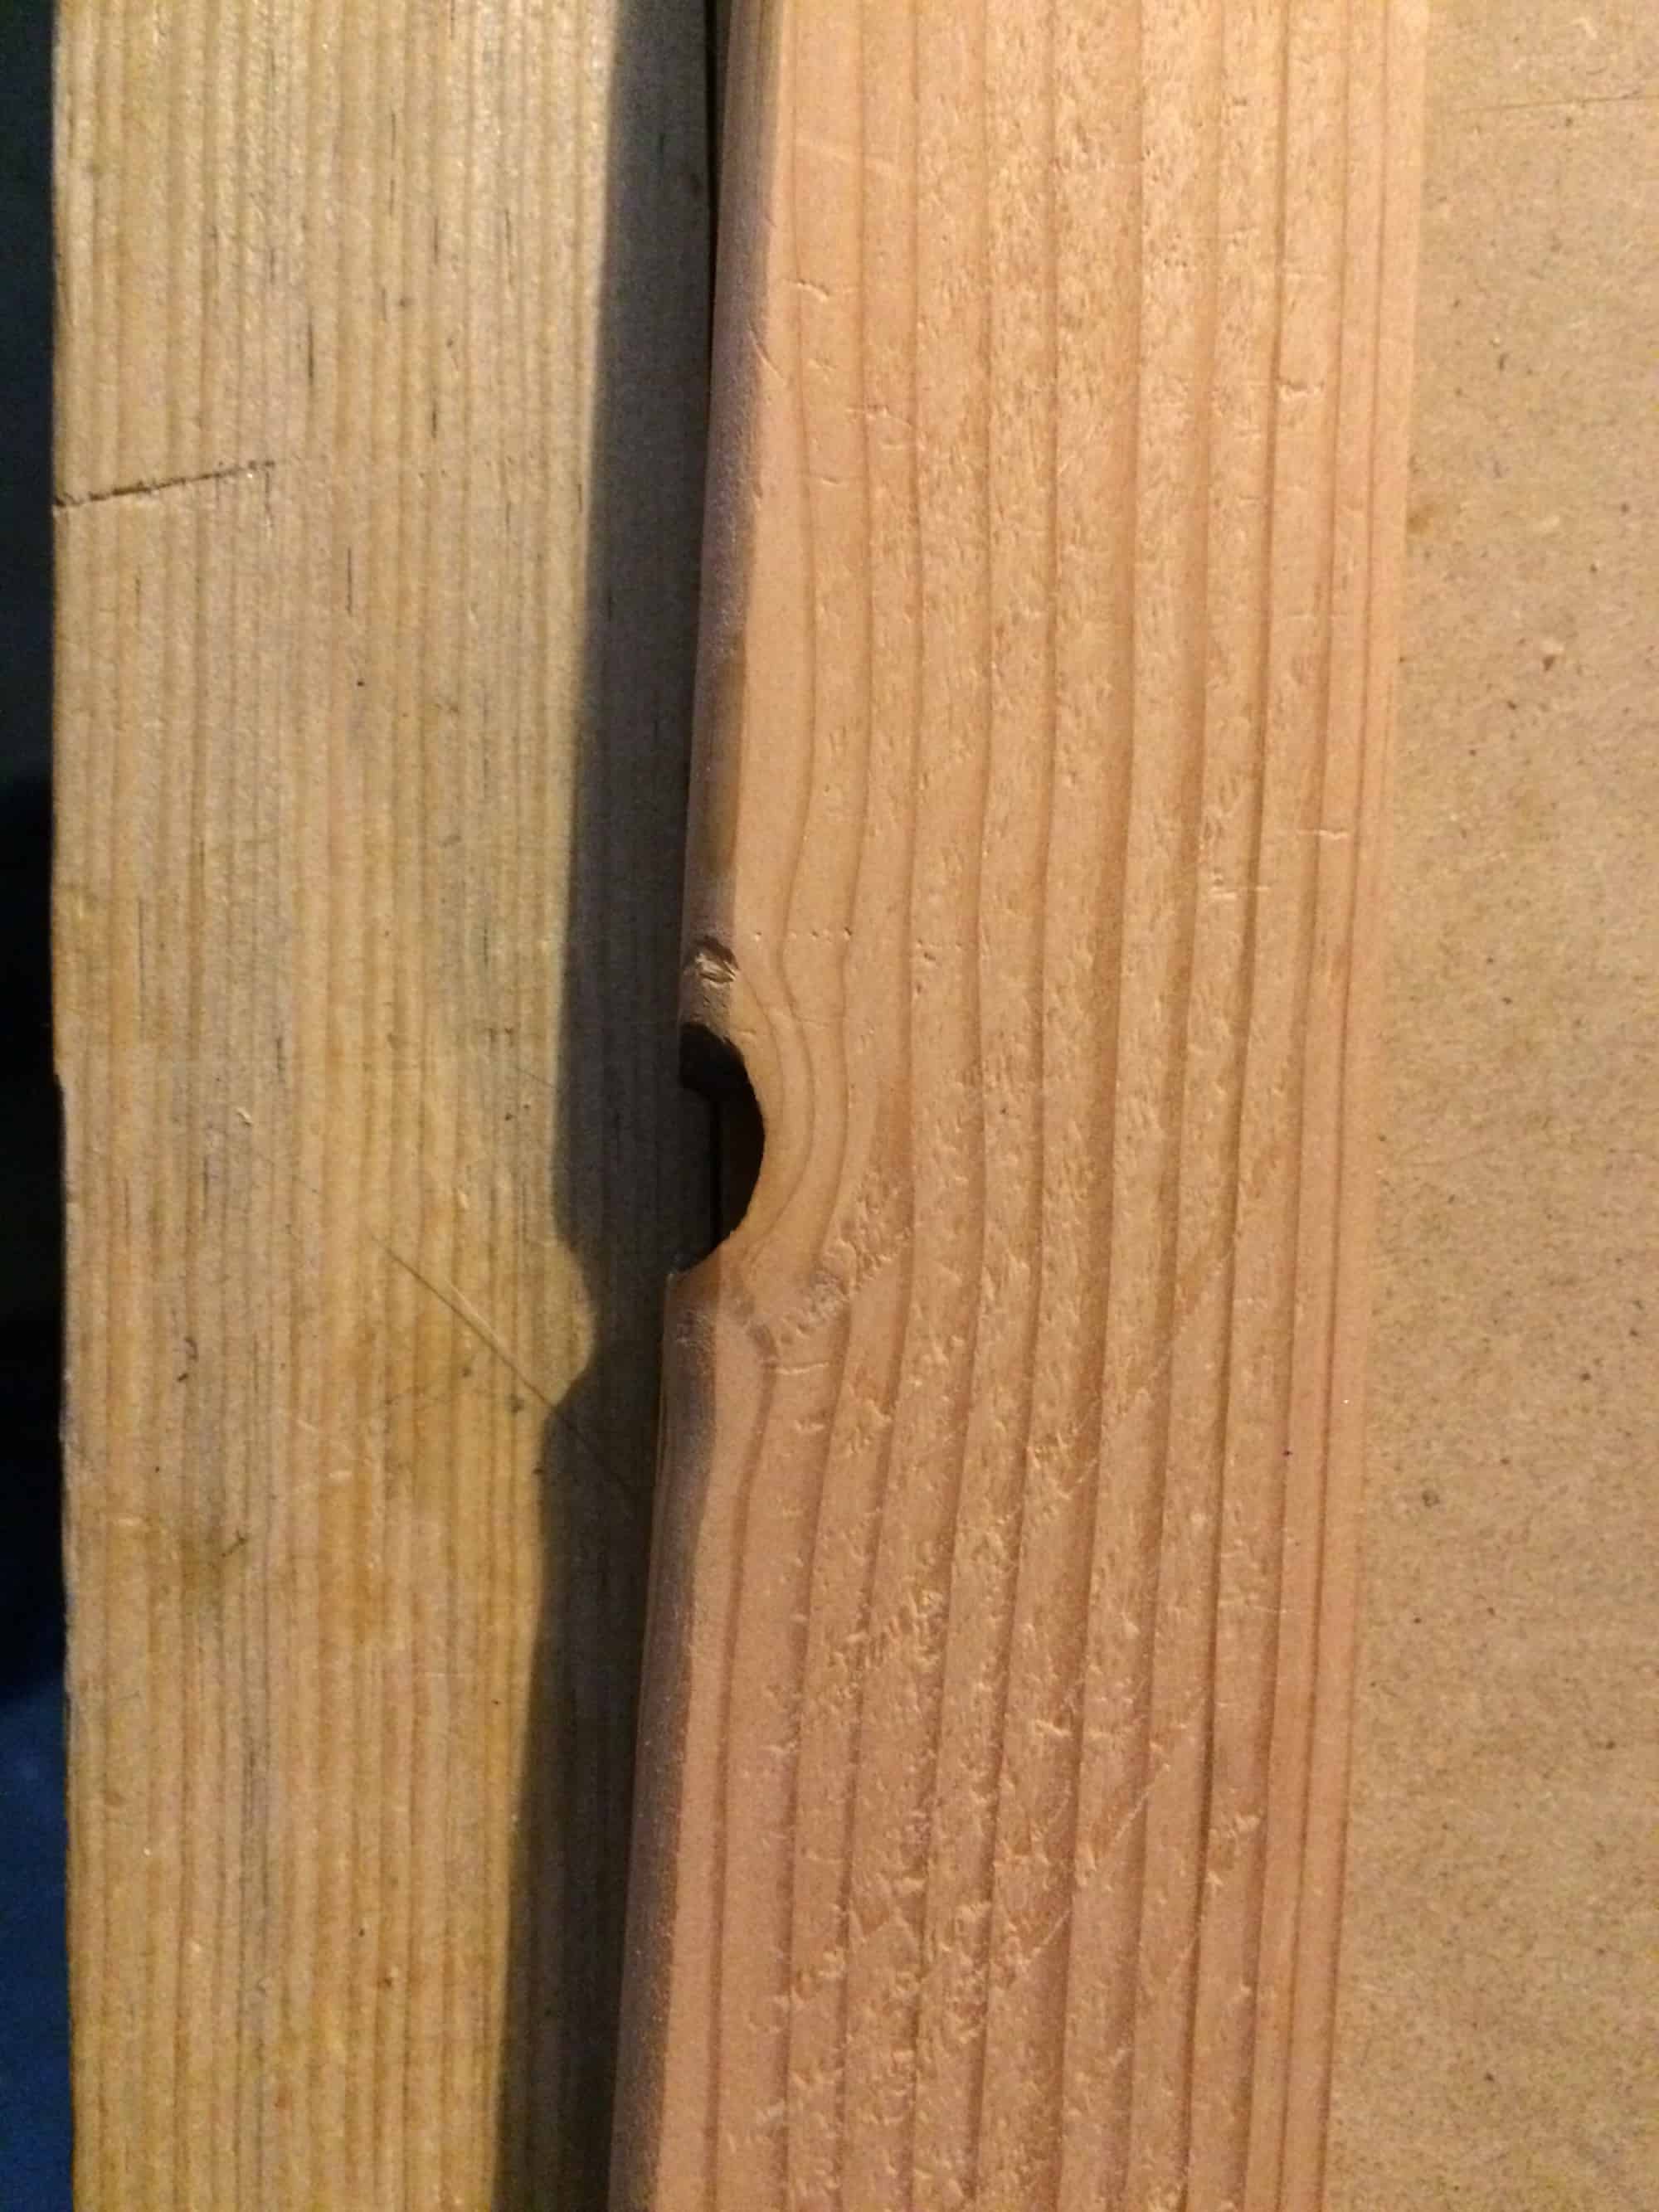
The raddle is used to keep the warp threads in order while you wind the warp onto the warp beam. The raddle can be clamped to your front beam or back beam or can sit in the rail on your beater, in the spot you would normally put a reed. Before you make a raddle, you have to think about how you plan to attach it to your loom while you use it. If you want to slip the raddle into your loom’s rail, the piece of wood at the base of the raddle has to be narrow enough to sit in that groove. If you plan to clamp the raddle onto a beam, the base wood can be a little wider. This choice also limits your options for the upright portion of the raddle. At least on my loom, a piece of wood that was thin enough to fit into the rail was not wide enough to accommodate dowels. I had to use nails.
Keep in mind that a raddle isn’t exactly a precision tool. You just need it to hold a clump of warp threads (either one inch worth or half an inch worth depending on your preference) straight while you wind on the warp. As long as your warp threads can’t escape on you, the raddle is doing its job.
Making the Wood Base
When I decided to make a raddle, my only knowledge on how to warp a floor loom came from Janet Dawson’s Floor Loom Weaving Craftsy class (Affiliate Link), and she used the raddle in the rail. I asked my husband if he had a spare bit of wood laying around that would fit in the rail on my loom, and he found one. We cut it to length and sanded it. Chris routed the bottom so that it would be curved. This helped it fit into the rail better.
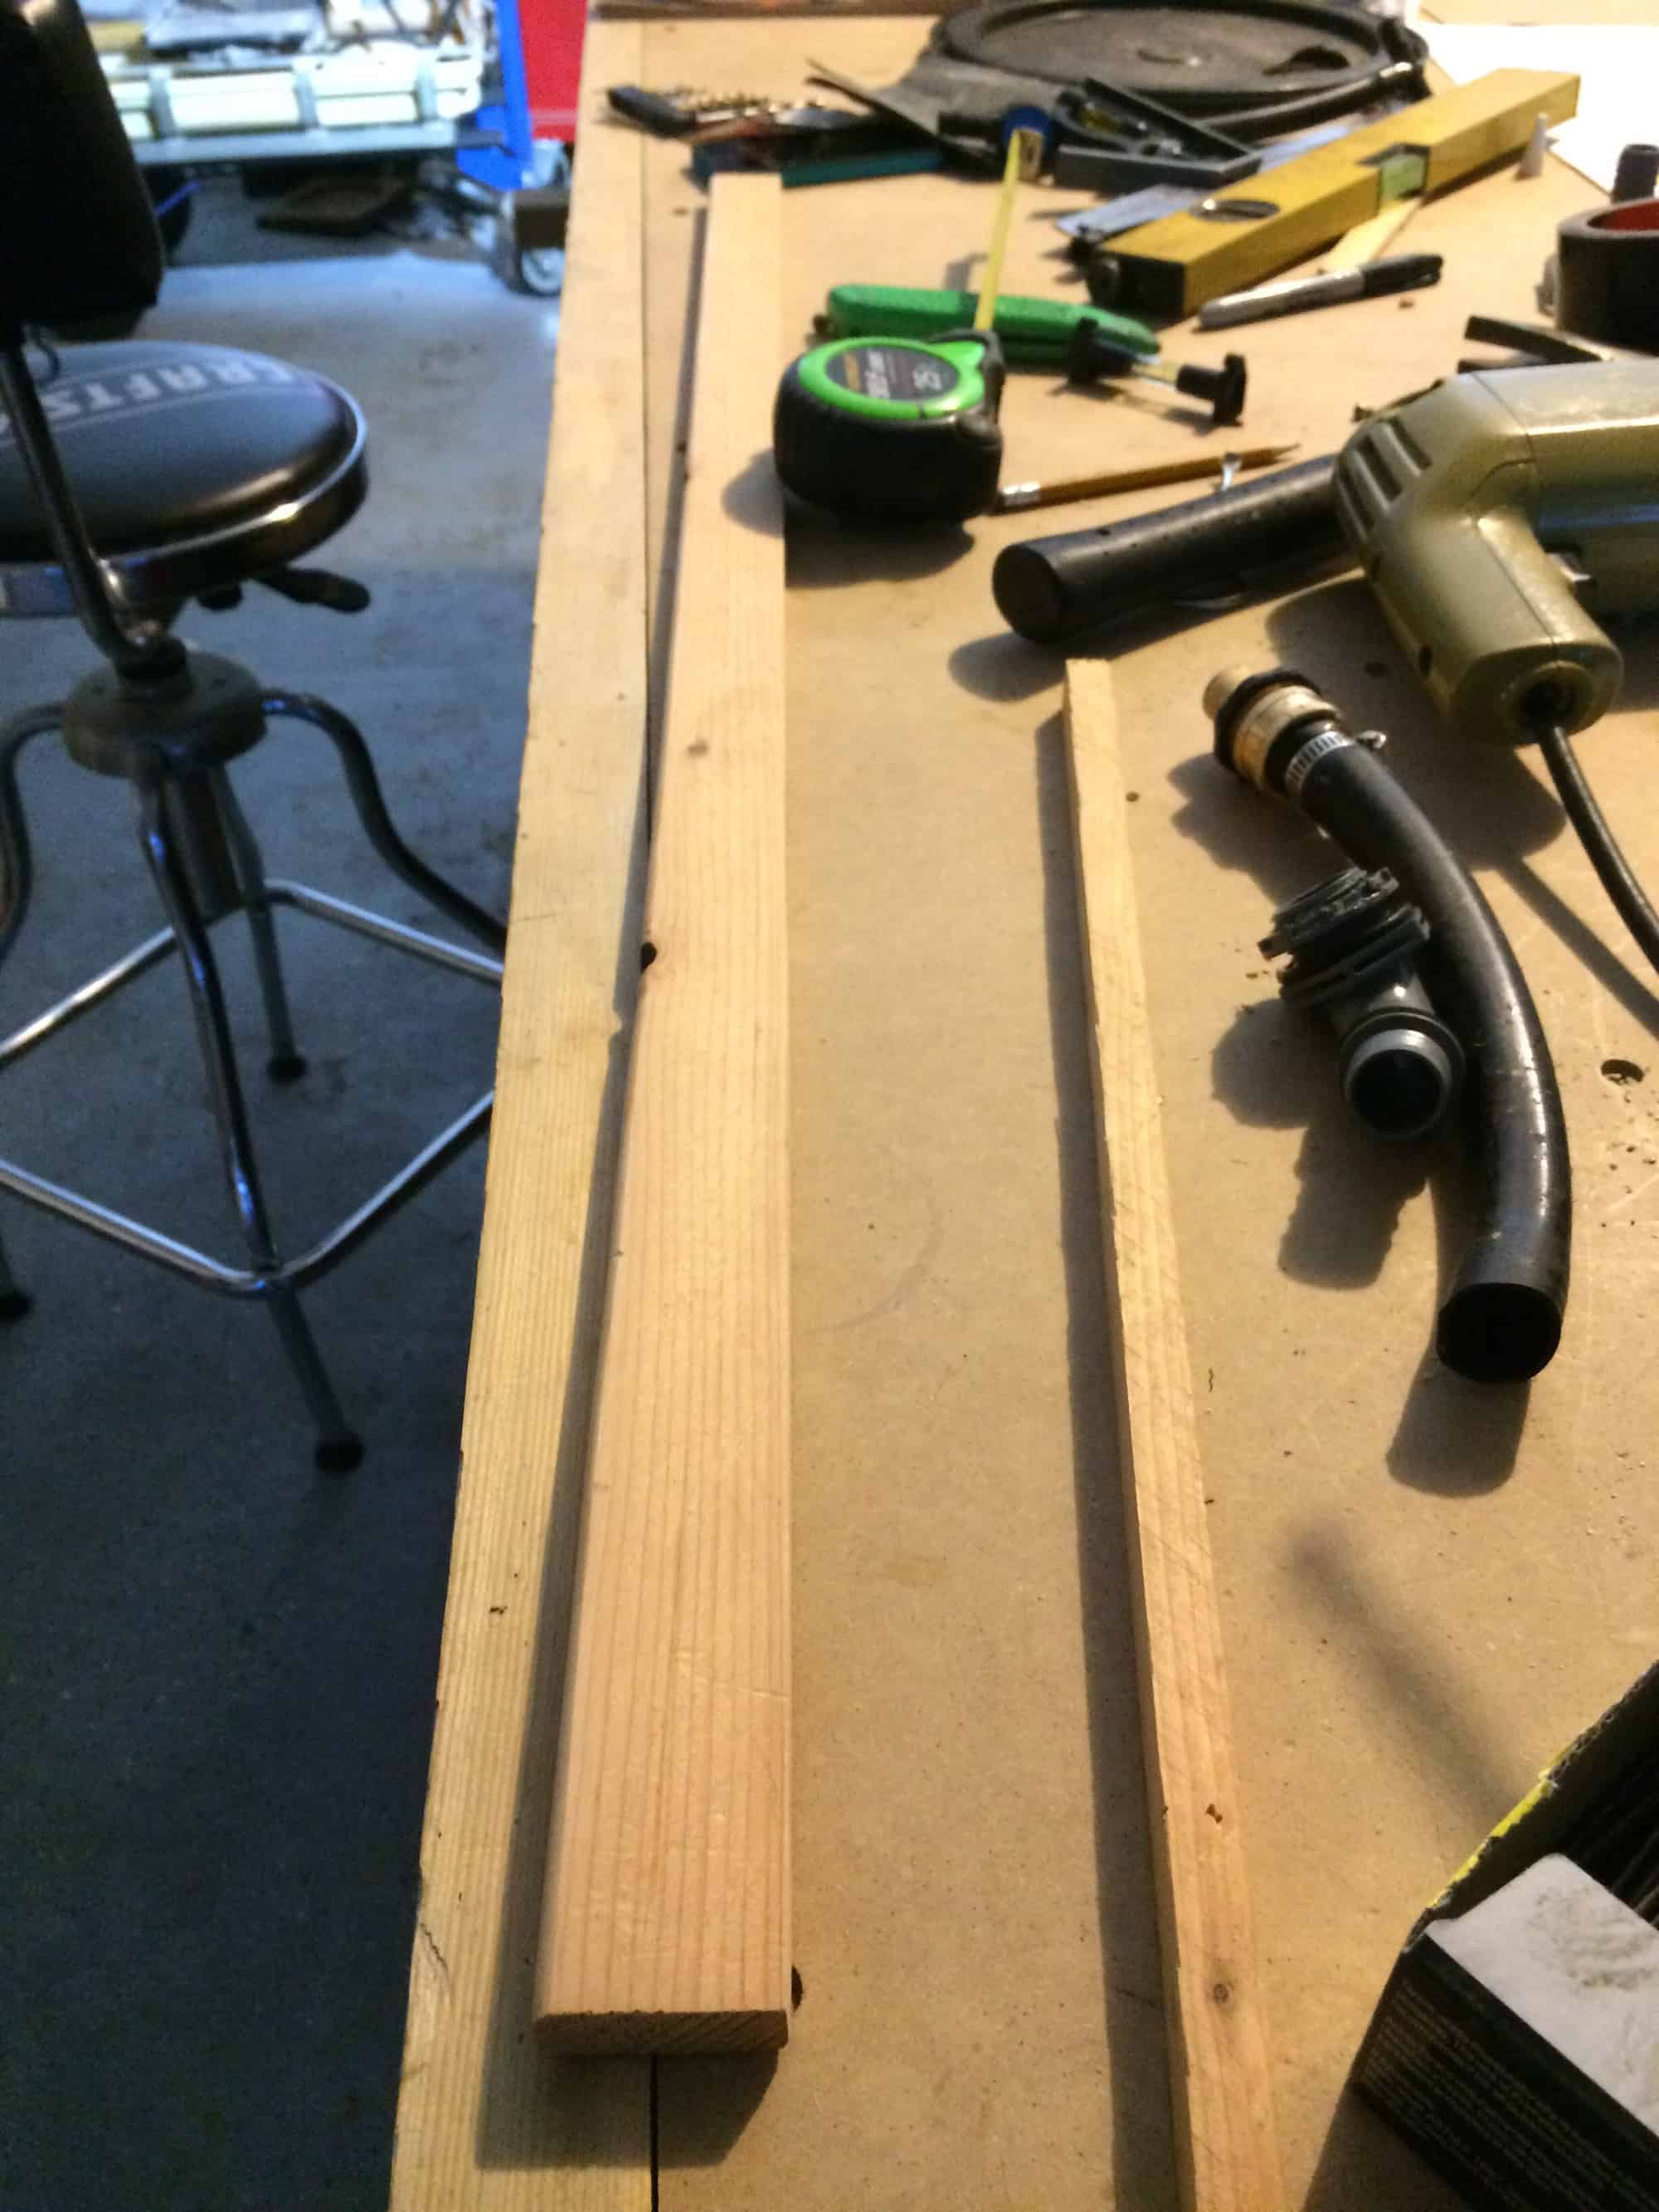
The finished dimensions of the wood are 0.5″ wide, 1.5″ tall, and 37″ long. The width is the most important of these dimensions, because anything larger would not fit in the rail. The height is the shortest height that allows enough wood for hammering in the nails. If you have a spare bit of wood that’s the right width, but taller, it should be fine. You don’t want your wood base to be too tall. If the top of the beater bar is adjustable (mine is), you slide that down to the top of the raddle after you finish rough sleying it and before you start cranking on the warp. This helps to keep the warp strands from escaping the raddle. The total finished height of your raddle (wood base plus exposed portion of the nails) should allow for you to slide the beater bar down on top of the raddle. Make sure your wood base is not so tall that you won’t be able to do this. The length I chose was the longest length that could fit in my beater bar. The weaving width of my loom is only 27″, so I could have made the raddle only 29 or 30 inches long. I made it longer because I’m sure I’ll get another loom at some point and figured that making a longer raddle now meant I might be able to use it on my next loom too.
I am not finishing the wood on the raddle. However, if you wanted to stain it or apply polyurethane to it, you could. It’s probably easier to do that before you nail into it!
Selecting the Uprights
I spent a long time in my local Home Depot, considering the options for uprights. I knew I needed something that was smooth so my yarn wouldn’t catch on it when I used the raddle. I needed something that was consistent in diameter. That meant that if I used nails, they shouldn’t have a broad head. I needed something that was fairly straight and consistent from one individual to the next. It also needed to be strong enough not to break when exposed to tension while the warp was wound onto the warp beam.
I walked up and down the aisle of nails and screws two or three times. Nothing was exactly what I wanted. I went and looked at the wooden dowels. I quickly ruled them out. Anything that was thin enough to fit into my base wood was way too flimsy. The small-diameter wooden dowels weren’t straight, had lots of splintery bits on the side, and looked like they would snap if you looked at them wrong. Definitely not the right choice, considering the tension the warp threads will be under as they flow through the raddle. I tracked down a Home Depot employee, and explained to her what I was making. I asked if she had any suggestions. I specifically asked if she knew of a stainless steel dowel that might work. Back to the nail and screw aisle we went. In that aisle, they do sell steel dowels in various dimensions and lengths. I considered these for a long time, but the process of cutting and inserting those into the wood base would make the project even more complicated. I decided to go with my original plan and found some nails.
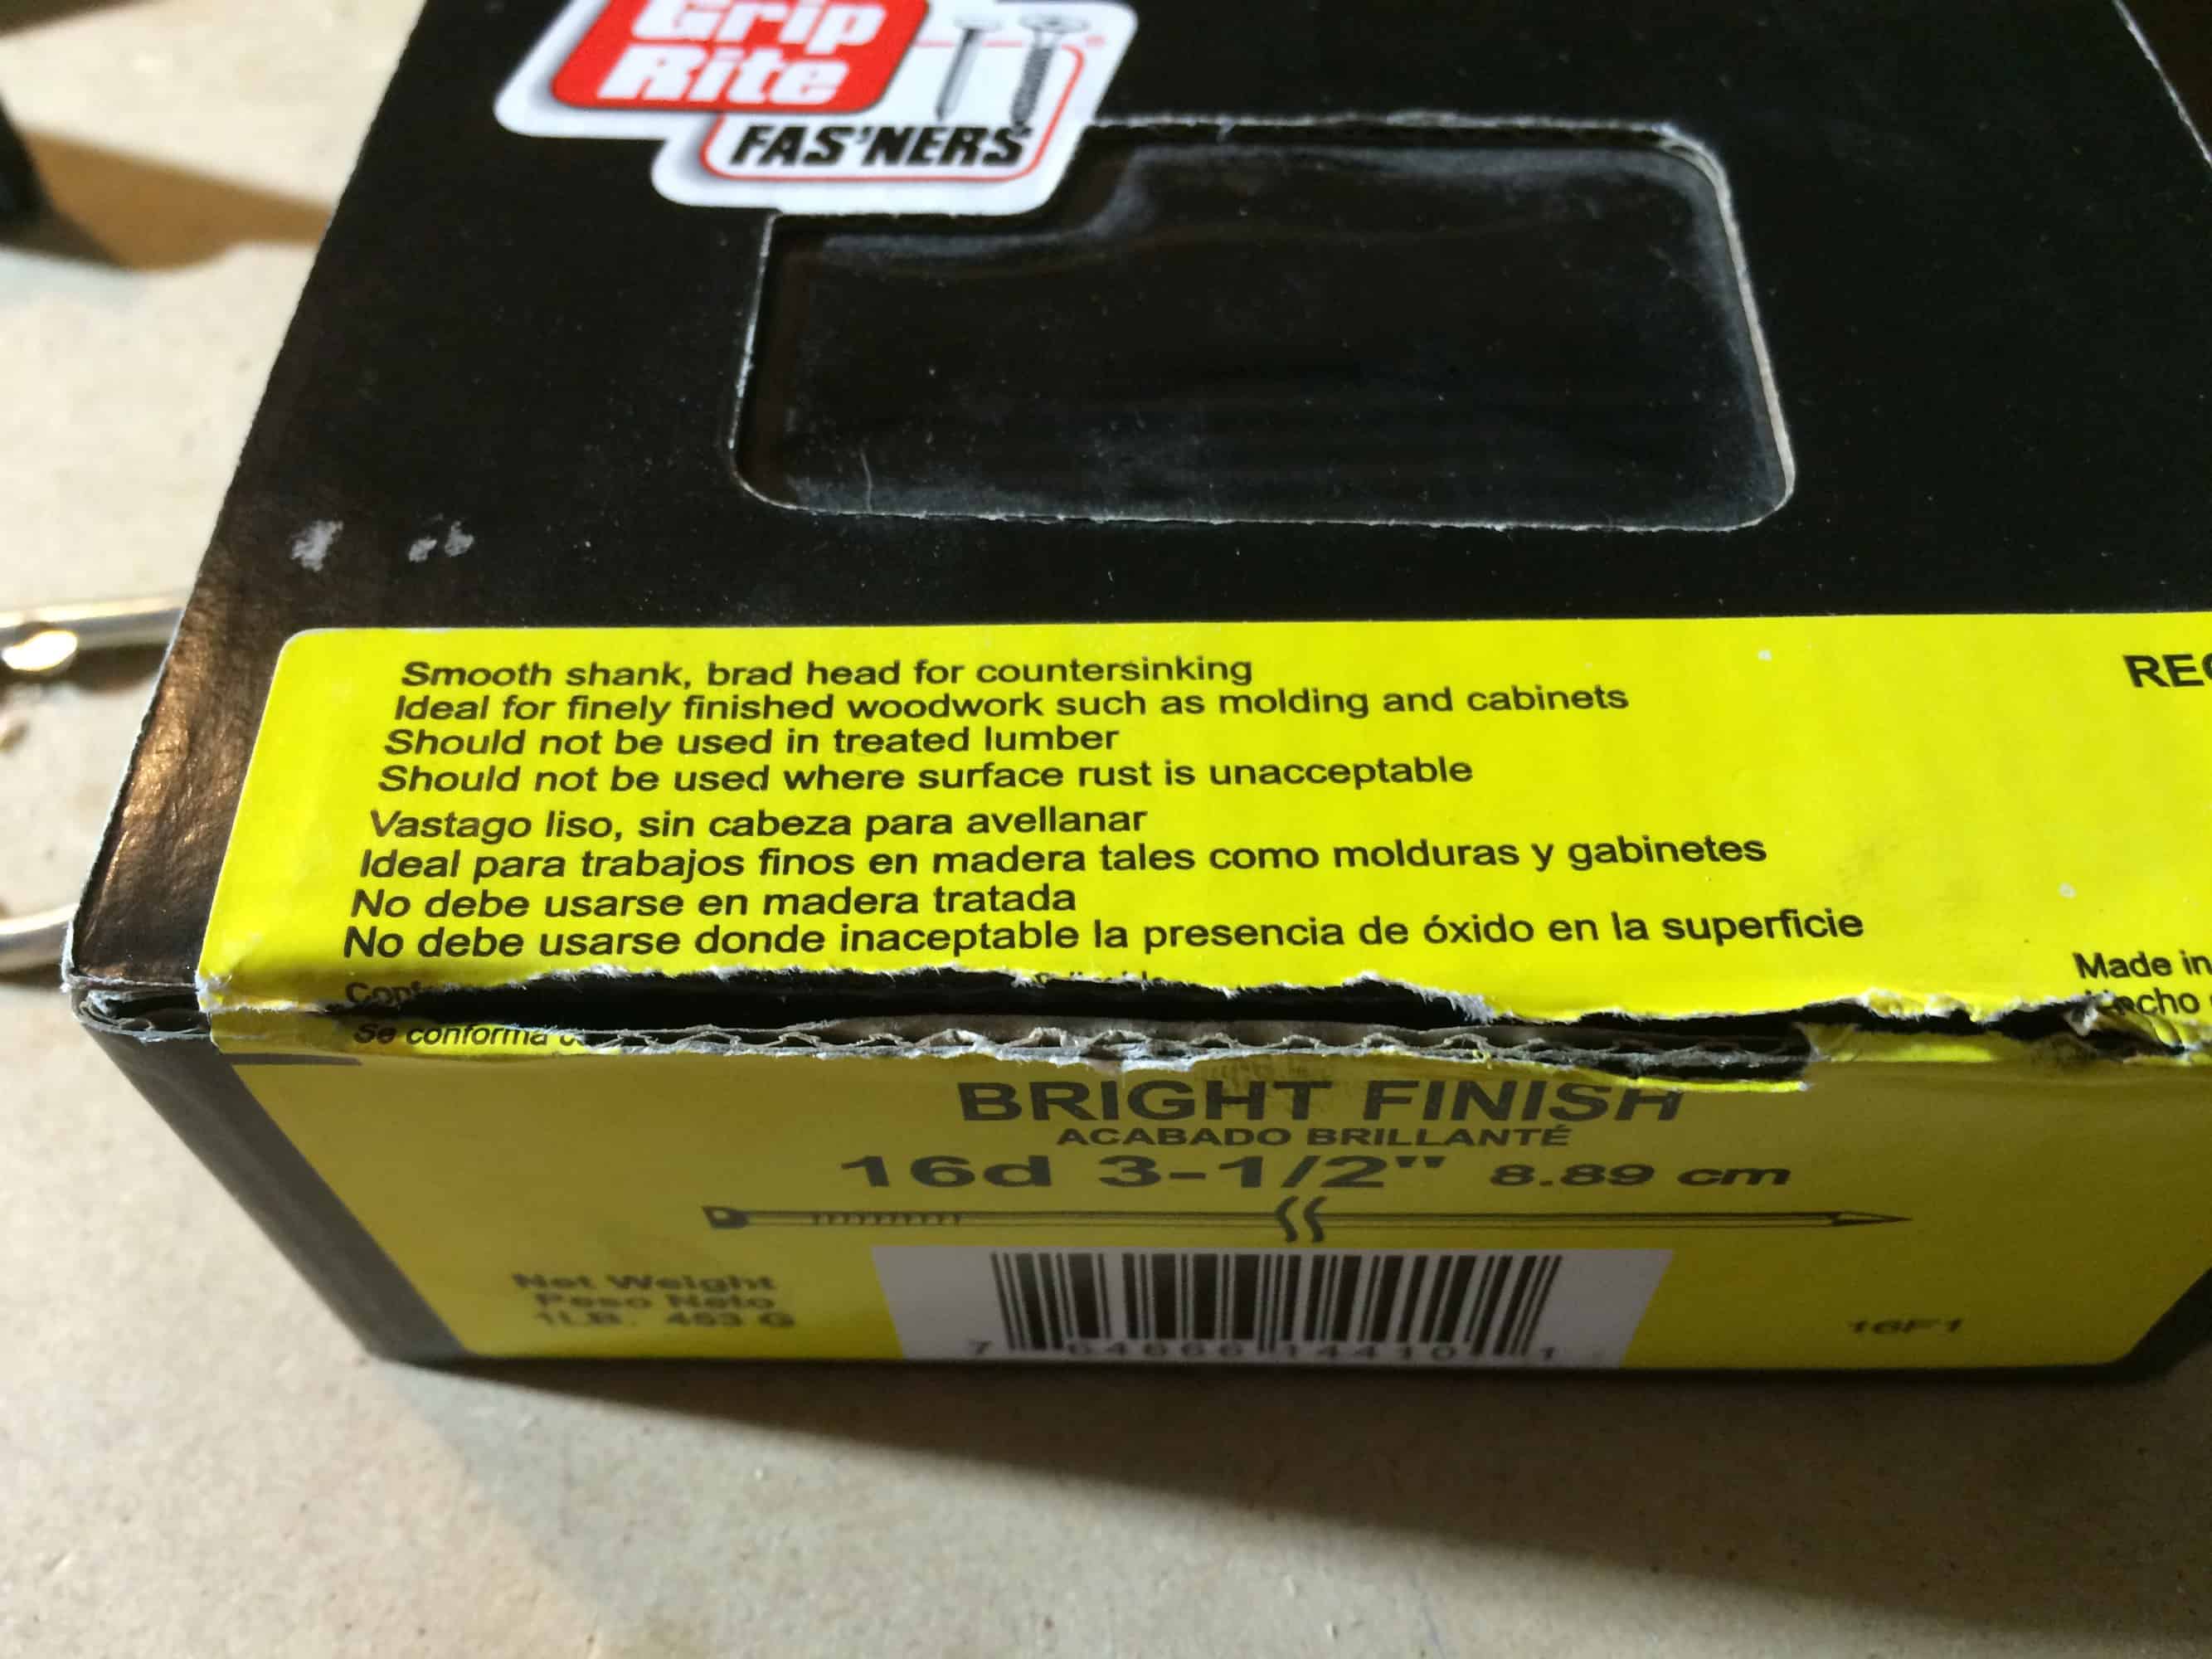
This box of nails only cost US$3.47. It contained enough nails to make at least two, probably three, raddles in the size I made. See that line on the box “Should not be used where surface rust is unacceptable?” All the nails in the aisle had that note on them. That’s what sent me over to the wooden dowels. The last thing I want is rust on my raddle, because it will get onto my warp. In the end I decided that this wasn’t something that I needed to worry about as much as I was. The raddle is not going to be exposed to a lot of moisture. It’s not going to be left outside to be rained on or used in a bathroom or kitchen sink. Yes, I live in humid Florida, but our air conditioner keeps the humidity at about 45% in our house, so that shouldn’t bother the raddle either. I should get lots of use out of this raddle before it ever gets rusty, and it’s so easy and inexpensive to make that we can always whip up another one if that should happen. And any rust that would affect my warp should be visible before I try to use the raddle.
One thing that I didn’t notice about these nails until I hammered them into the wood base is that they are greasy. I thought that dull gray / black color was the natural color of the nail. Nope. It’s grease. The natural color of the nails is a fairly shiny silver. I discovered the problem only after I looked at my fingers after hammering all the nails into the wood base.
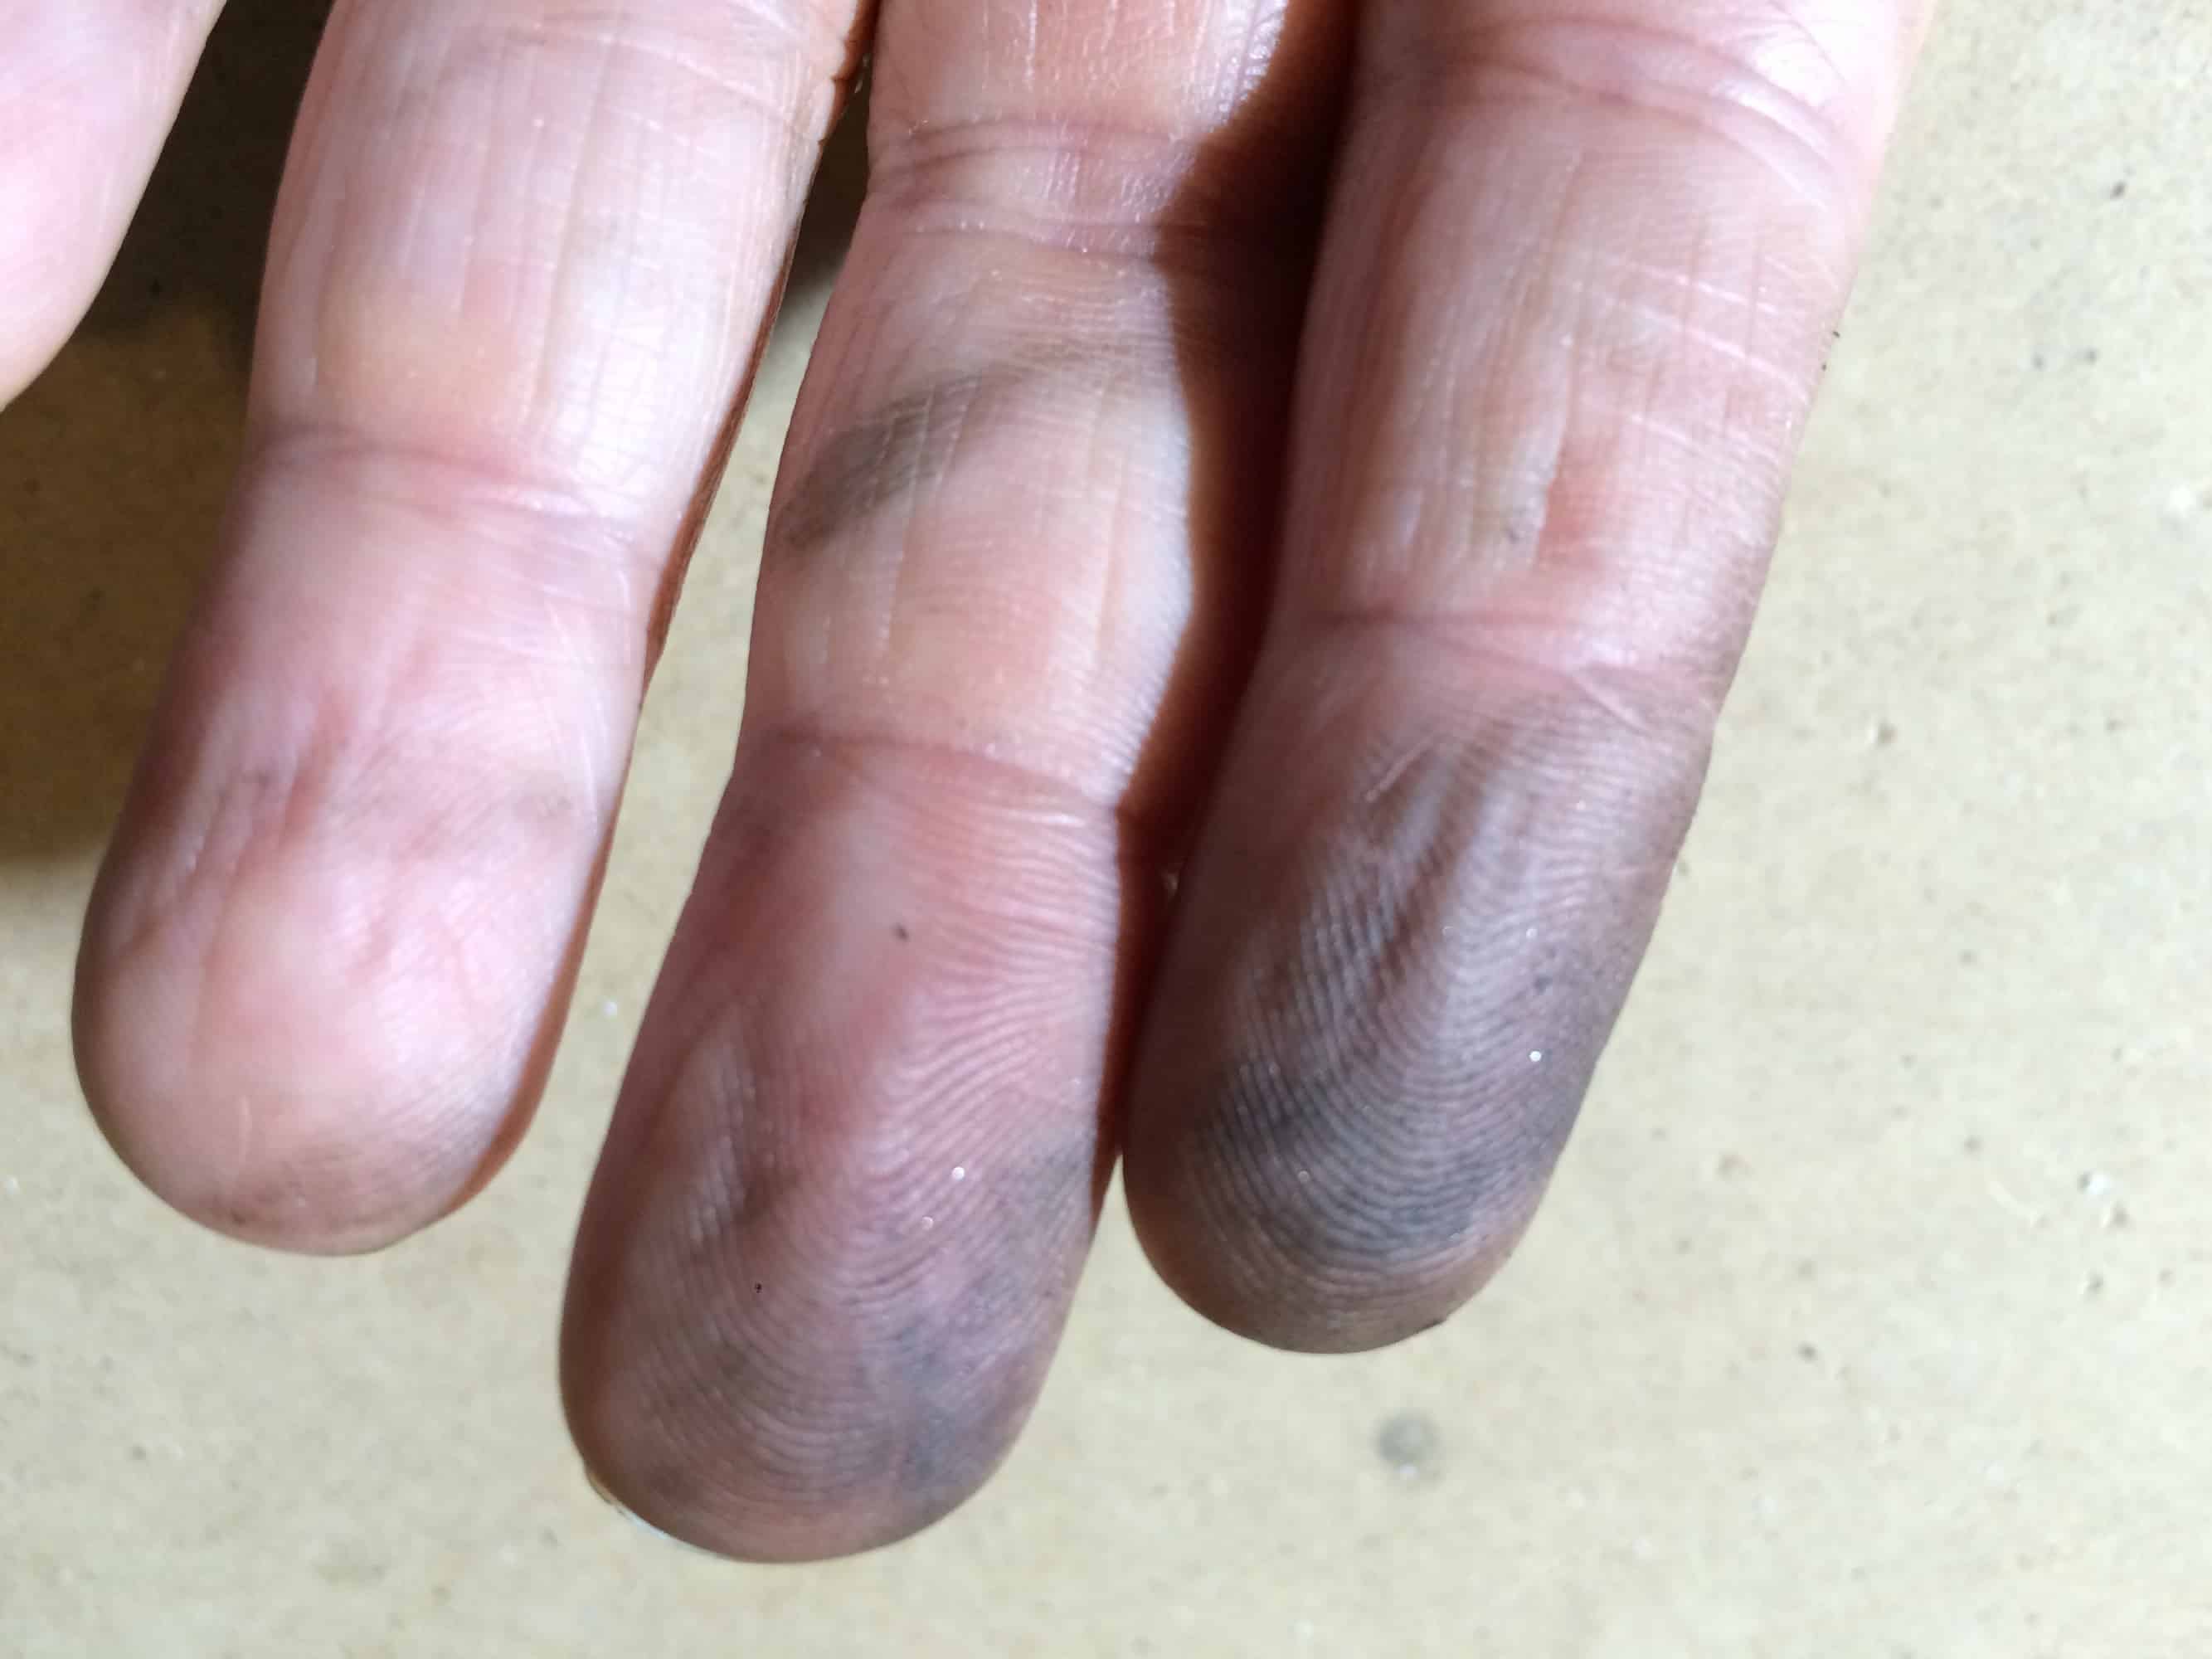
Fortunately, the grease wipes off with just a dry paper towel and some vigorous rubbing. It probably would have been easier to do this before I hammered in the nails, but I was able to do it easily enough afterwards. I paid careful attention to the base of the nails right above the wood, since this is the part of the nail the warp will touch most often.
Attaching the Uprights
Some raddles have the uprights 0.5″ apart and some have them 1″ apart. I originally planned to make them 0.5″ apart, because that was the distance on the one in the Janet Dawson Craftsy video. Then I went to a beginning weaver’s class hosted by one of the members of my local guild. As part of that class, she demonstrated how to warp a loom and we talked about tools. She said she preferred 1″ spacing on a raddle. I thought about it and decided that made sense to me. With 0.5″ spacing, you may have to finagle a little when you rough sley the raddle. In the Craftsy video, the demonstration project has 10 ends per inch. When you sley the raddle, you have to keep your warp ends in pairs because you haven’t cut the ends yet. Since she couldn’t put 5 ends in each 0.5″ space, Janet Dawson alternated between putting 4 ends or 6 ends in a space. This is another small detail to pay attention to in the warping process. Since I’m new at this, I thought it would be better to get rid of an unnecessary detail. I’m going to have to know how many ends per inch in any project I’m doing. Why not make life a little easier for myself by putting that many ends in each slot of my raddle?
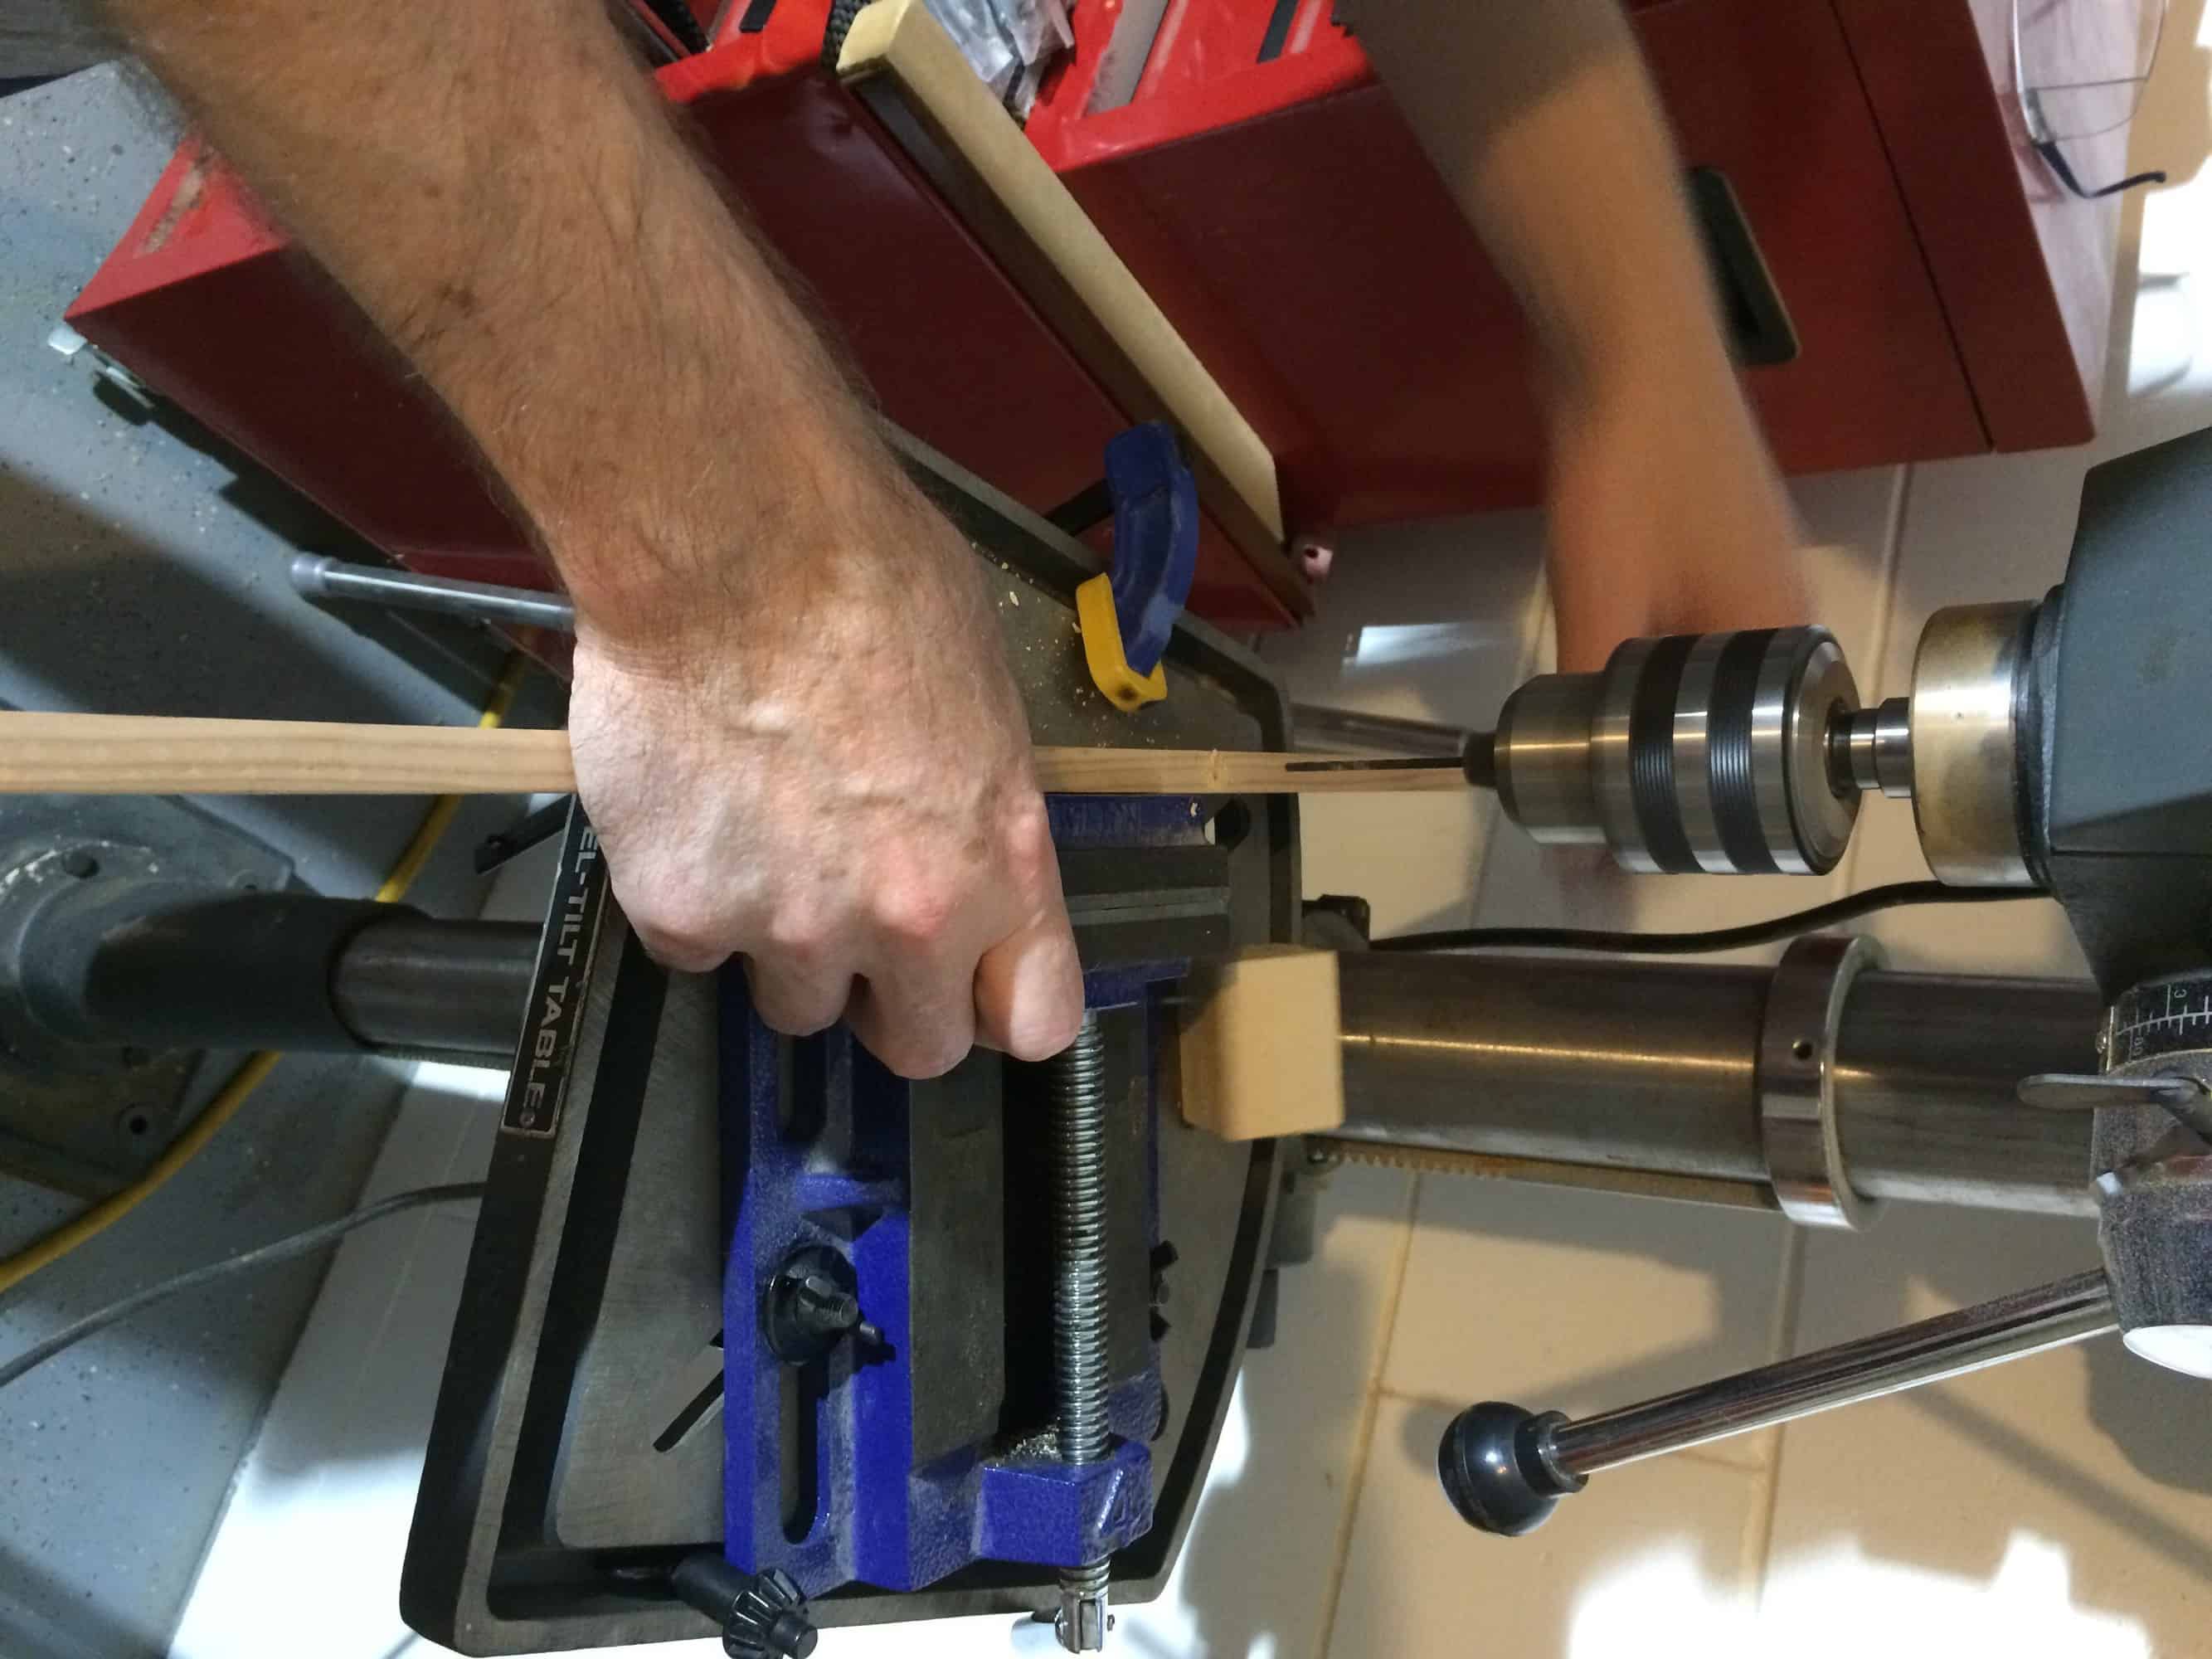
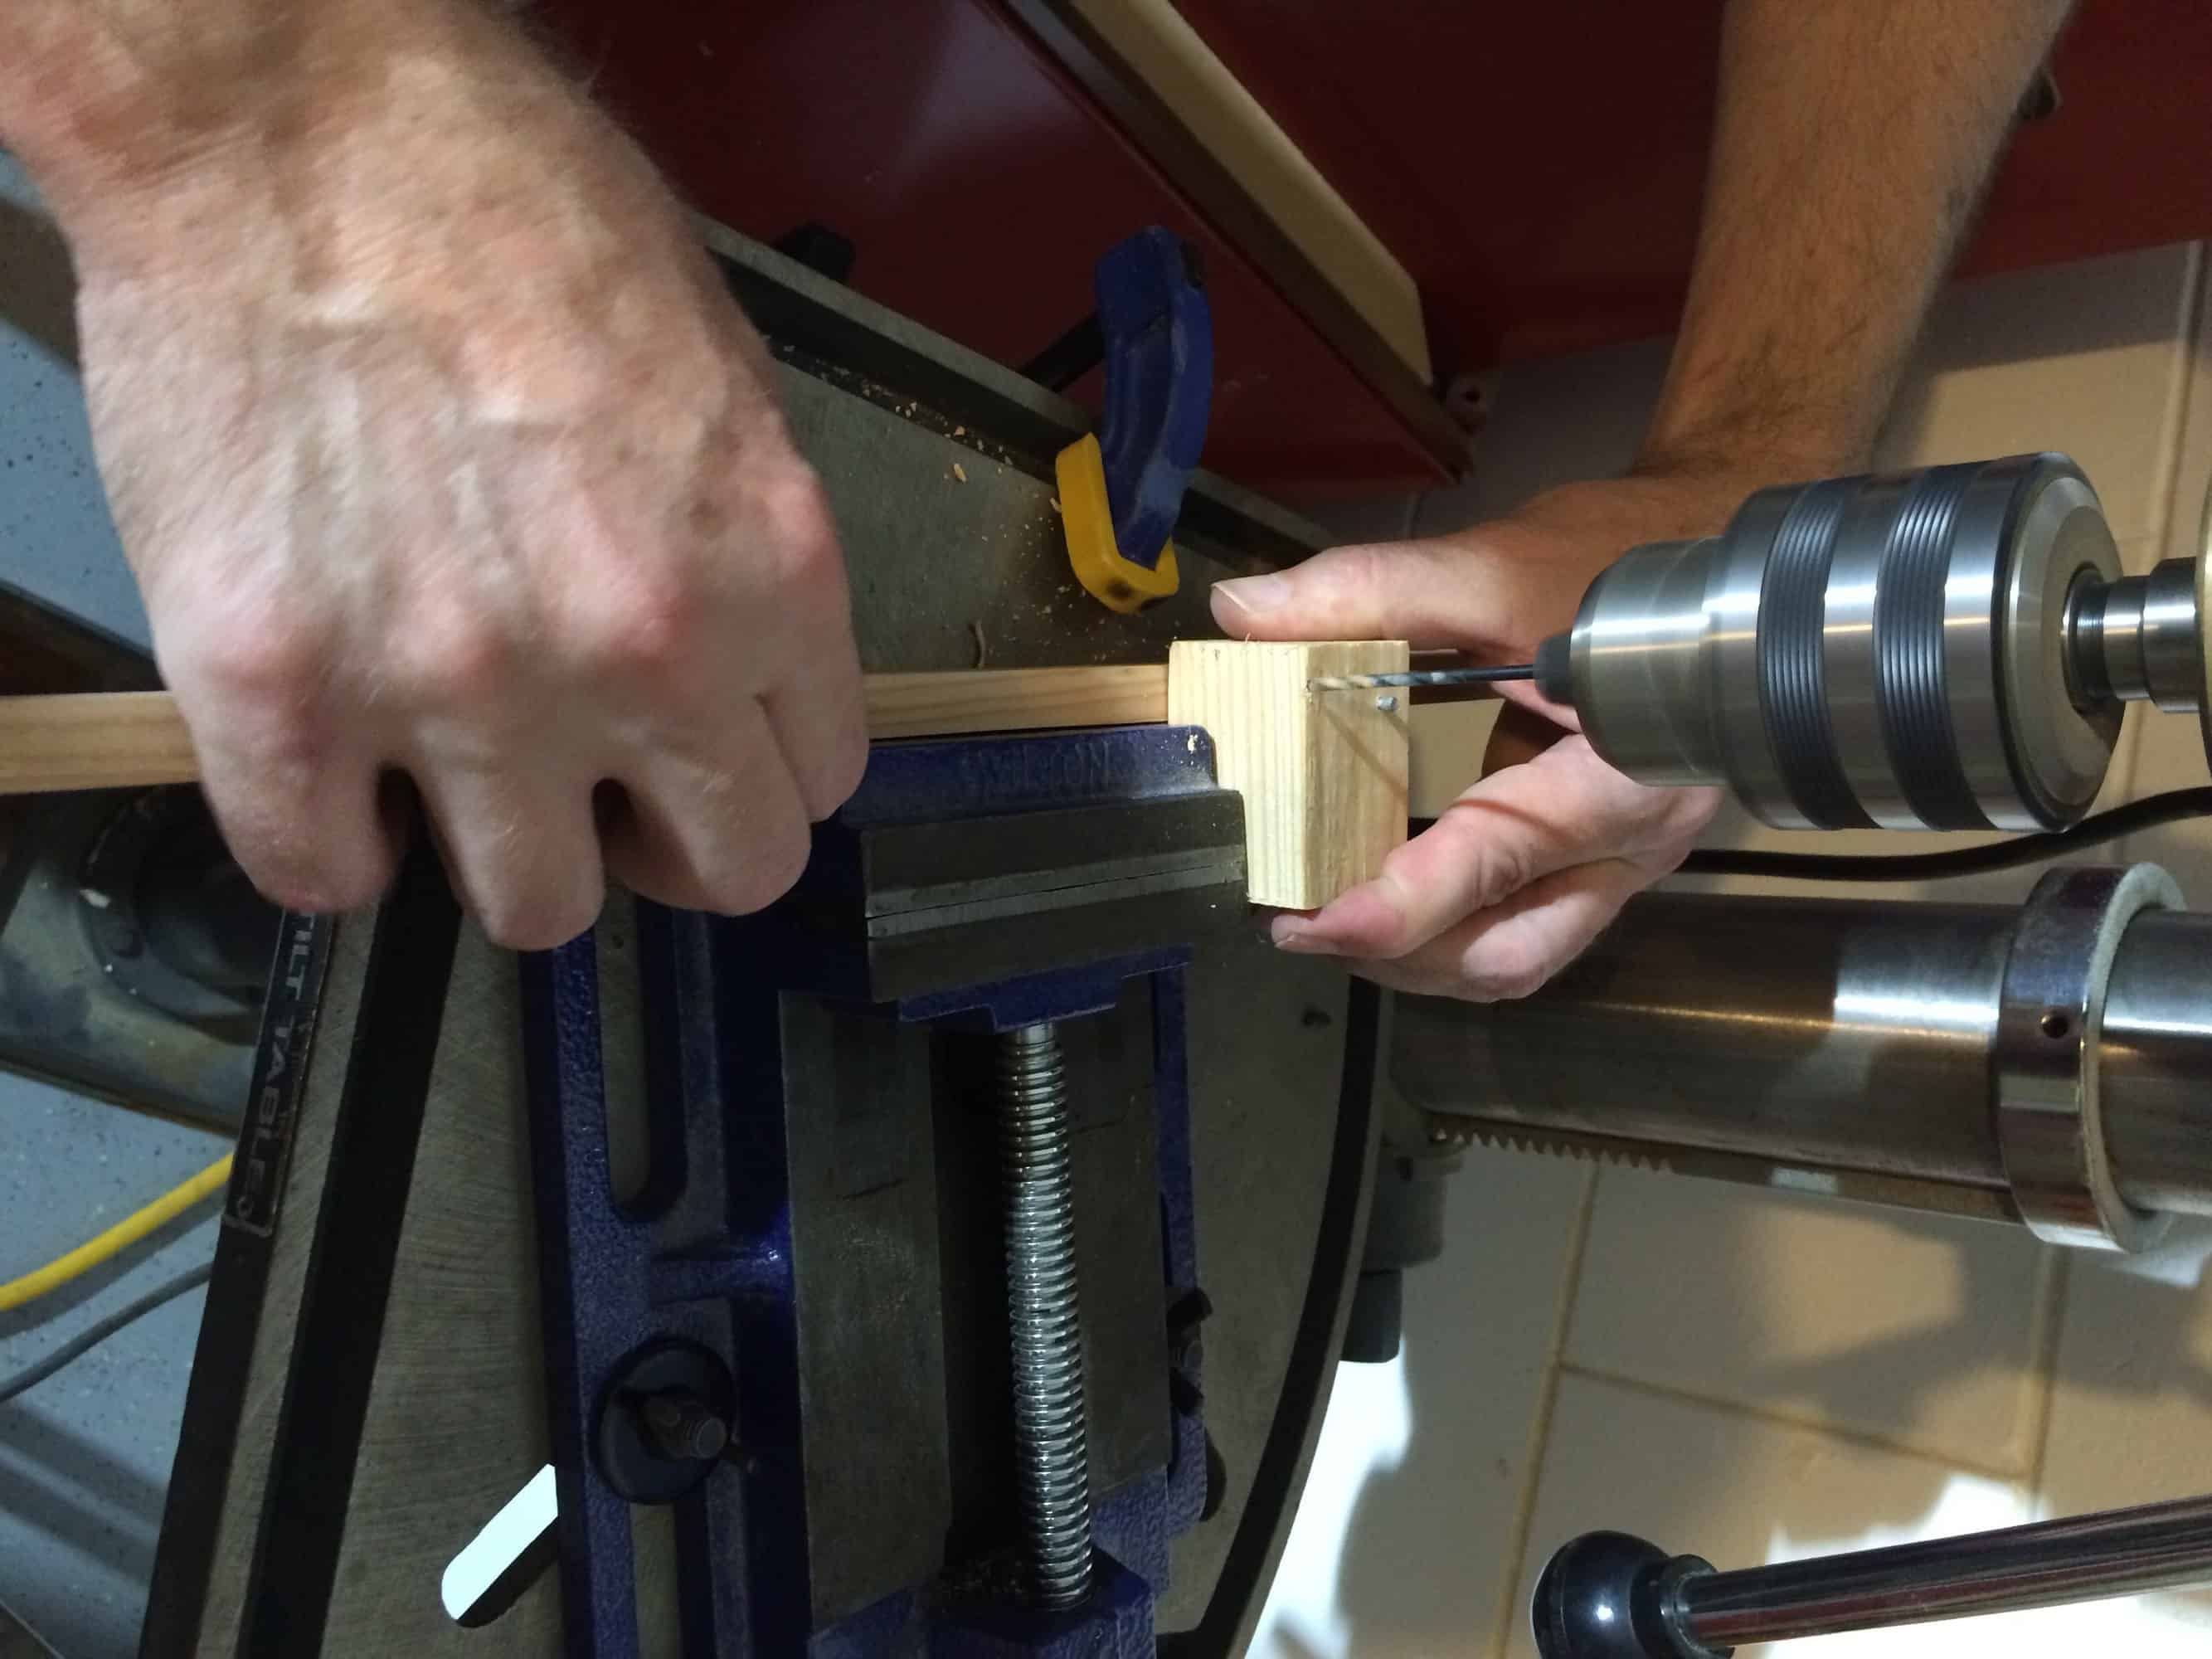
Once I decided how far apart each upright needed to be, it was time to attach them to the wood base. Since the wood base was so narrow, Chris told me we should pre-drill holes into it before I hammered in the nails. This helps to keep the wood from splitting. He predrilled all the holes on a drill press, but you could also do this with a handheld drill. If you use a handheld drill, be extra careful to keep the drill bit perpendicular to the wood while drilling. You will probably need to clamp the wood base to a table to keep it steady. This is where the drill press offers a real advantage over a handheld drill — it is always going to be at the exact same angle when you press it down!
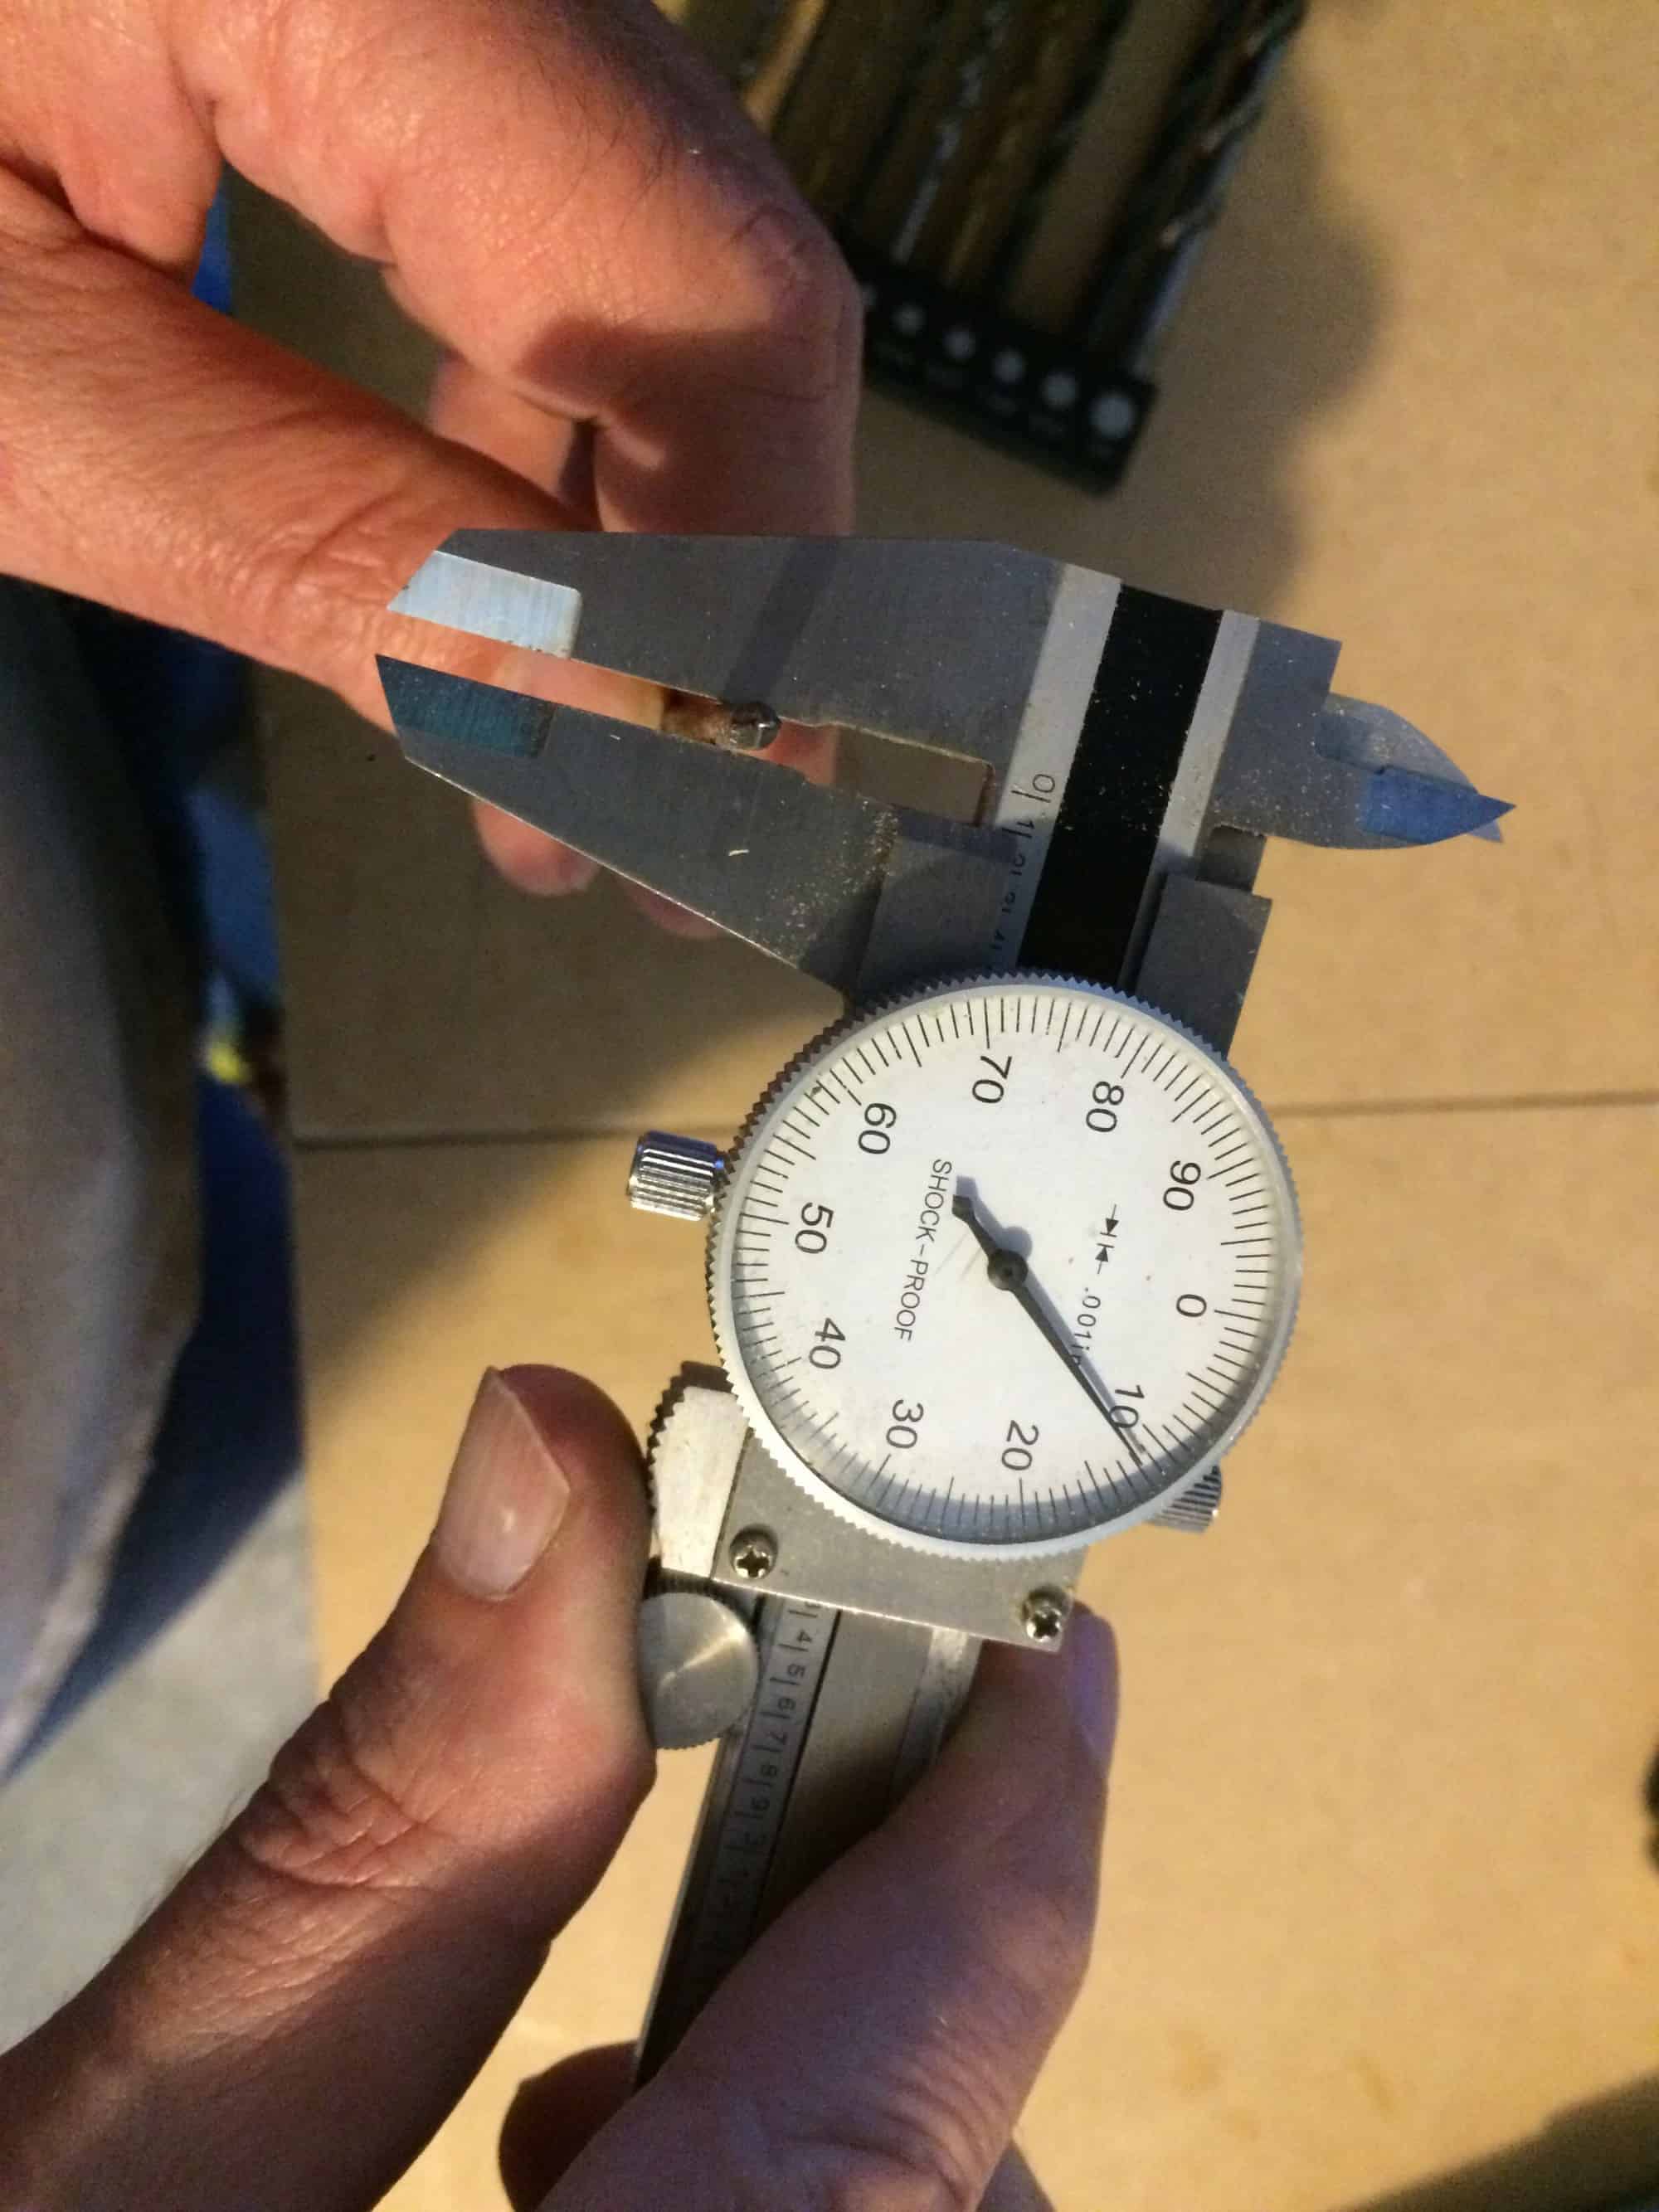
First, Chris measured the diameter of the nail. When pre-drilling, you use a bit that’s a little bit smaller than your nail. If you use a bit that’s too big, there’s nothing left for the nail to hammer into, and it’ll just be loose. For our nails, he used a 7/64″ bit.
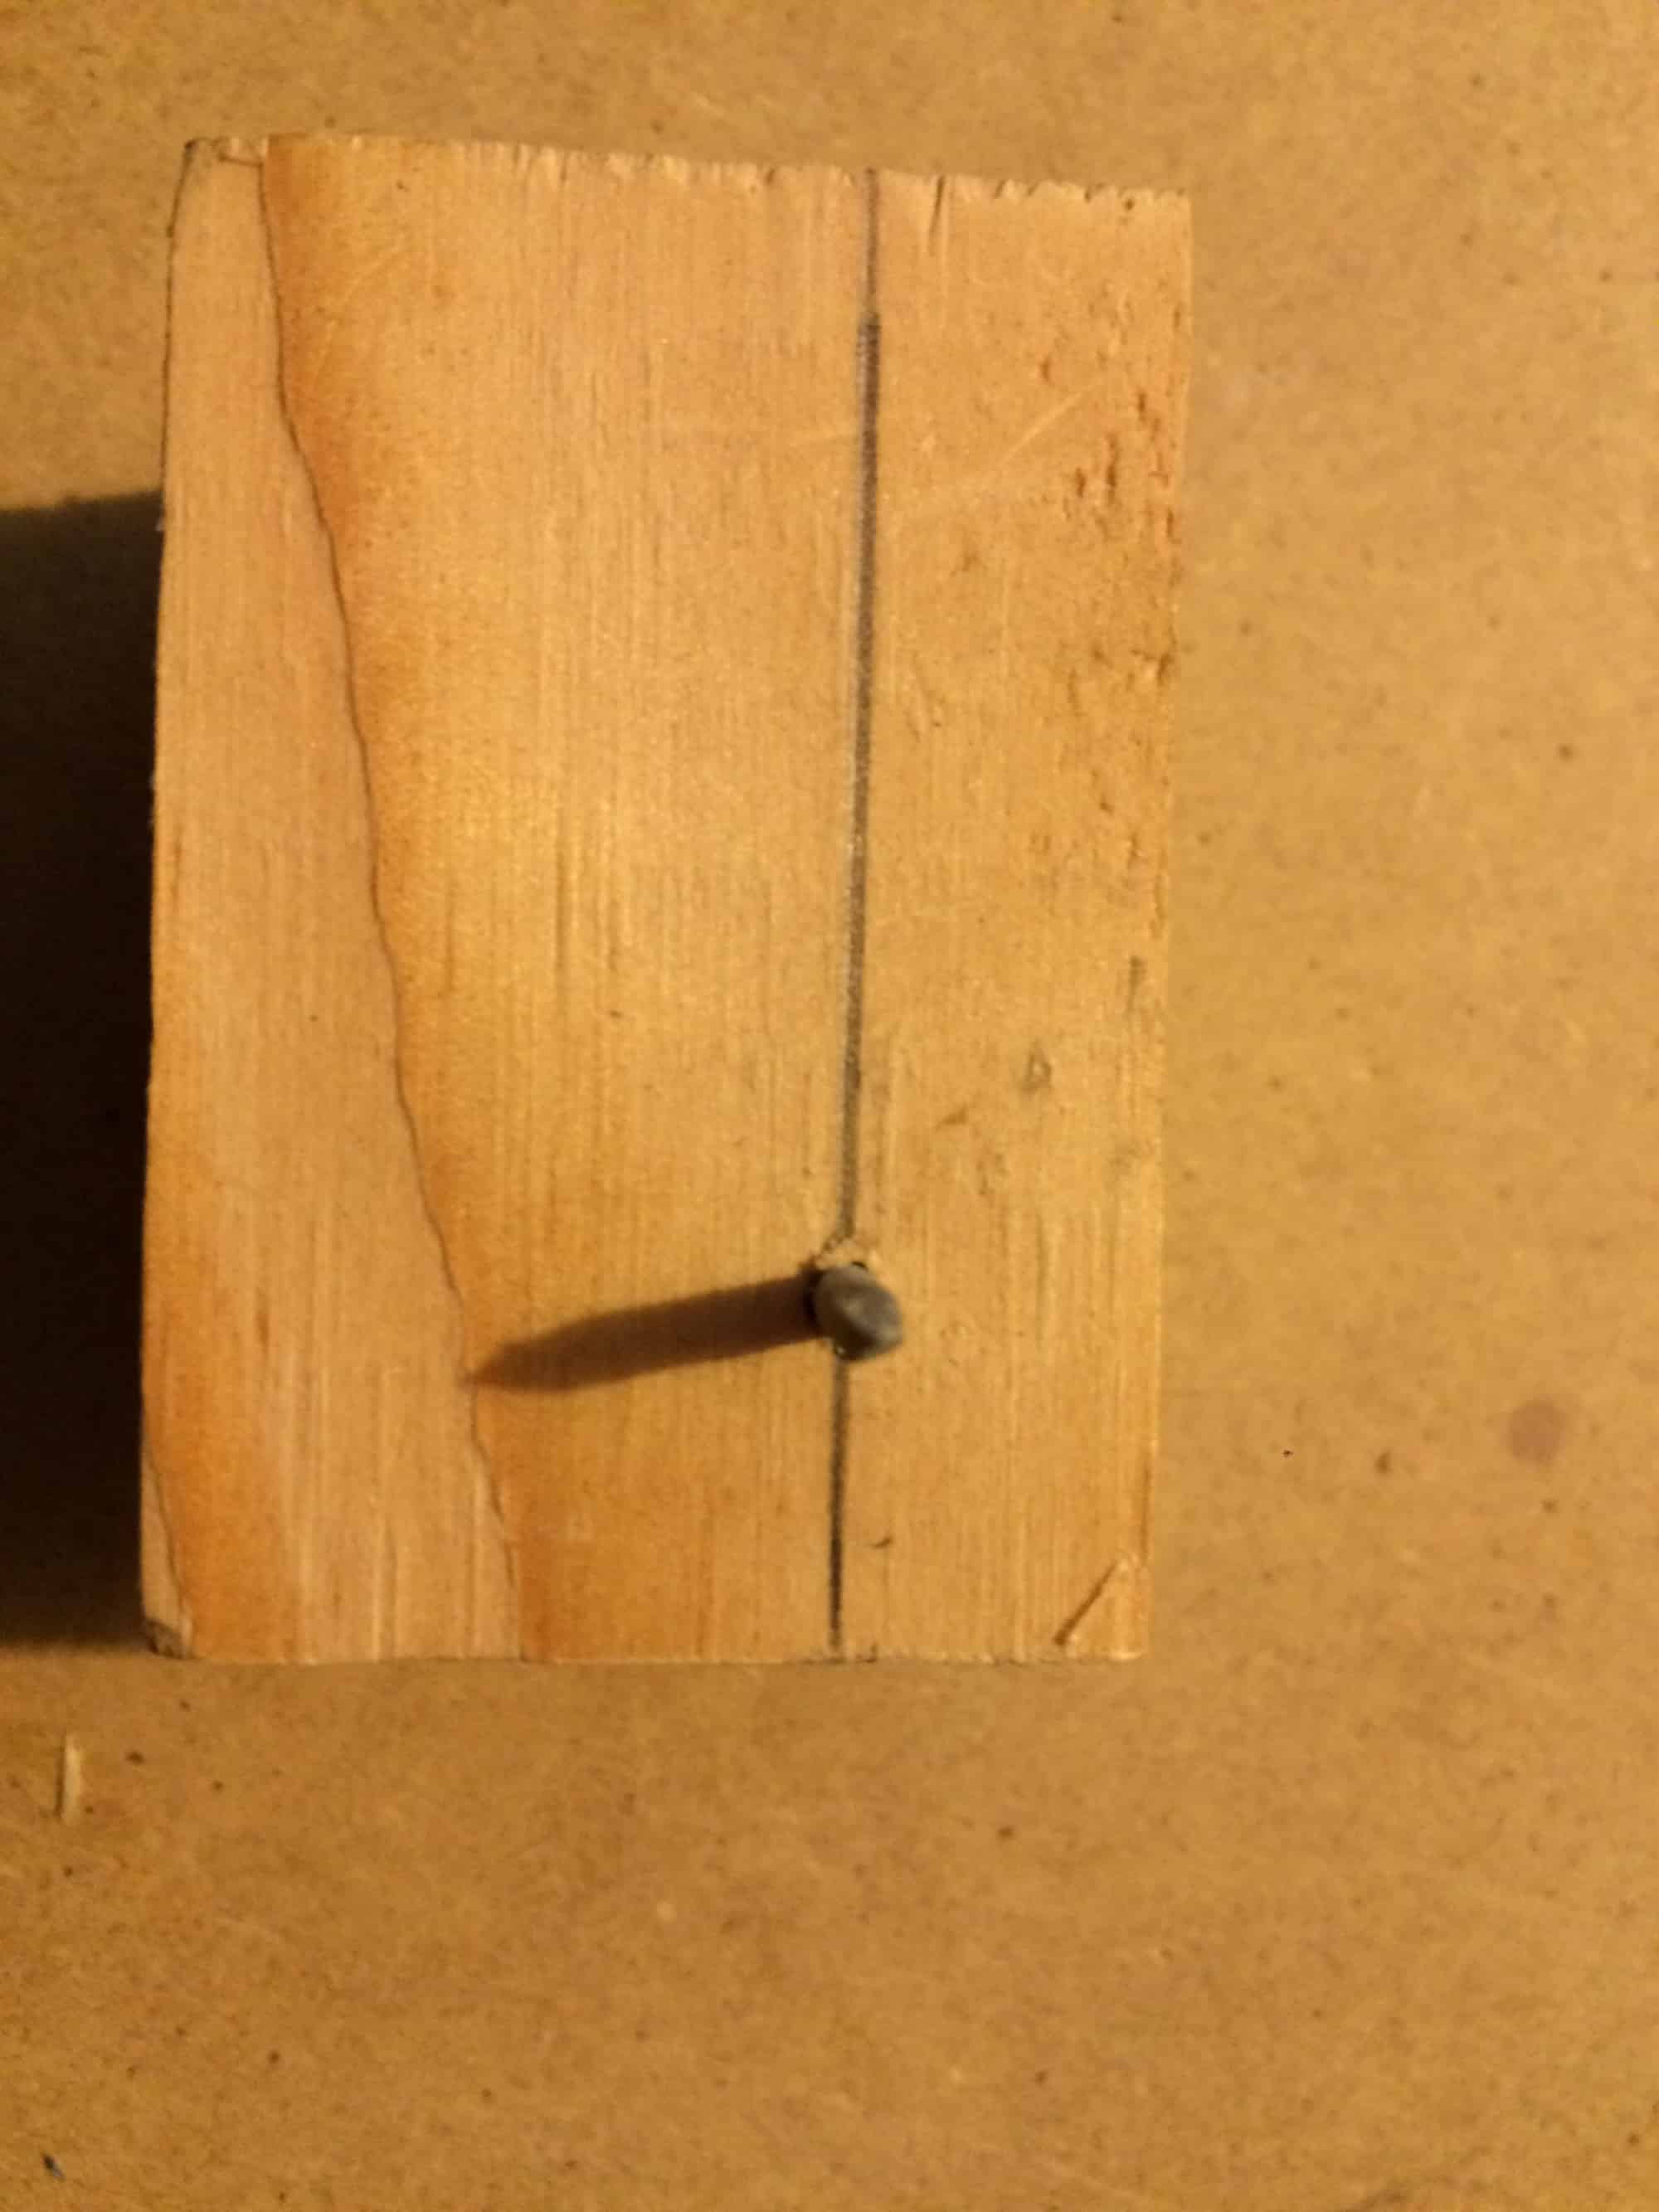
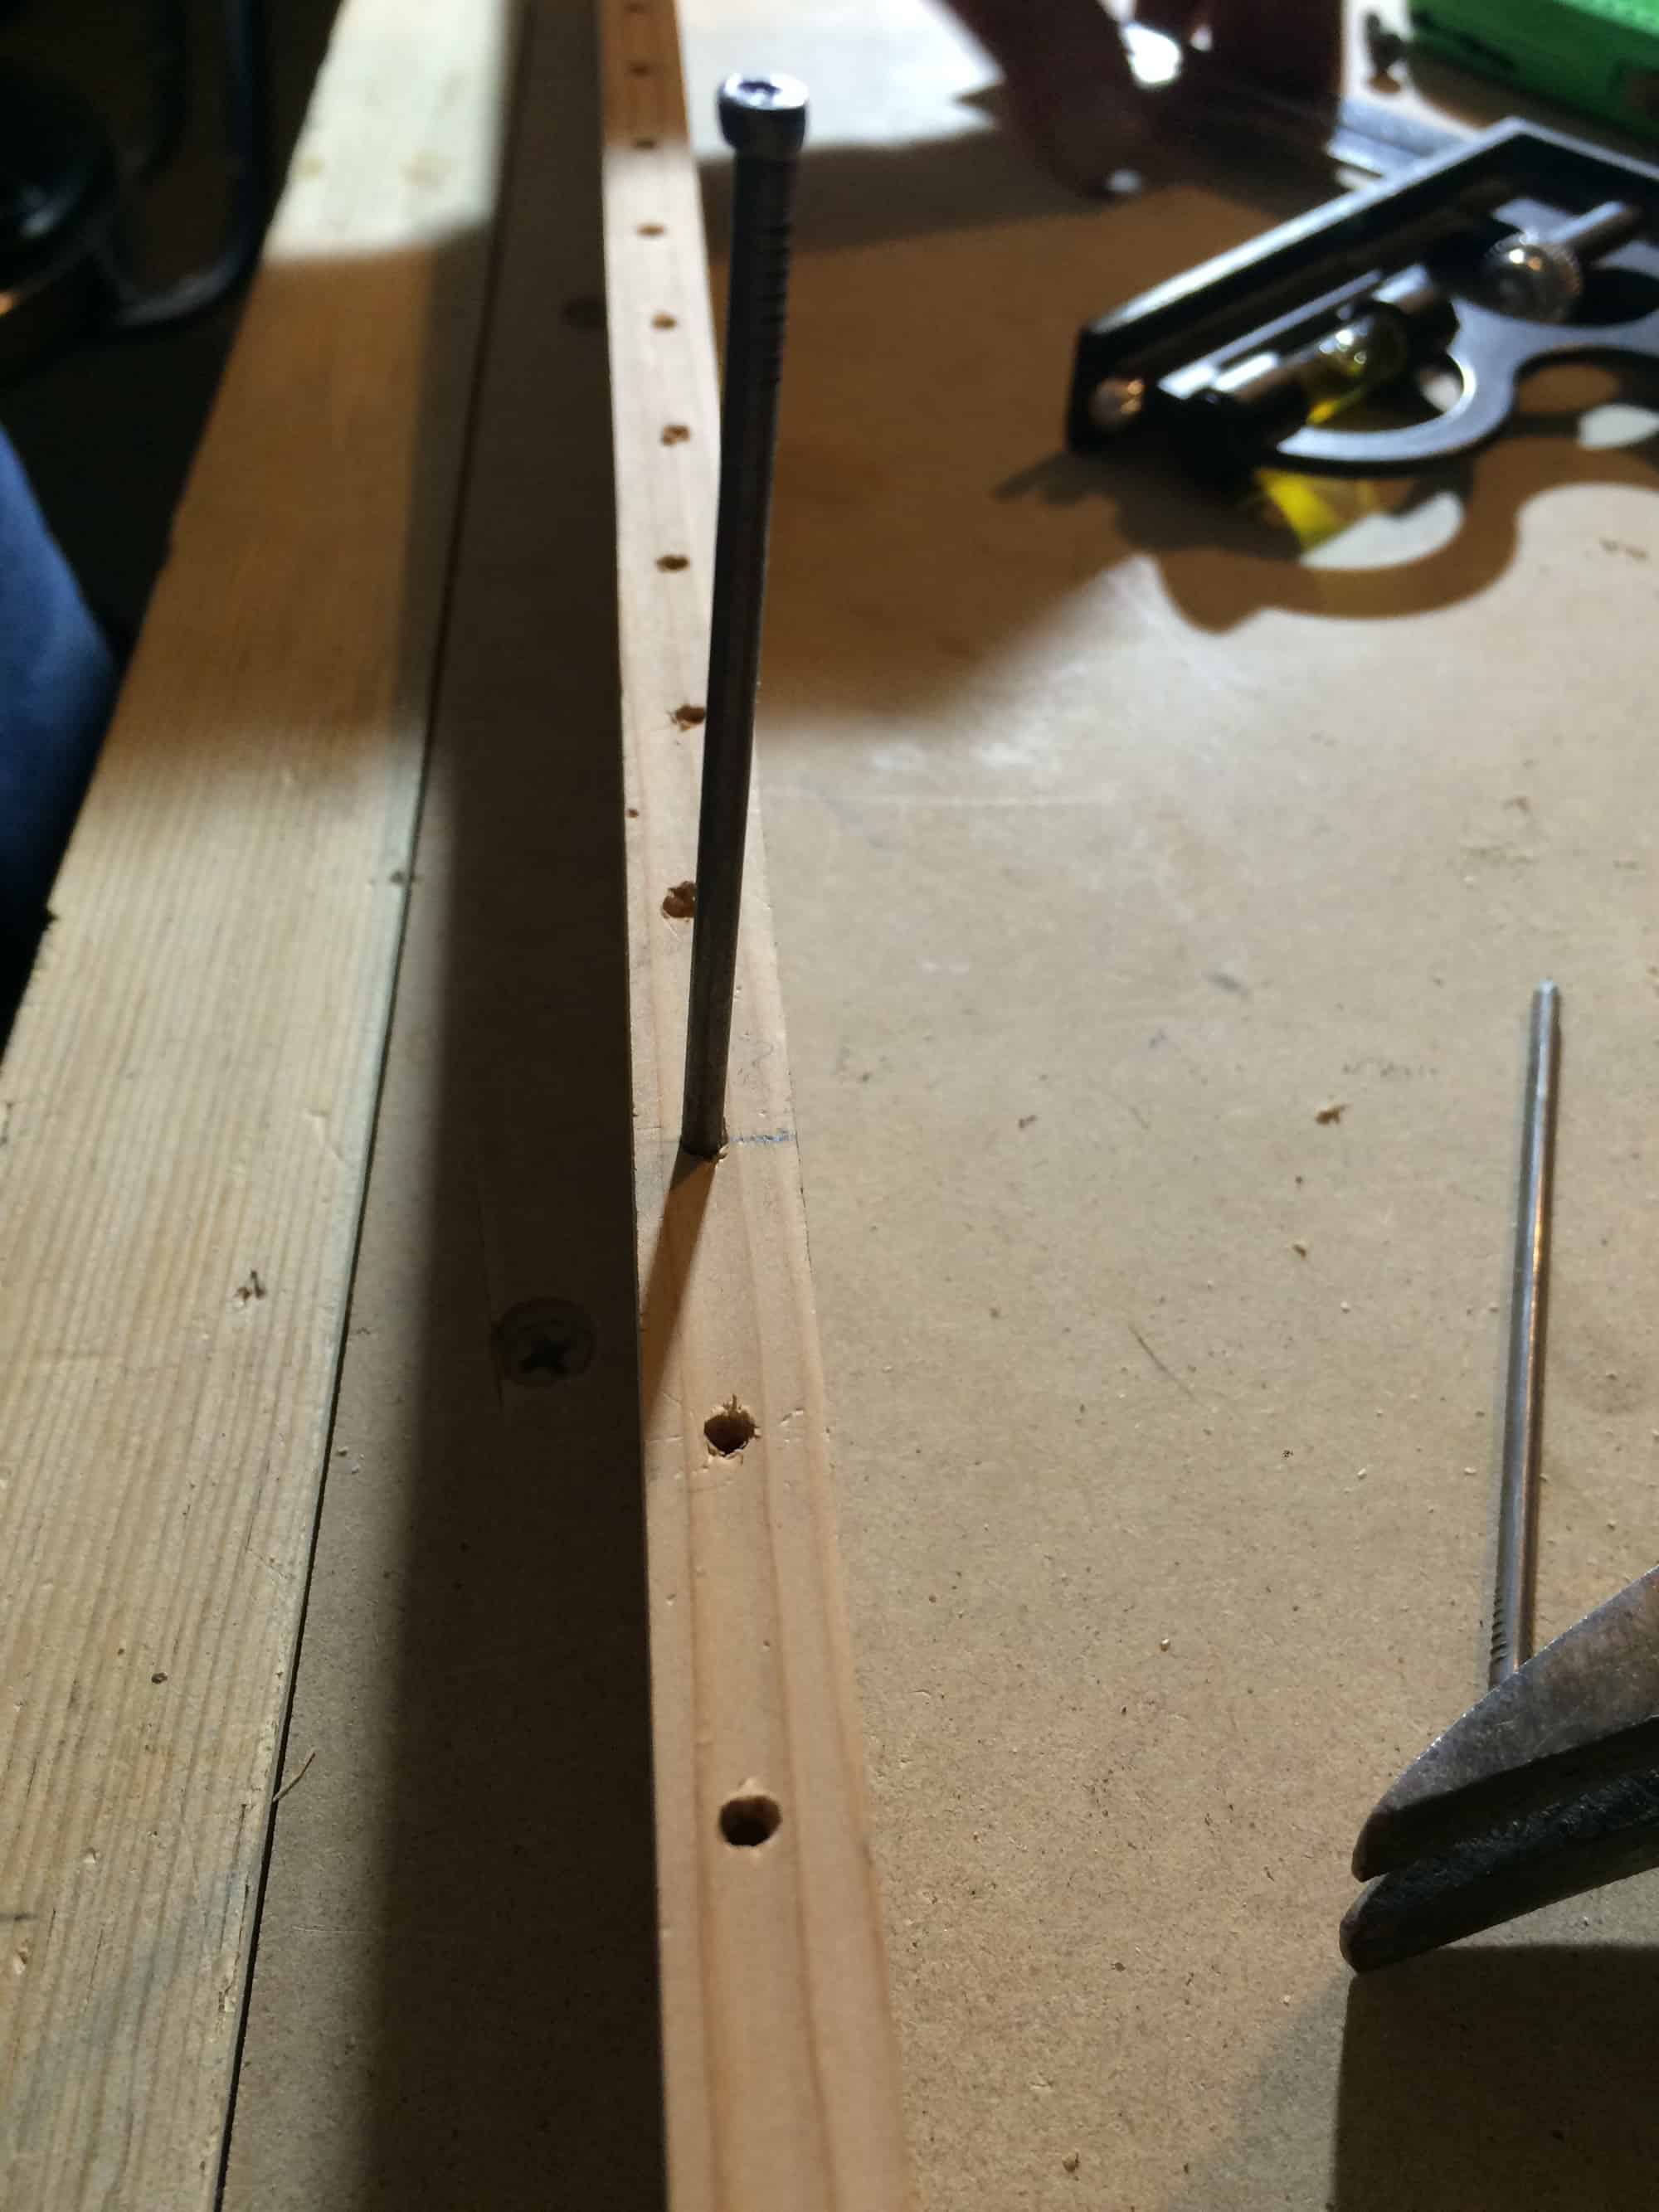
Next, he made a little device to help him keep the holes equidistant apart. Since the raddle does not have to be a precision tool, it doesn’t matter if the nails aren’t the exact distance apart. But Chris likes things to be precise! He took a scrap of wood and measured out an inch. He placed it on the bed of the drill press and lined up the drill and the 1 inch mark. Then he nailed a spare nail through the block of wood so the sharp end came through it.
He drilled the first hole in the middle of the wood base.
Then he put the nail on his homemade device into the newly drilled hole, lined the drill press up to the edge of the device, and drilled the next hole there.
He then moved the nail on the homemade device into that newly drilled hole and lined up the drill press at the edge of the device to drill the next hole. He continued in this manner until all the holes were drilled.
If you don’t want to make a little device like this, you can measure the location for each hole. First measure the center of your piece of wood. You need to mark the center in both directions — length and width. Once you mark the center, measure one inch increments along the length and make a pencil mark at each spot. You also need to mark the center widthwise at each mark. You could draw one center line down the length of your board if that’s easier for you. Either way, you need to make sure that your uprights are centered widthwise so that the nail doesn’t come poking out the side or split the wood. It will also make it easier to use the raddle in the rail of your beater.
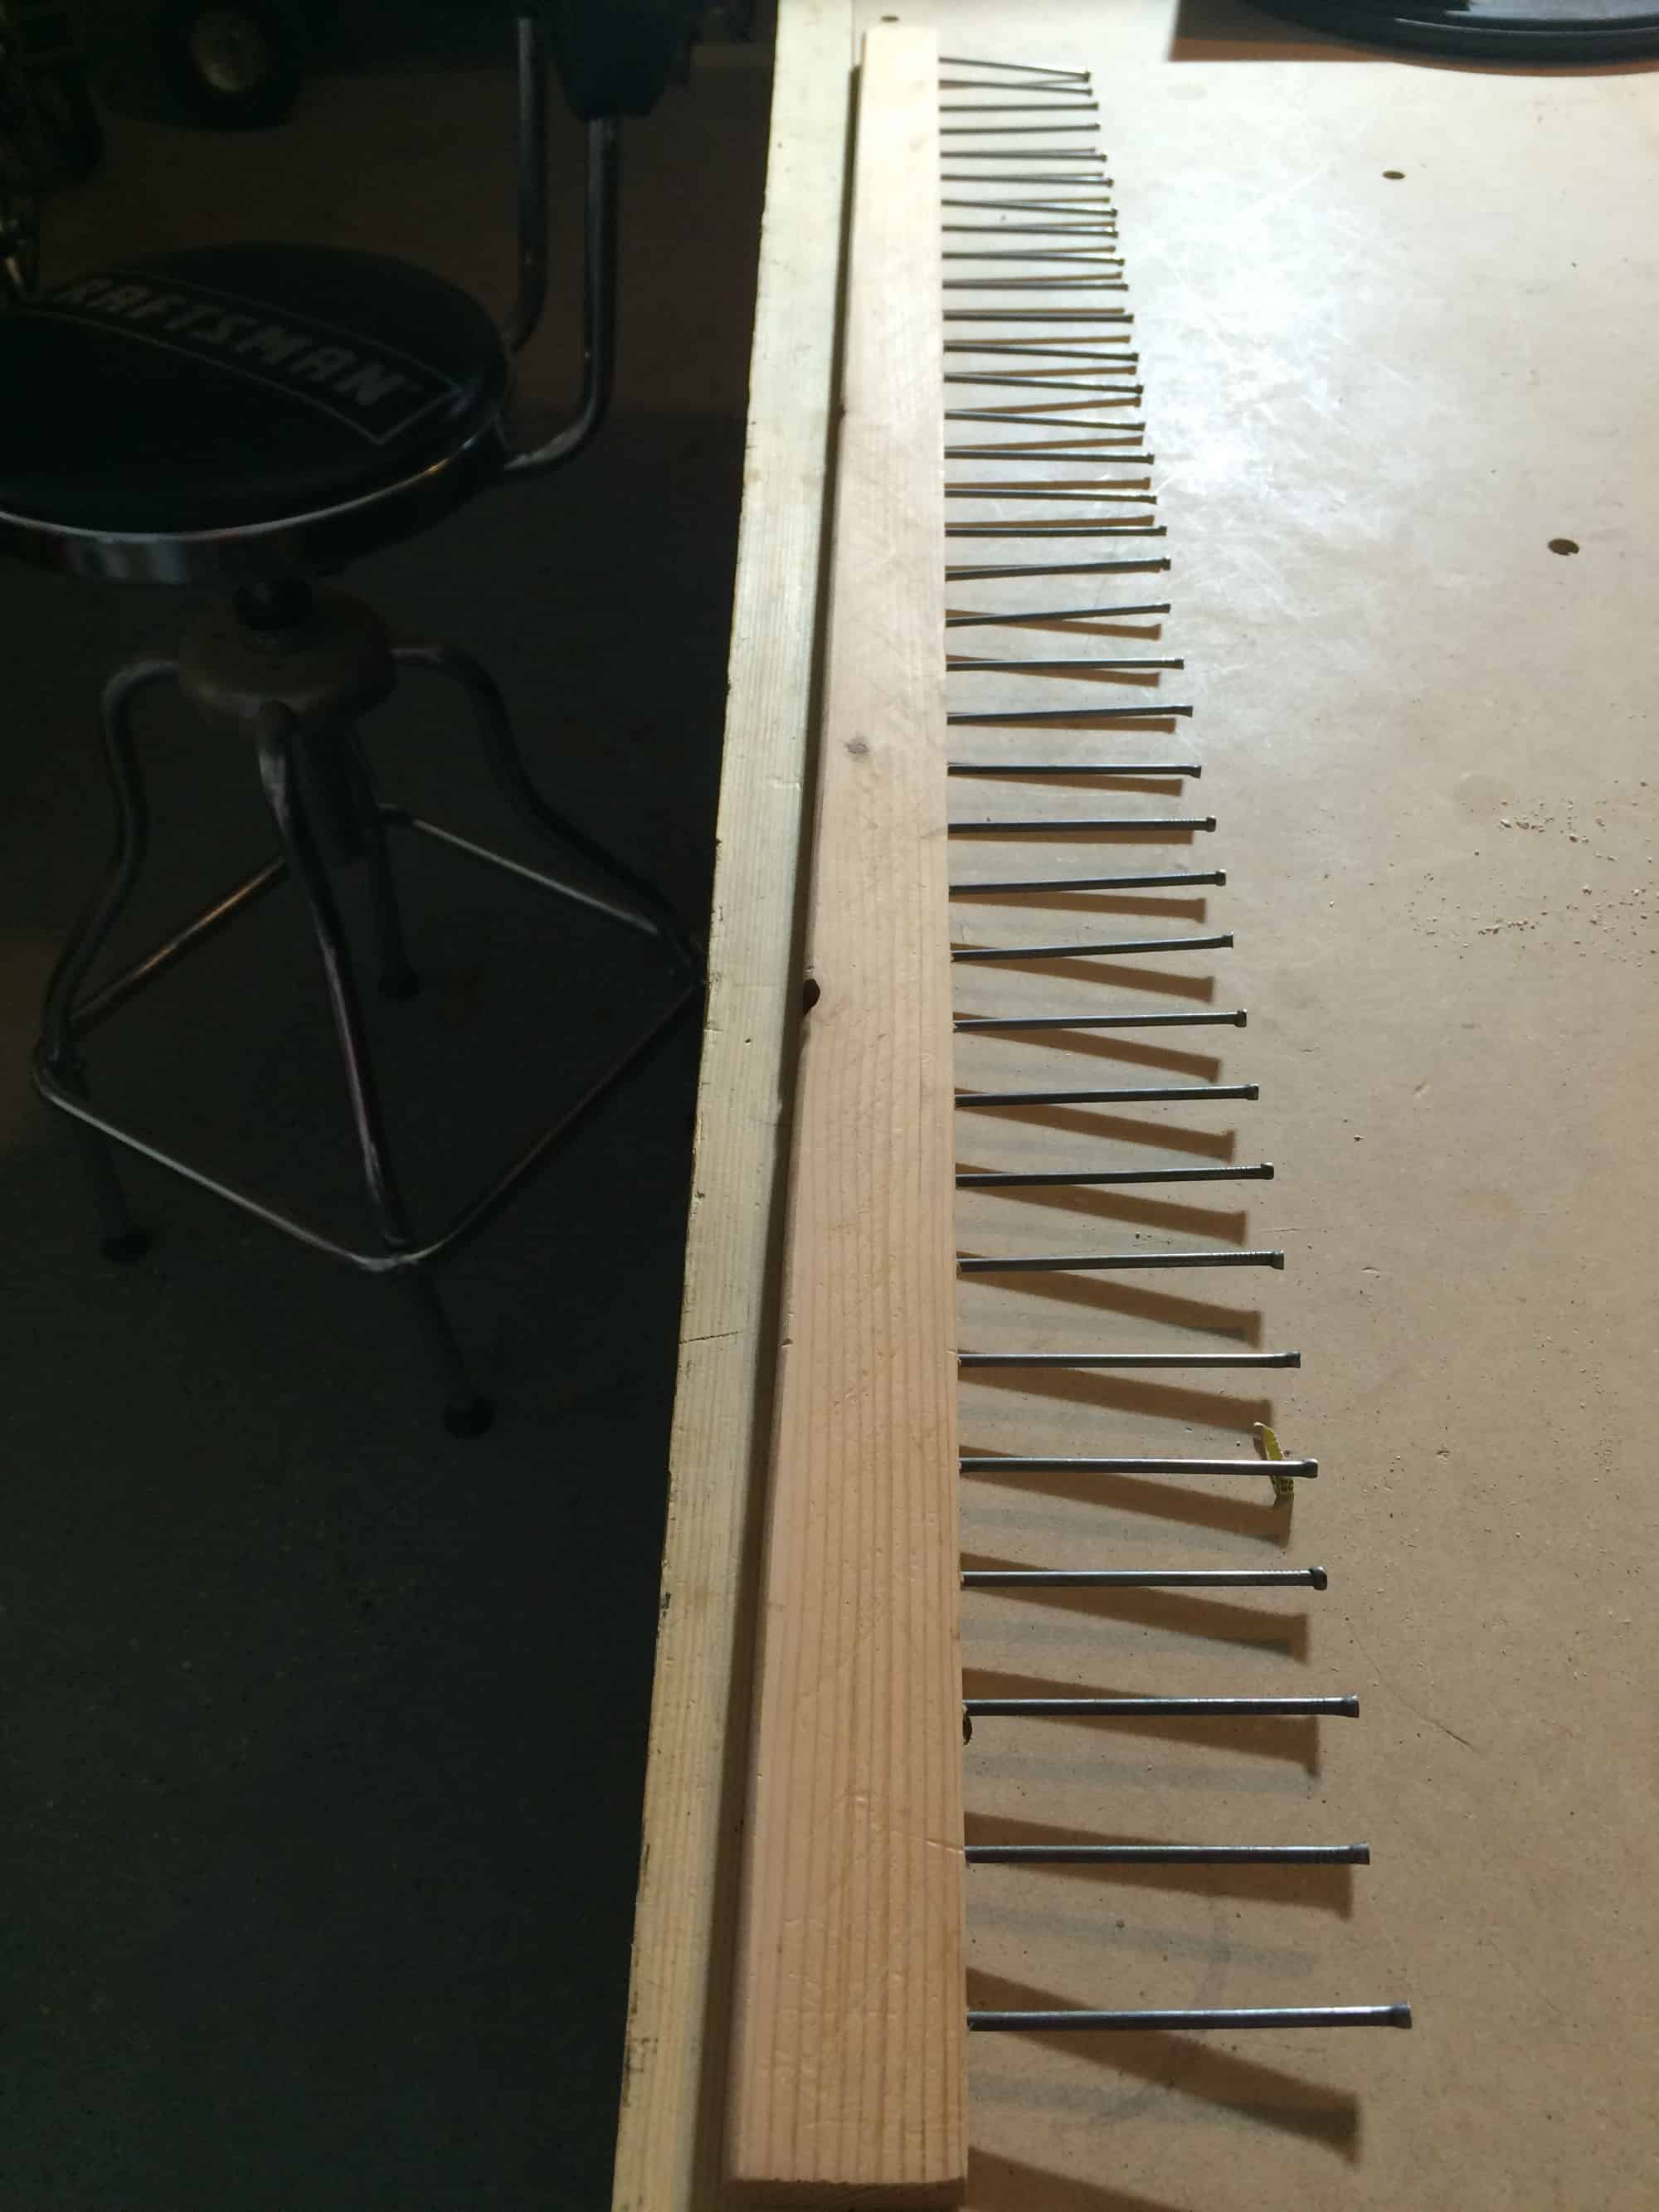
When Chris was done drilling, I hammered in the nails, starting from the center.
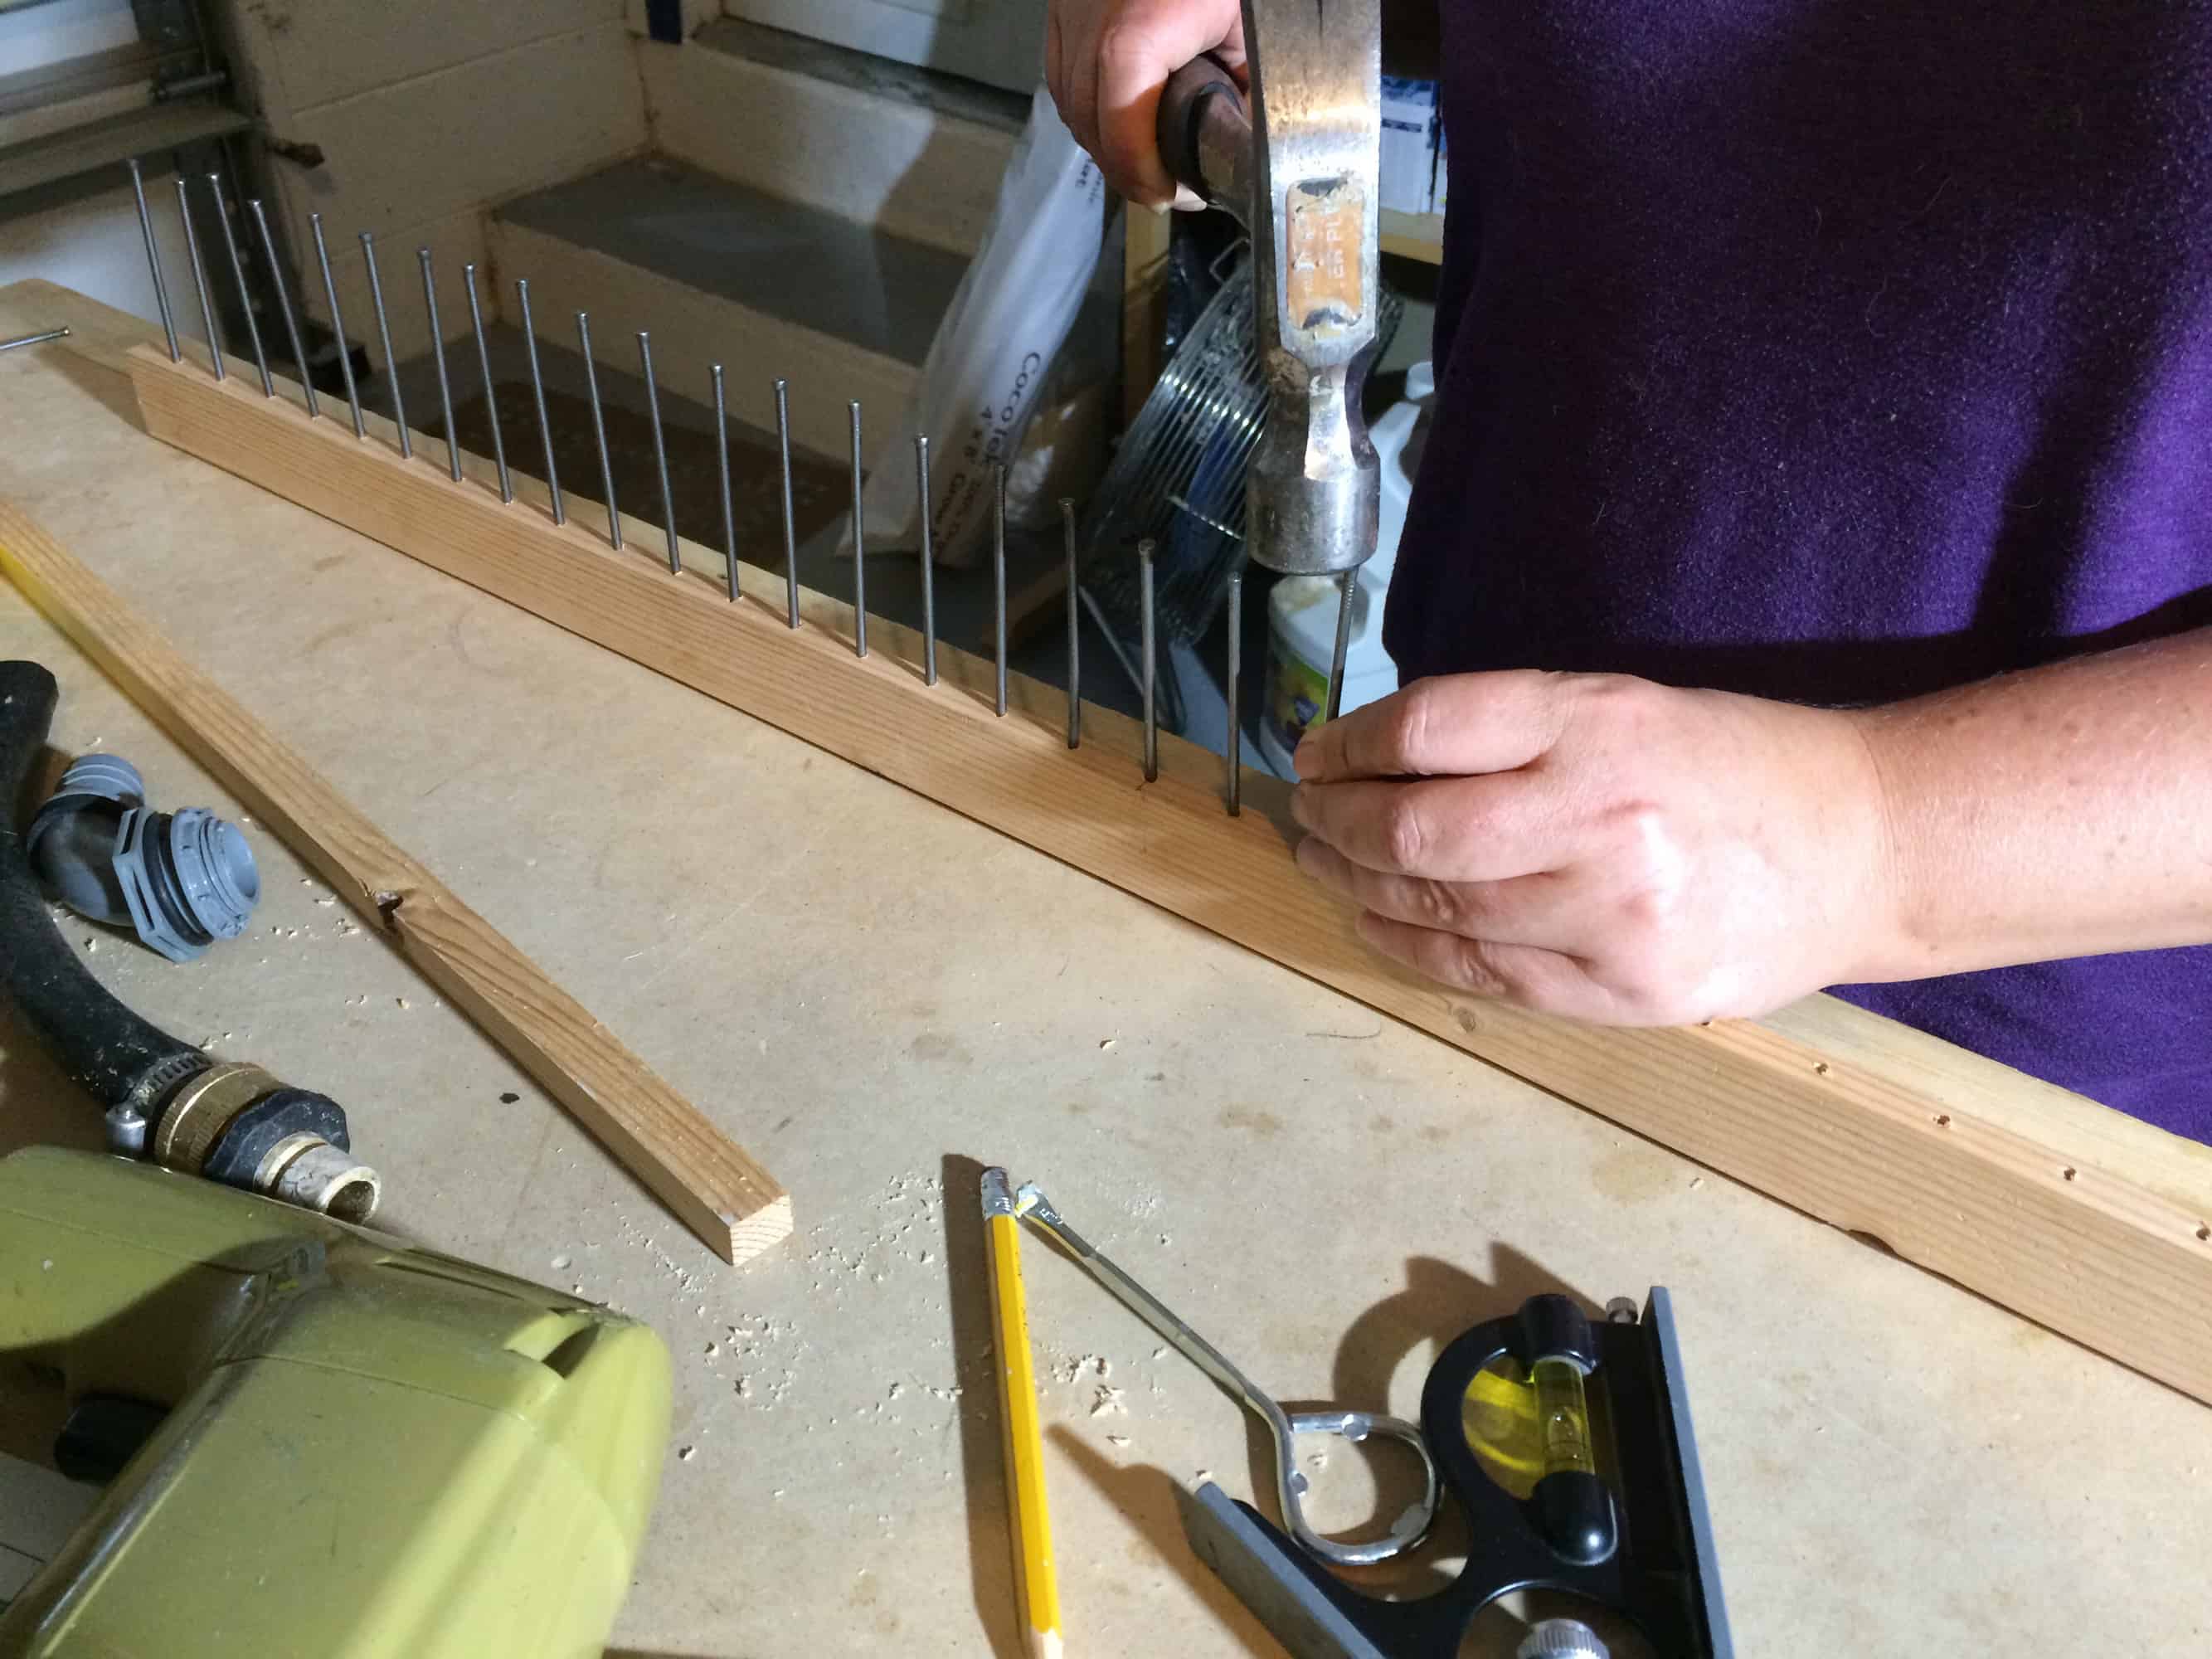
We measured each nail with a square to make sure that the nails were about the same height above the board. They aren’t perfect — and they don’t have to be — but you want to make sure that the top of the beater bar will cover the tops of all the nails, trapping your warp ends into their own little section while you wind on the warp.

And here it is in the loom, with the beater top loosely in place.
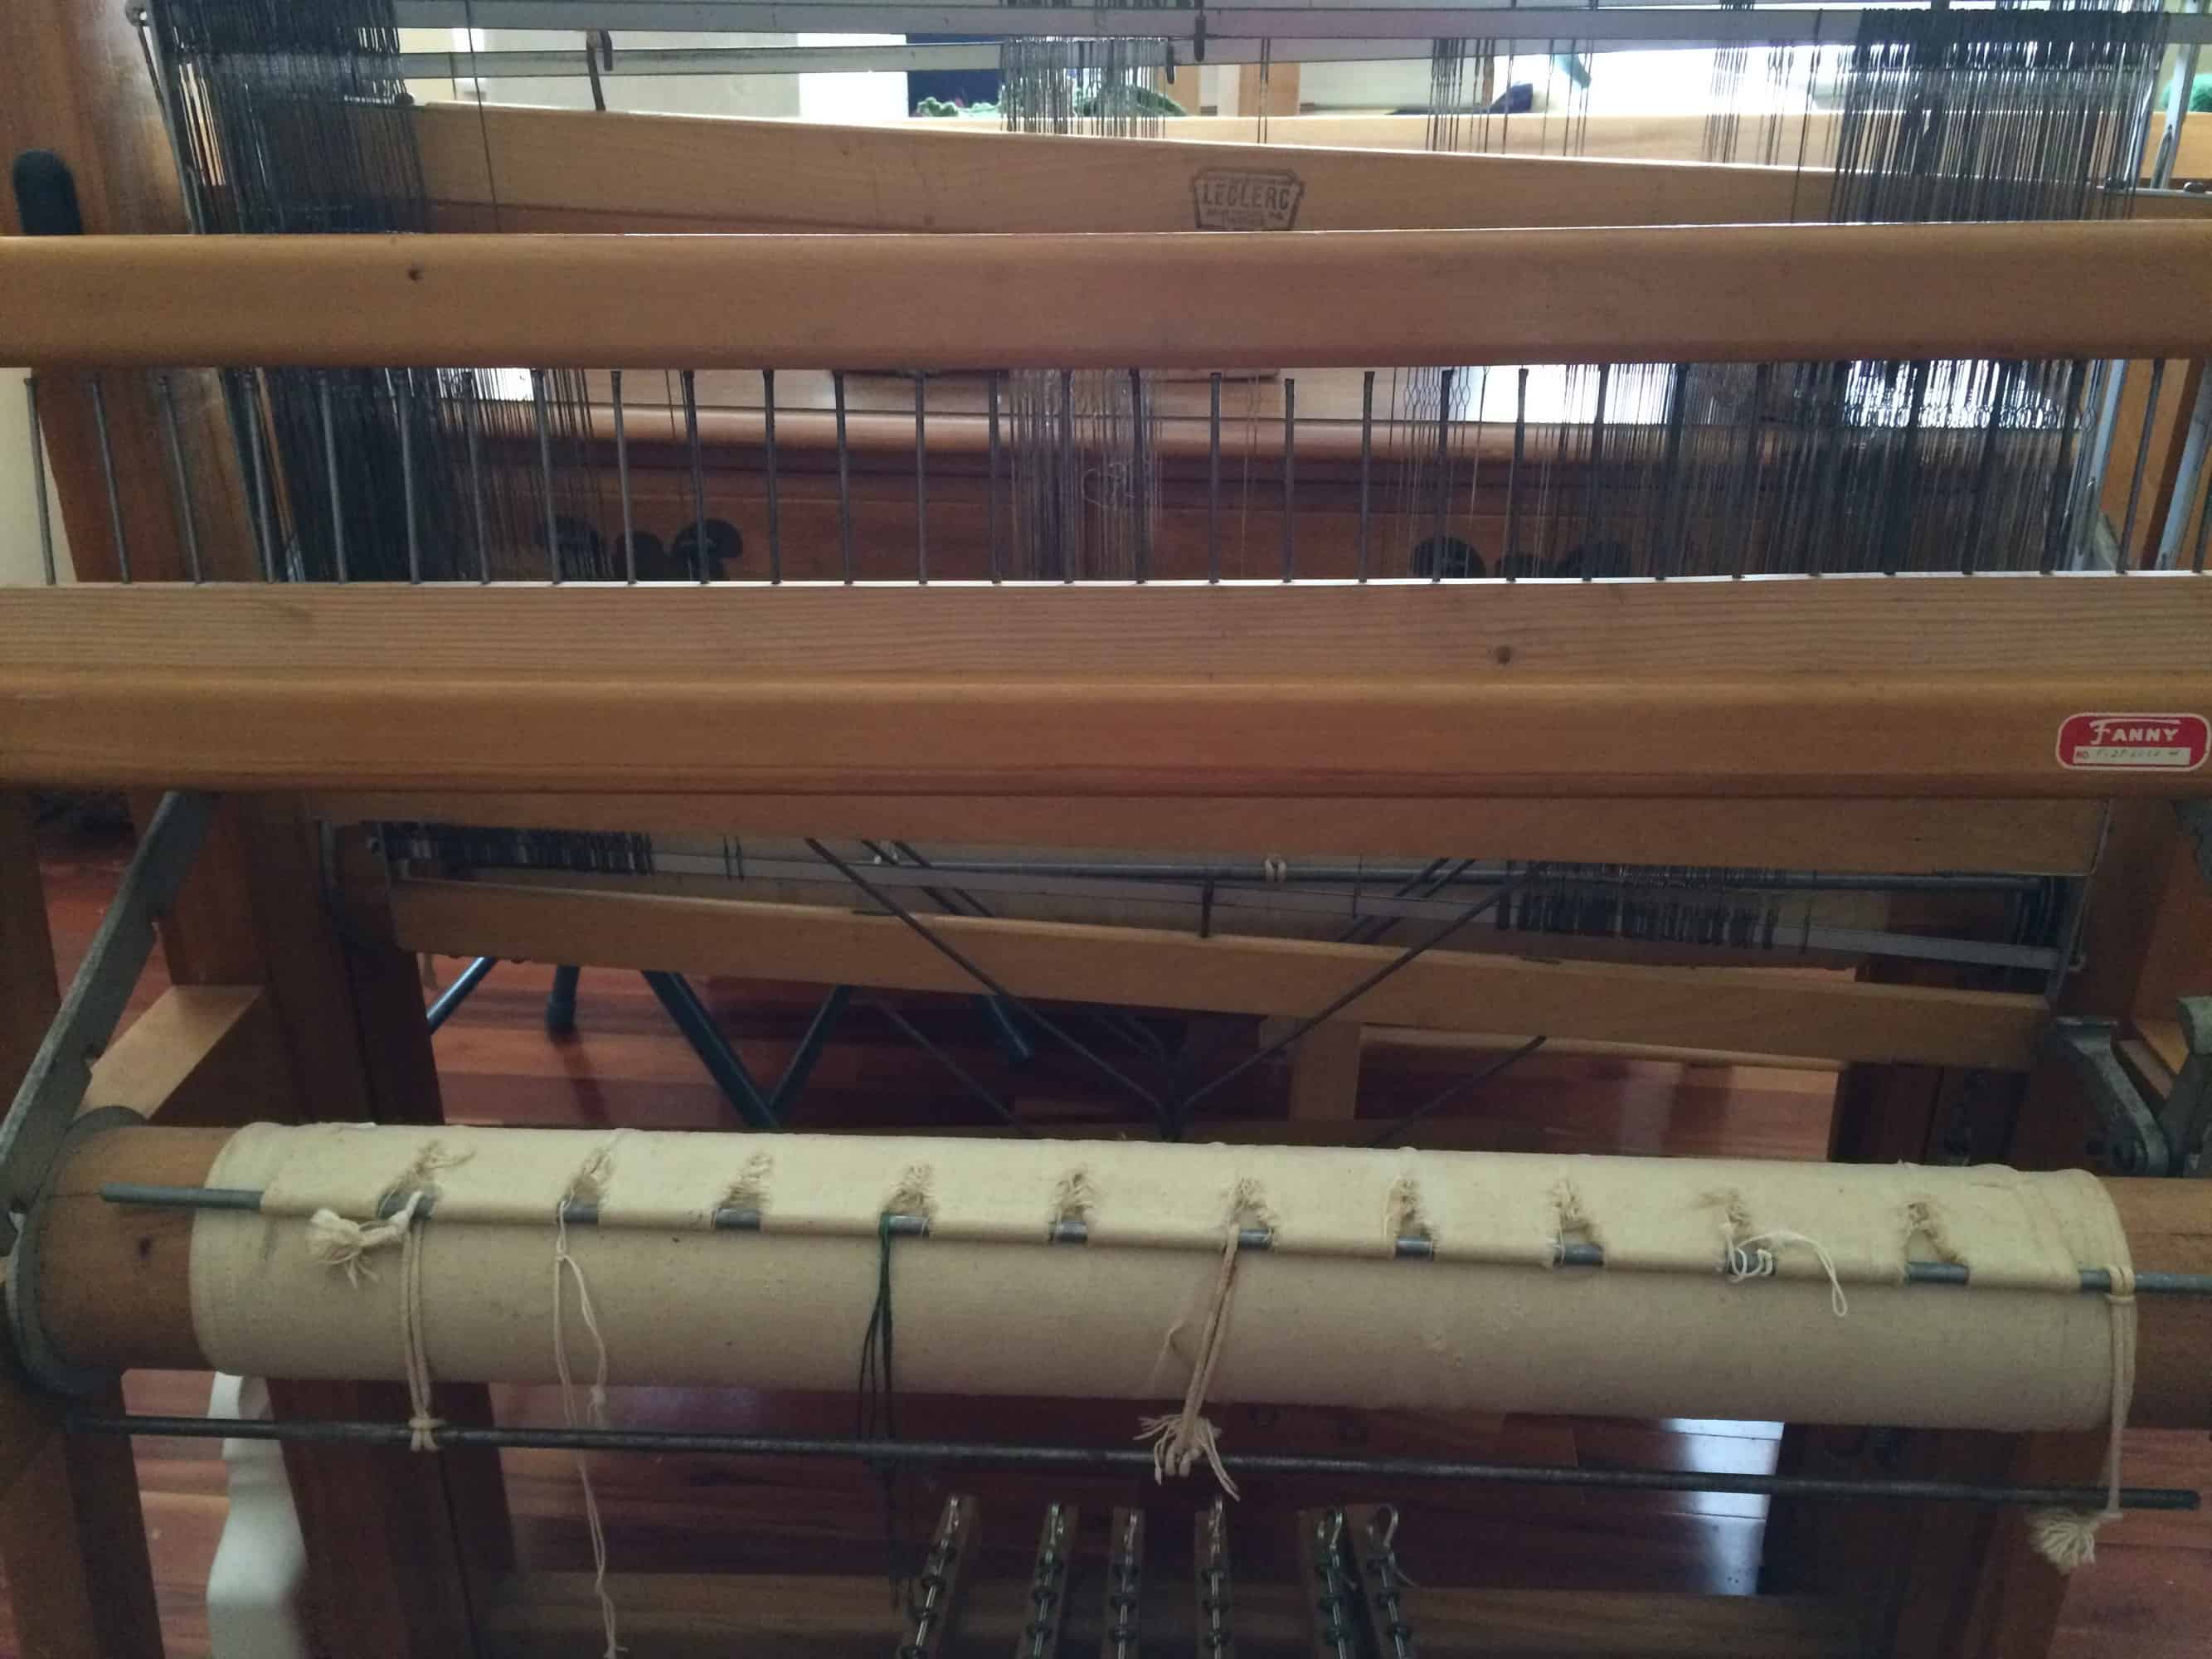
I’m not totally happy with the raddle right now because you can see that the top of the beater is not covering the tops of all the nails. The righthand beater bar screw was not moving smoothly in its slot, so the top is not adjusted well in this picture. I have to look at the screw and see if it needs replacing or if the loom has some other problem on that side. Then I will try the raddle again, and see if I need to make any adjustments to the heights of the nails.