
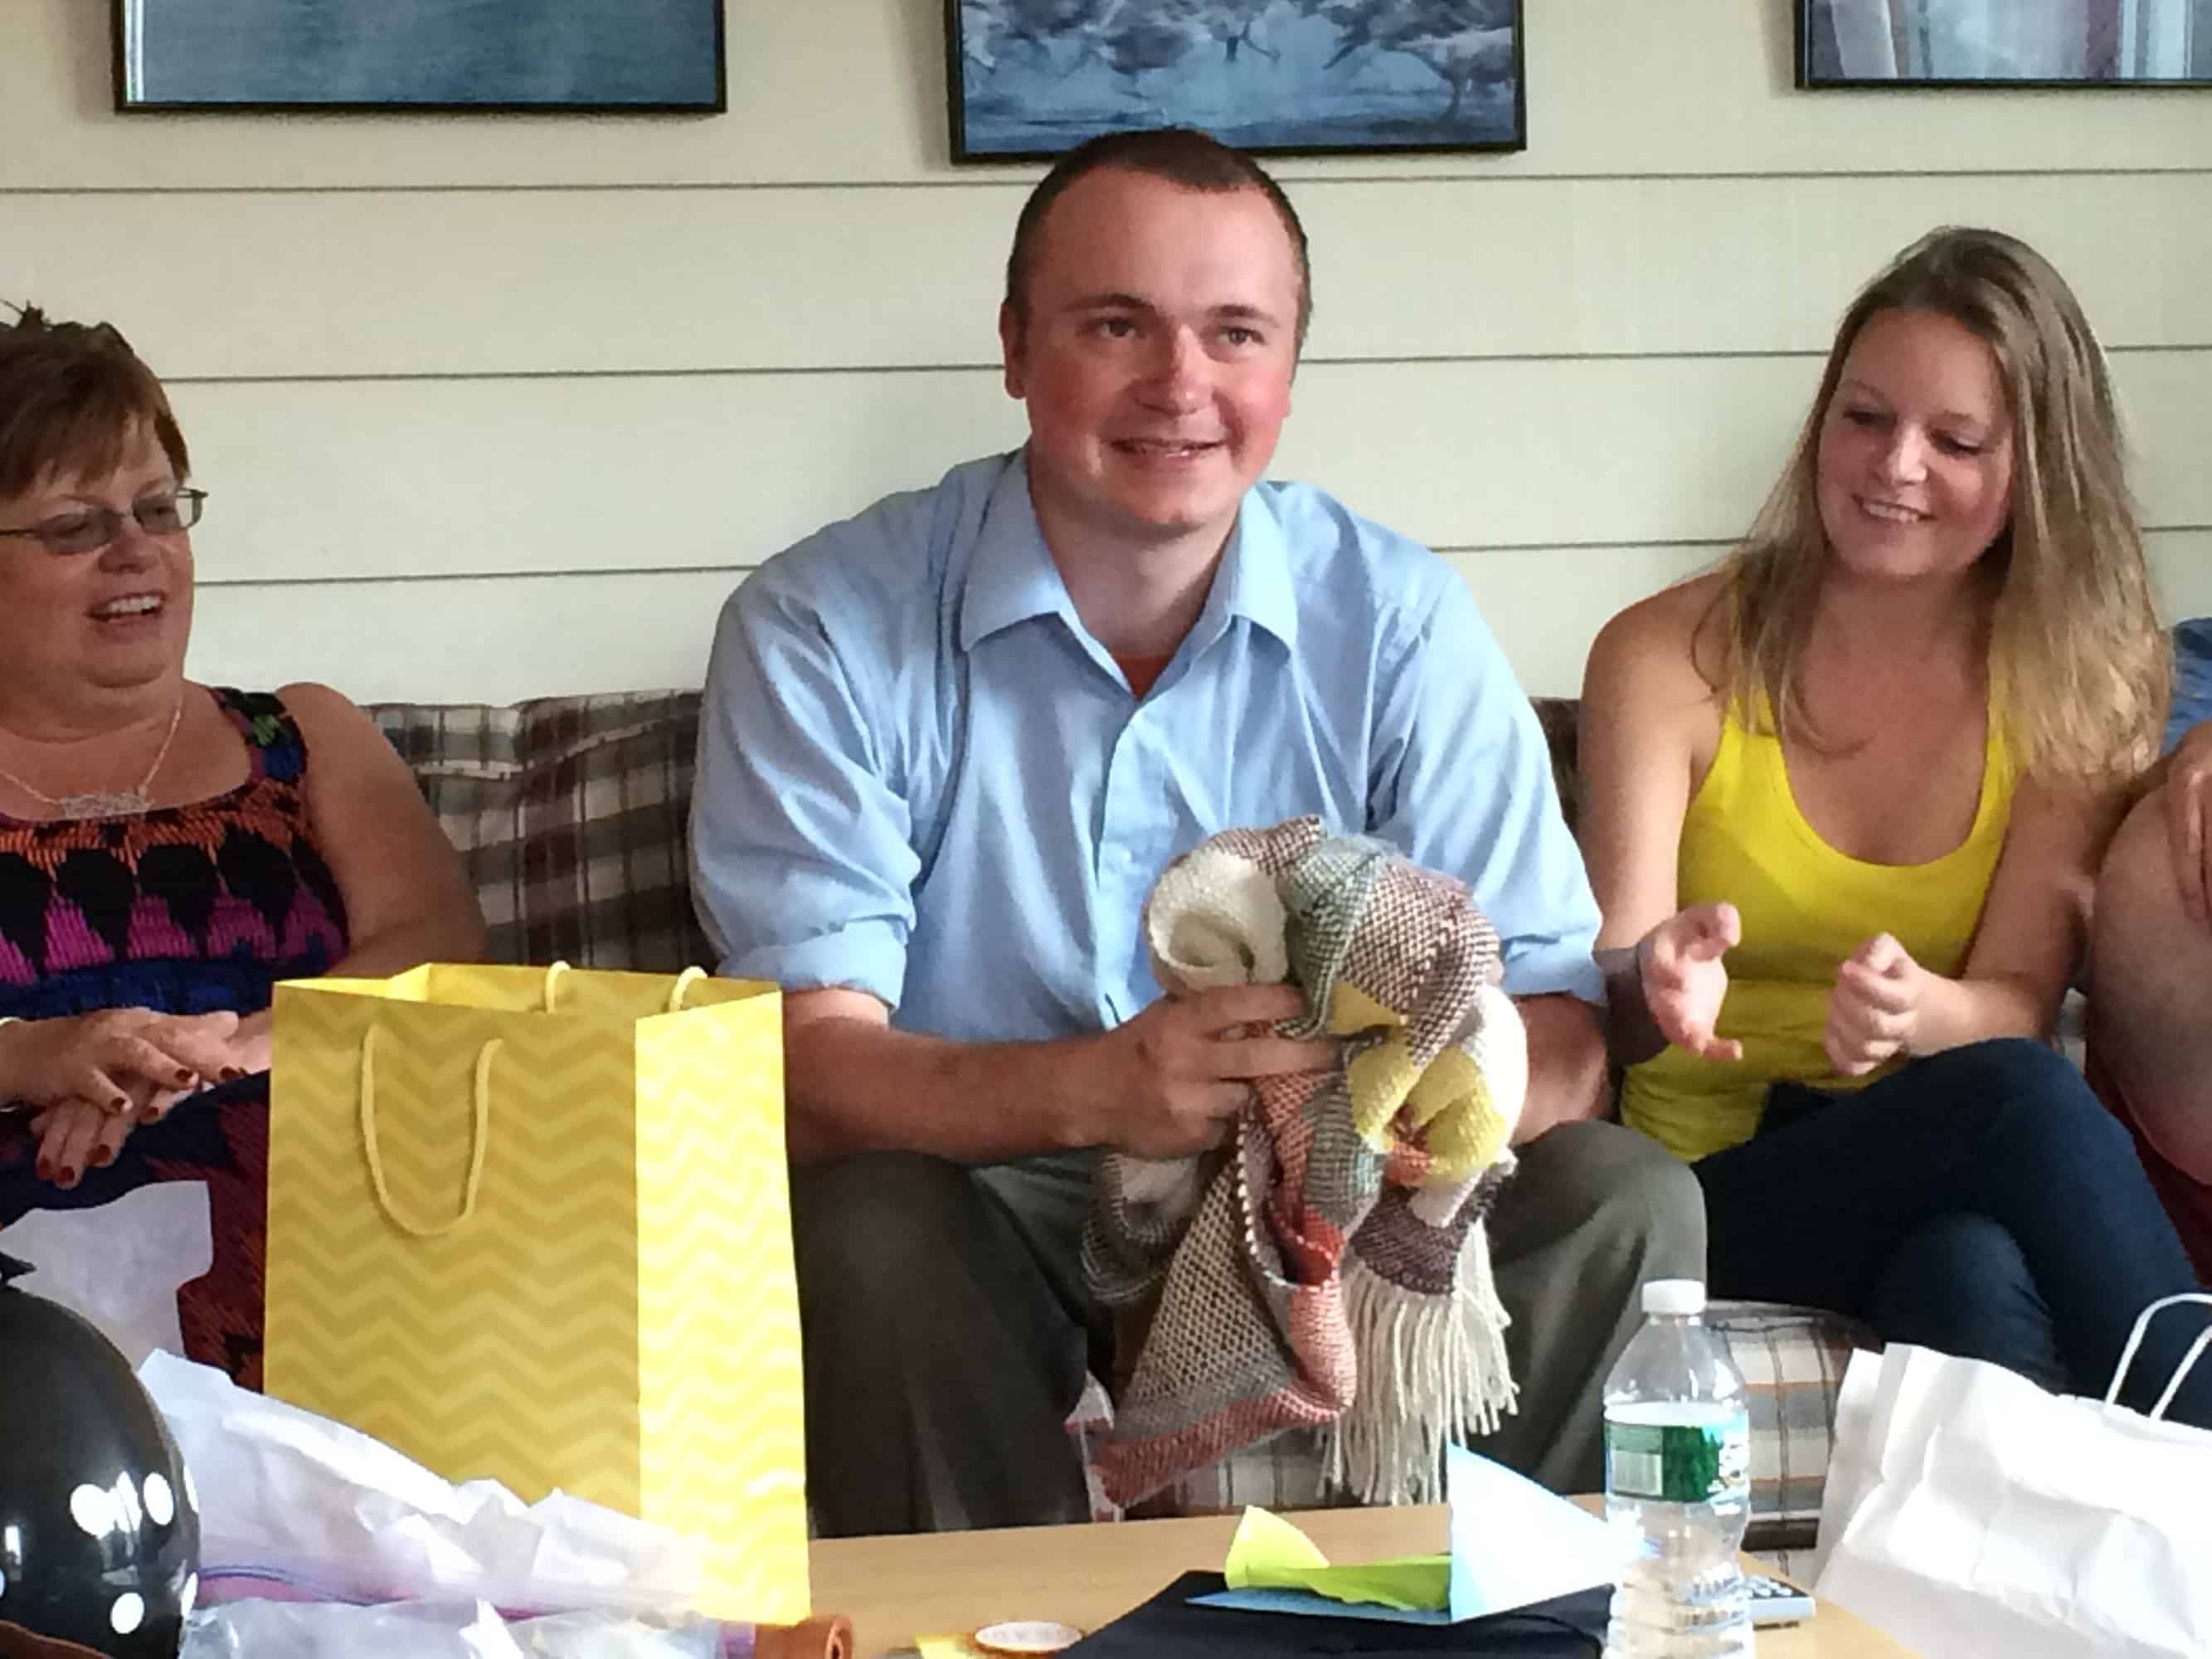
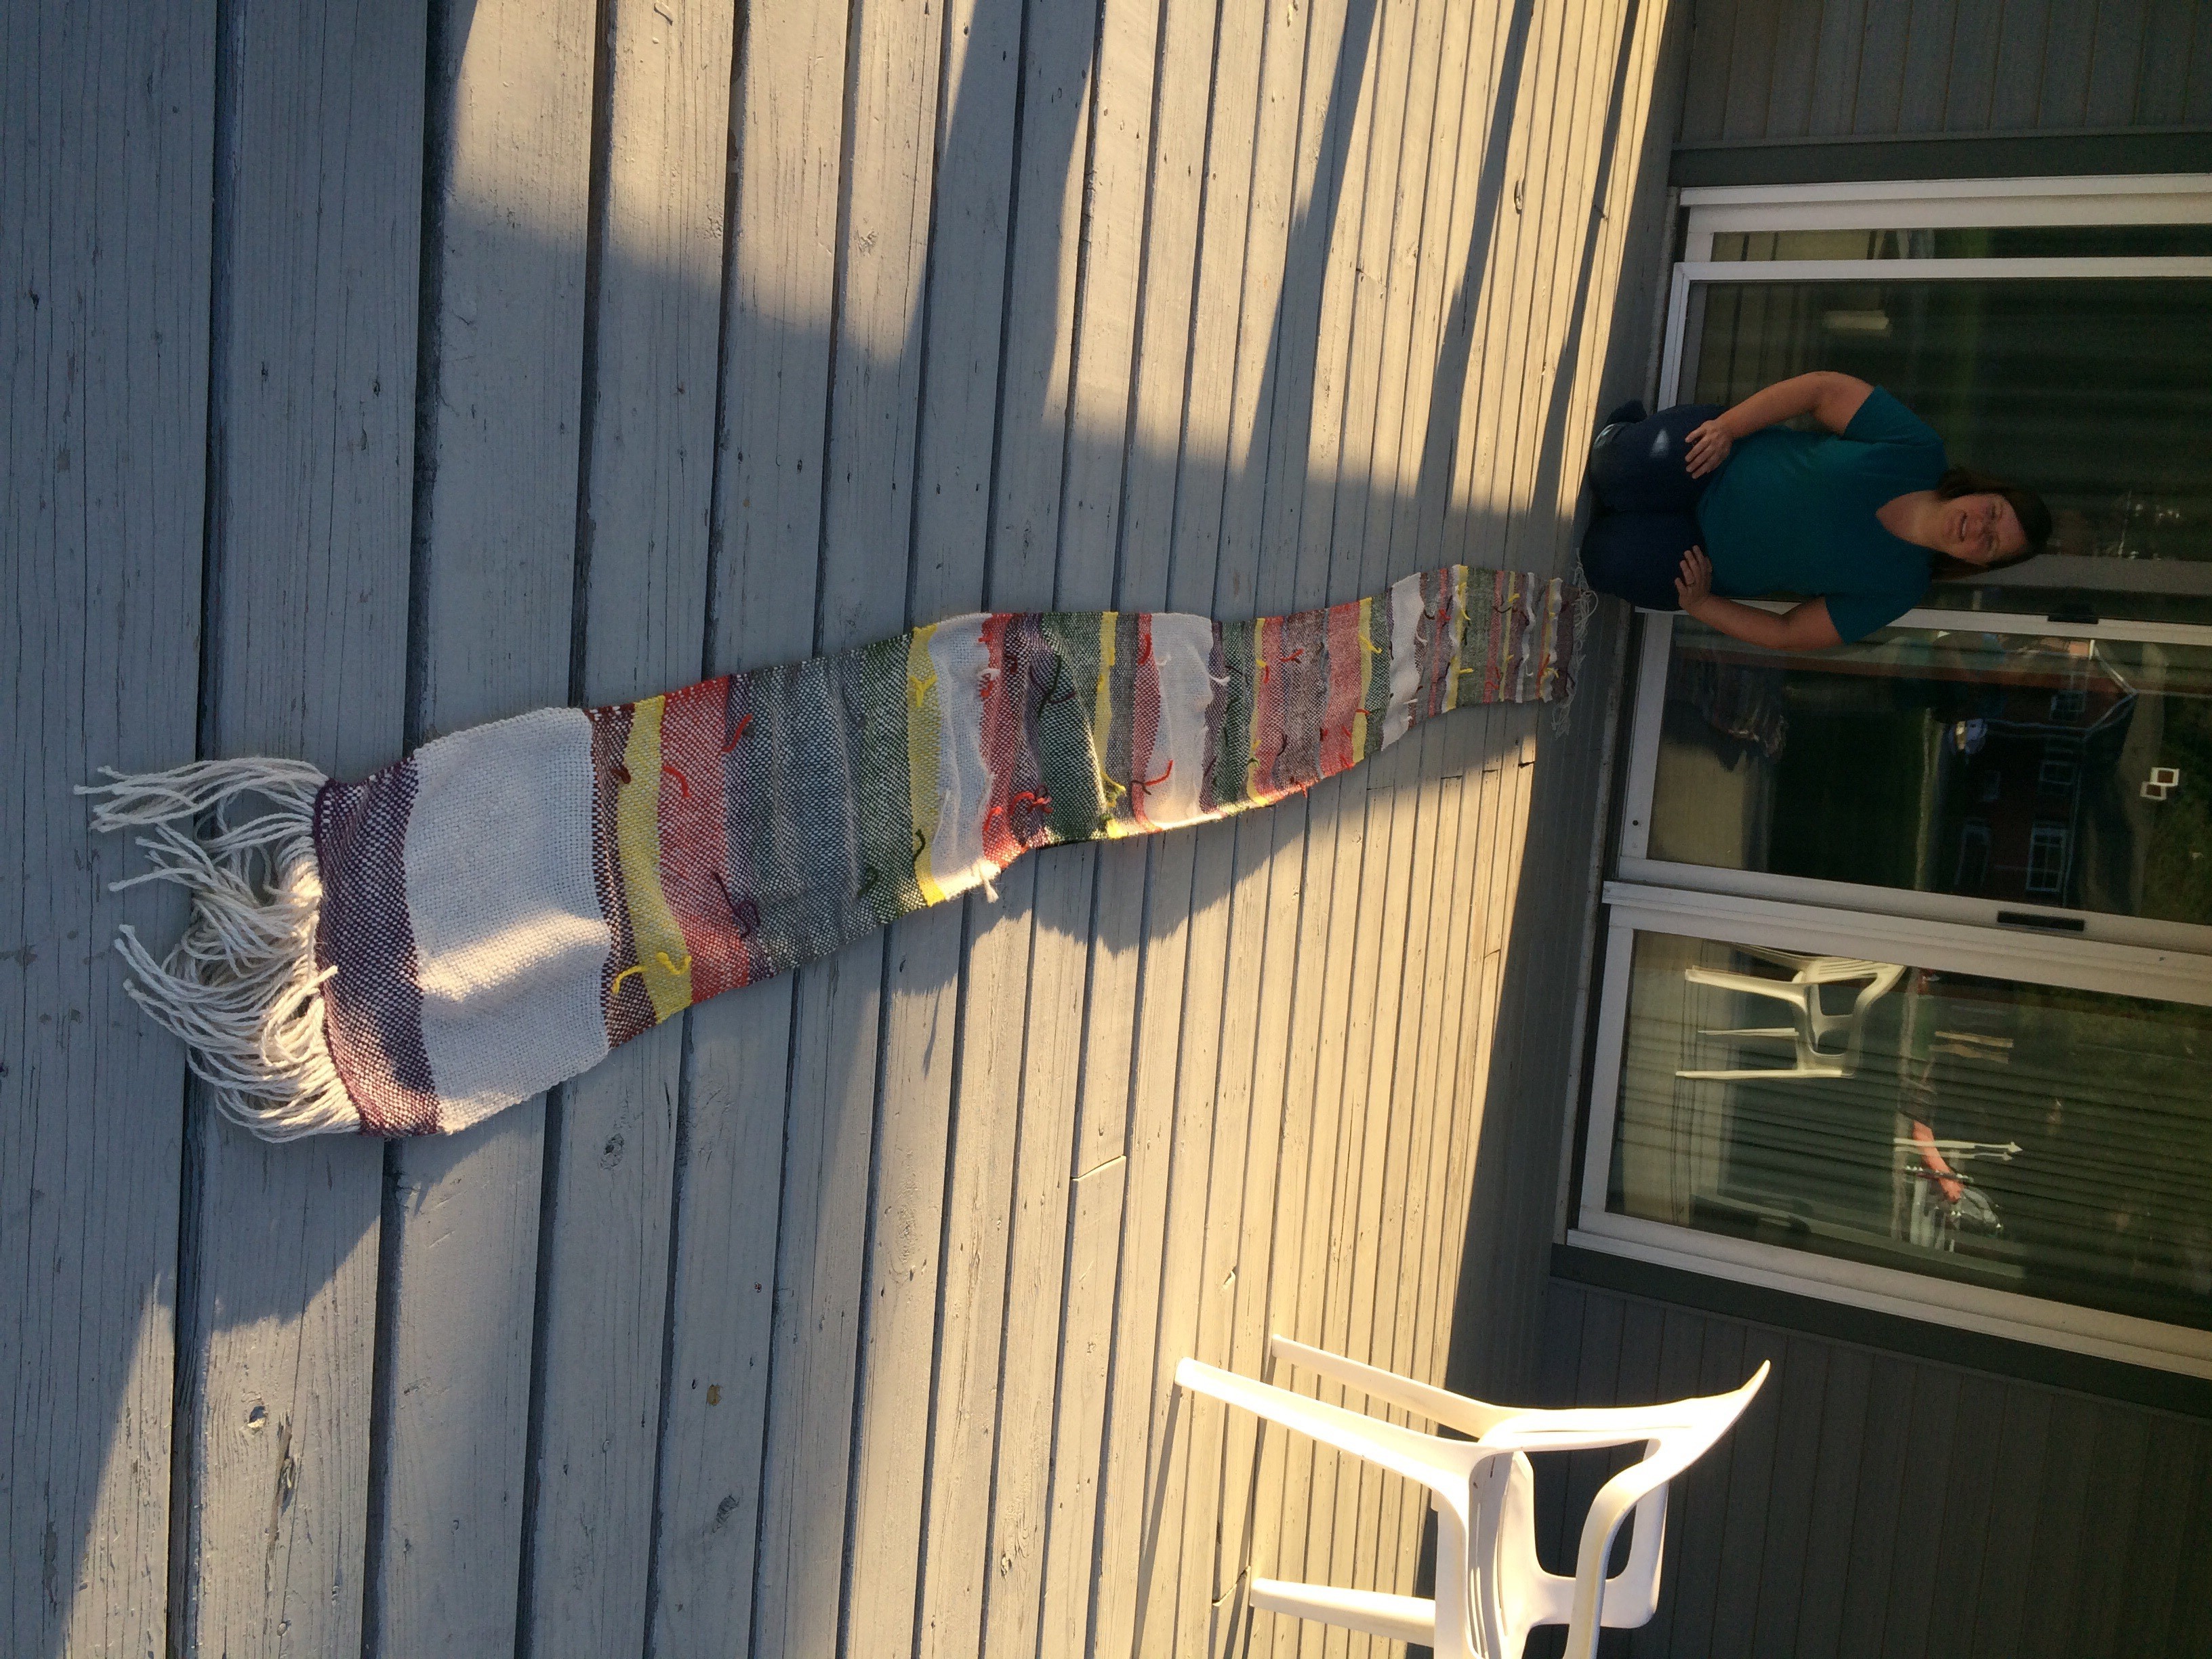
I finished the Doctor Who Scarf while I was in Vermont last week, and presented it to my cousin as a graduation gift. He loved it! Here’s all the info about the scarf.
Official Stats
- Draft: Plain Weave
- Loom: 15″ Cricket Rigid Heddle Loom
- Reed: 8
- Warp Stats
- Yarn: 369 yards llama yarn, gifted to me by Stacy, produced at a local-to-her farm
- Loom waste: 42 yards
- Total Warp Ends: 96
- Ends Per Inch (EPI): 8
- Warp Length: 16 feet (no, that’s not a typo!)
- Weft Stats
- Yarn:
- 52 yards Berroco Vintage, colorway 5180 (purple)
- 63 yards llama yarn (camel)
- 24 yards Peace Fleece worsted in Sheplova Mushroom (bronze)
- 36 yards Peace Fleece worsted in Khrushchev Corn (yellow)
- 70 yards Peace Fleece worsted in Sakhalin Salmon (rust)
- 69 yards Lion Brand Amazing in Olympia (gray)
- 44 yards Peace Fleece worsted in Shaba (?) (green)
- Picks Per Inch (PPI): 7-8
- Width in the Reed: 12″
- Yarn:
- Dimensions Before Finishing: 164″ x 11.5″ (not including fringe)
- Finished Dimensions: 153″ x 10.5″ (not including fringe)
- Made for: My cousin Cooper, as a college graduation present
- Ravelry Project Page
About This Project
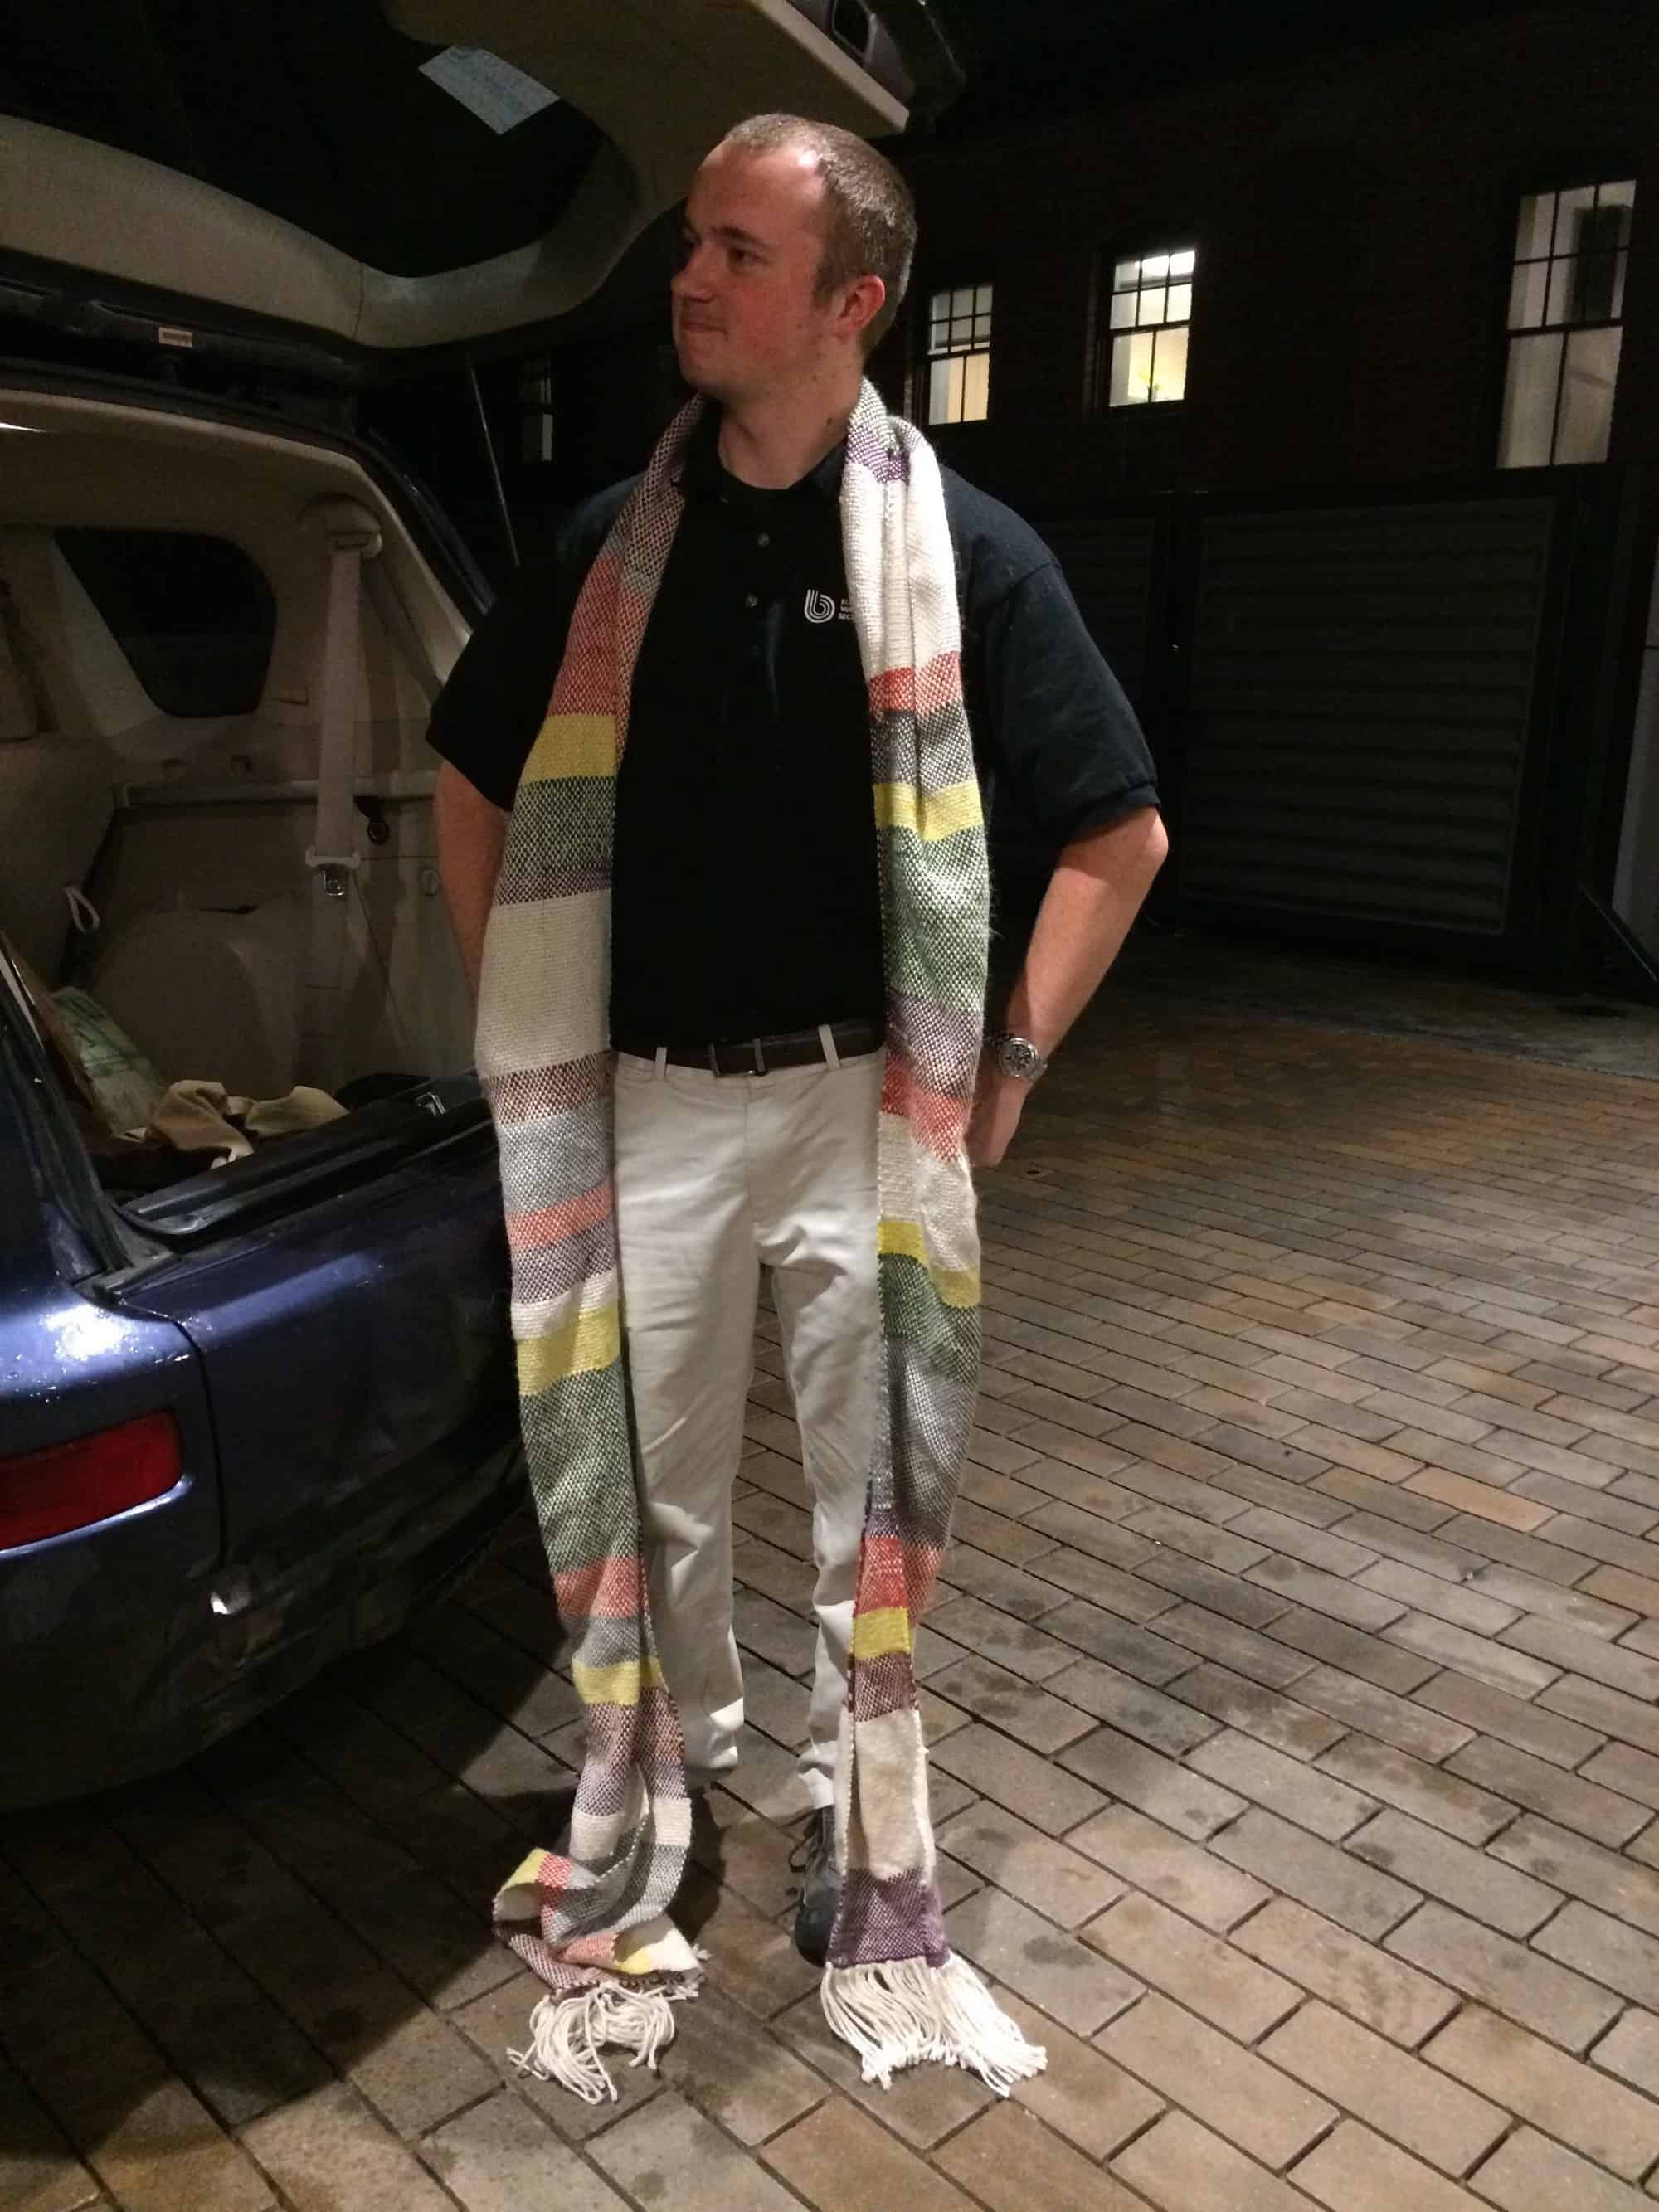
My cousin loves Doctor Who (and many other things geeky), so I decided to make him a Doctor Who scarf as a graduation present. If you aren’t familiar with this particular bit of geekery, Doctor Who is a science fiction television show produced by the BBC. It’s been around since 1963, though it was off the air between 1989 and 2005 (If you’d like an overview of the show, check out the Wikipedia entry). The title character is a time traveling alien who regenerates rather than dying. So far, 13 different actors have portrayed the Doctor (I’m counting John Hurt as the War Doctor, for those of you yelling that it’s only 12).
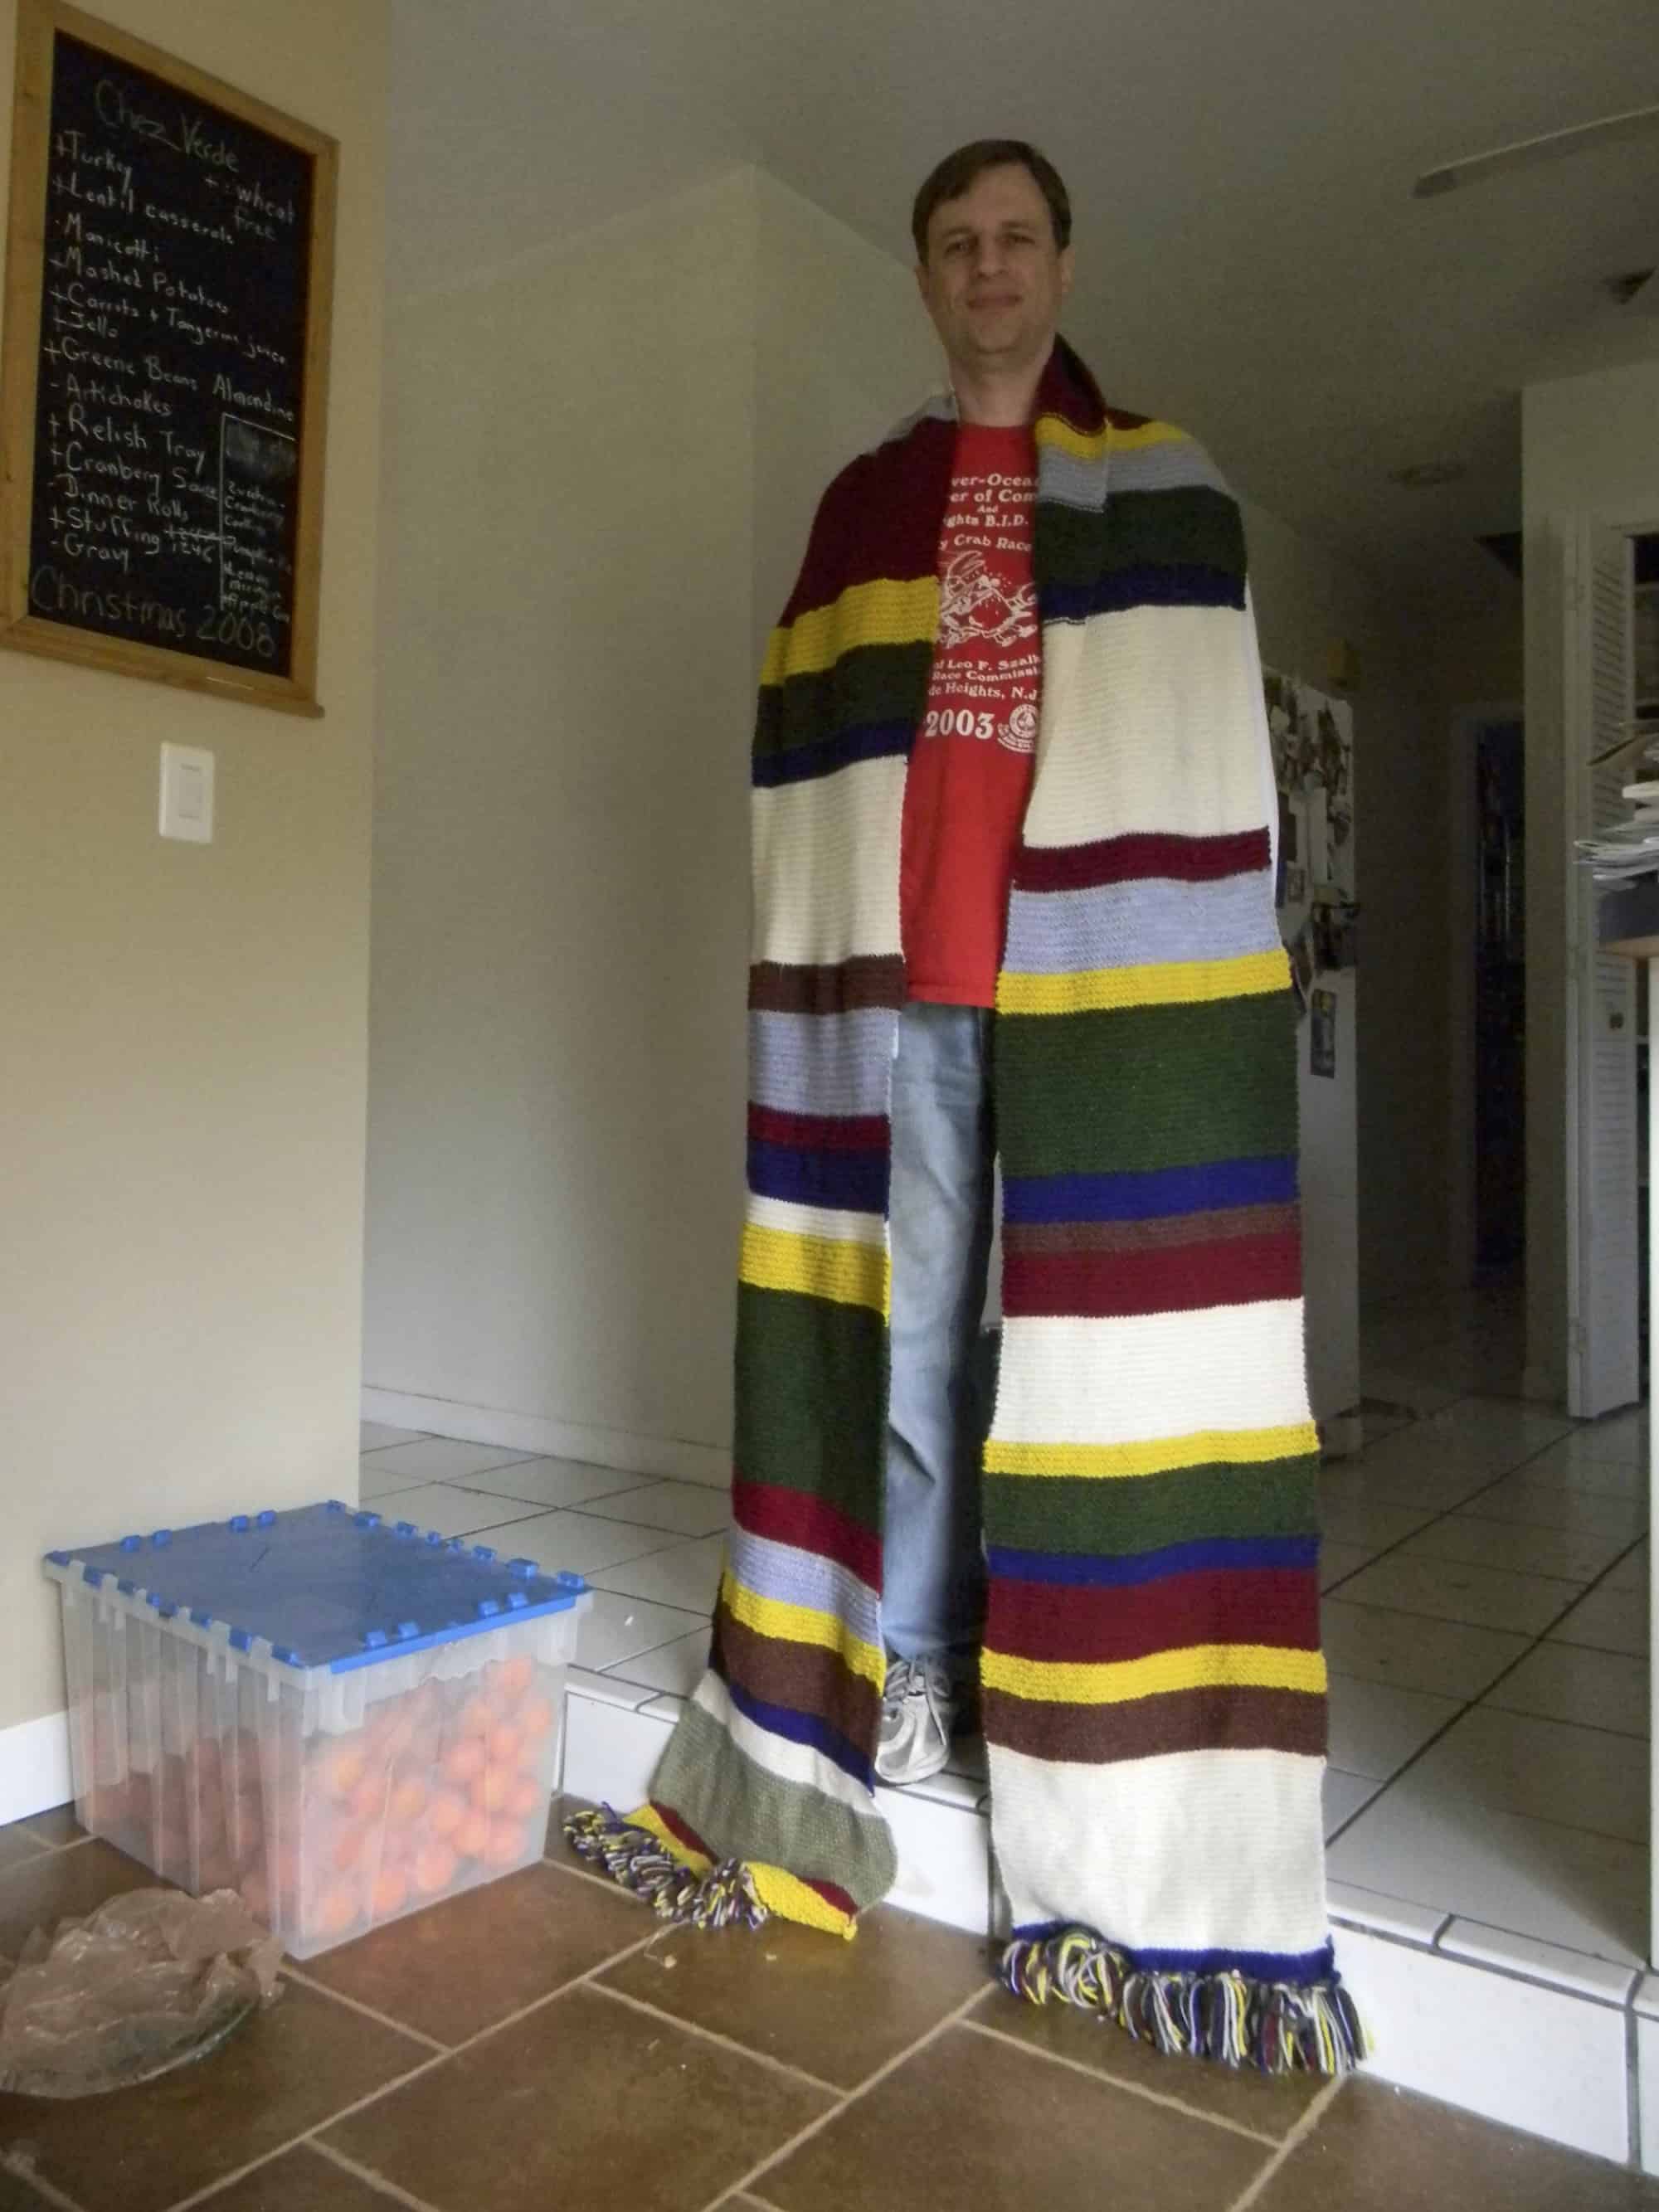
Each iteration of the Doctor has a different personality and costuming. The Fourth Doctor, portrayed by actor Tom Baker, wore a very long multi-colored scarf. According to legend, the scarf came about because a costume designer picked up some wool and handed it over to a knitter, asking her to knit a scarf. She used up all the wool she was given, creating a very long scarf. While this wasn’t the original intention of the costume designer, he liked it and the BBC went ahead with it. Over the various seasons that Tom Baker was on the show, different versions of the scarf were created, including a stunt scarf. Many people — including me — have knit replicas of that scarf, and there’s a website recounting the various iterations of the scarf and options for knitting it yourself.
Since I didn’t want to knit that much garter stitch again, I decided to try weaving the scarf instead. I looked on Ravelry and found woven Dr. Who scarves by the following Ravelers: Jason, Serenova, Littleredmitten, jeen, jeen again, jeen a third time, jeen a fourth time to use up the leftovers from the first three, quiltnknitgirl, rosalynk, and MountainAsh. Only Jeen has detailed project information. Some of the others included the yarn and yardage used, but no detailed project notes. Therefore, I used the knitting patterns at Doctor Who Scarf and created a spreadsheet to figure out the weaving.
When making a Doctor Who scarf, you can decide to be true to the literal representation of the scarf, the spirit of the scarf, or both. A literal representation of the scarf means picking a season, getting yarn that is as close as possible to the colors used in the scarf in that season, and knitting stripes that are exactly the width of the ones on the scarf. The spirit of the scarf is going with what you have on hand and making something unexpected.
I knew I wasn’t going for a straight literal representation of the scarf because that would mean knitting it. I also wanted to use as much stash yarn as possible, rather than buying yarn. I tried to get as close as possible to the colors in the scarf as my stash would allow, but I wasn’t going to stress about minor color variations (I ended up buying purple yarn because I had nothing in my stash that was close, but everything else came from stash). On the other hand, I did want to pick a season and replicate the color order and stripe lengths of that season’s scarf. The Doctor Who Scarf website has a side-by-side comparison of the scarves for seasons 12 to 14, with the total length, stripe length, and total width of the scarf marked. I decided to go with a season 12 scarf because it is the longest of all of them.
Unlike knitting, weaving shrinks when taking off the loom and wet finished. In order to adjust for this, I added 20% to the length of each stripe, hoping that by doing so, I would get close to the correct stripe size after finishing. The scarf only shrunk by a total of 11″, which is about 7% of the pre-finishing length, so I probably could have added only 10% to the length when weaving. Unfortunately, I forgot to measure the length of stripes after finishing, so I don’t have the data to do an actual comparison. Since I used 3 different brands of yarn in the weft, I assume the different yarns shrank at different rates, but don’t know for sure.
This is the first project in which I did calculations to determine the yardage I needed for weft. I used a spreadsheet formula to add the length of all stripes of each color. I then multiplied that length by 88 (8 picks per inch * 11 inches wide in the finished scarf) and divided by 36 to get an estimated yardage for each color. This calculation was not particularly accurate.
| Total Weft Length | Estimated Weft Yardage | Actual Weft Yardage | |
| Purple | 18.30 | 44.73 | 52 |
| Camel | 32.40 | 79.20 | 63 |
| Bronze | 19.20 | 46.93 | 23 |
| Mustard | 13.80 | 33.73 | 36 |
| Rust | 22.50 | 55.00 | 70 |
| Grey | 23.70 | 57.93 | 69 |
| Greenish Brown | 24.90 | 60.87 | 44 |
| 154.80 | 378.40 | 357 |
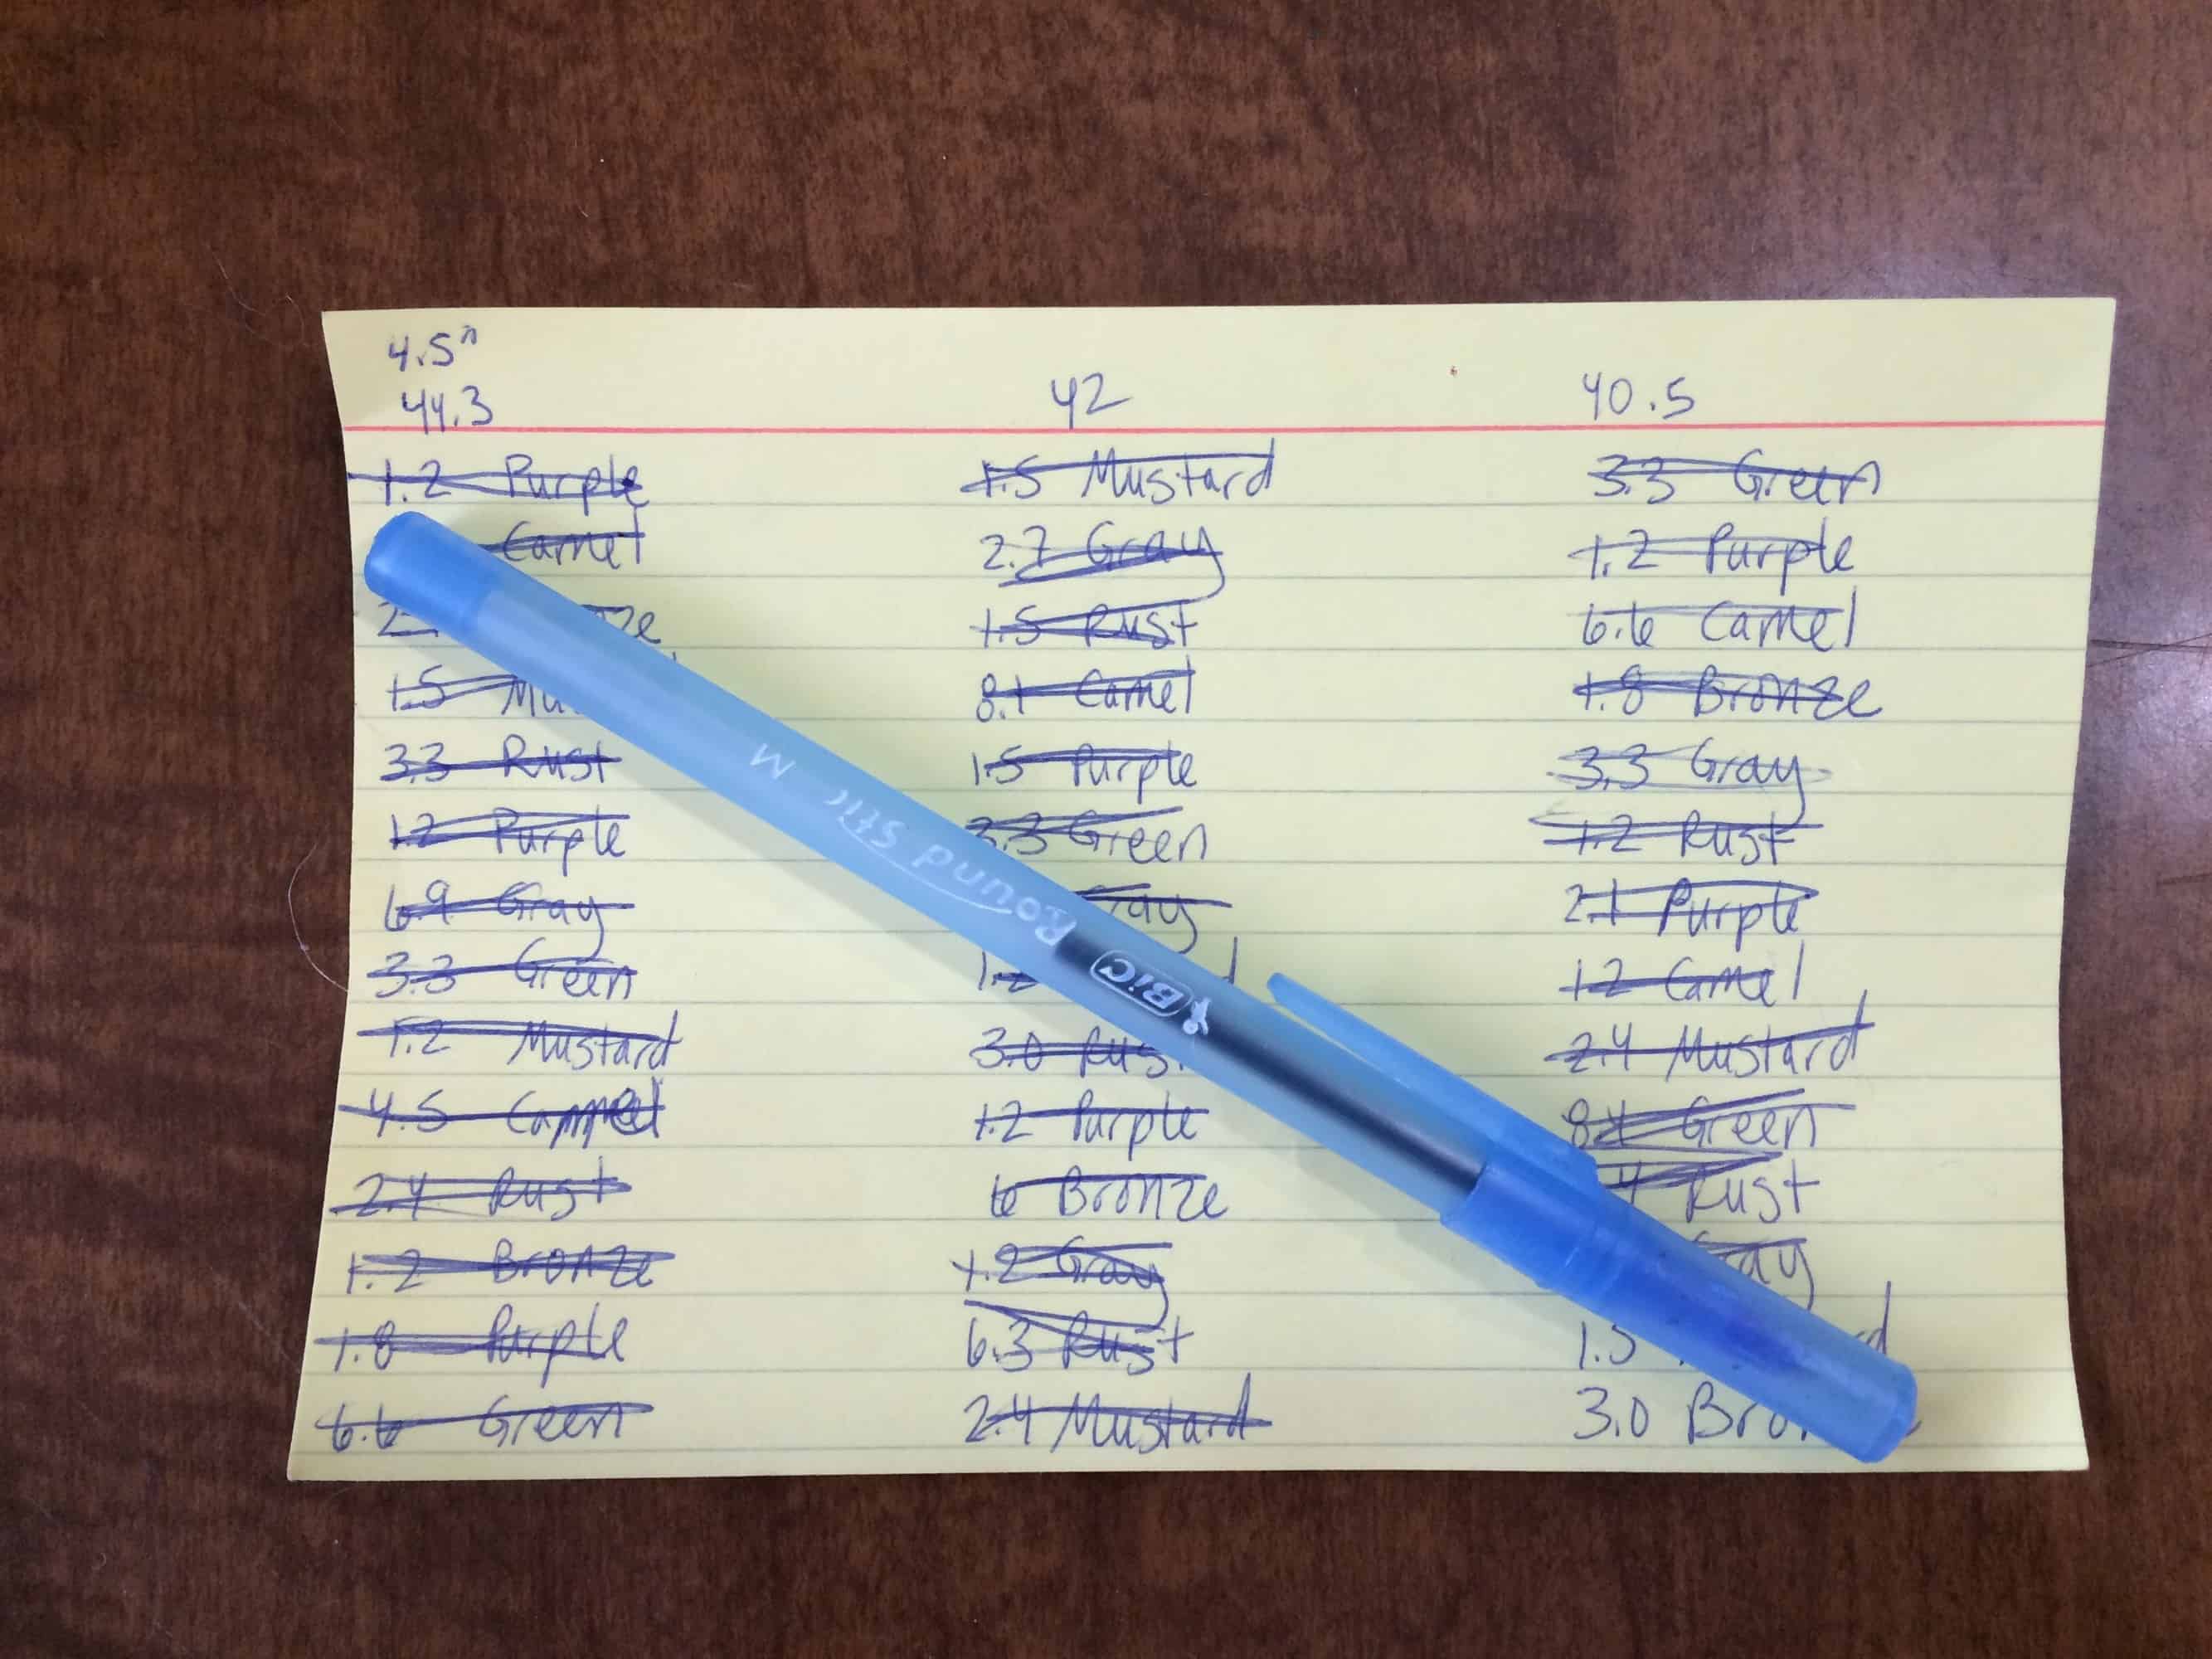
There’s a number of possible reasons my initial calculations were inaccurate. One is that I did not accurately measure the length of each color as I wove. Or perhaps I missed weaving a stripe in one color. I don’t think this is the case — I had a 4×6 card with a list of stripes and I crossed them off as I wove — but it’s possible.
I wasn’t always getting 8 picks per inch as I wove, partly due to tension challenges (more on that in a minute) and partly because of the different types of yarn. Since I used stash yarns, and some of the yarns were partial balls, I may not have had an accurate weight for the partial skeins before I started the project. I didn’t weigh each one; I relied on the weight listed in Ravelry, assuming that I had accurately listed information on my earlier projects.
The Trouble with Tassels
In the television show, the tassels are made from one strand of each of the seven colors in the scarf. When weaving, the fringe is usually the warp, and the warp for this project is only one color. I considered a number of options for finishing the scarf. I could:
- Dye individual strands of fringe to match the stripes
- Cut off the fringe, sew a hem, make tassels, and sew them to the edge of the scarf
- Needlefelt 1″ or so on each end, rather than hemming, then sew the tassels to the needlefelted edge
- Leave the warp as the fringe, leaning towards the spirit of the scarf not an accurate representation
I planned to sew a hem, but I ended up leaving the warp as fringe because I ran out of time — the scarf took nearly 15 hours to dry and by the time it was dry I had to pack it. I don’t think needlefelting would have worked on this project, because I don’t think the llama yarn I used for warp would felt. I tried wet-felting a join between two skeins and it didn’t work.
Warped Warp
As soon as I started tying on the warp, I knew that this warp was going to be problematic. This yarn was very stretchy. The long warp meant that the warp was sagging between the loom and the warping peg, resulting in different lengths for each strand of warp.
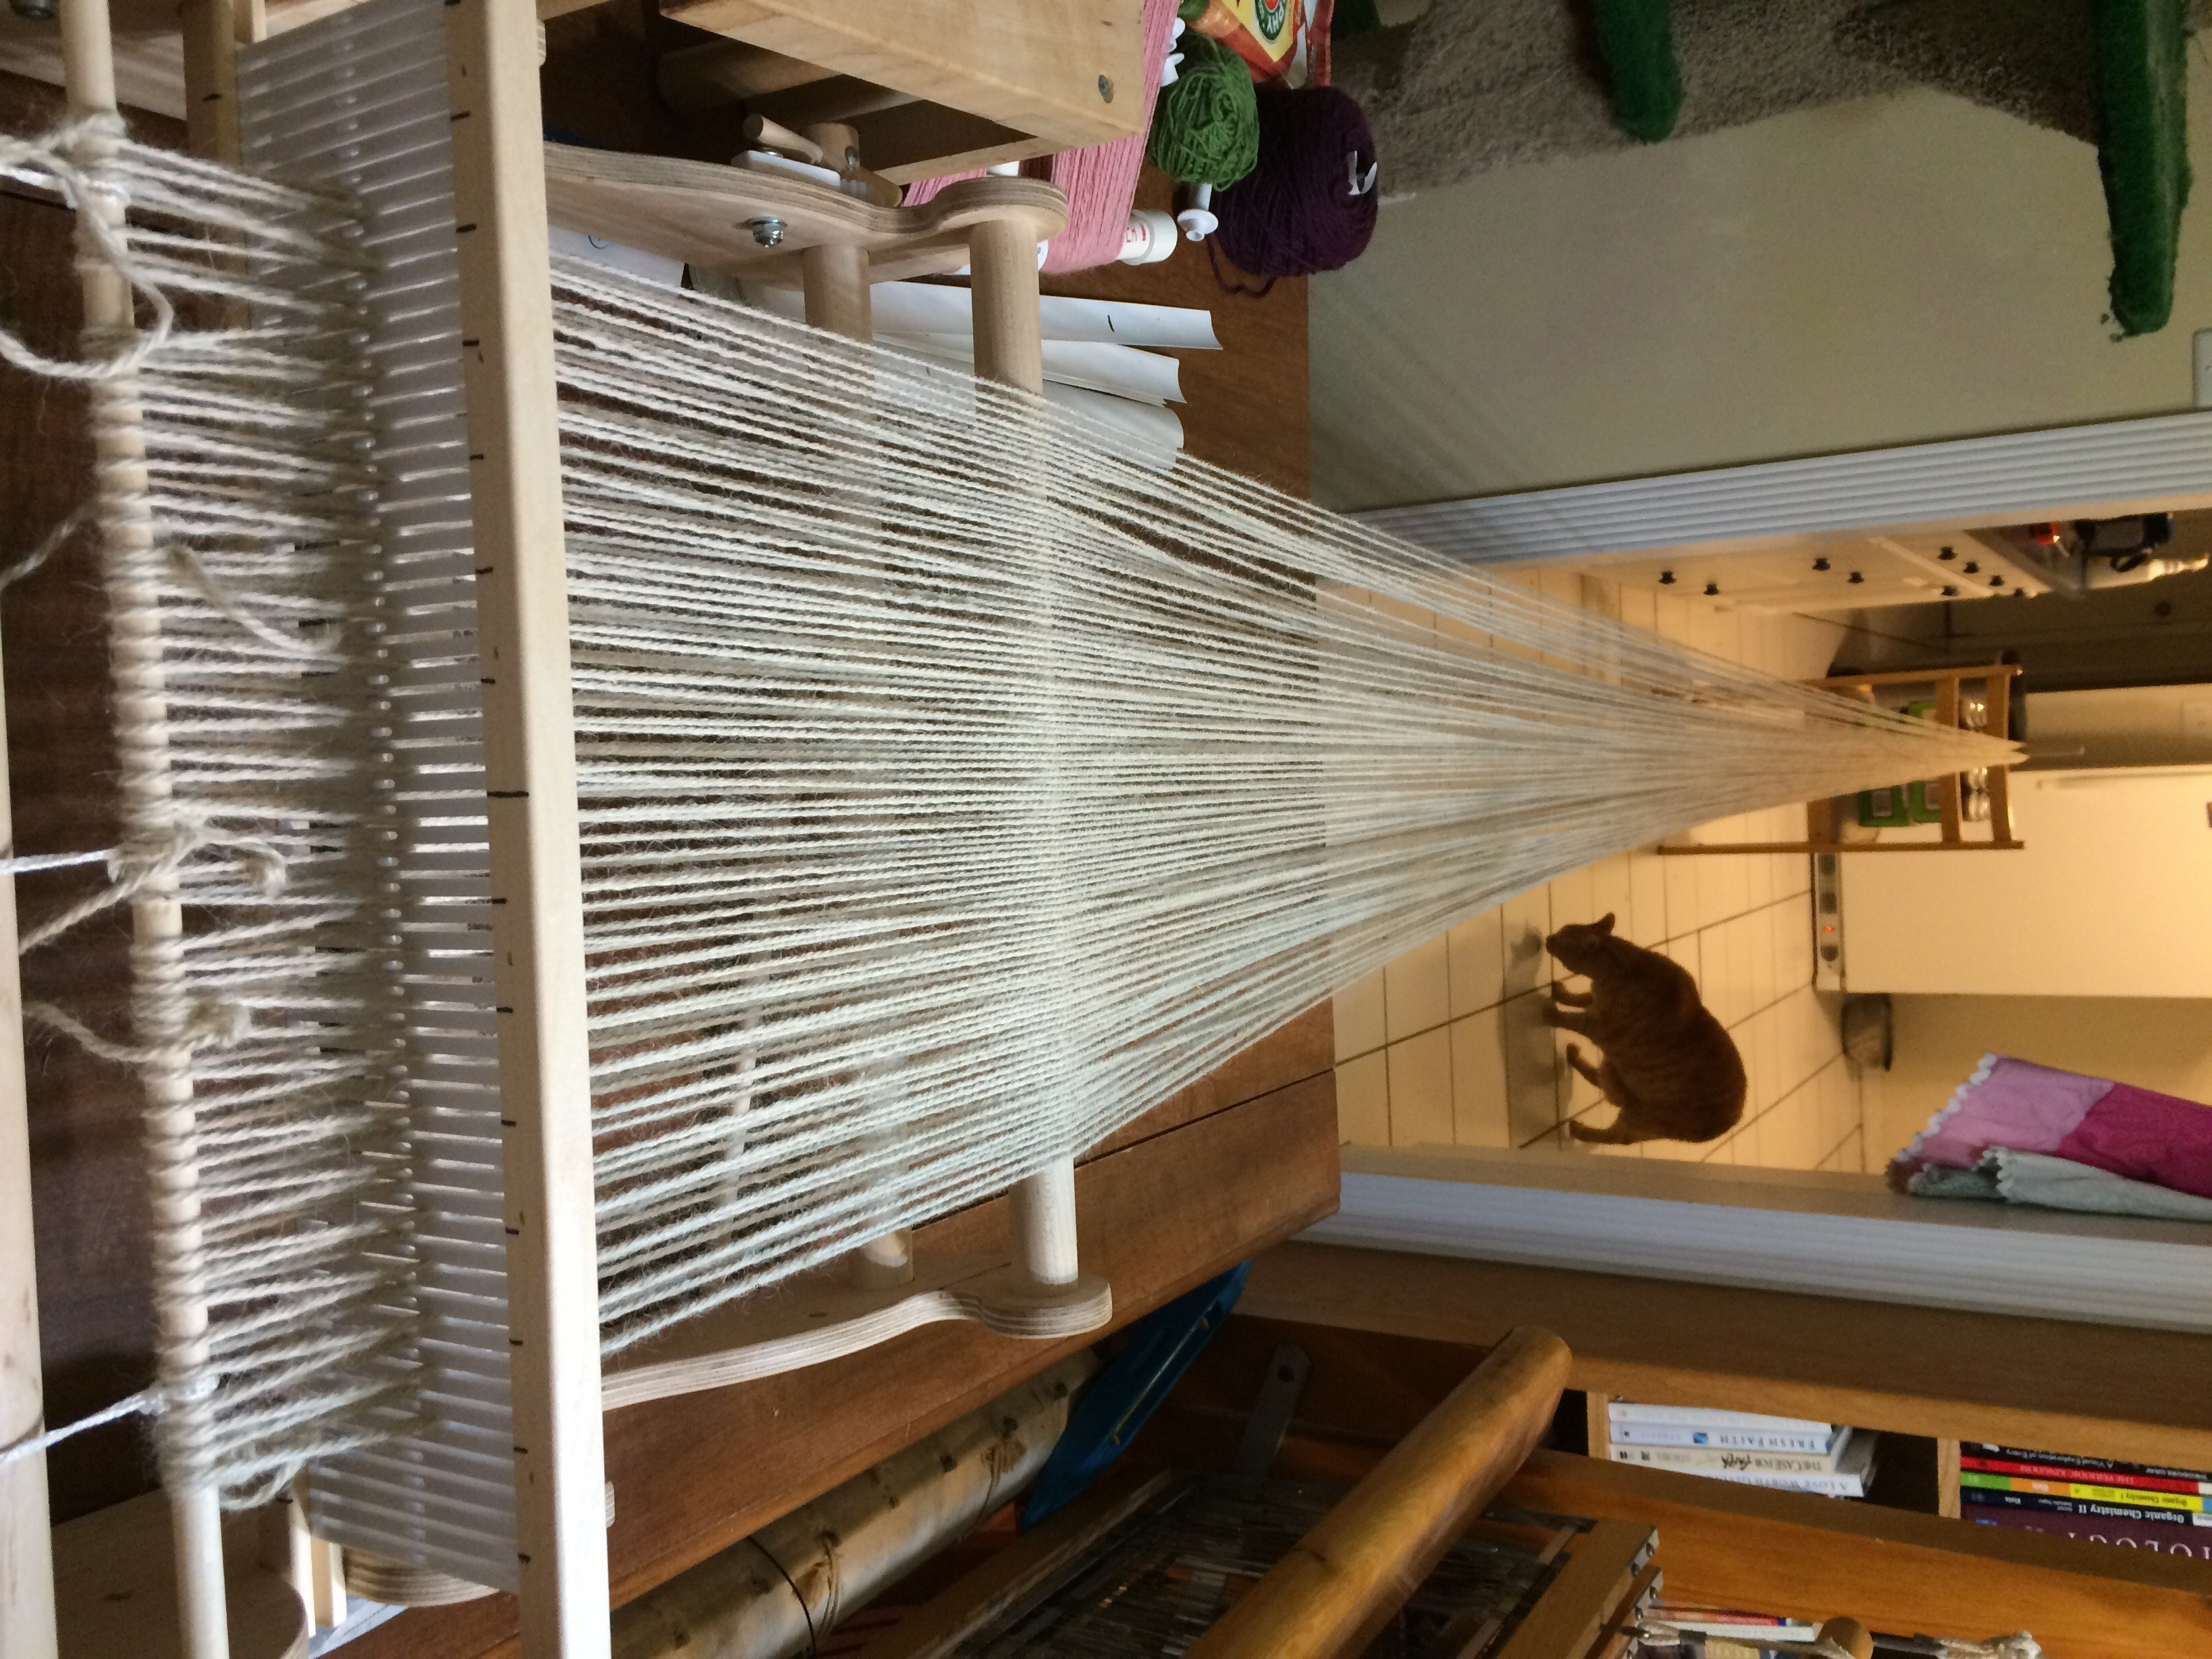
Then disaster struck — I had one more strand of yarn to bring through the heddle when the warping peg hopped onto the floor. My entire warp was on the floor, and the loop at the end was in disarray. Rather than rewarping the entire project, I gathered up the end, shook the warp to even it out as much as possible, then wound it onto the loom. I stopped regularly to yank the warp and shake out any tangles. When the warp was mostly wound on, I cut above the loop so that the warp would be even. Since I had to cut so much off to even up the end, my warp was a little too short for my planned project. I had to skip the last two stripes.
The llama yarn wasn’t the best warp. It was strong, but it was very stretchy and hairy. The stretchiness, combined with the long length of this warp, led to variations in tension as I wove. The hairiness of the warp meant that it shed as I moved the heddle back and forth, leaving debris all over my floor and table.
Learning Experiences
This was the first project I wove using a boat shuttle. I have the 9″ Mini Schacht Shuttle (The Woolery, affiliate link), which I received as a Christmas gift. I wanted that shuttle specifically for this project. Seven colors, and long stretches of a single color make it impossible to carry yarn up the selvedge. The price of the boat shuttle plus a couple dozen 4″ bobbins (The Woolery, affiliate link) is a bit more than buying extra stick shuttles, but the boat shuttle is more flexible.
It took me a little while to get used to the boat shuttle. I discovered that it worked better when the tension was higher. When the tension was too loose, the boat shuttle tended to slip between the warp strands and fall to the floor. I also learned that the boat shuttle worked better when I threw it right side up. The bobbin does not sit directly in the middle of the shuttle; it is a bit closer to the top than the bottom. If I put the shuttle through with the top side down, the wider parts of the bobbin tended to catch on the warp strands. The shuttle has “Schacht” printed on the side of it. It is right side up when that printing is right side up.
This is the first project I’ve done where I cut the yarn for color changes rather than carrying colors up the selvedge. Therefore, it is the first project where I had to manage ends. On other projects, I carried the ends along the bottom of the work. I started doing that with this project and ran into a problem. As I wound, the cloth beam caught the ends and pulled them vertically. If you look carefully at the purple stripe in the foreground of the picture on the deck, you can see some wonkiness to the selvedge. This is the result of the end getting caught in the cloth beam and pulling. After I figure out what was happening, I brought my ends to the top of the work and cut them short before winding them around the cloth beam.
This project was just about the maximum size the 15″ Cricket loom can handle. By the time I finished, the cloth beam was full. I might have been able to get one more turn of the cloth beam — just enough to finish those extra two stripes — but it would have been close. The yarns I used for this project were heavy worsted weight. Thinner yarns would make a thinner cloth, so theoretically the loom should be able to handle a longer warp if I used fingering- or lace-weight yarn.
Conclusion
Weaving a Doctor Who Scarf is a lot more fun than knitting one. I tied on the warp on Saturday and cut the finished project off the loom on Wednesday. The project took something like 16 hours of hands on time, including the extra time it took to fix the warp after the warping peg abandoned its duties. While I don’t want to knit a Doctor Who Scarf ever again, I wouldn’t hesitate to weave one!

