
Click here to see the first post in this series.
So, I didn’t finish every task on my list, but I made excellent progress! Workspace in the garage was my limiting factor this week. We put the tub in its box in the garage, so until that was installed, we had limited space for working on other projects.
Last Week’s Goals
If I finished the task, it is in green text. If the task is in progress, but not finished, it is in orange text. If I haven’t even started the task, it is in red text.
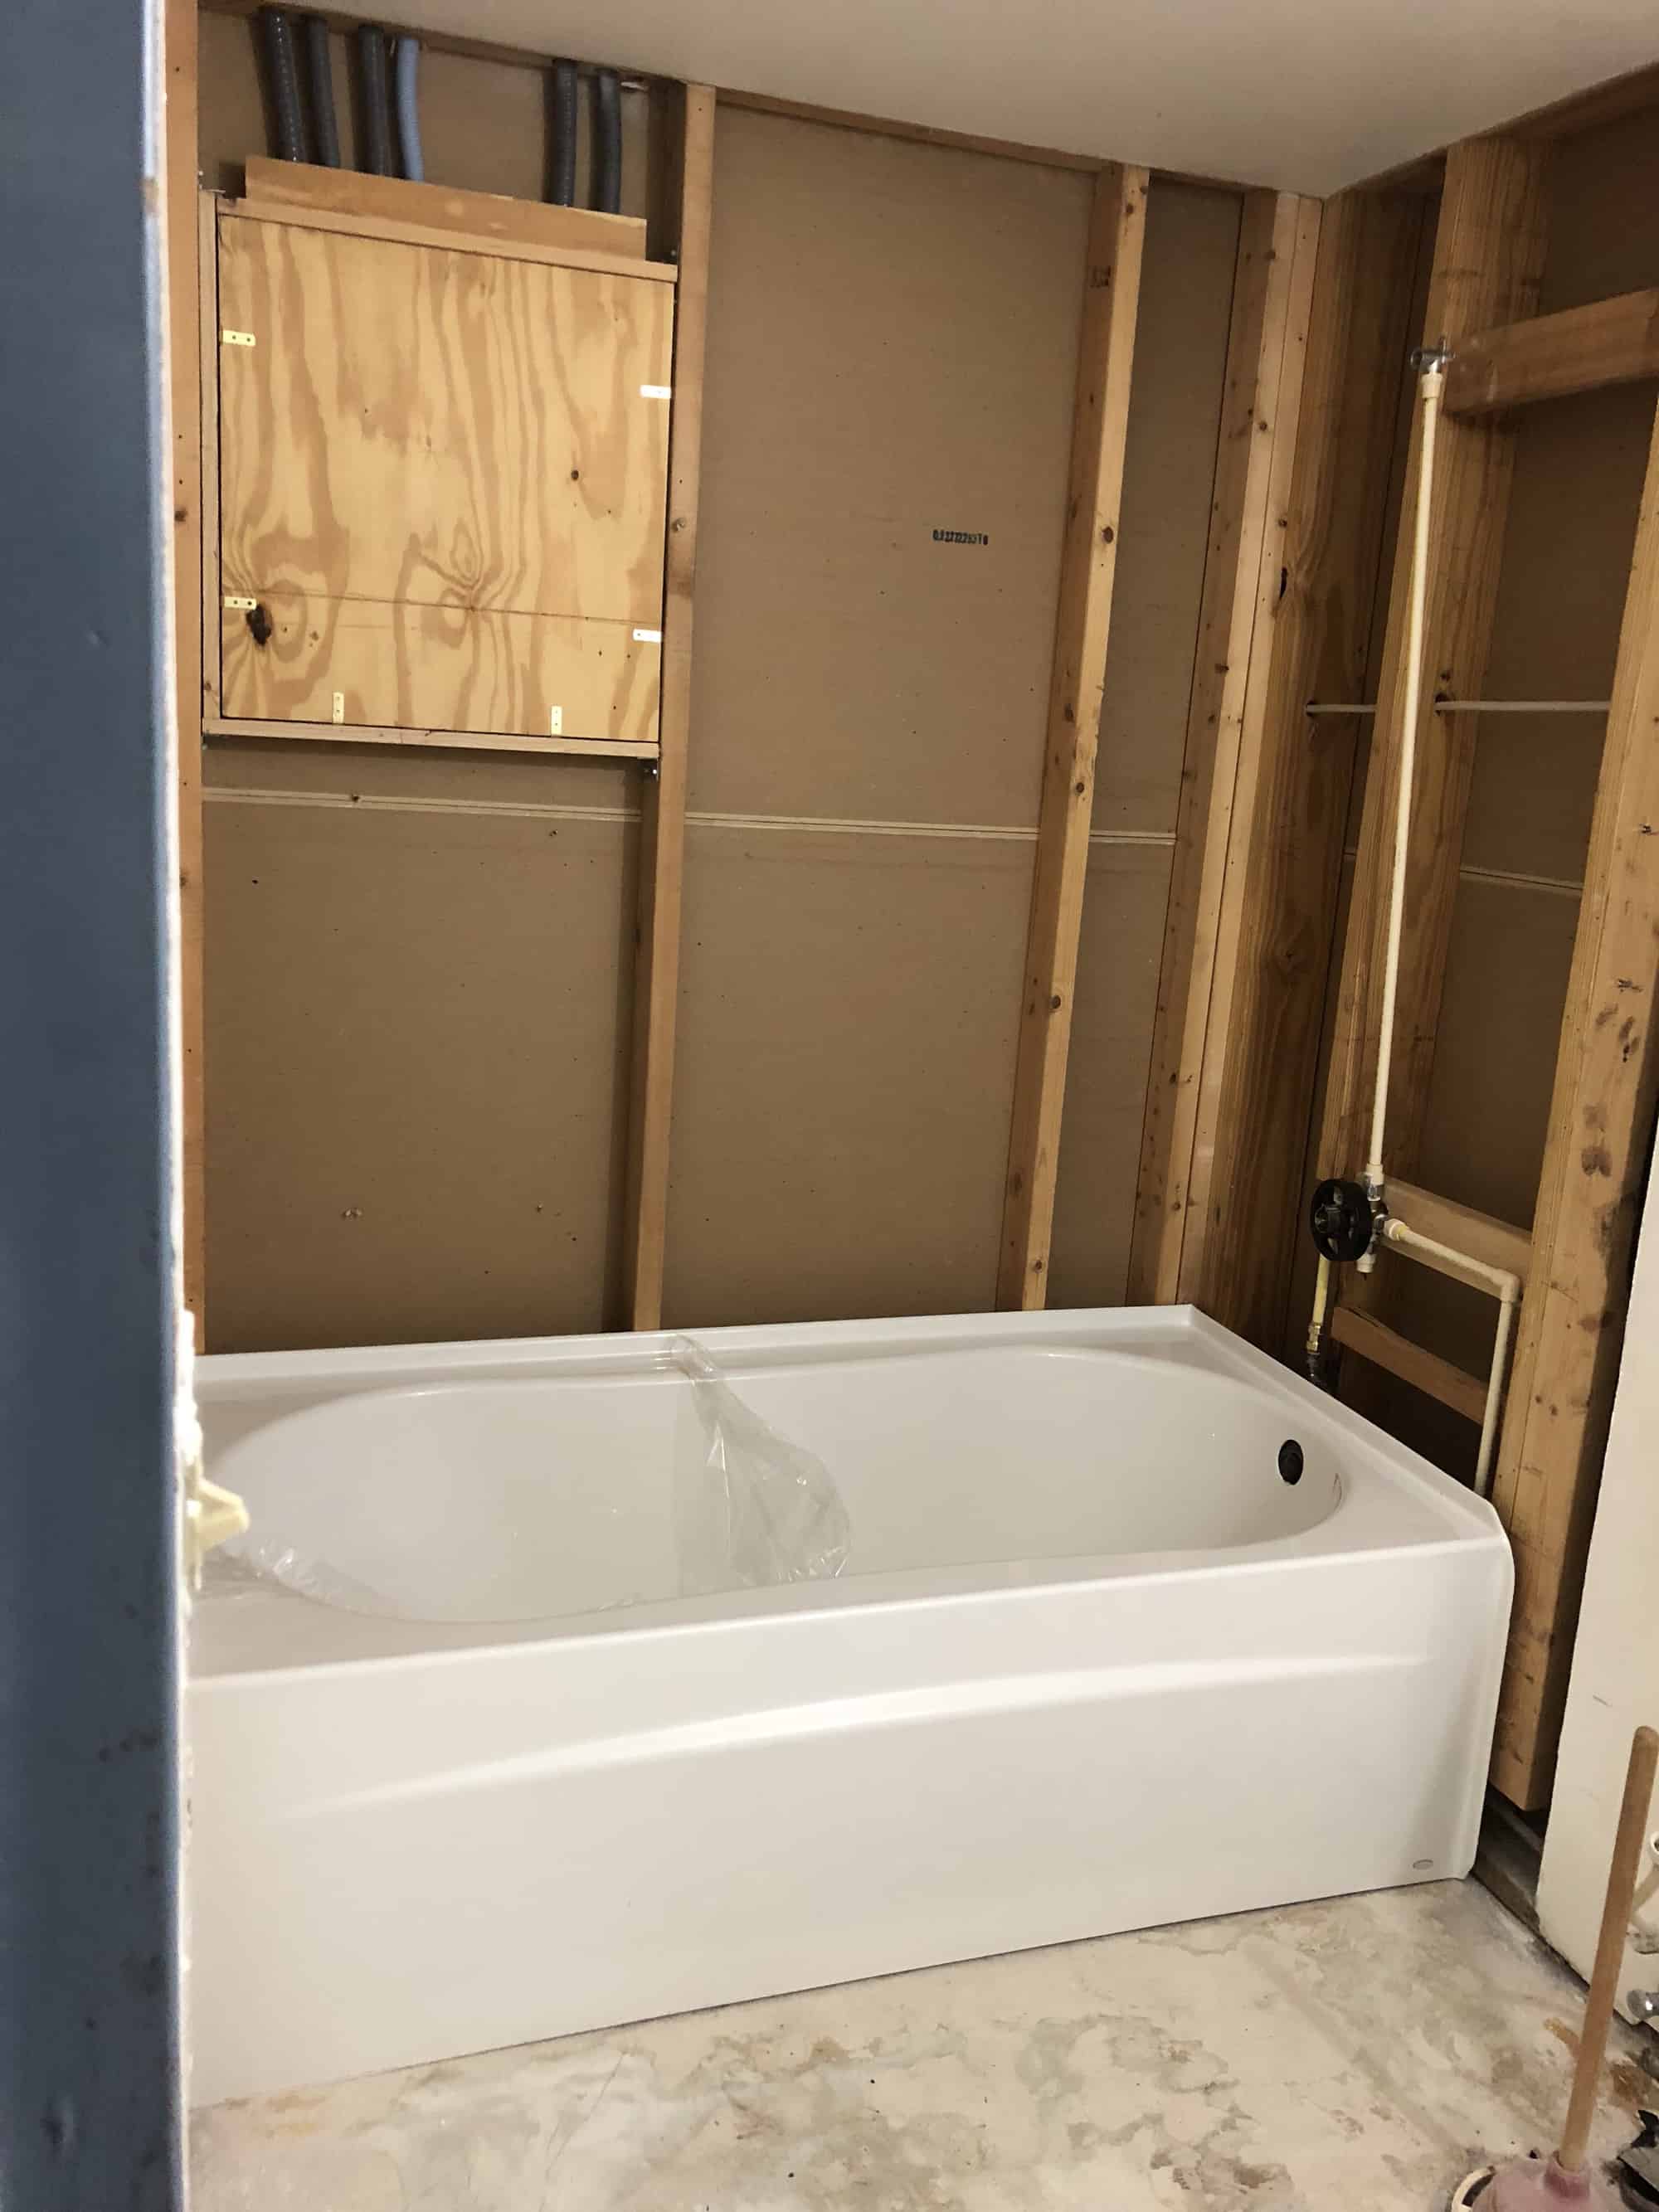
Get the tub installed. The plumber was here last week to install the tub, but wasn’t able to shut off the water to the house. The water company was here this morning and didn’t have any problems with the valve on the meter. Today I need to call the plumber to reschedule tub installation.
On Monday, I called the plumber and made an appointment for Tuesday afternoon. The plumber’s Tuesday morning job turned into an all day job, with additional tasks added after he arrived on site there. He came to our house and installed the tub on Wednesday. Yes, that was July 4, a federal holiday in the United States. It was a regular work day for him, however.
Learn to spackle and finish spackling the ceiling in the bathroom. Chris has done all the spackling (I love that autocorrect turned that into ‘sparkling’ — is he a Twilight vampire and I haven’t noticed?!), but it is killing his back so I’m going to finish it. I’ve never spackled before, but it can’t be that different from icing a cake, right?
I didn’t get to this due to workspace issues. I wasn’t going to do any work in the bathroom until after the tub was installed, but I was hoping to get to the practice sheet. I have a 2 foot square piece of drywall so I can practice. However, I didn’t have space to put it on the workbench in the garage.
Finish sampling varnish options for the bathroom vanity.
I made 6 samples, all with the same color varnish (Minwax Espresso). I applied a wood conditioner to the top three samples, but not the bottom three samples. I then applied 1, 2, or 3 coats of varnish to each sample. We decided to varnish the vanity cabinet rather than painting it white.
Varnish the bathroom vanity.
I did not get to this due to workspace limitations. It looks like this task will be pushed forward to the week after this one. Installing the bathroom vanity is one of the last tasks for the bathroom project, so the cabinet doesn’t need to be ready yet.
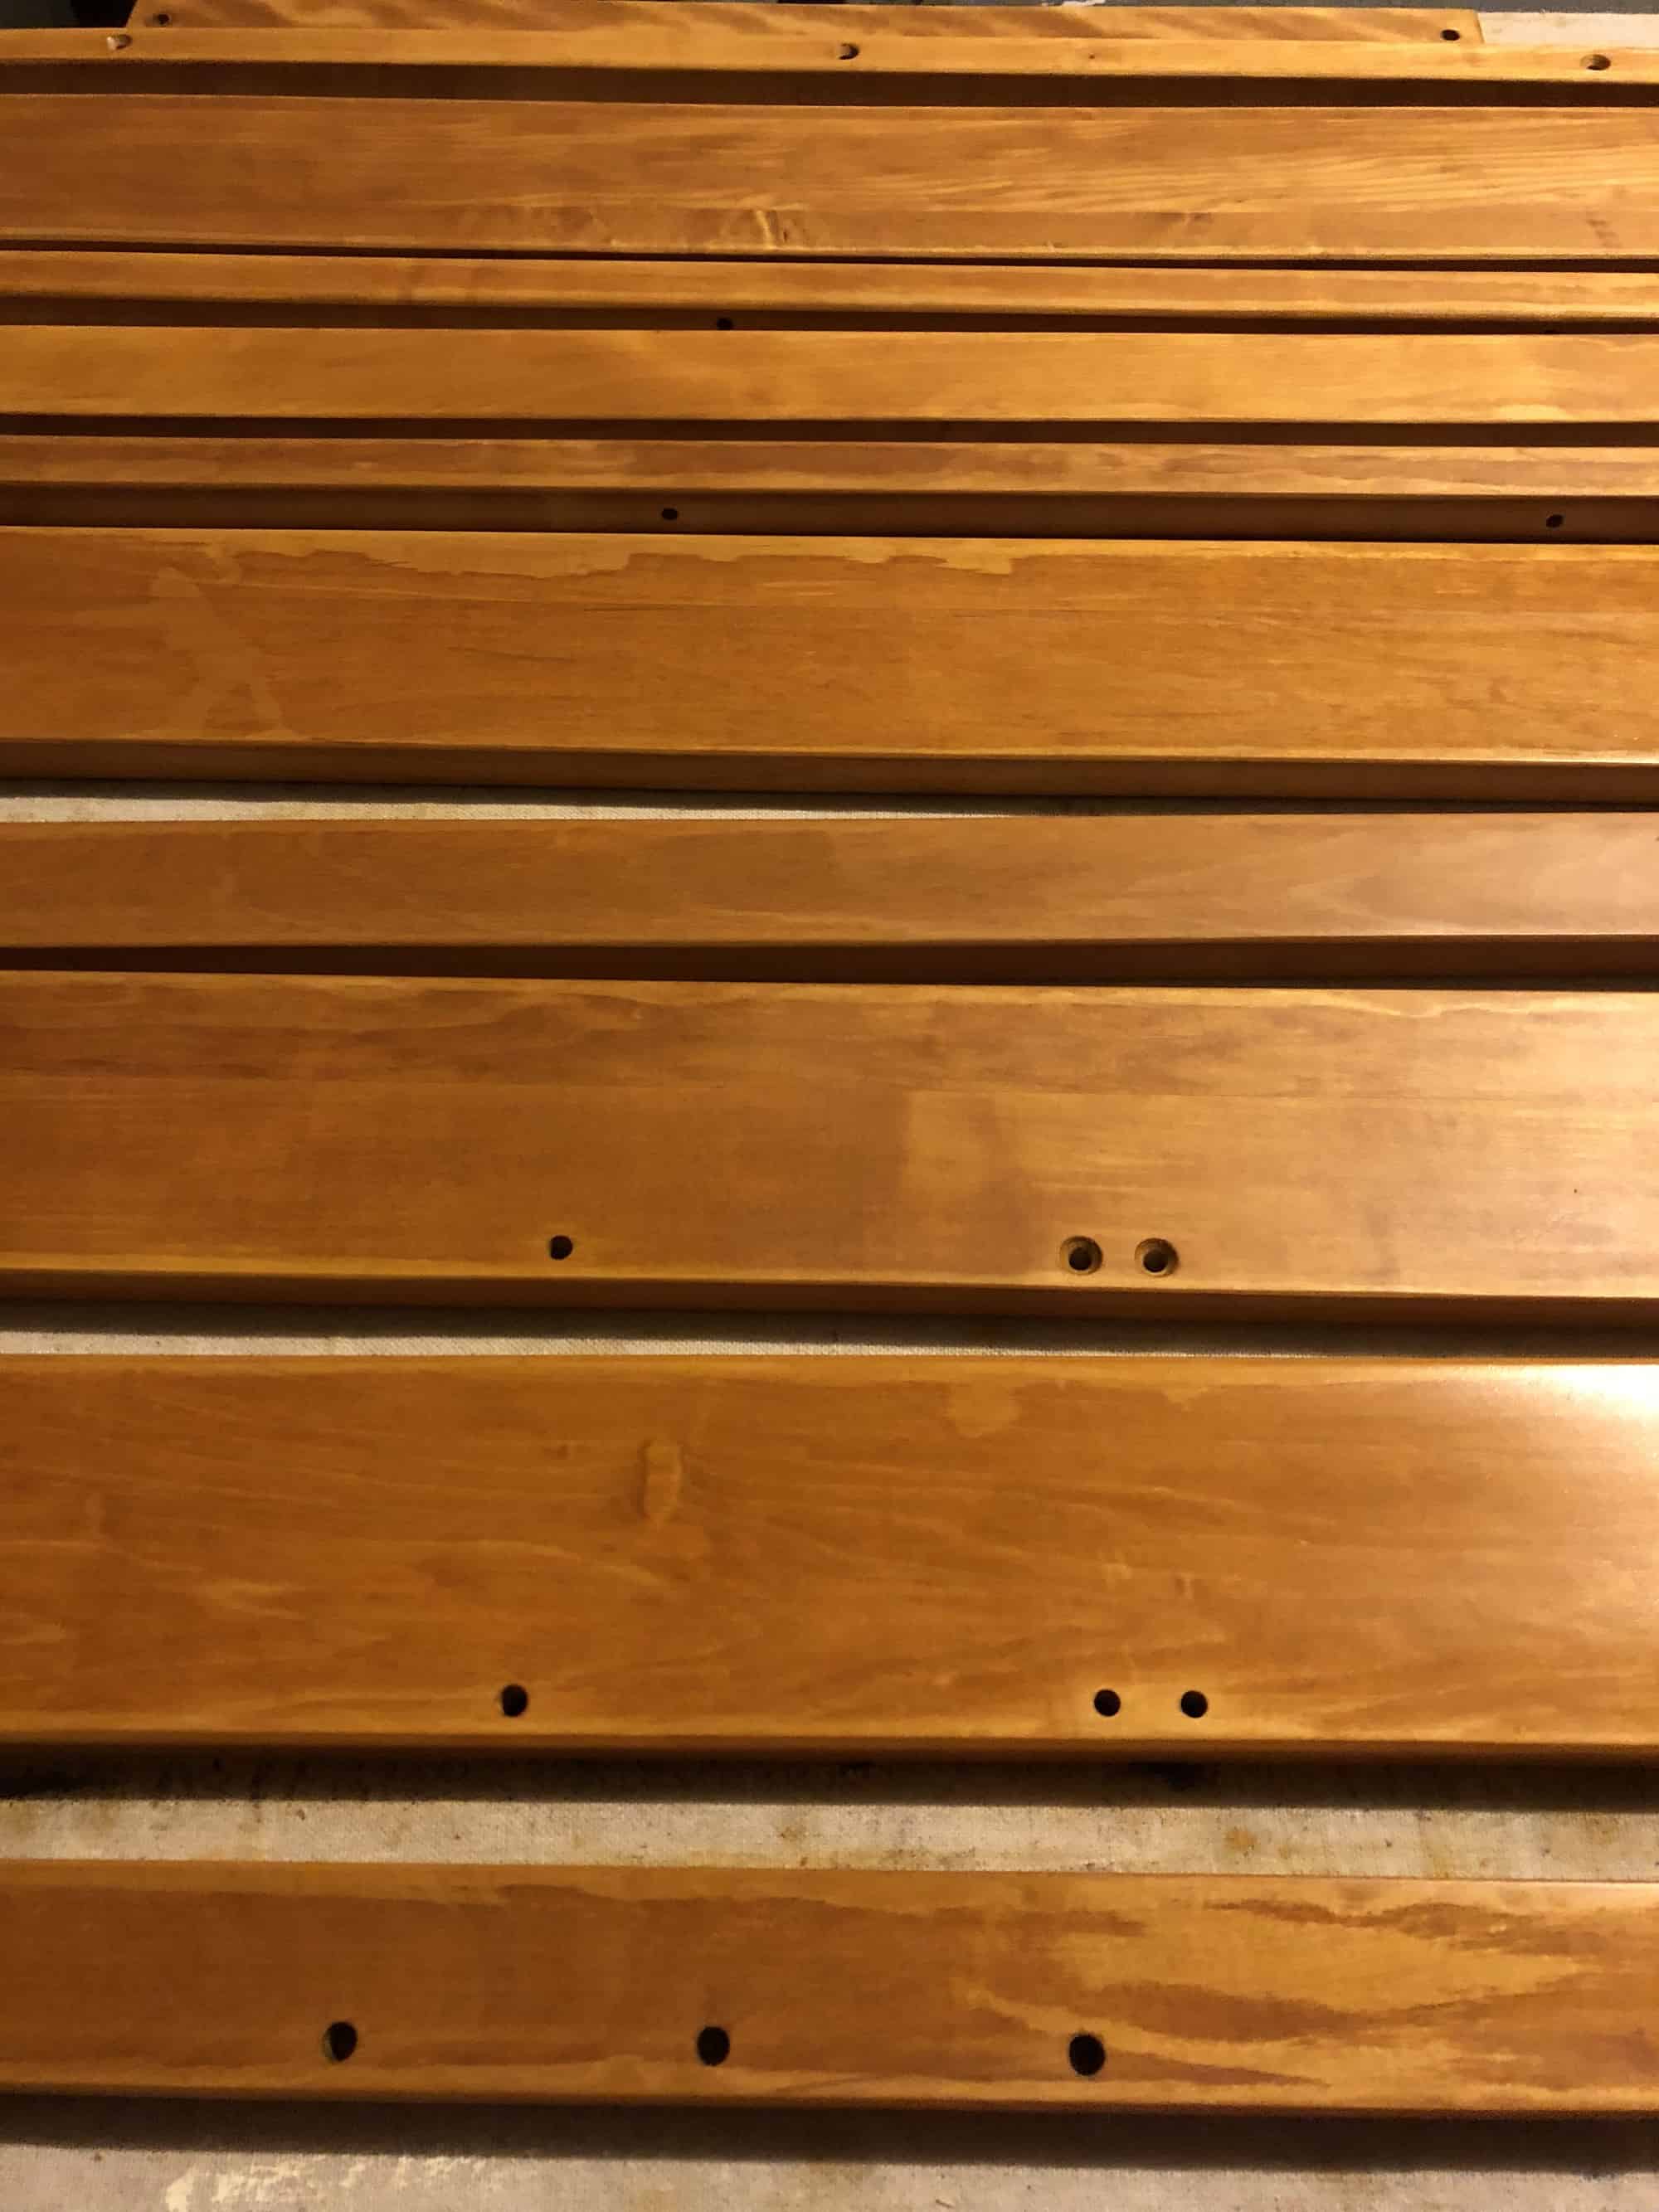
Finish all coats of Danish Oil on the loom I’m refinishing for Lorelle. This is necessary to have space to work on the looms that are in the storage unit.
I did not mention last week that I have worked on this project for several weeks already. I disassembled the loom, sanded it back to bare wood, and started applying coats of Danish Oil.
Each side of each piece of wood gets 4 coats of the Danish Oil. I apply the second coat 30 minutes after the first coat. After the second coat, I wait about 15 minutes, then use a clean cloth to wipe off any oil that hasn’t penetrated into the woods. A few hours later, I use a little Mineral Spirits to wipe off any oil that might remain on the surface of the wood.
I apply the third coat at least 24 hours after the second coat. I wait until the wood feels dry to the touch. Since I live in Florida, it is summer with high humidity and nearly daily rain, and our garage is not air-conditioned, it often takes 36 hours or more for the wood to feel dry to the touch. If it is taking too long, I will use more Mineral Spirits to wipe off any excess oil.
I use 800 grit wet / dry sandpaper to apply the last coat of the Danish Oil. I immediately wipe off any excess oil. A couple of hours later, I use the Mineral Spirits to remove any remaining oil. The fourth coat is the trickiest. Any oil that doesn’t penetrate into and bond with the wood will not thoroughly dry on the surface of the wood. It becomes tacky, which is the problem I faced with my own rigid heddle loom and spinning wheel (see a conversation about that in this post). If I find any tacky spots after the wood is otherwise dry, I lightly sand those spots with the 800 grit wet / dry sandpaper. This rubs off the excess without harming the finish.
I was able to fit 1/2 of the pieces on the workbench at once. Since the pieces lay flat on the workbench, I have to do one side of the wood at a time. This means it takes a minimum of 8 days to do 1/2 of the pieces. Last Sunday, when I put this project on my task list for this week, I was starting on the second side of the second 1/2 of the pieces.
Today I applied the fourth and last coat to those pieces. I’m leaving this task orange because the pieces will stay on the workbench until they are dry. In addition, I still need to apply Danish Oil to the harnesses. Since they have an awkward shape, the four harnesses will take up the entire workbench. Chris does have an idea for suspending them so I can work on both sides at the same time. We’ll see if it works!
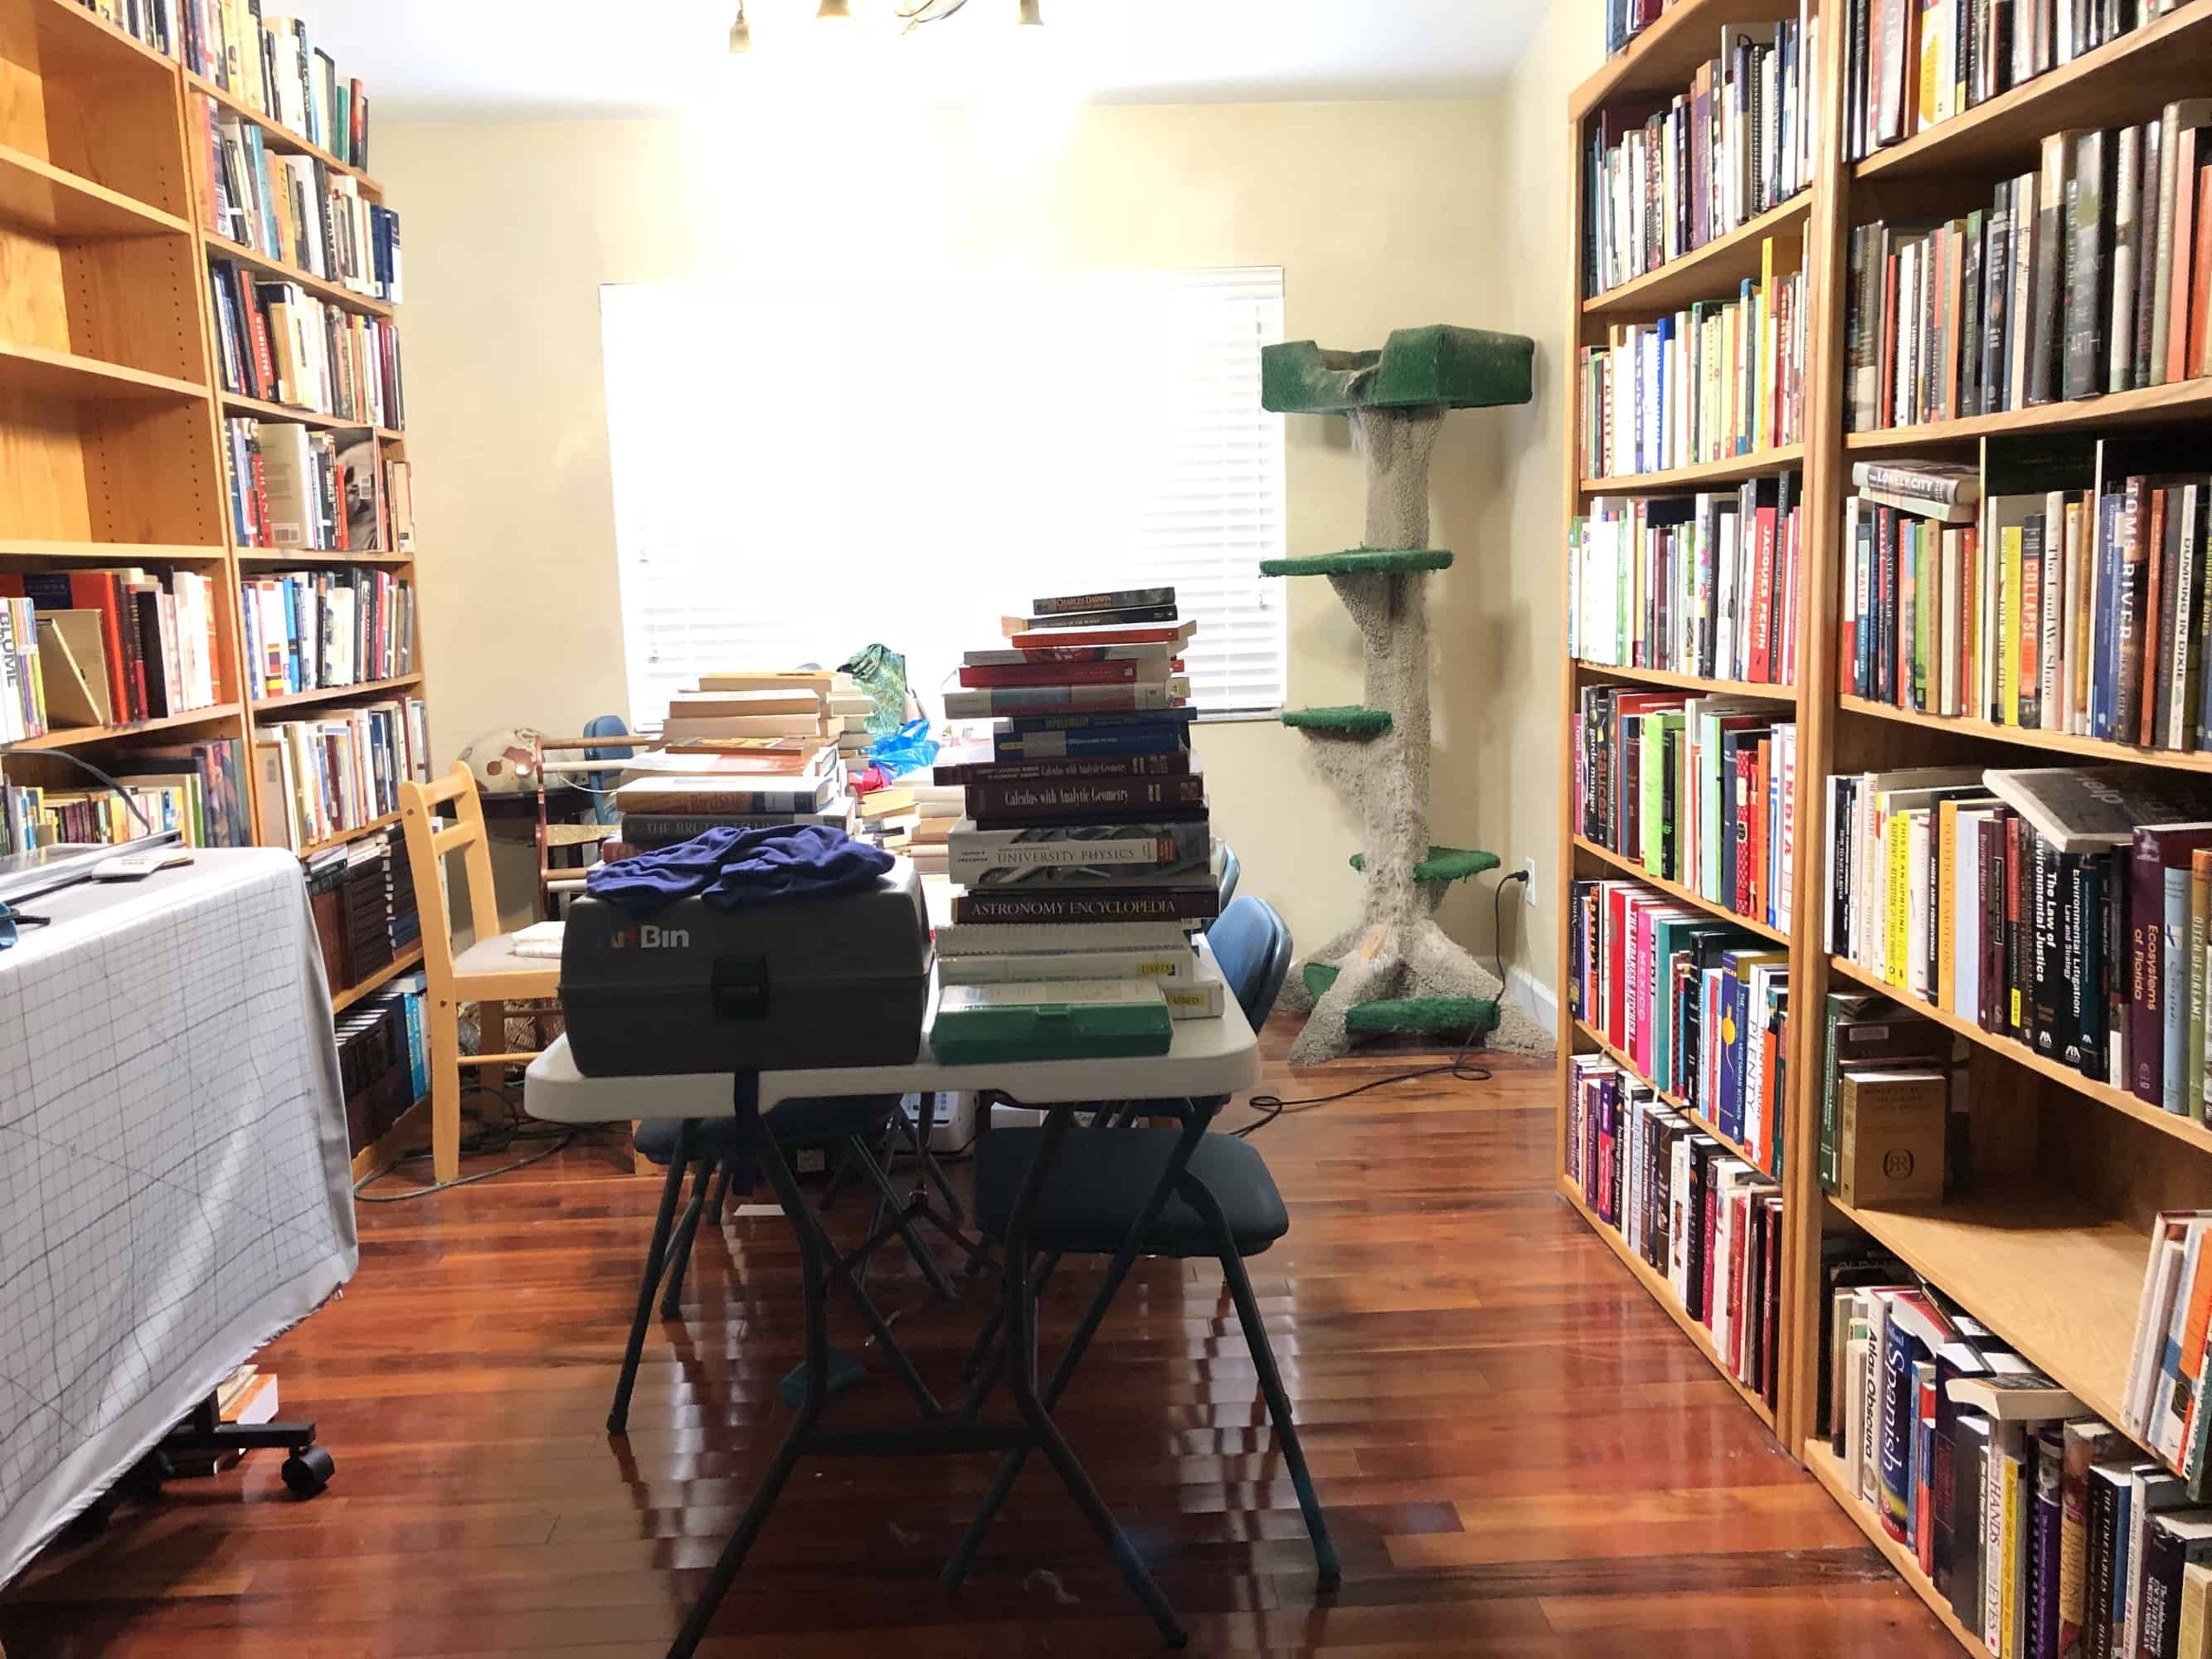
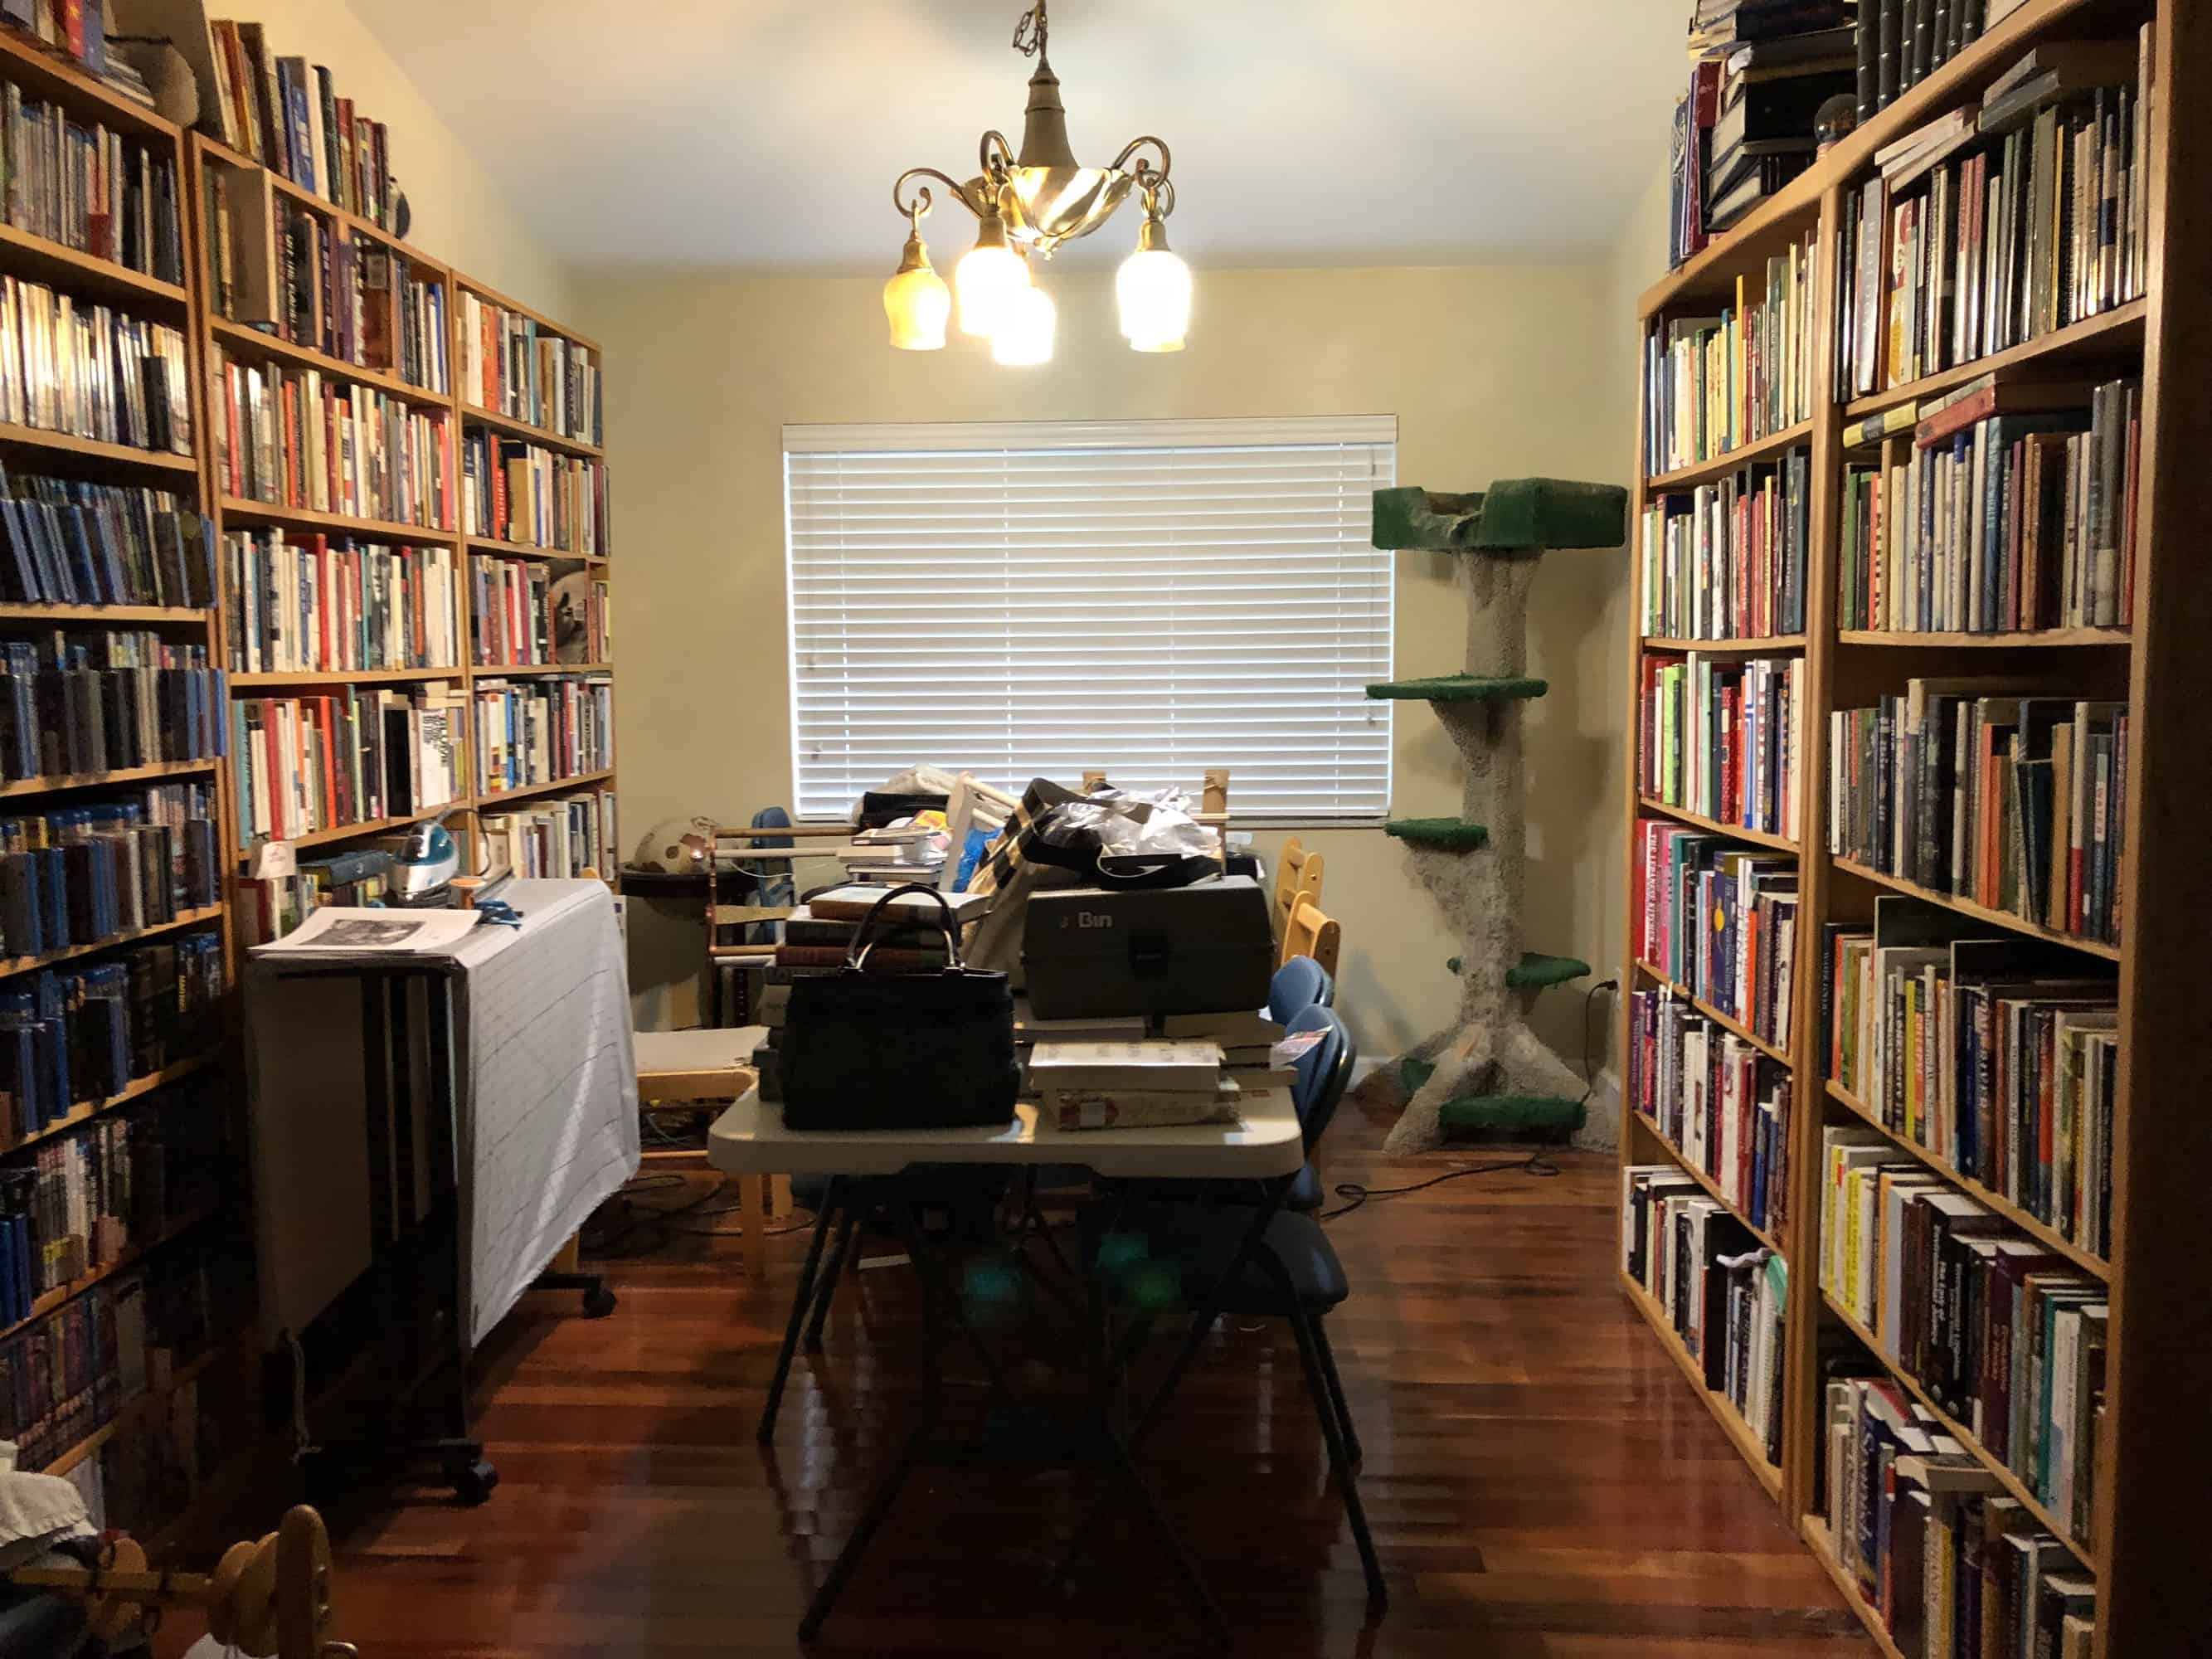
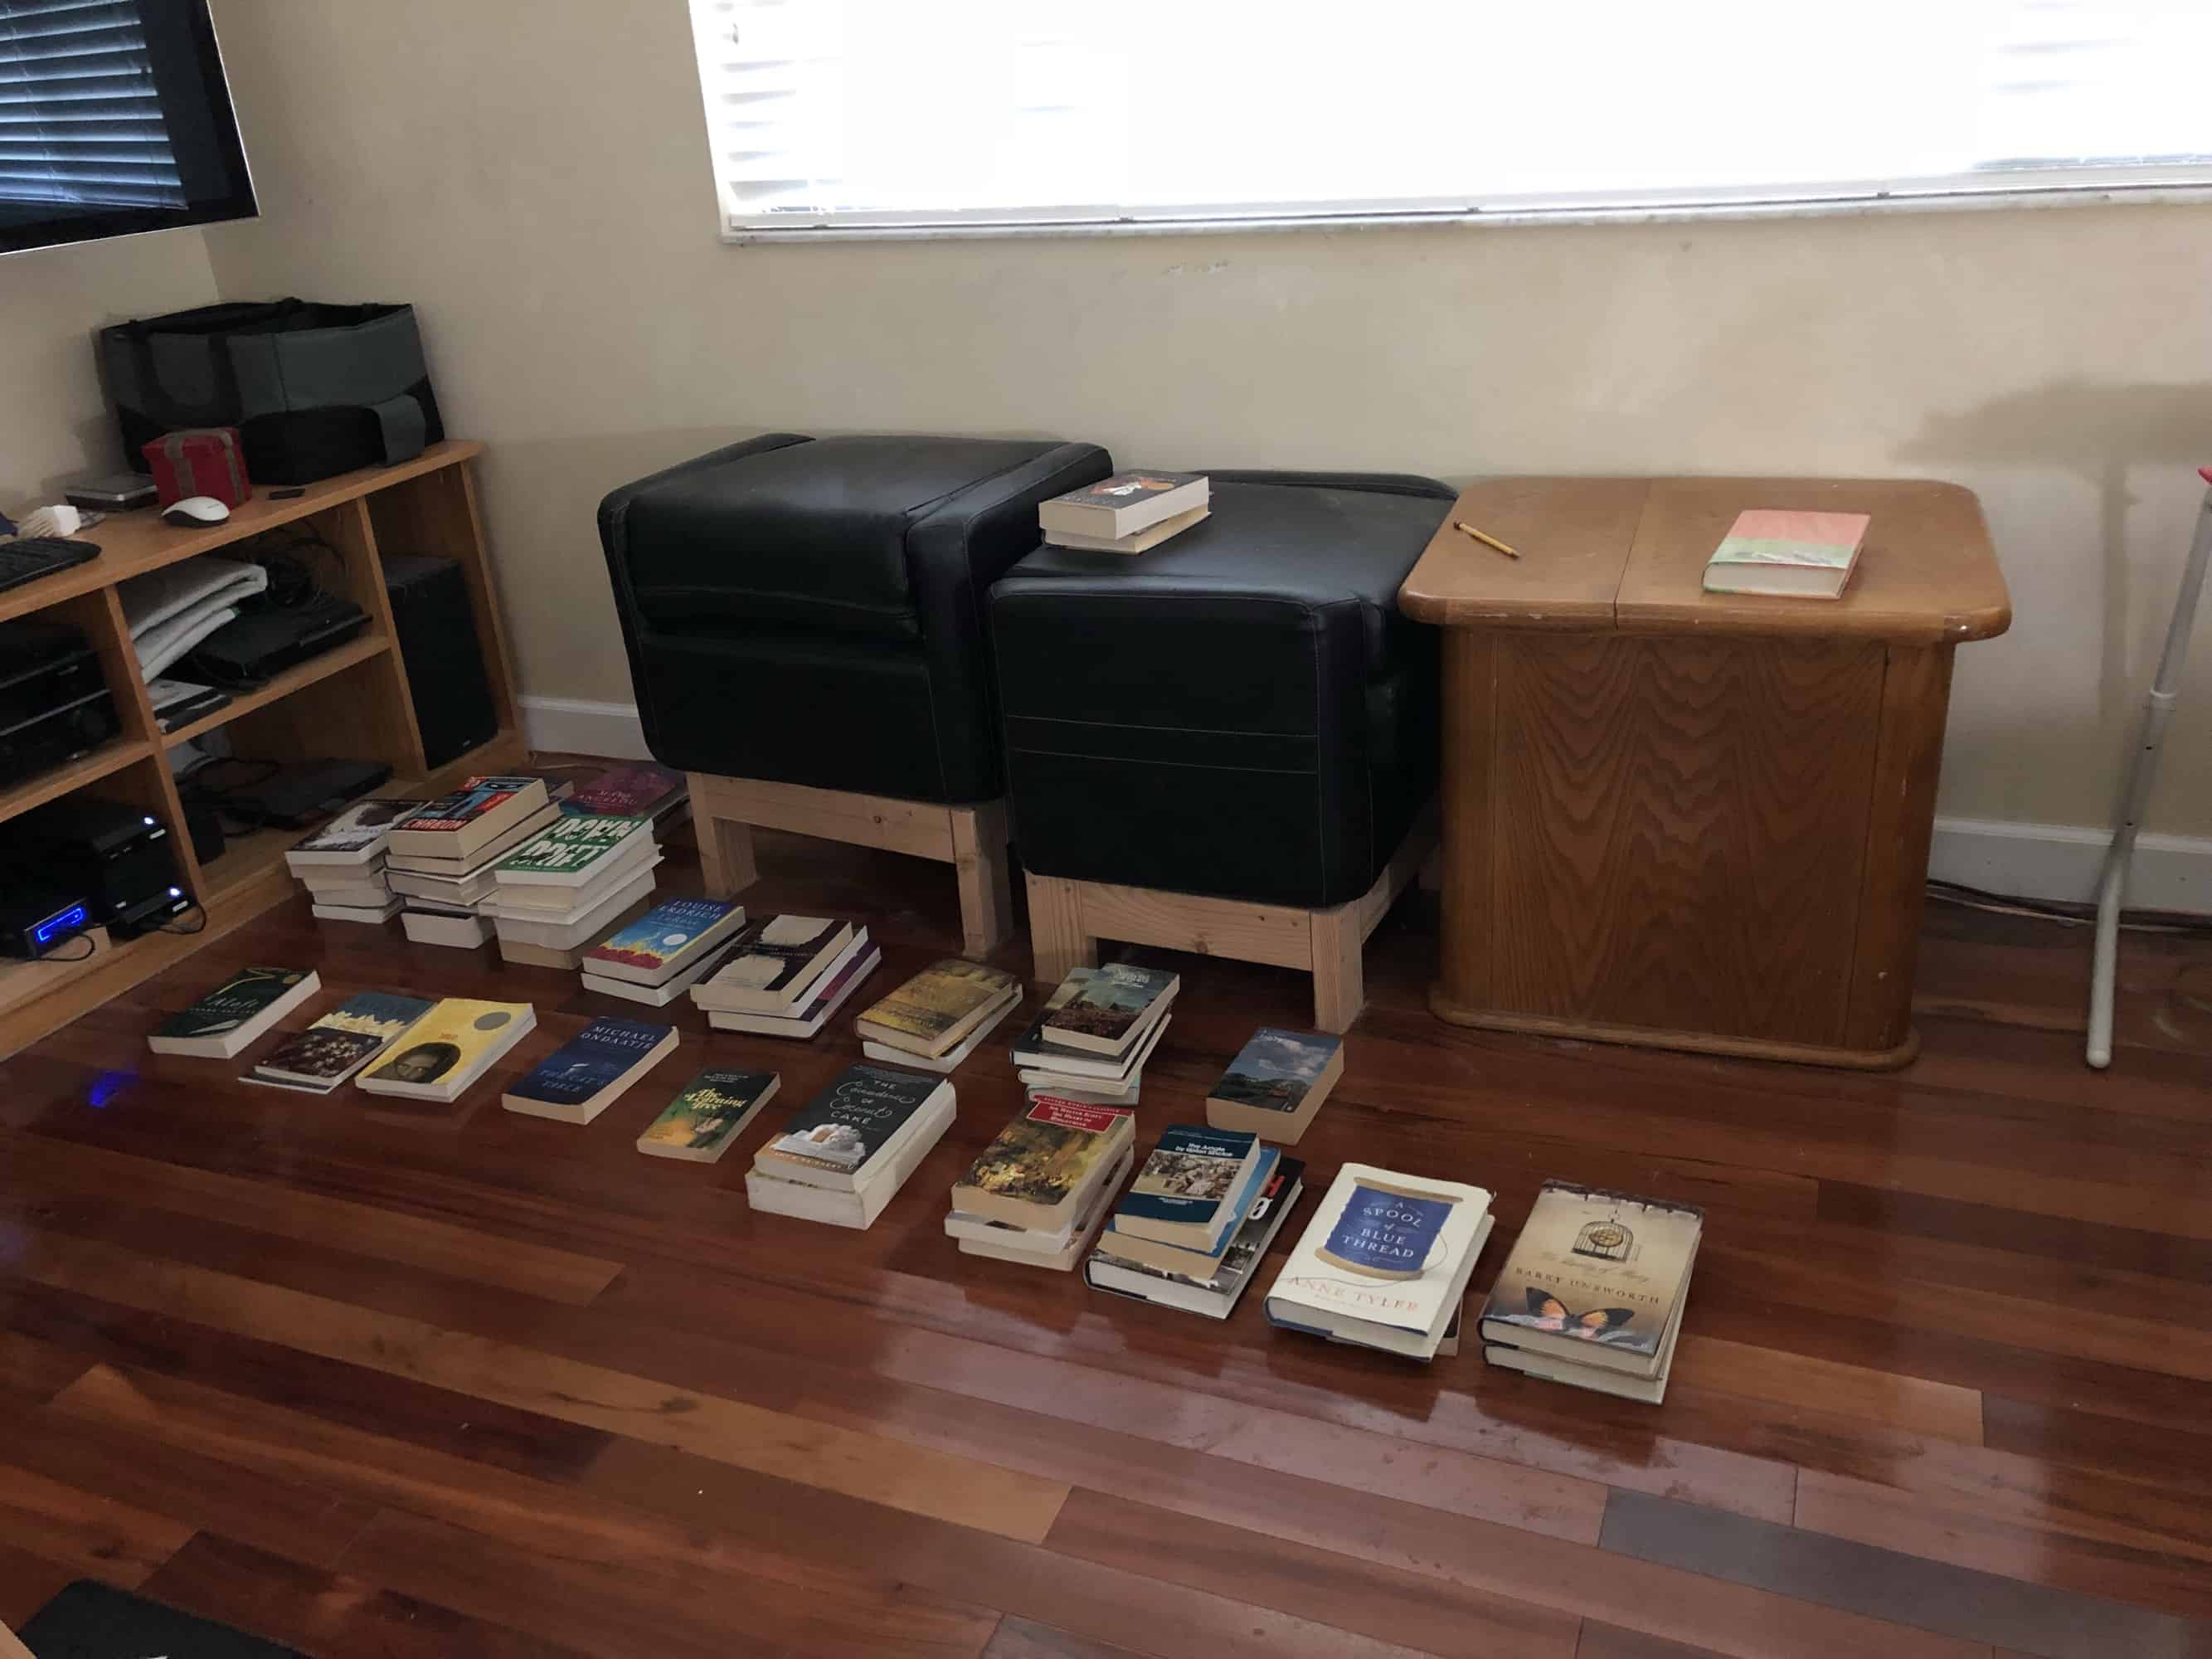
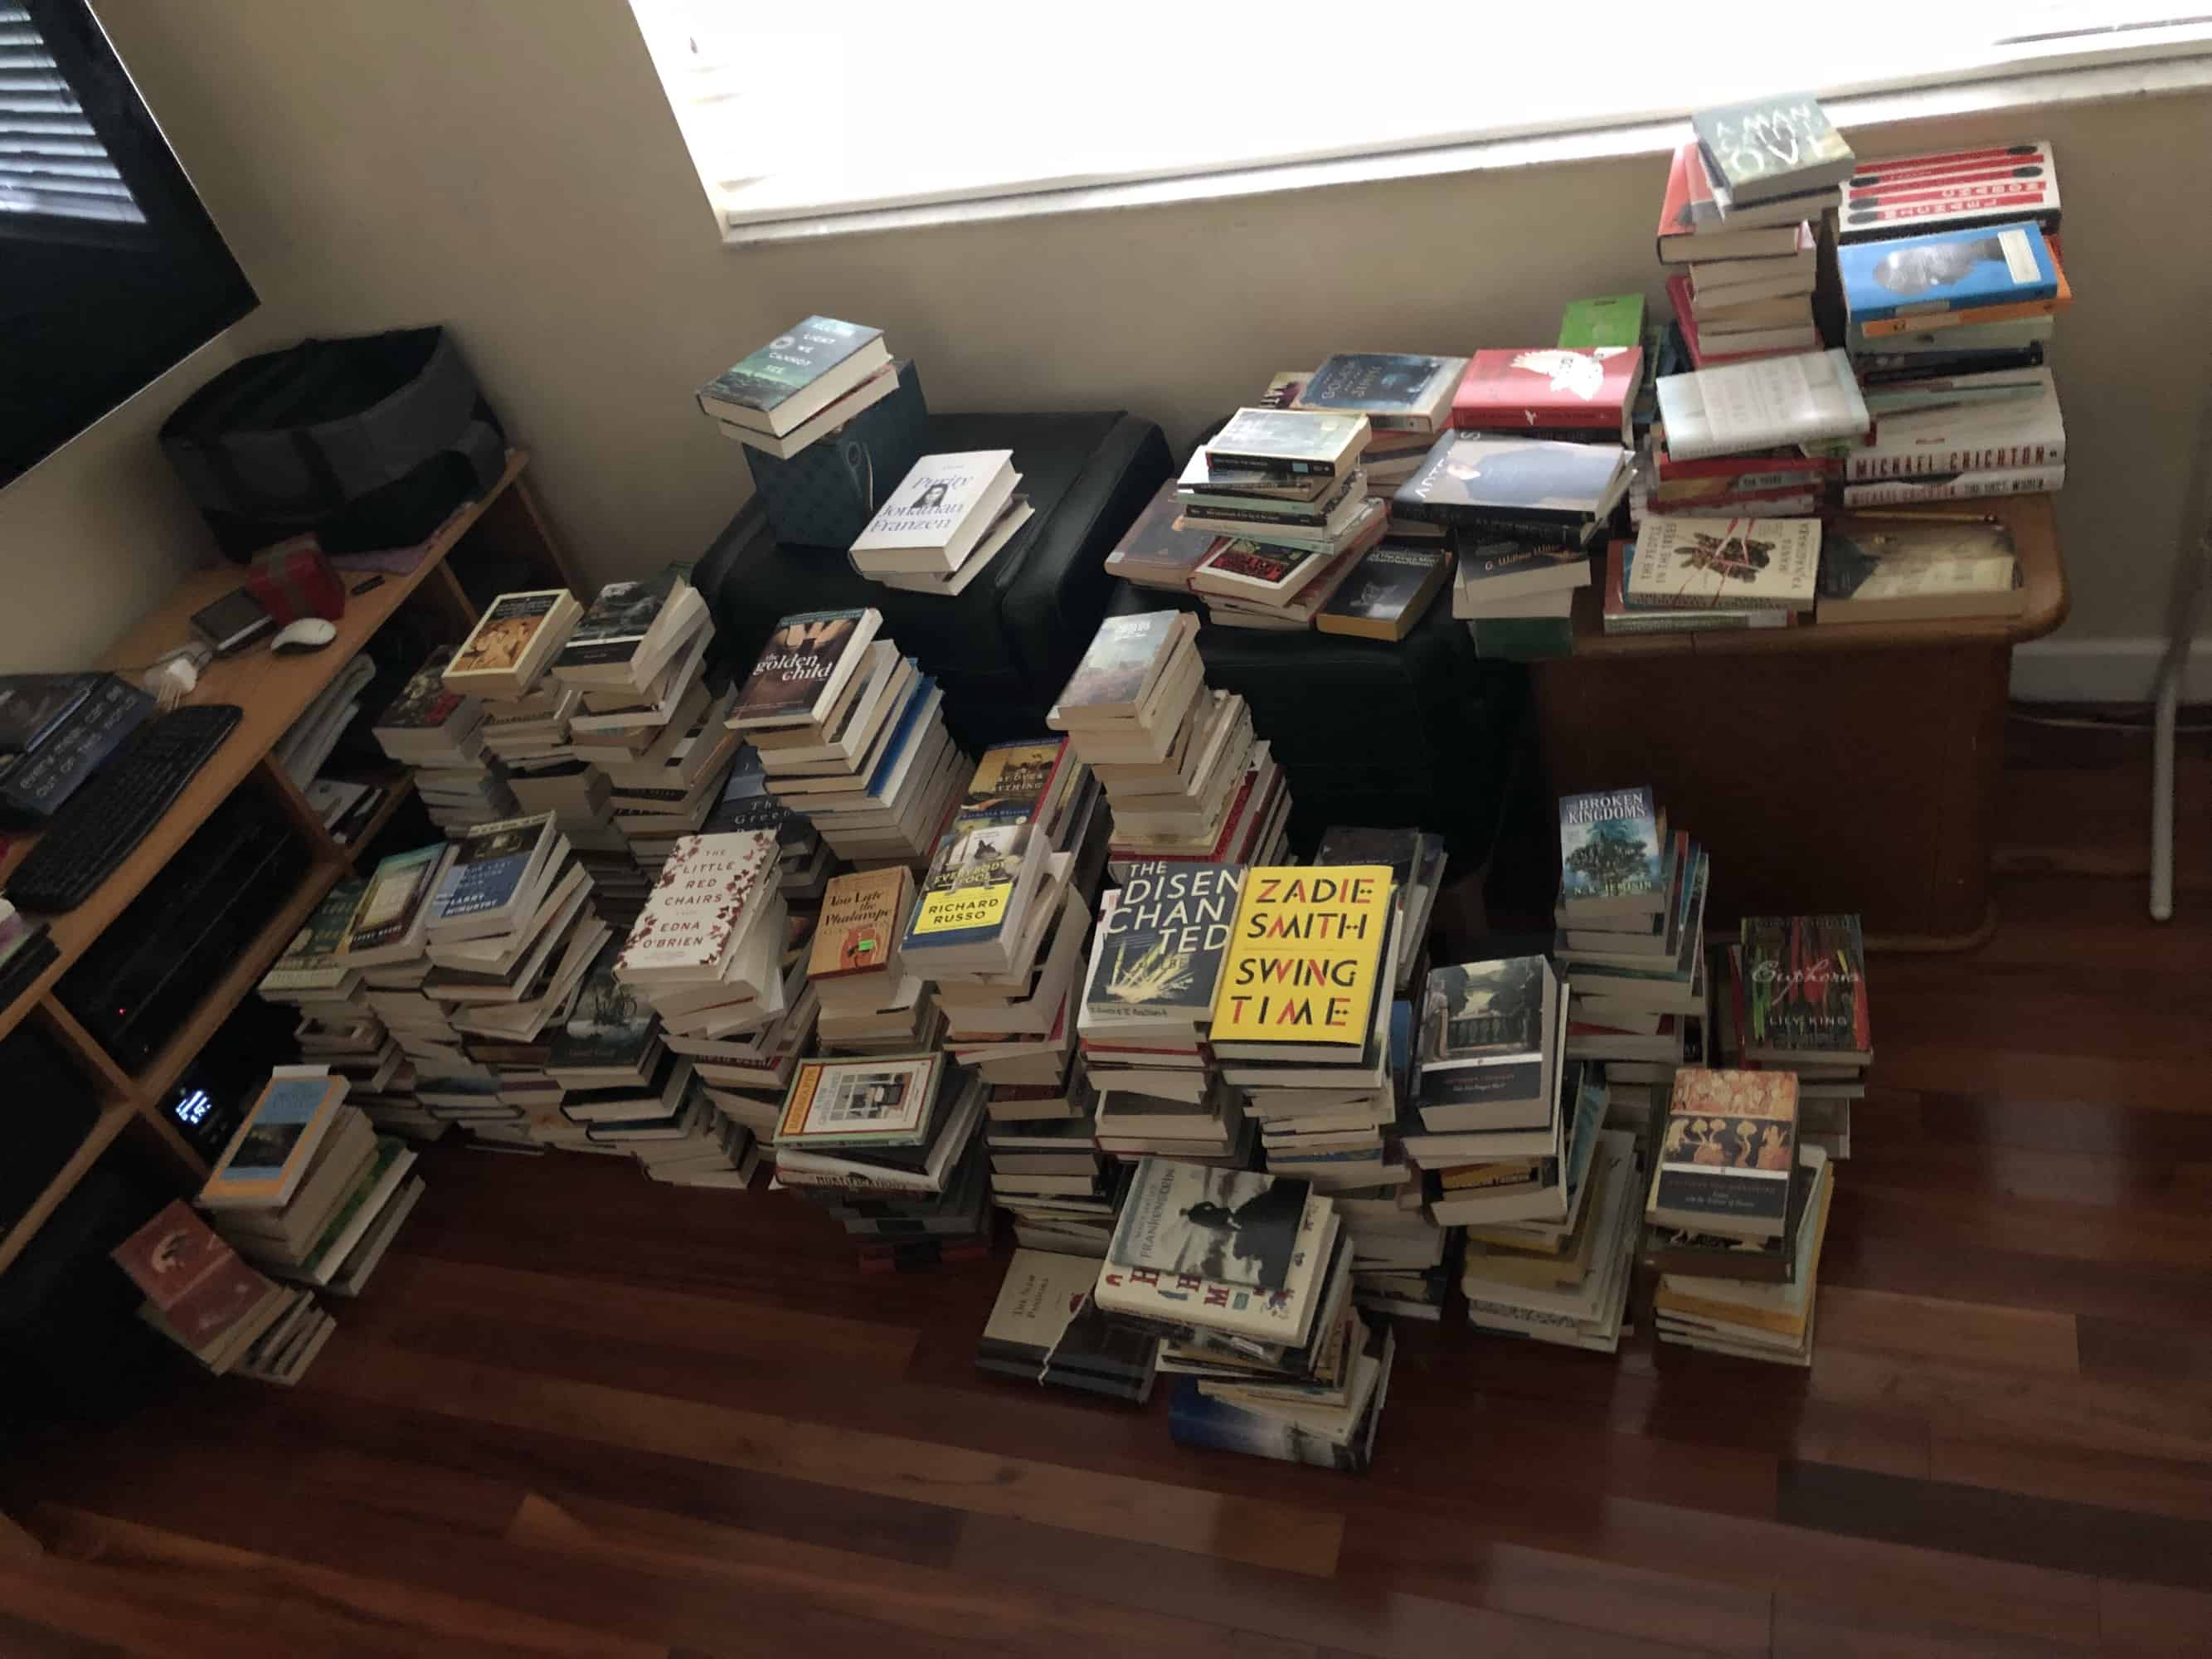
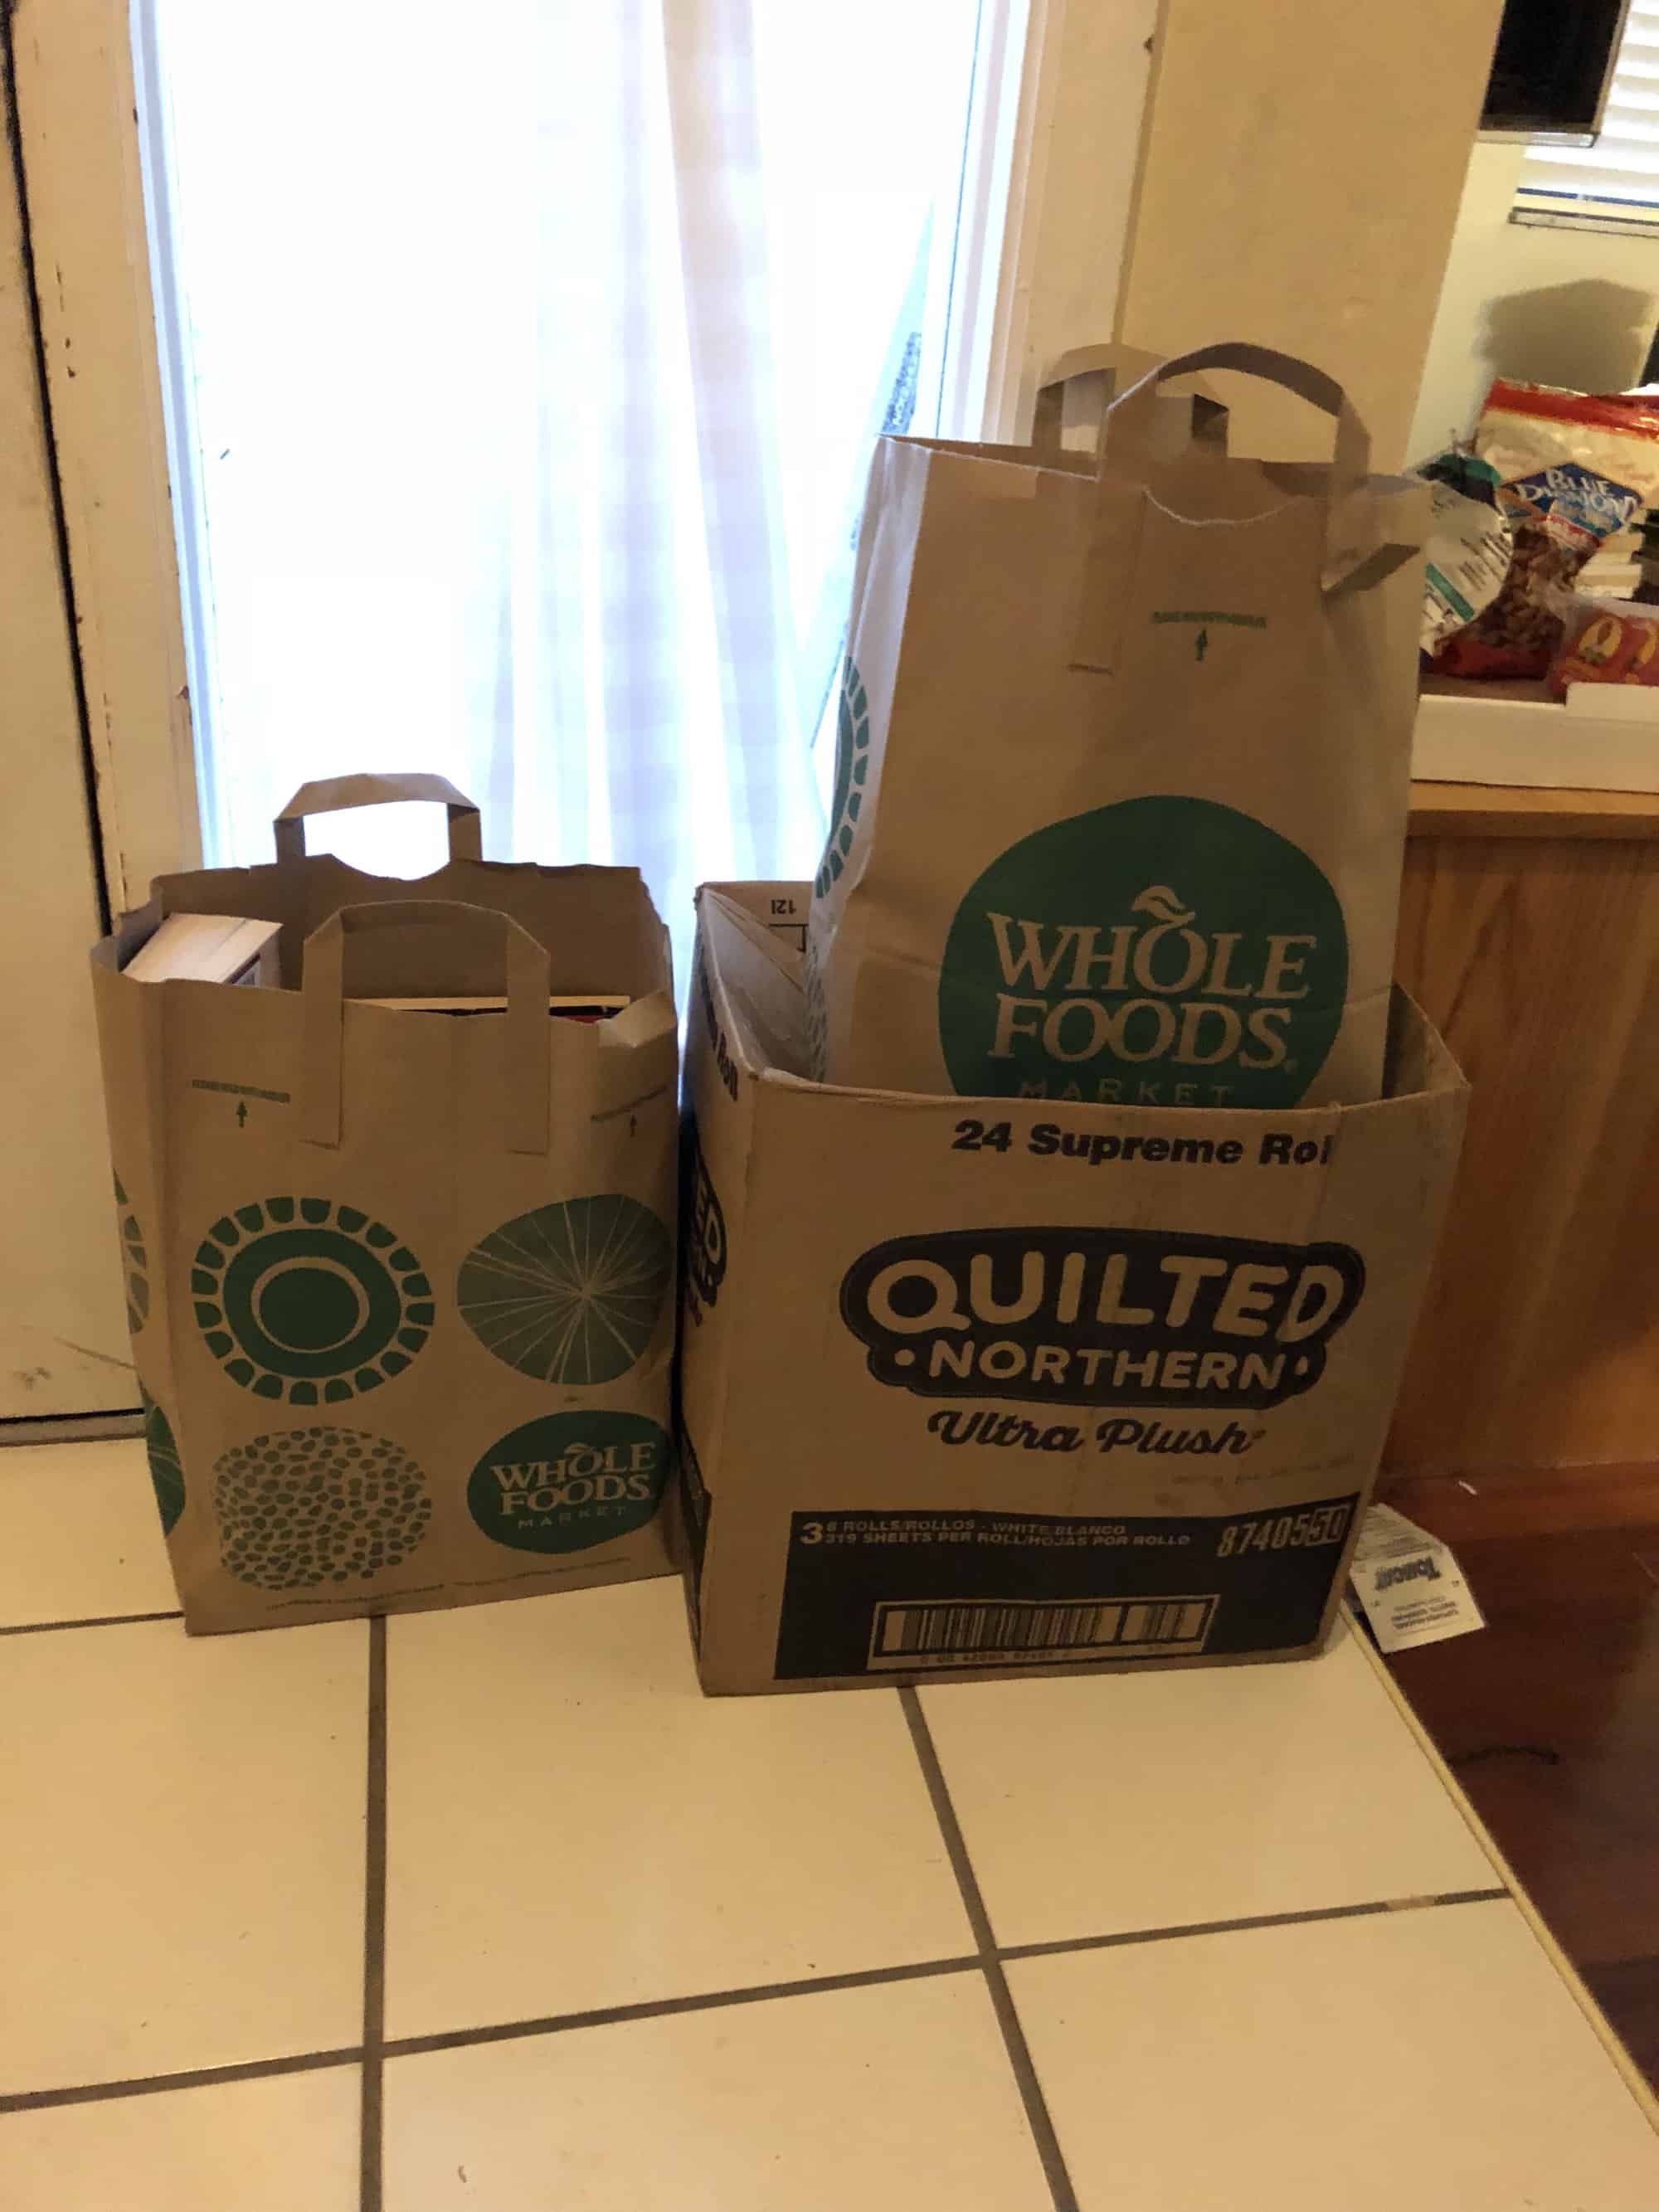
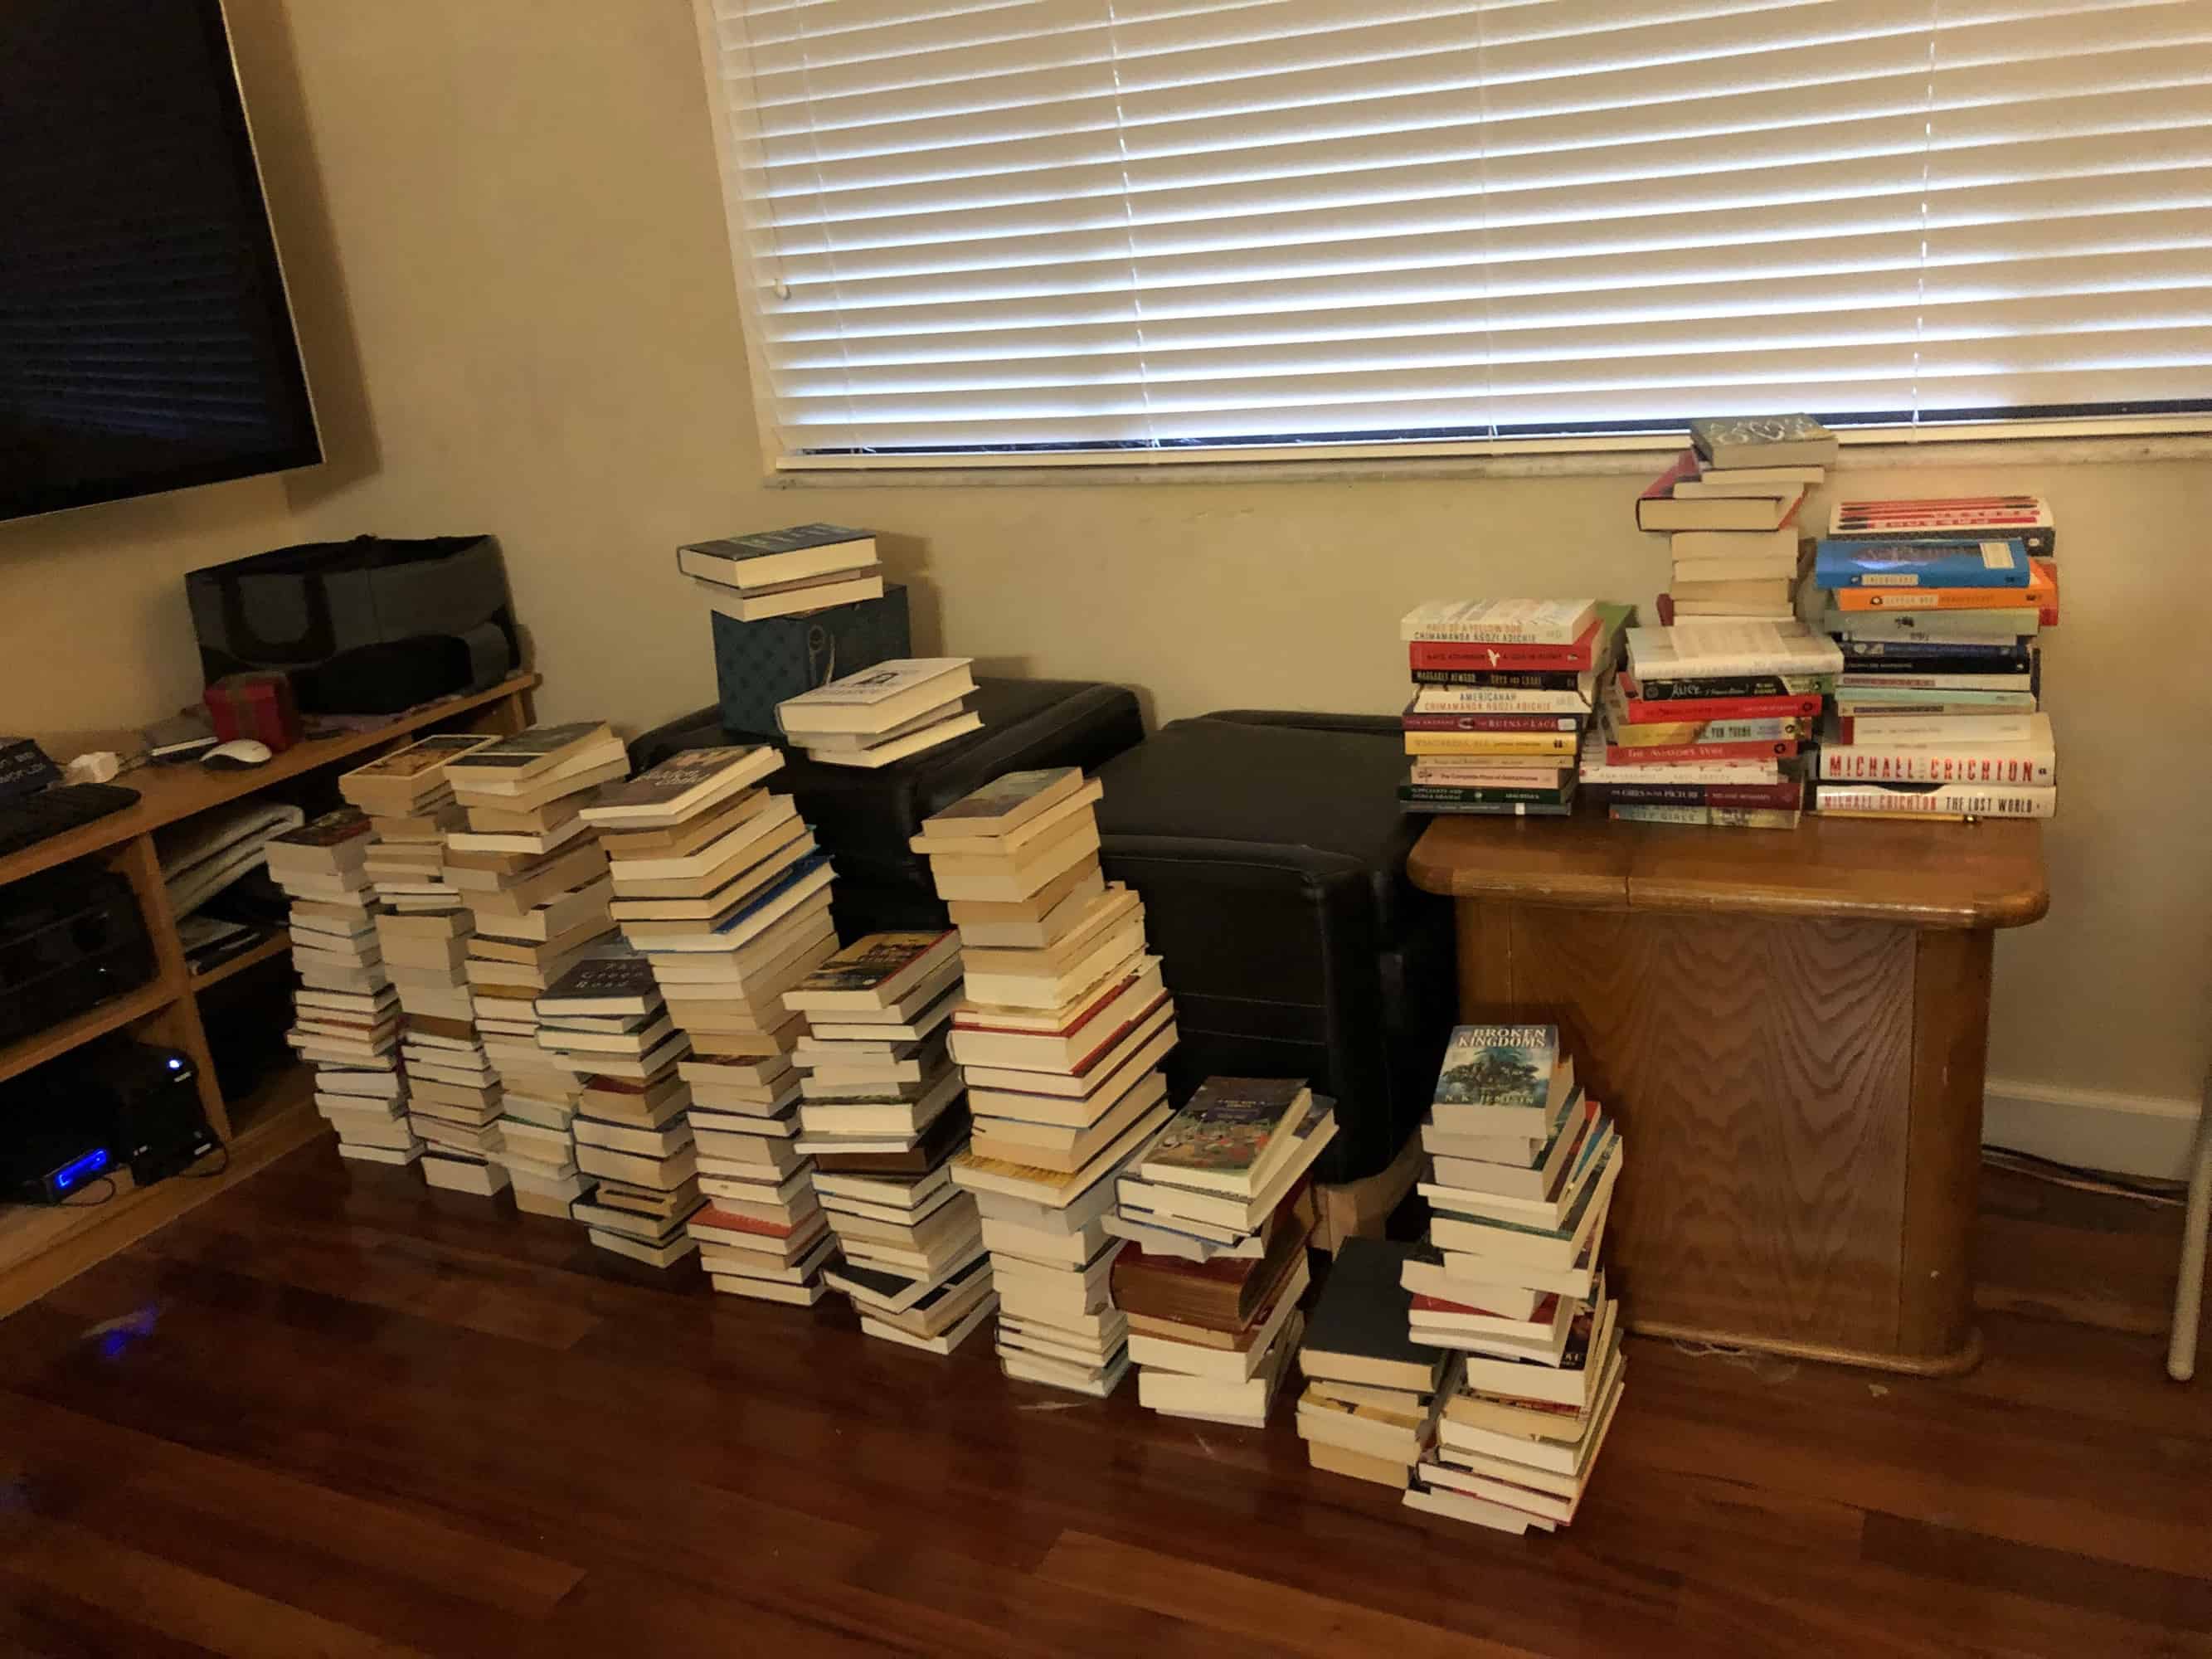
Sort through all the books. Donated any unwanted books to the library.
I sorted all the books! I found at least 100 books to donate, and they are sitting in bags and boxes by the front door waiting to go to a new home, I just haven’t gotten them out of the house yet.
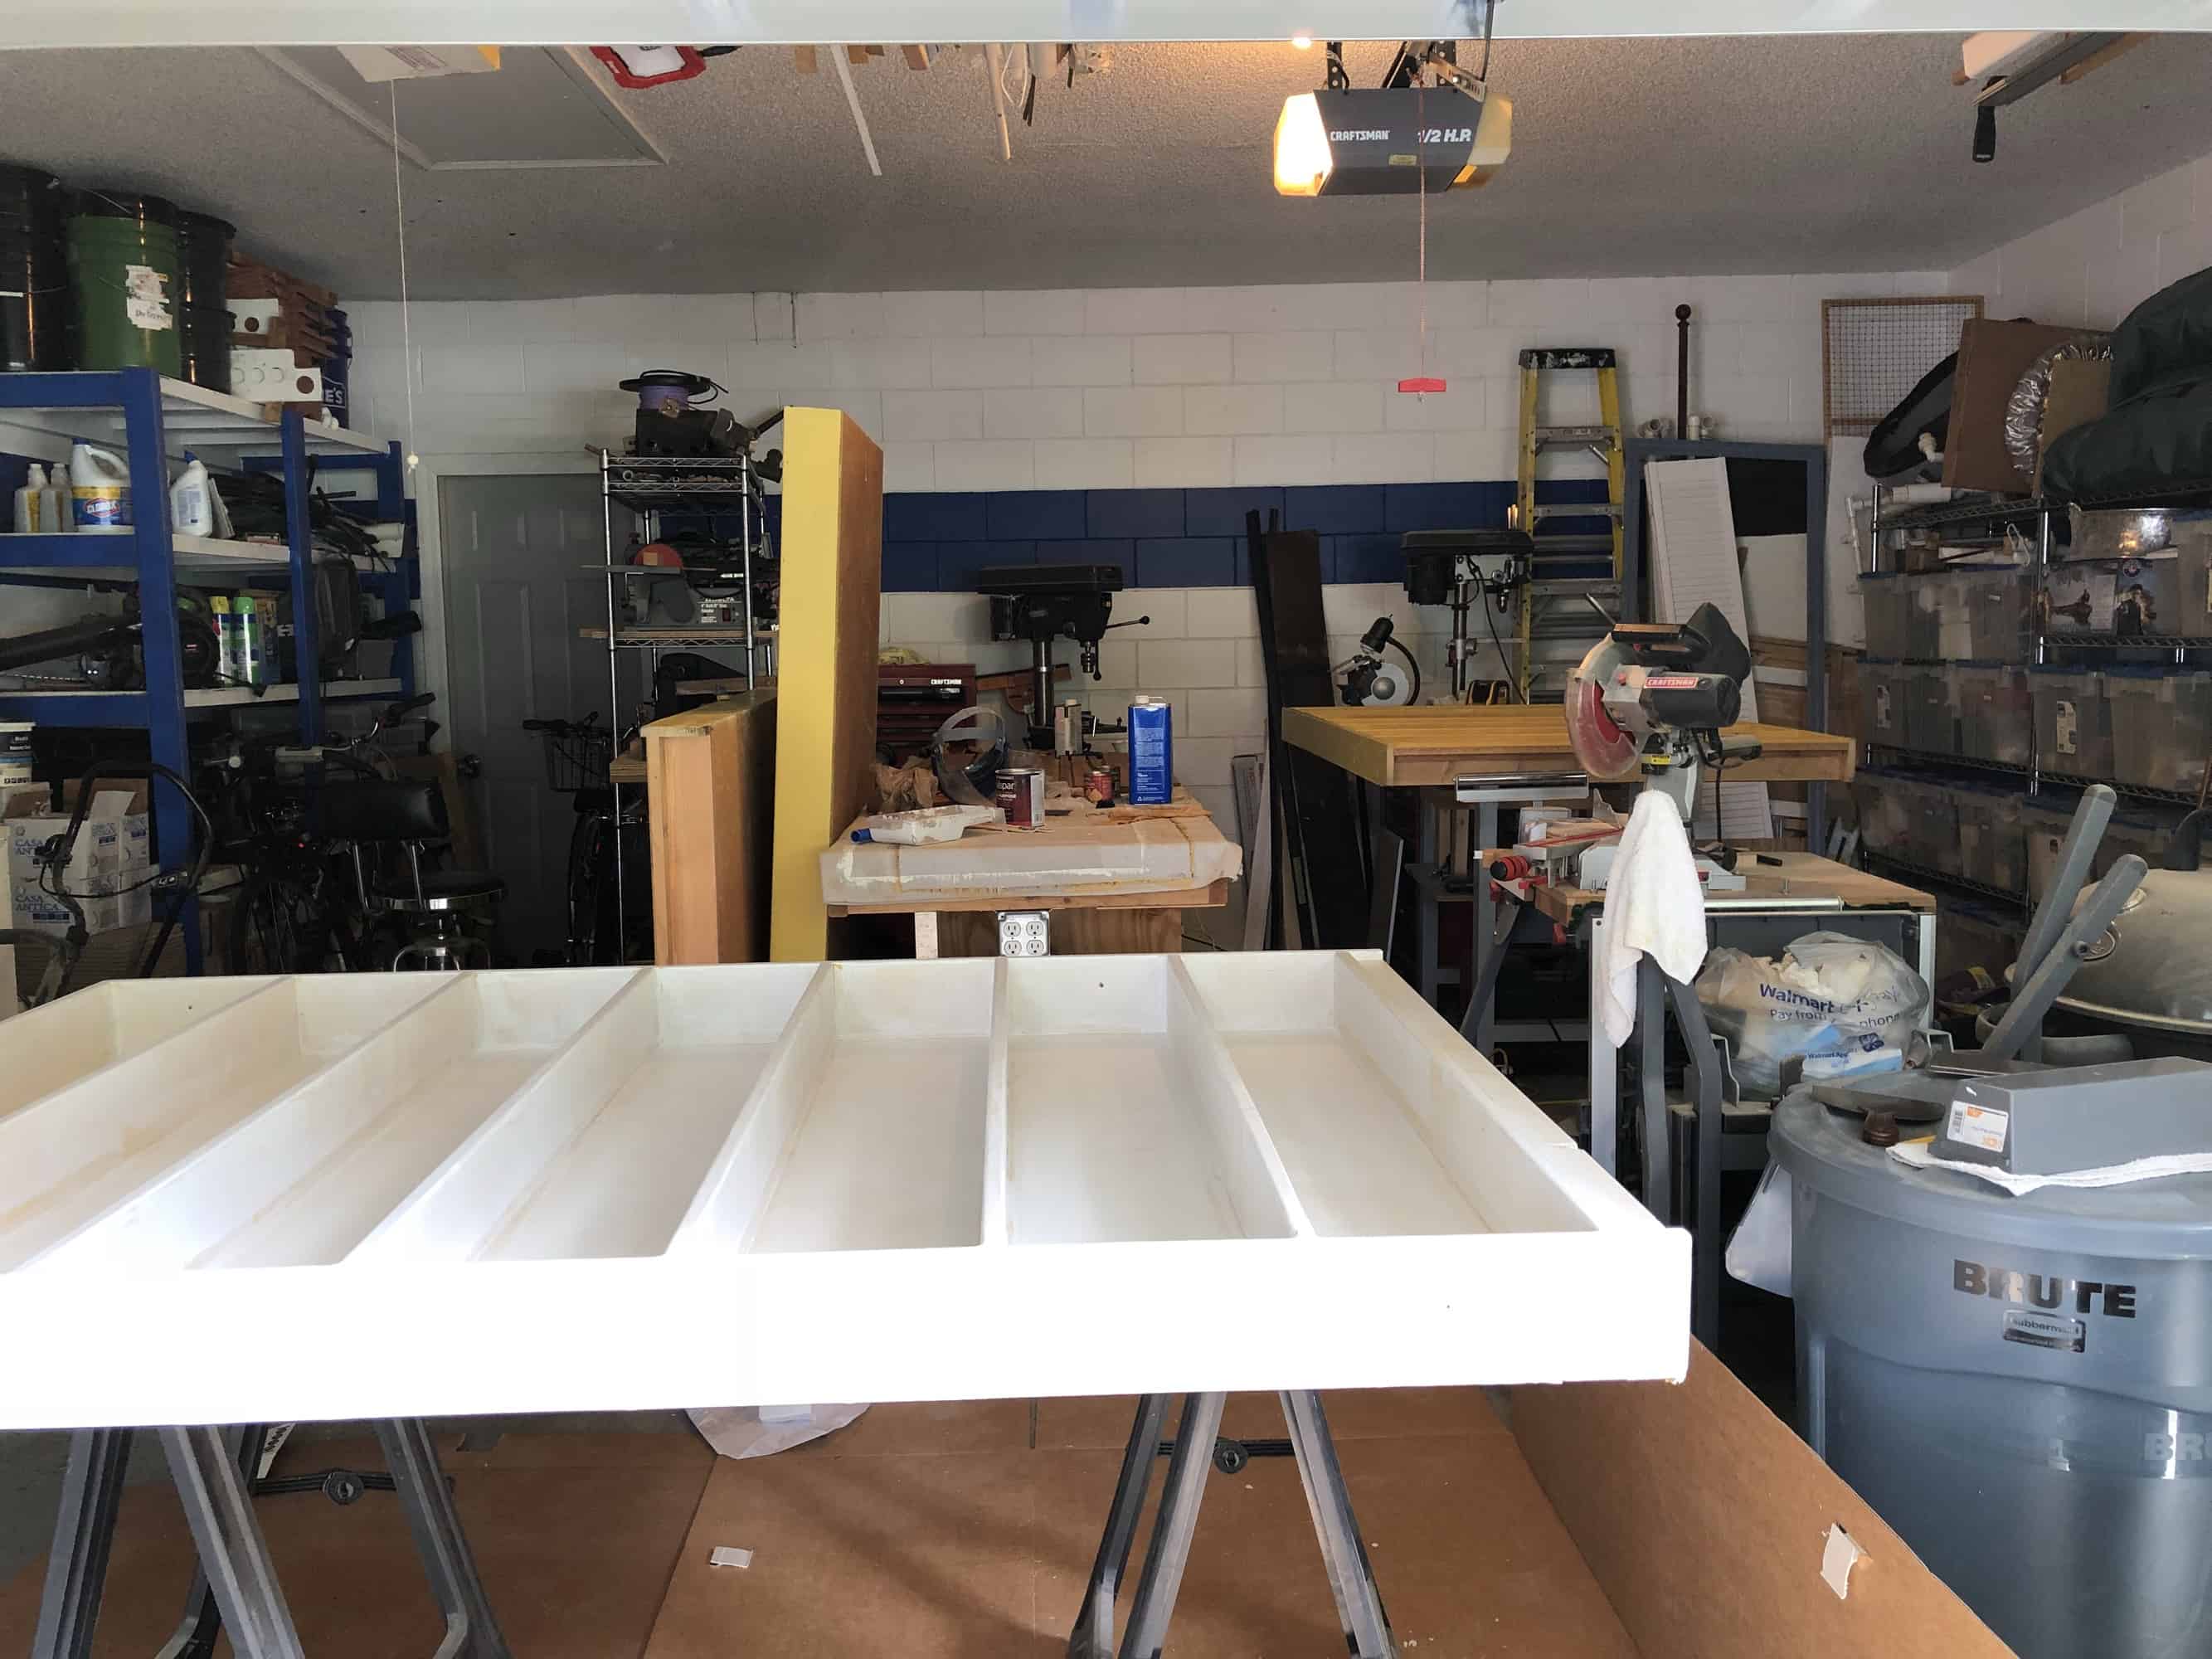
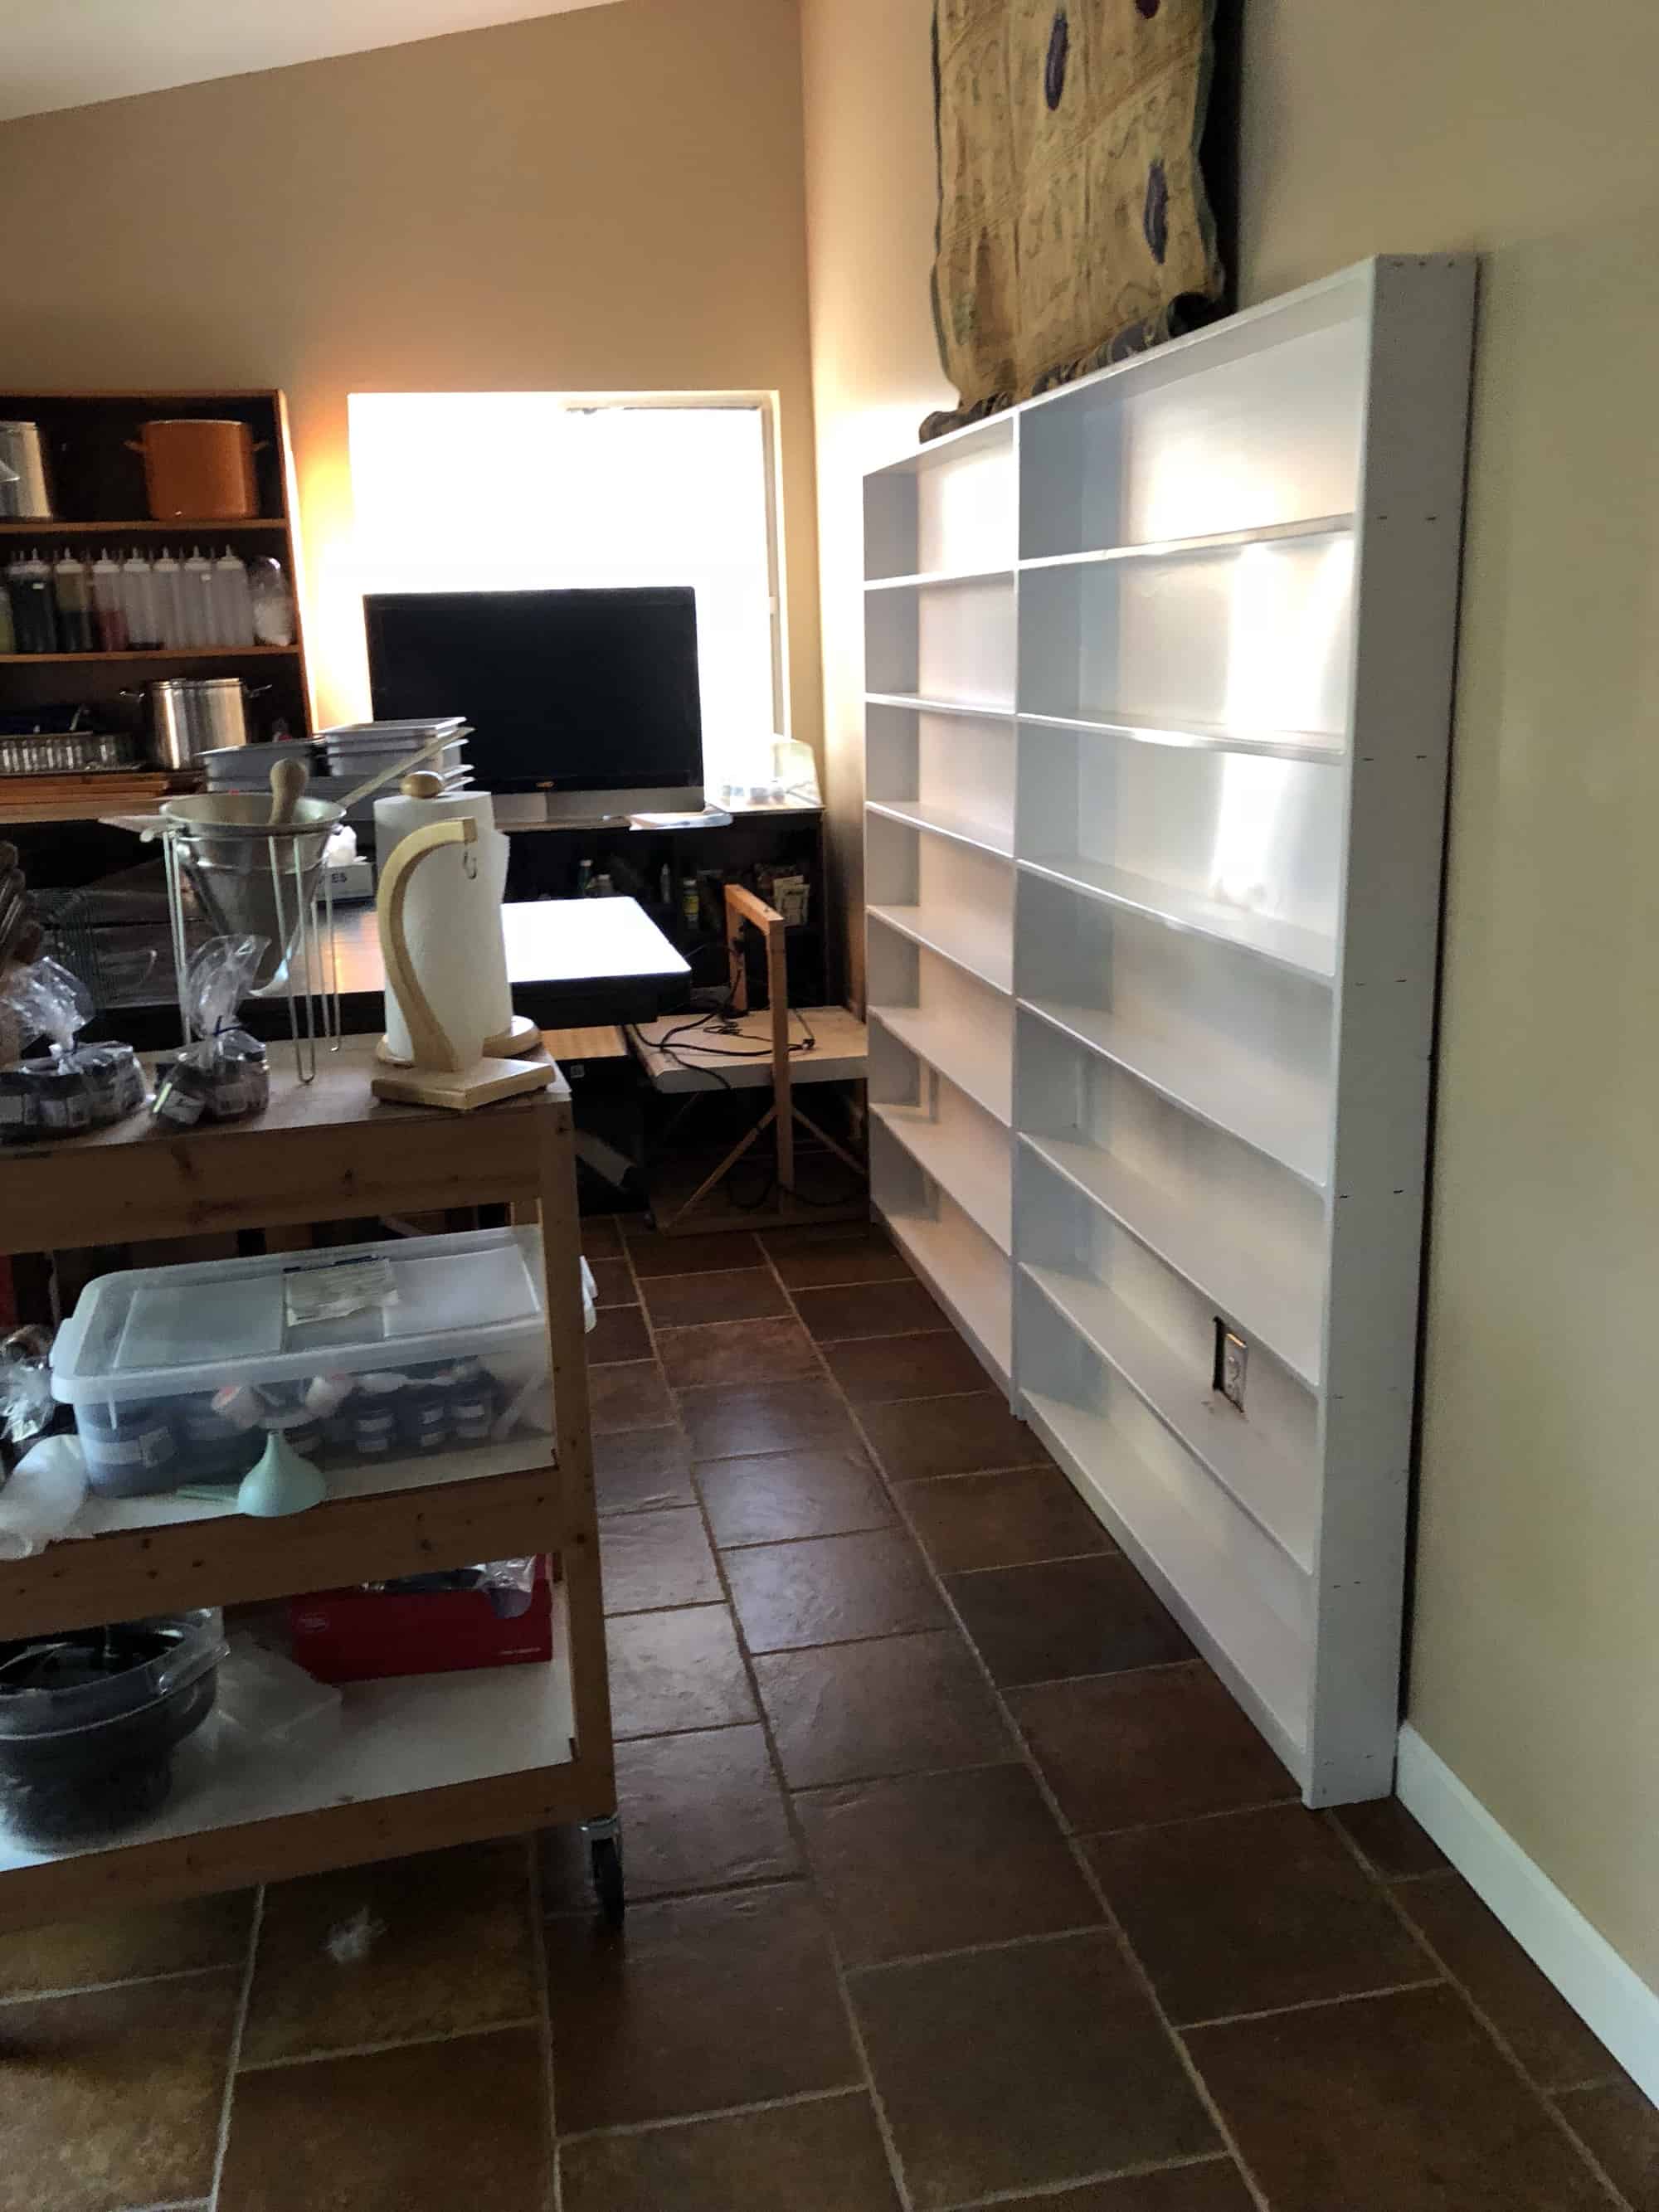
Paint the four bookshelves I bought from the used bookstore that went out of business on Saturday. Canary yellow = not a good look for our space!
I finished painting three of the four bookshelves. I just finished painting the first coat on the fourth bookshelf. I will paint the second and last coat on the fourth bookshelf before I go to bed tonight!
Sell 4 bar stools and the TV from the ‘family’ room.
I did list the bar stools on the Facebook group for my neighborhood, but did not get any nibbles. I need to try some other venue.
Take the two tables out of the family room, remove bar-height legs, and add standard-height legs.
Chris and I plan to work on this tomorrow.
Put bookcase from hallway on top of family room entertainment center and use it as temporary storage for dyeing supplies. The long-term plan is to build a matching cabinet for the top of the entertainment center, but that won’t happen this week.
Done! See the picture below, under the bookcase installation task.
Get the cart out of the family room and back to the garage. Find new homes (either here or by donating) for everything stored on it.
I put some of the items on this cart on the bookcase that is now on top of the entertainment center. Some of the dyeing supplies which are on the cart will live on one of the new white bookshelves. I want to let them to cure for one more day before I put anything on them.
Thoroughly clean the floor on the side of the family room where the tables are.
Done! There’s not a good way to get a picture of this.
Install all the newly painted bookcases: 3 in the family room, along the wall, and one in the hallway to replace existing shelf.
The only shelf not yet in place is the one that I will finish painting today.
Put the standard-height tables back into the family room.
Since we haven’t modified the tables yet, this task is not yet complete.
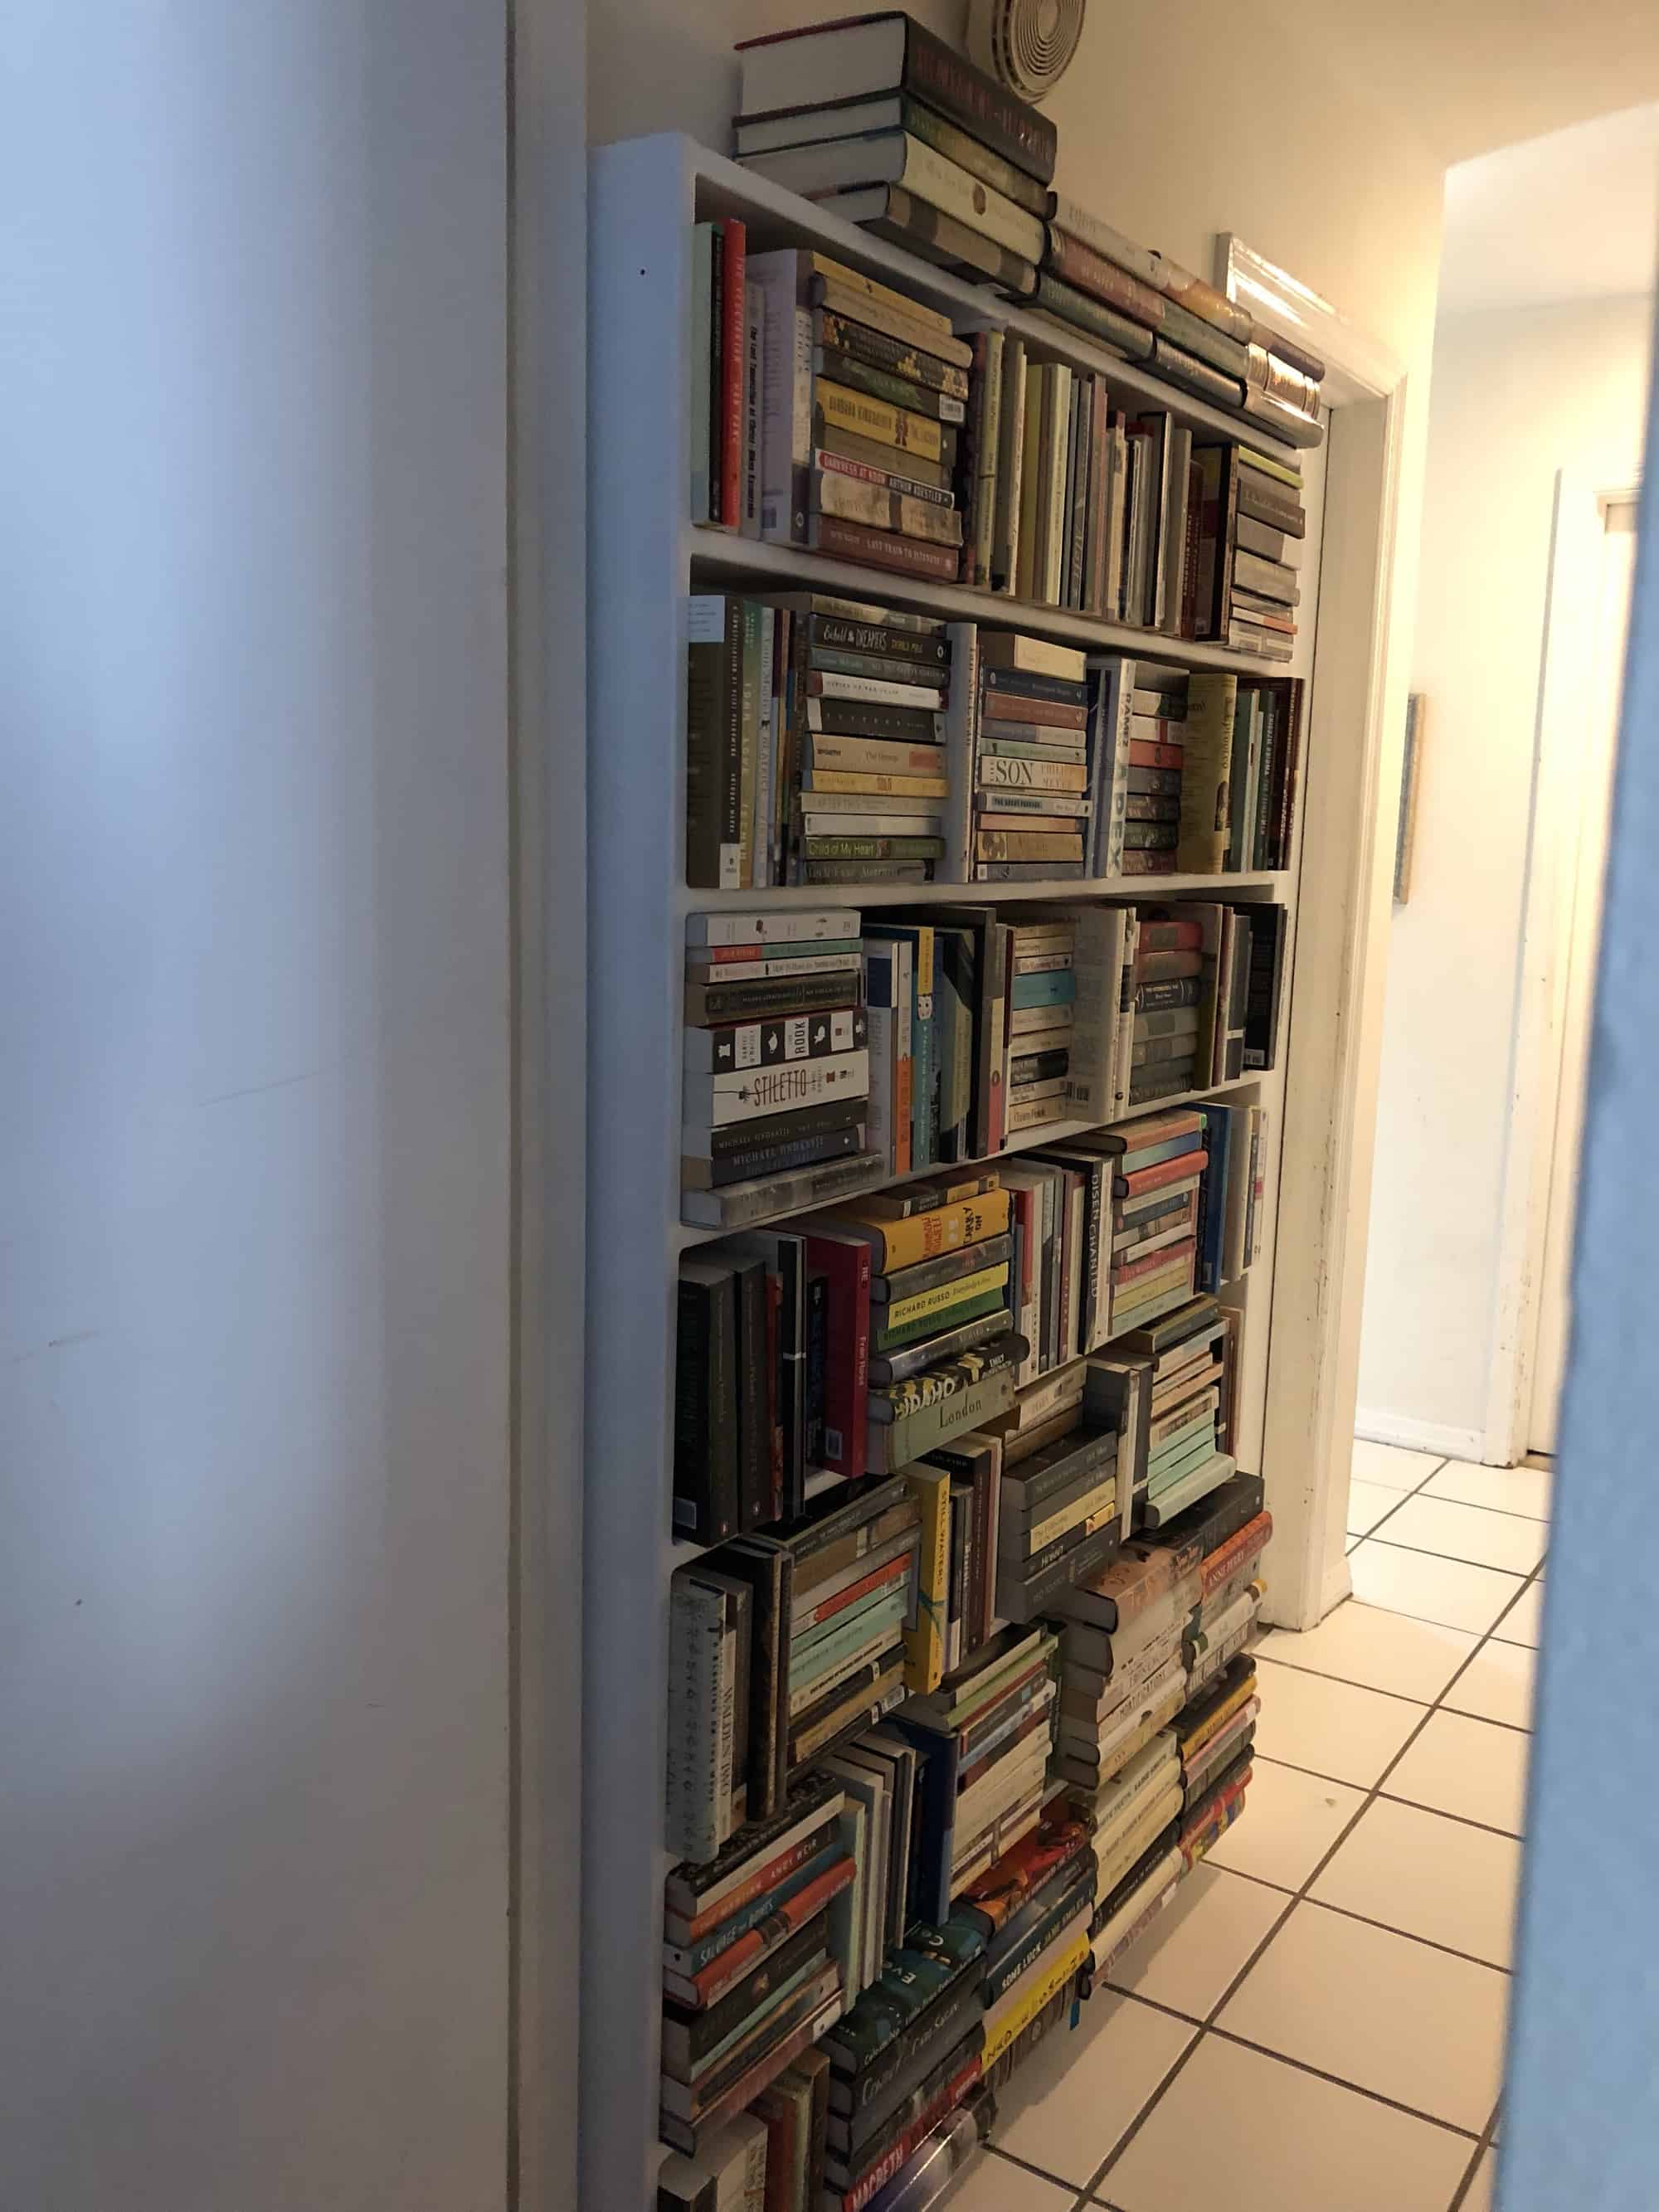
If the bookcases are sufficiently cured, shelve all books. This may need to wait for next week if the bookcases aren’t cured.
I put the first shelf I painted into the hallway and shelved books on it. The remaining books will be shelved on the unit that I will finish painting today. I will move that shelf into place tomorrow, but will wait at least 24 hours for it to finish curing before I shelve the rest of the books.
Return folding table to Shellee once I shelve all the books.
Since the books are not all shelved, I haven’t returned the table yet.
This Week’s Tasks
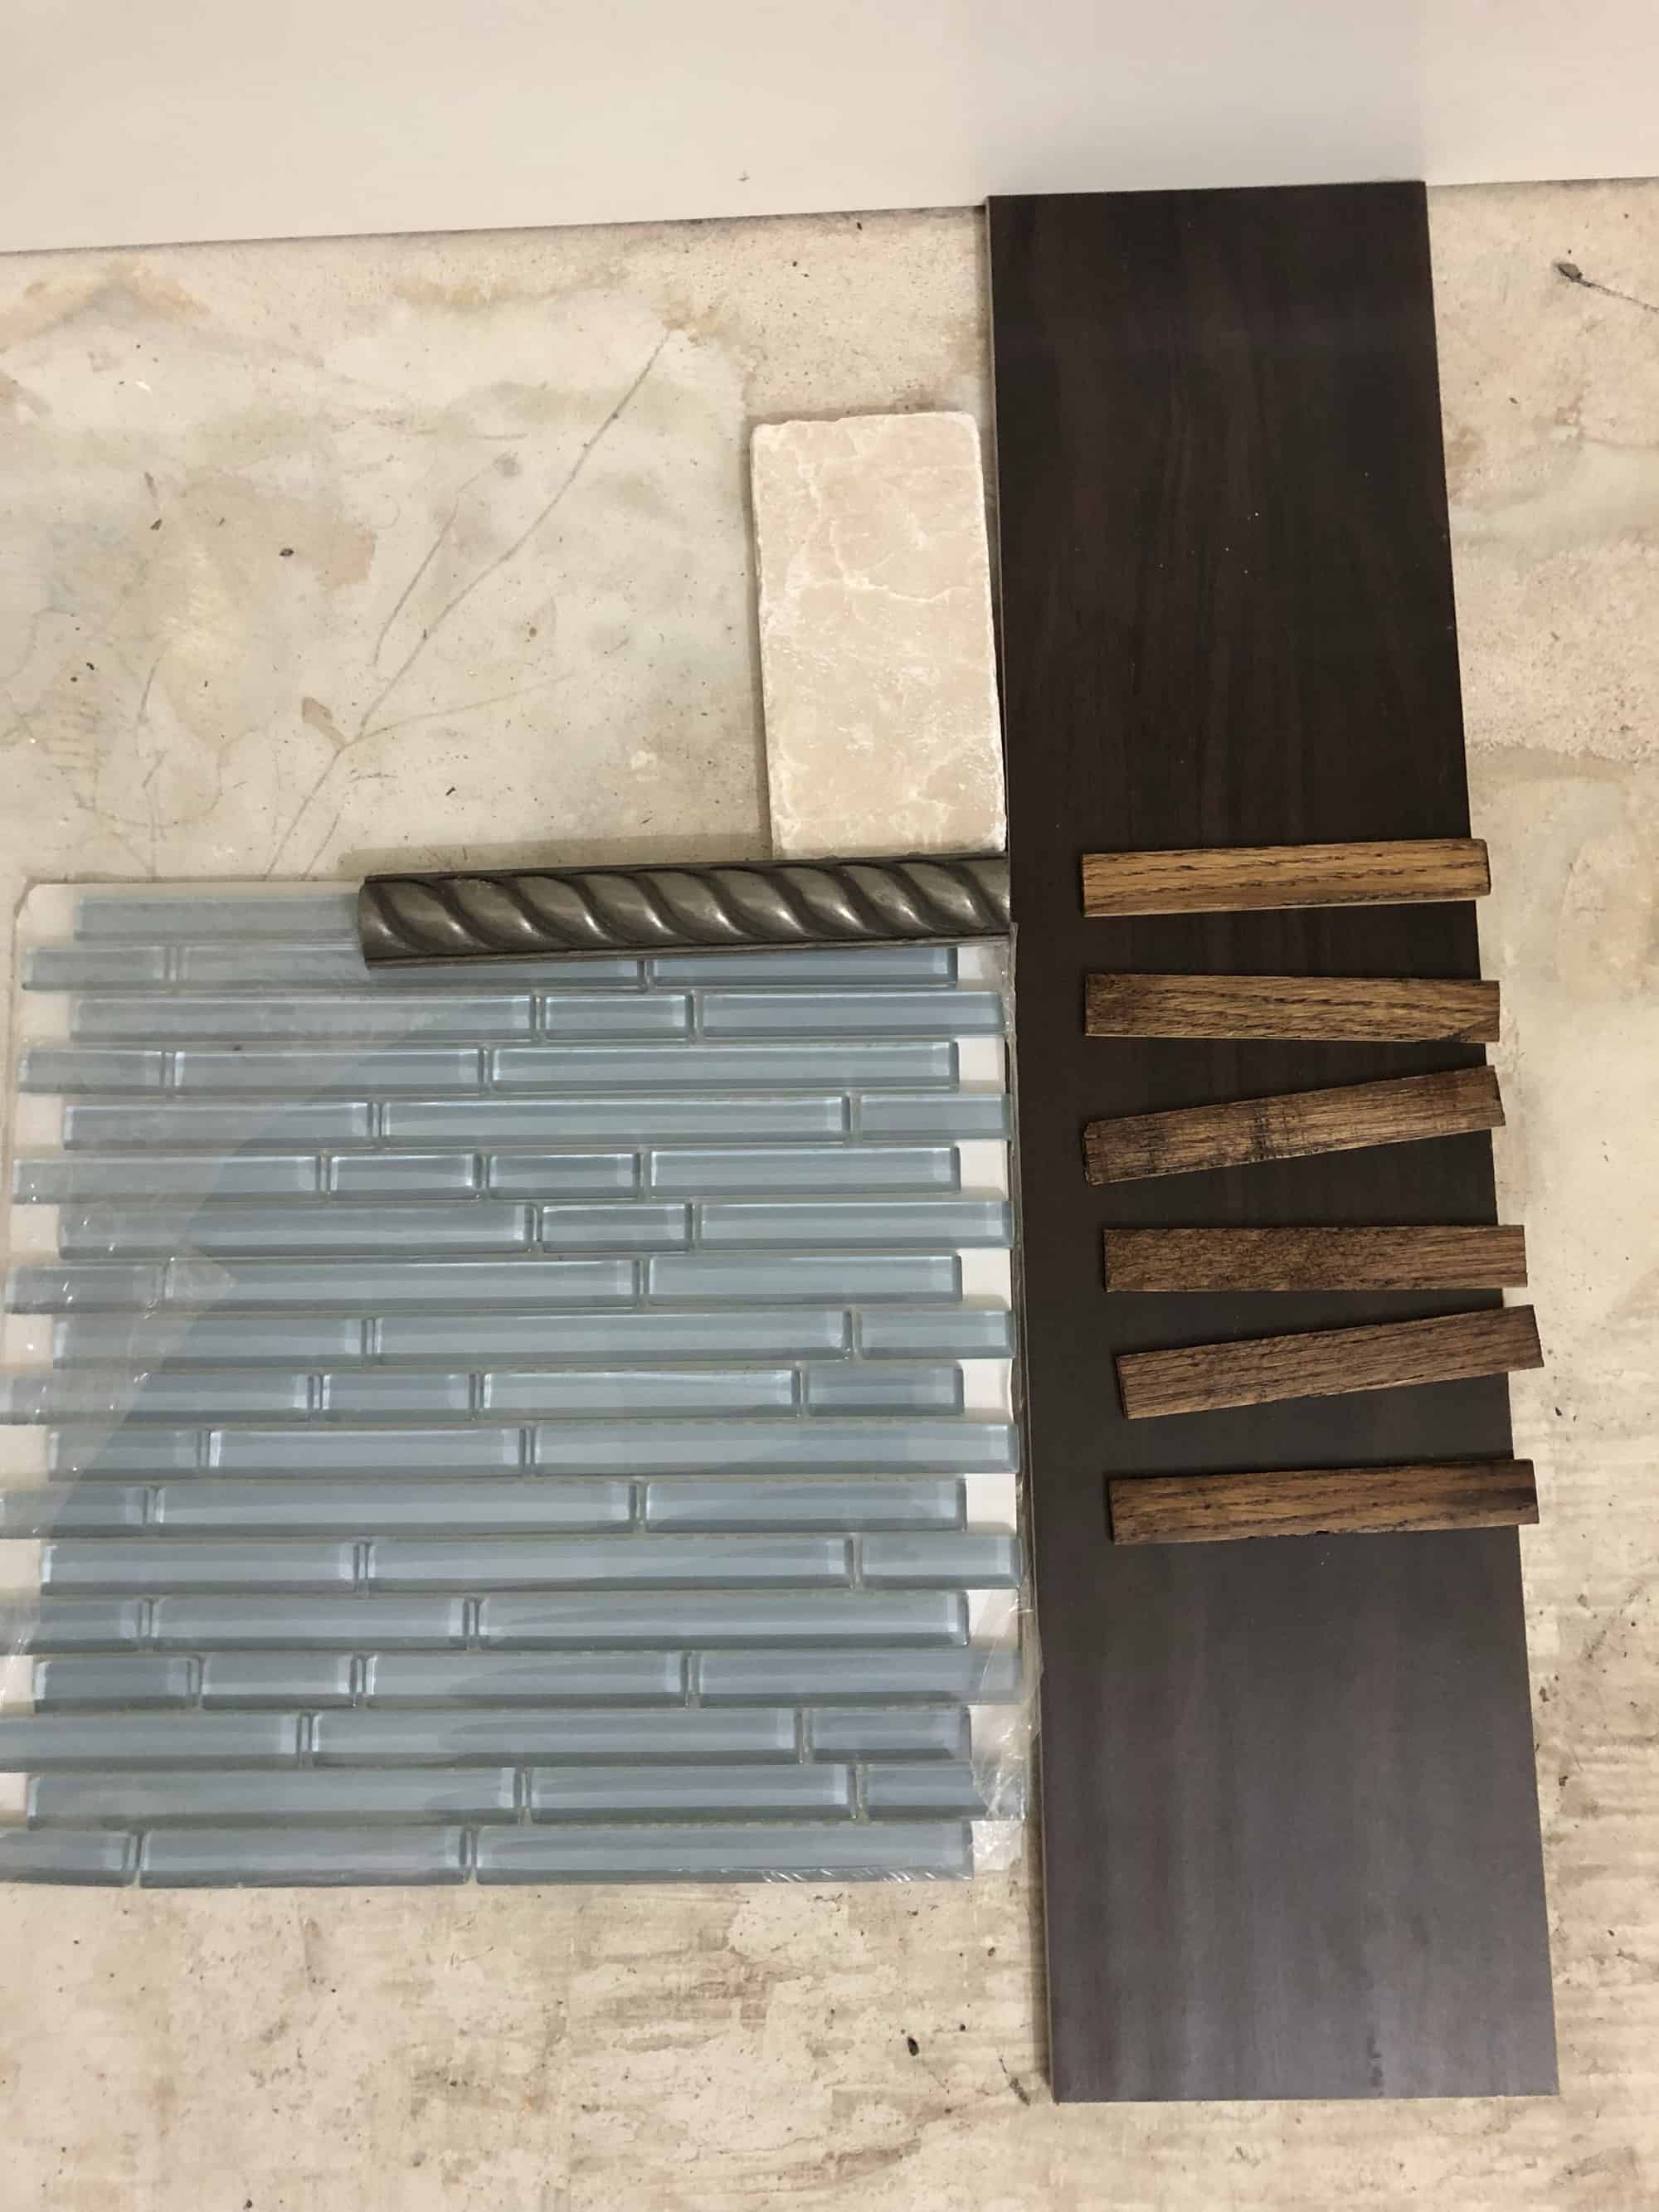
- Bathtub surround. Chris will be doing a lot of this work, but I expect to help. We need to make a final plan for the tile design. We need to decide the location, size, and layout of the niche. We need to frame out the niche and install all the cement board. Once the cement board is installed, we apply waterproofing material to all the seams and corners. Once that sets, we install the tile, then grout the tile, then seal the tile. I do not think we will get to the tile installation point this week. I expect we will get all the cement board installed and apply the waterproofing material.
- Learn to spackle.
- Decide what we are doing re: storage cupboard and lighting in the bathroom. We have narrow glass shelves which Chris rescued from his parents’ basement after his father passed away. He is going to build a large medicine cabinet for the bathroom and use those shelves inside it. We are discussing two options for where it might hang: over the sink, in which case we will use mirrors for doors, or over the toilet. We also need to decide how to install it. Do we hang it on the wall? Or recess it into the wall, like a medicine cabinet. I suspect we will need to hang it on the wall, because it looks like there’s an electrical wire running through the studs all the way across, and that would interfere with recessing it. If we are going to hang it on the wall above the sink, we need to make sure that whatever light fixture we chose will not be blocked by the cabinet.
- Apply Danish Oil to the harnesses for Lorelle’s room. If Chris’ idea re: suspending them works, I will be able to finish this task this week. If I have to lay them flat on the workbench, I will not be able to finish until sometime next week.
- Get some naval jelly and soak the rusted metal parts for Lorelle’s loom.
- Empty the storage unit no later than Thursday.
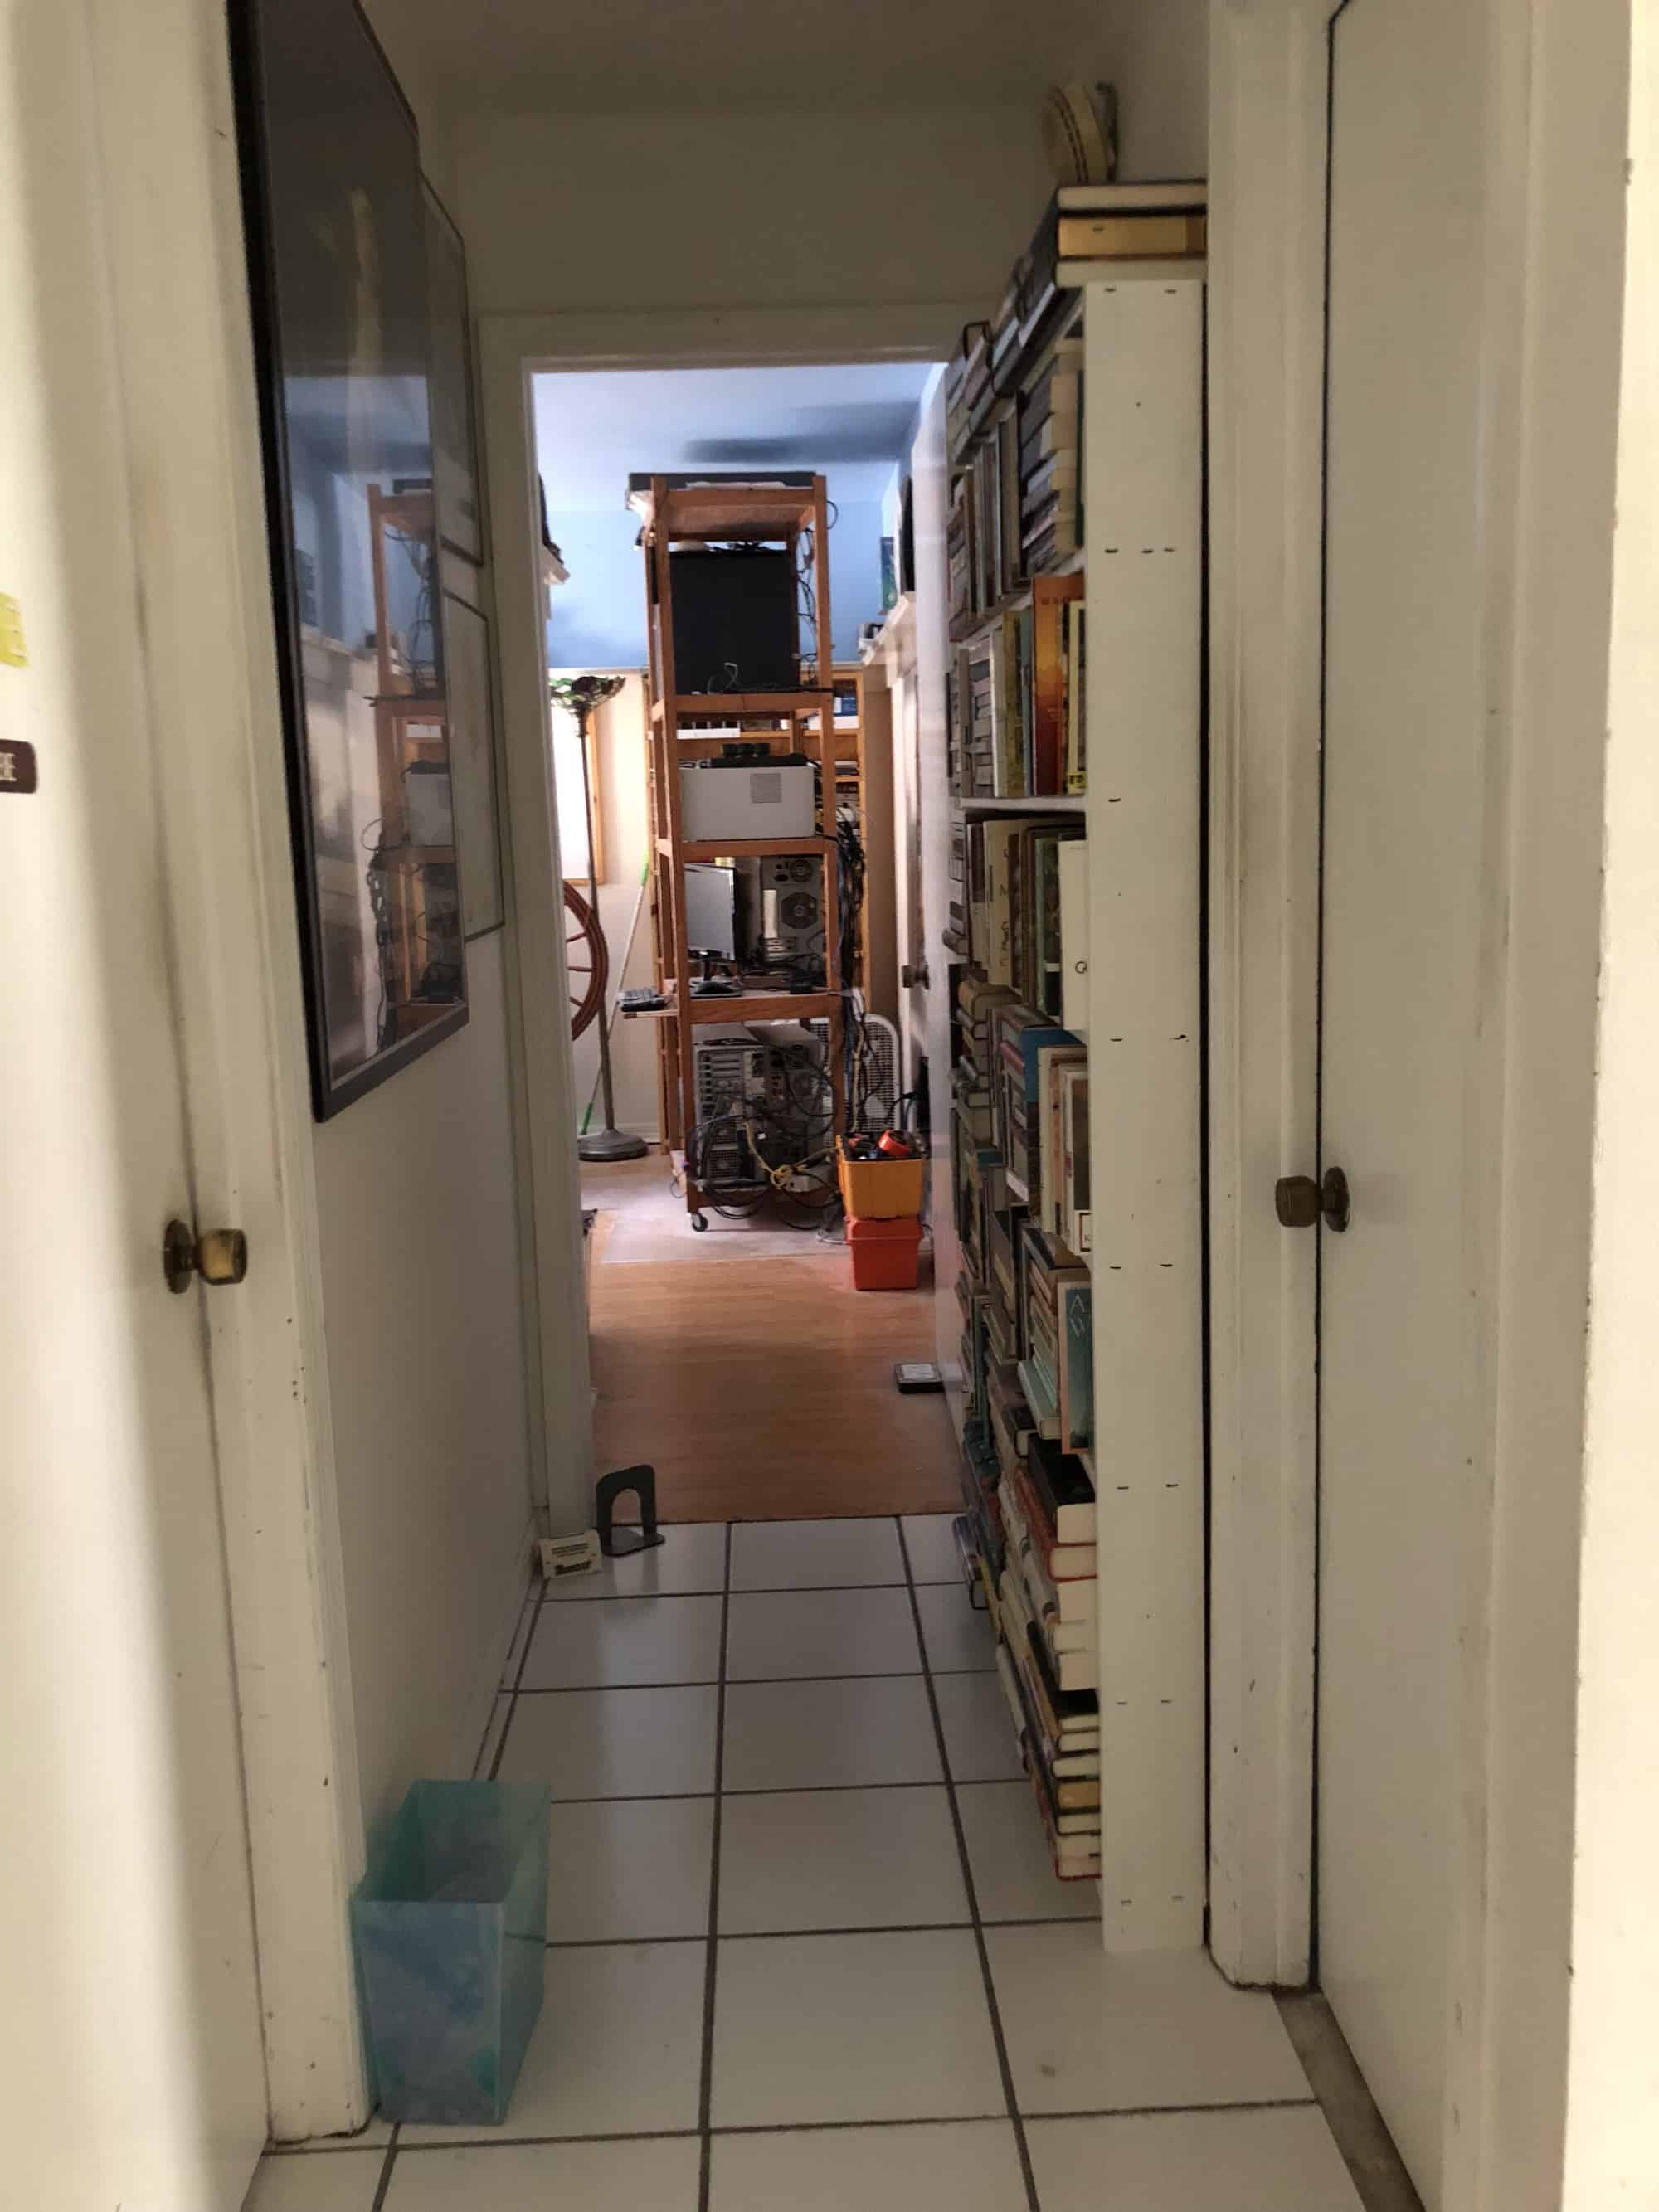
- Bring books to the library for donation.
- Install final bookcase in back room. Shelve remaining fiction books on that bookcase.
- Transform bar height tables into standard height tables and put into family room in front of bookshelves.
- While I was typing this post, Chris suggested improving the cart so we can put it in the kitchen. I could use some extra counter space and storage in the kitchen — kitchen organization is part of month two of this household organization project. Chris will add a maple butcher block to the top of the cart. He will put a nicer, easier to clean, surface on the two shelves. I will use the leftover bookshelf paint to paint the legs and sides.
- Return folding table to Shellee. Remember to bring her the Tupperware bowls.
- Move sewing machines and serger onto the new sewing tables.
- Shelve creativity, sewing, fashion, and dyeing books on one of the new shelves.
- Determine which sewing tools and supplies need to be stored on the new shelves. Go through the canning jars in the garage and find the appropriate sizes needed for storing tools and supplies. Do I need to buy lids and / or rings?
Wow! So much progress! I am glad I don’t care about the finish on my poor Harrisville. Great idea Chris had about upgrading the cart.
Good luck with spackling. I think I helped do a tiny bit 20 years ago….
Wow! Good luck with your organizing project. We have a ton of books too that we need to sort and cull. Most of them are in the basements, packed in cartons. It sure feels good to get things out of the house and donate items.