
This past weekend, I took a weaving class at my favorite local yarn store (LYS), Knit! I planned to learn to weave sometime. After all, it was the only one of the four Ravelry-official crafts that I had yet to try. I did not have a specific timeframe in mind for learning to weave. I had a vague thought that perhaps I would try it sometime next year. Last year, I learned to crochet. This year, I learned to spin. Next year, I could learn to weave. But when I heard that Knit! was having a class, I signed up immediately. Why not?
Official Stats
- Yarn: Interlacements Rick Rack, provided by the instructor. I’m not sure of the colorway names or the yardage of each color that I ultimately used. The total yardage in the finished project (not including loom waste) is approximately 264 yards.
- Draft: Plain Weave
- Loom: 15″ Cricket Table Top Loom
- Reed: 8 dent
- Warp Stats
- Total Warp Ends: 96
- Ends Per Inch (EPI): 8
- Warp Length: 66″
- Weft Stats
- Picks Per Inch (PPI): 11
- Width in the Reed: 12″
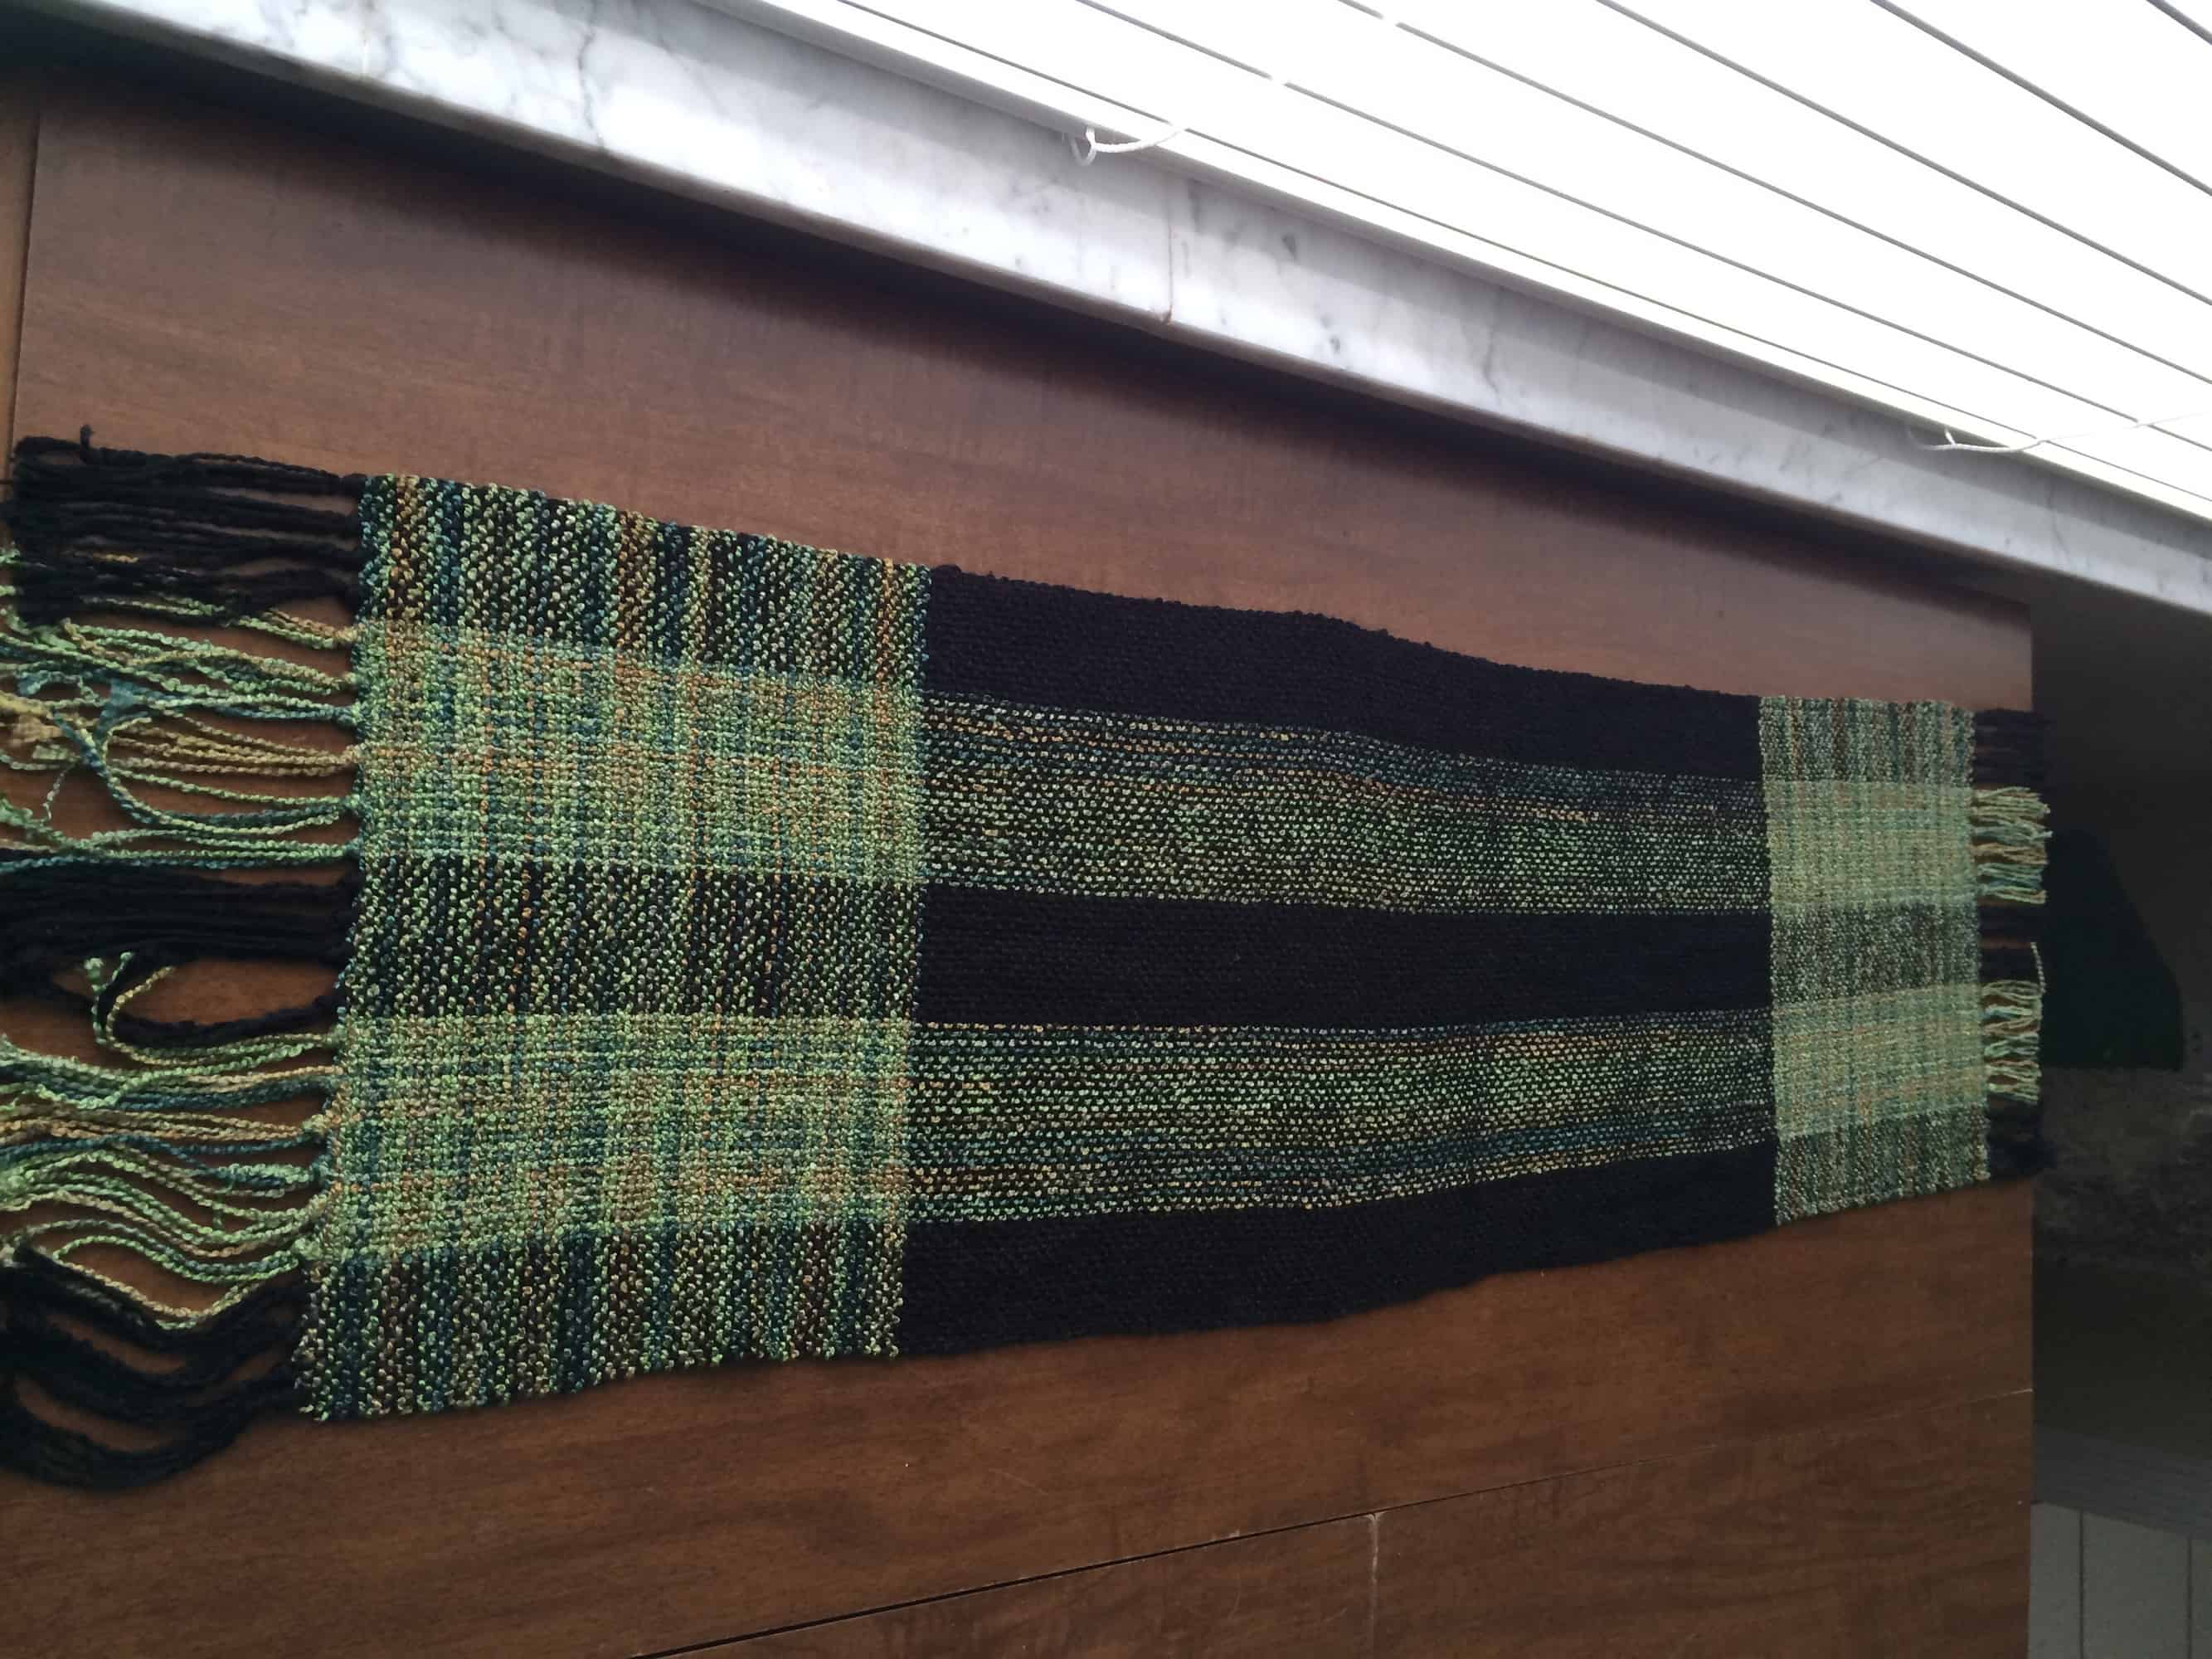
- Finished Dimensions: 11″ x 40″ (including the length of the fringe)
- Ravelry Project Page
Learning to Weave
The teacher, Tammy, brought 15″ Cricket brand table top looms to the class for us to use. She also provided the yarn that we used for this project. We had the option of borrowing the looms so we could bring them home to finish our projects, but I loved the process of weaving so much that I bought mine.
The first step in weaving is to tie on the warp yarn. We used a direct warp method of tying on, which means that we were measuring the yarn at the same time we were tying. An indirect warp is measured first, then tied on to the loom.
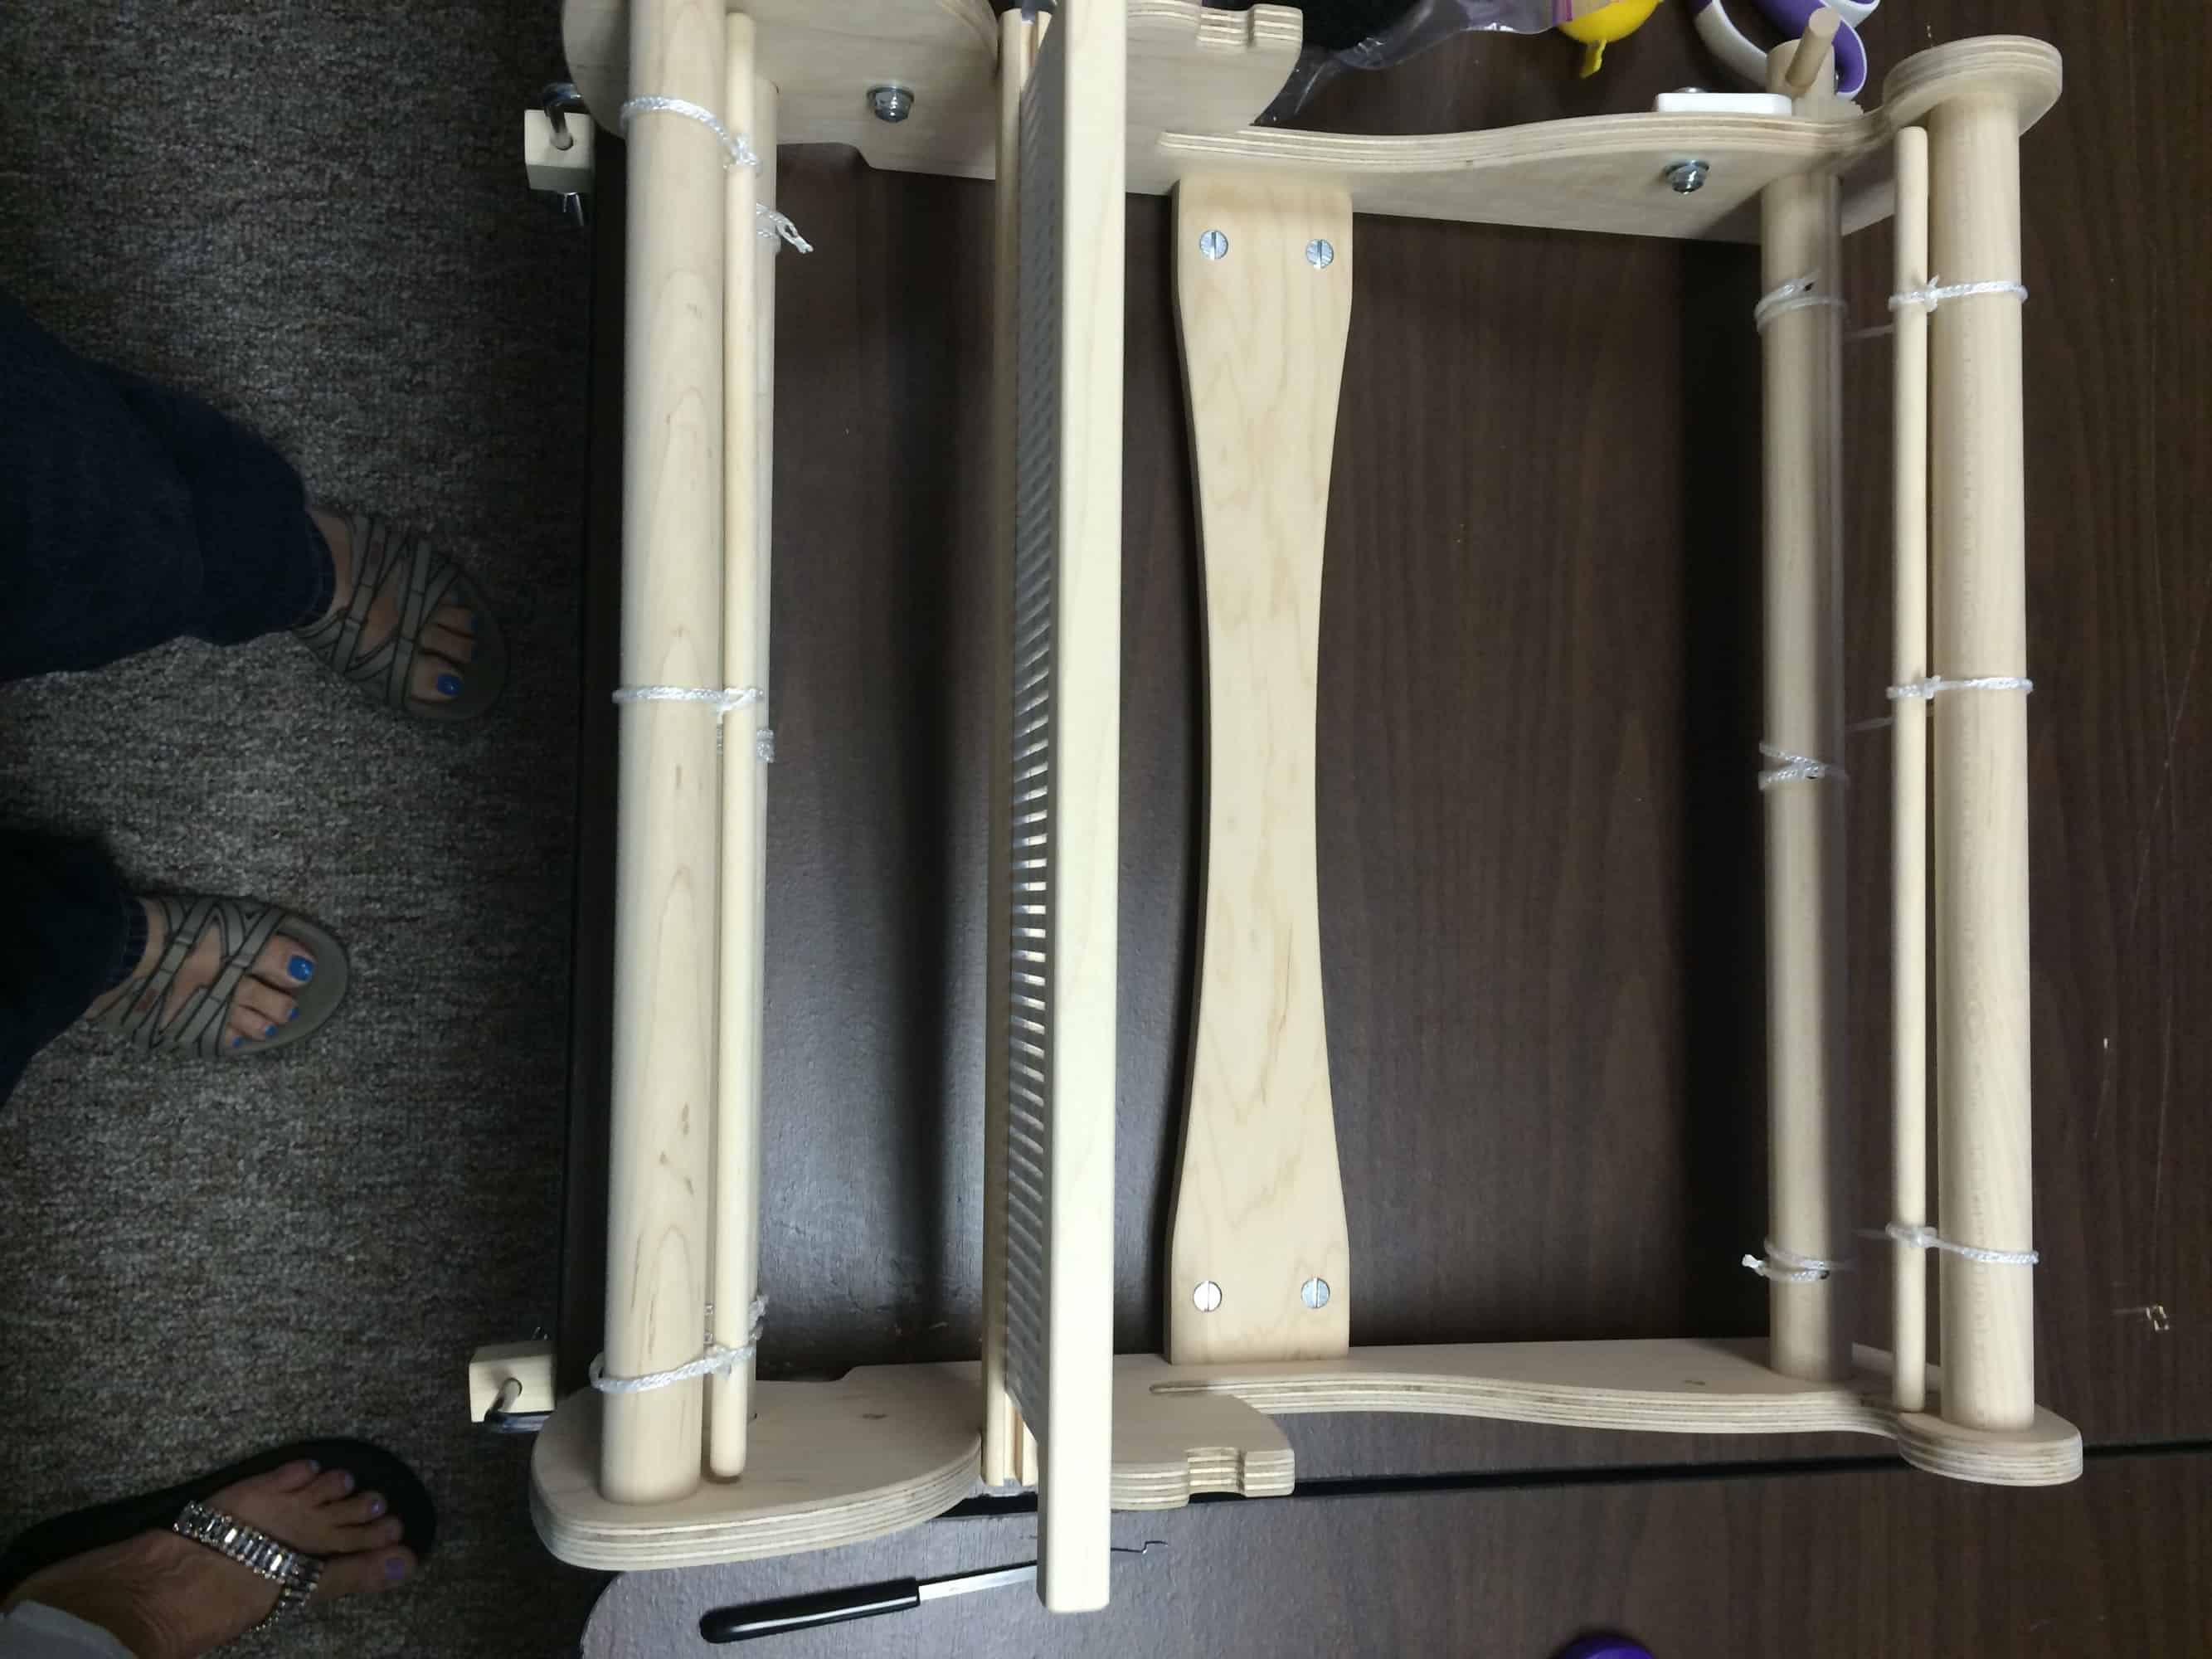
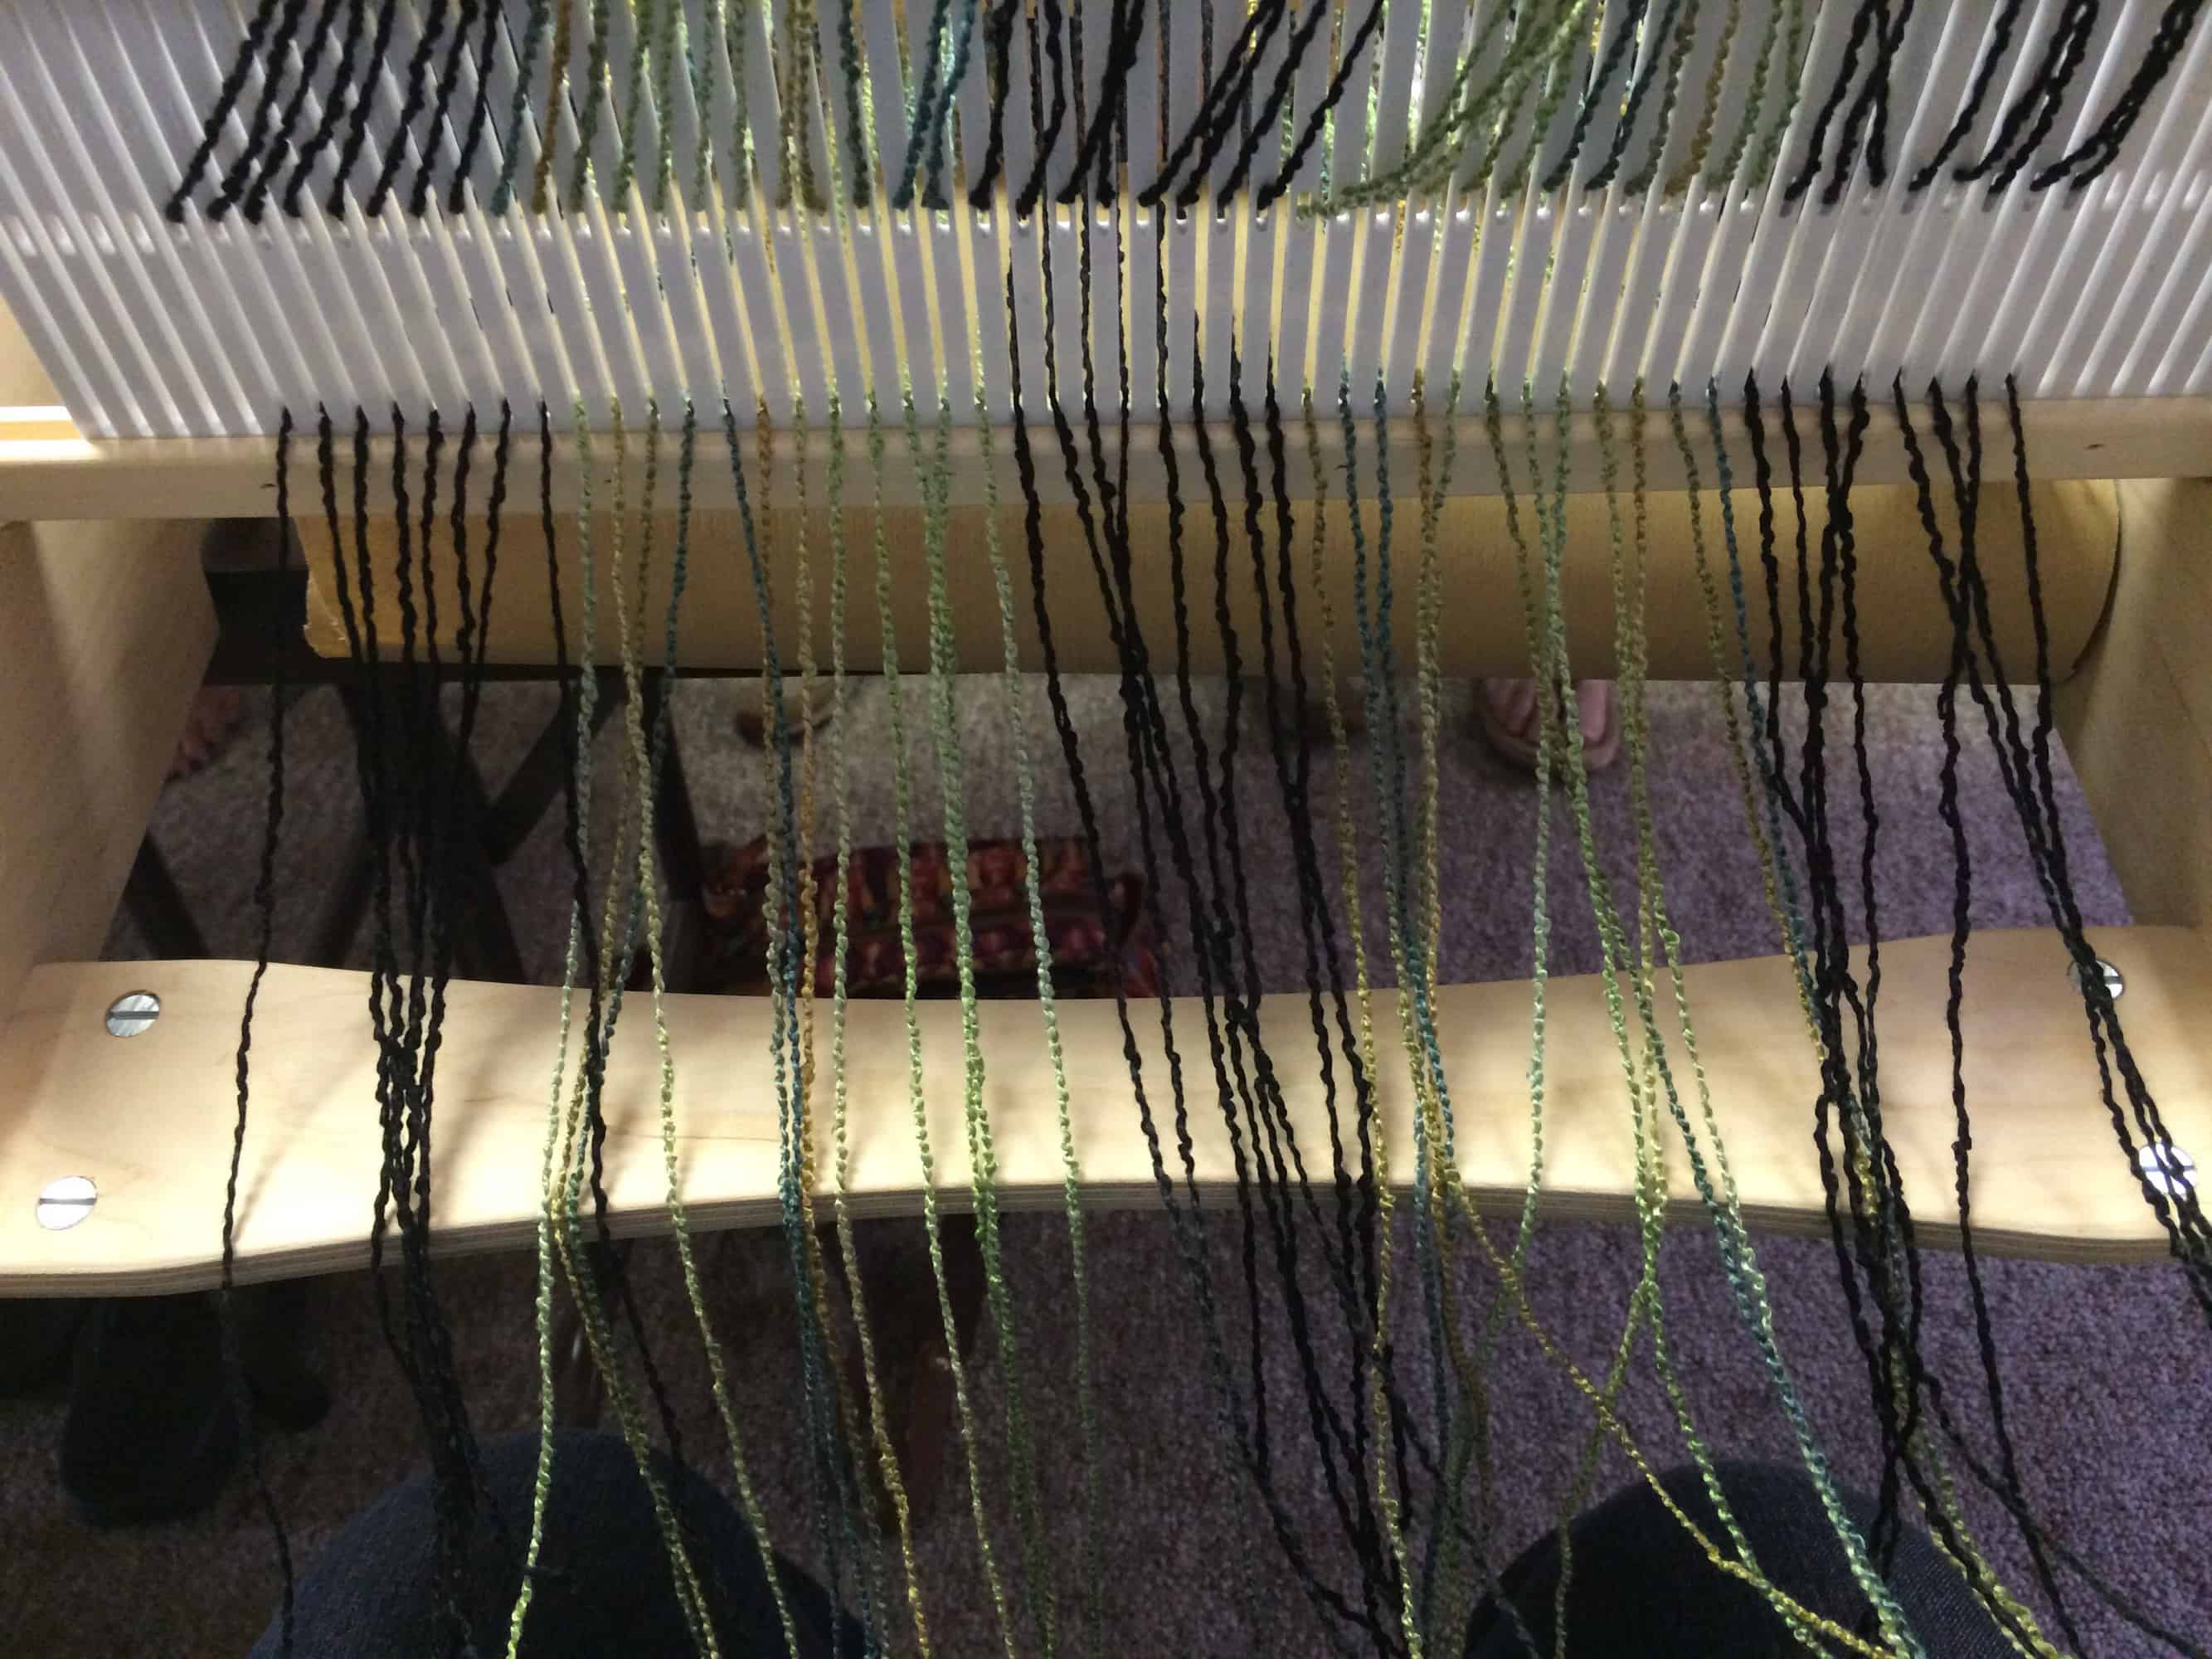
The warp is the yarn that runs the length of the loom. You tie it on to a bar at the back of the loom (the back of the loom is towards the bottom of the picture above). The bar that you tie the warp onto is called the apron. After you tie on to the apron, you pull a loop of yarn through a slot in the heddle and attach it to a peg. The peg is placed a measured distance from the apron. That distance is calculated based on the finished length of the project, plus an additional amount for fringe, shrinkage, and loom waste.
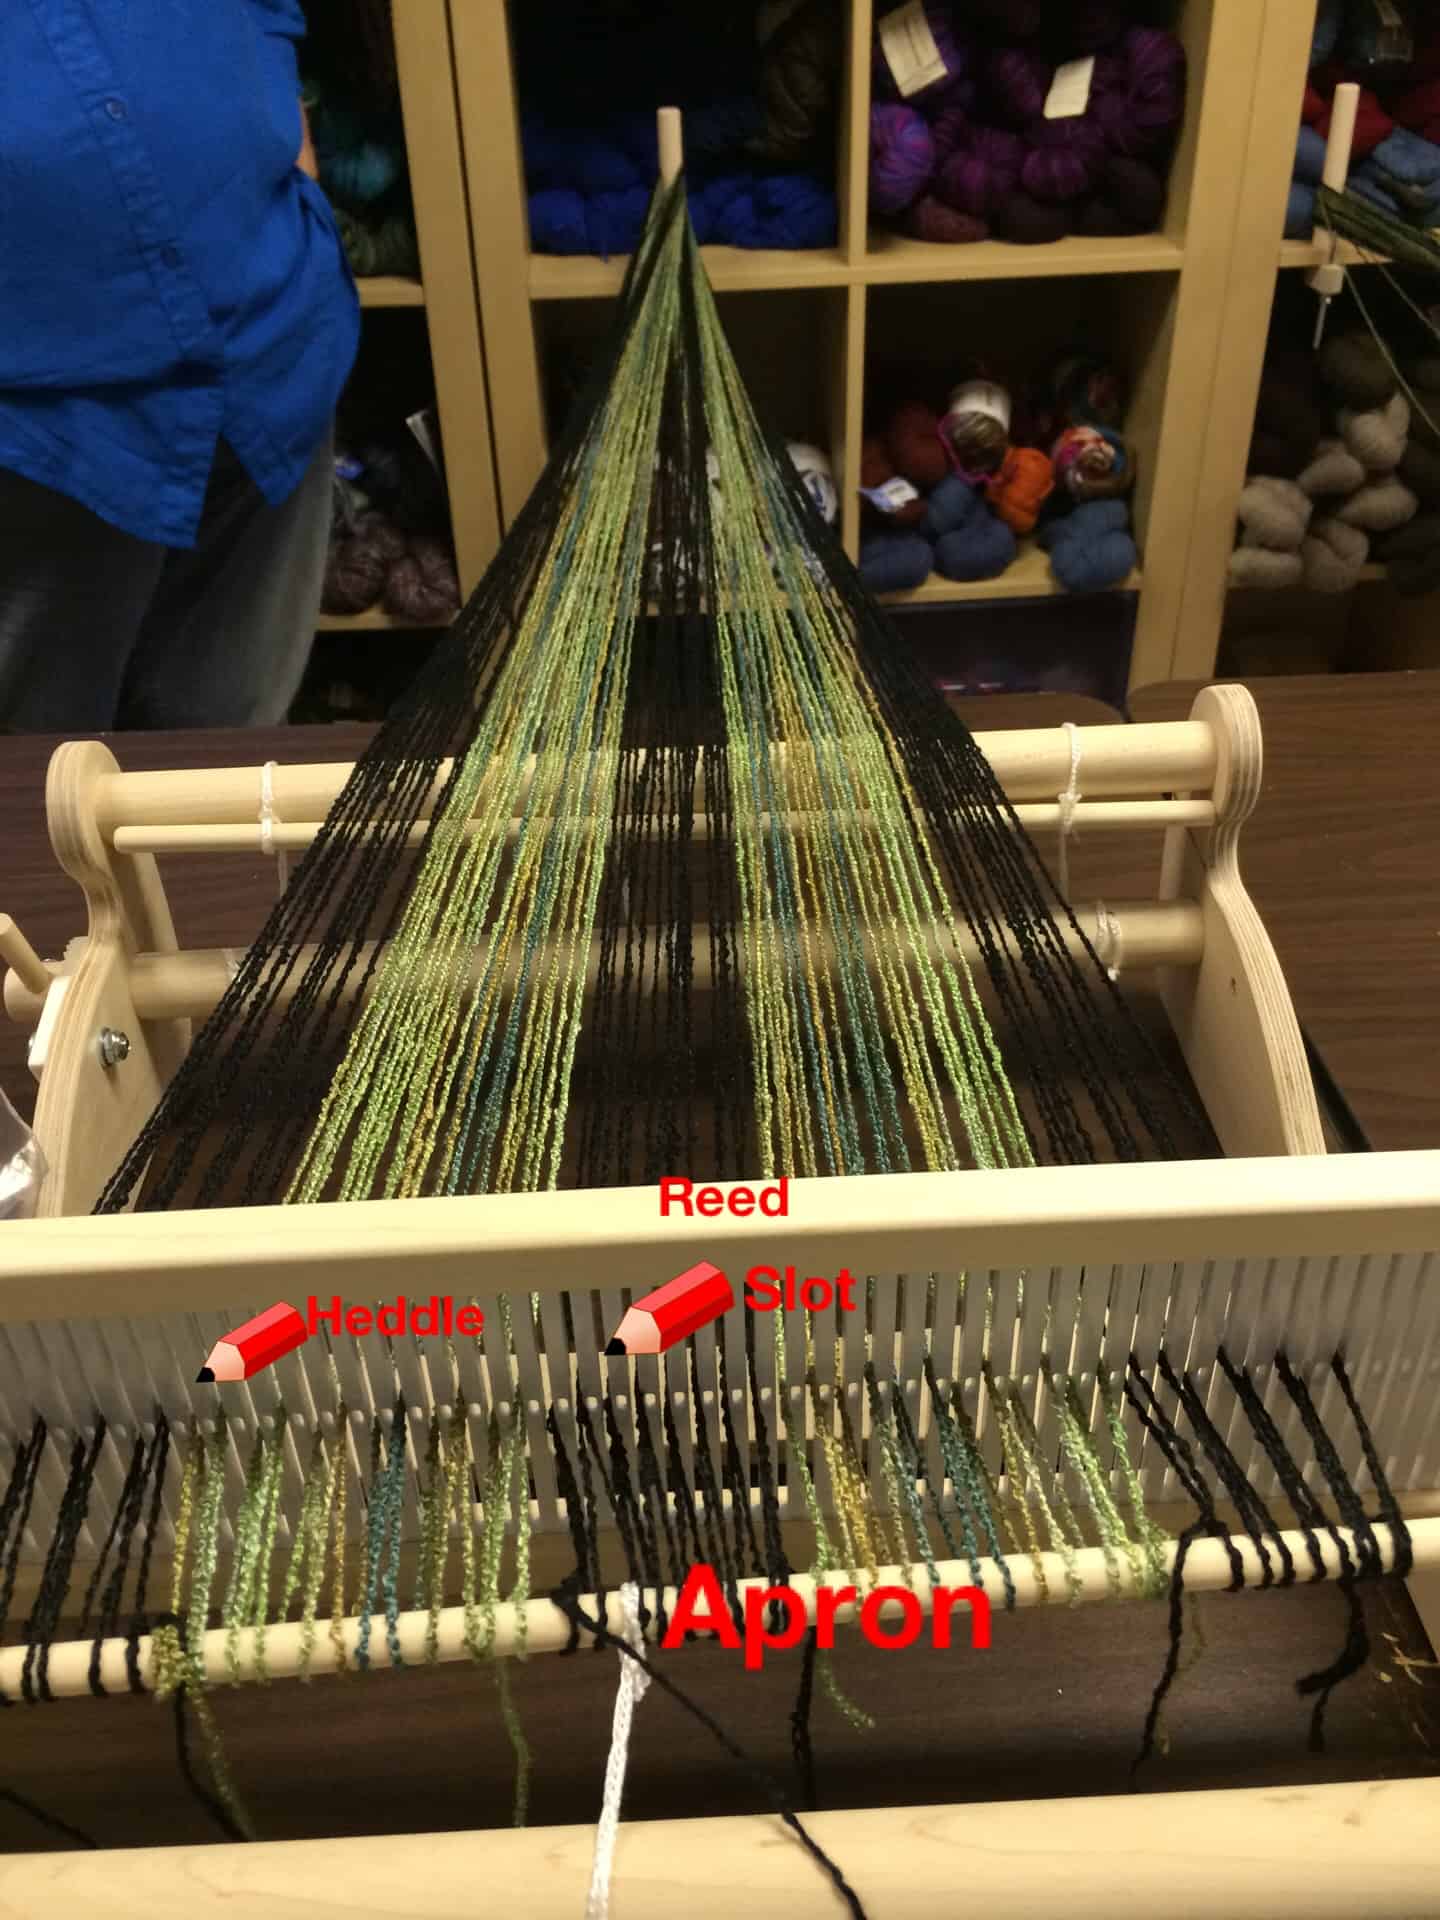
In the picture above, it’s a little hard to distinguish the difference between the heddle and the slot, even though I did my best to label them. Each of the plastic pieces is a heddle. The space between a pair of heddles is called a slot. Traditional looms have heddles made from string. Modern looms may have heddles made from string or wire rather than plastic. (The Wikipedia article on heddles has some good pictures of wire heddles). The plastic pieces in my loom are not flexible like string or wire, hence the name “rigid heddle loom.” The heddles are attached to a wooden piece both along the bottom and along the top of the heddles. That entire piece (the wooden pieces and the heddles) is called a reed.
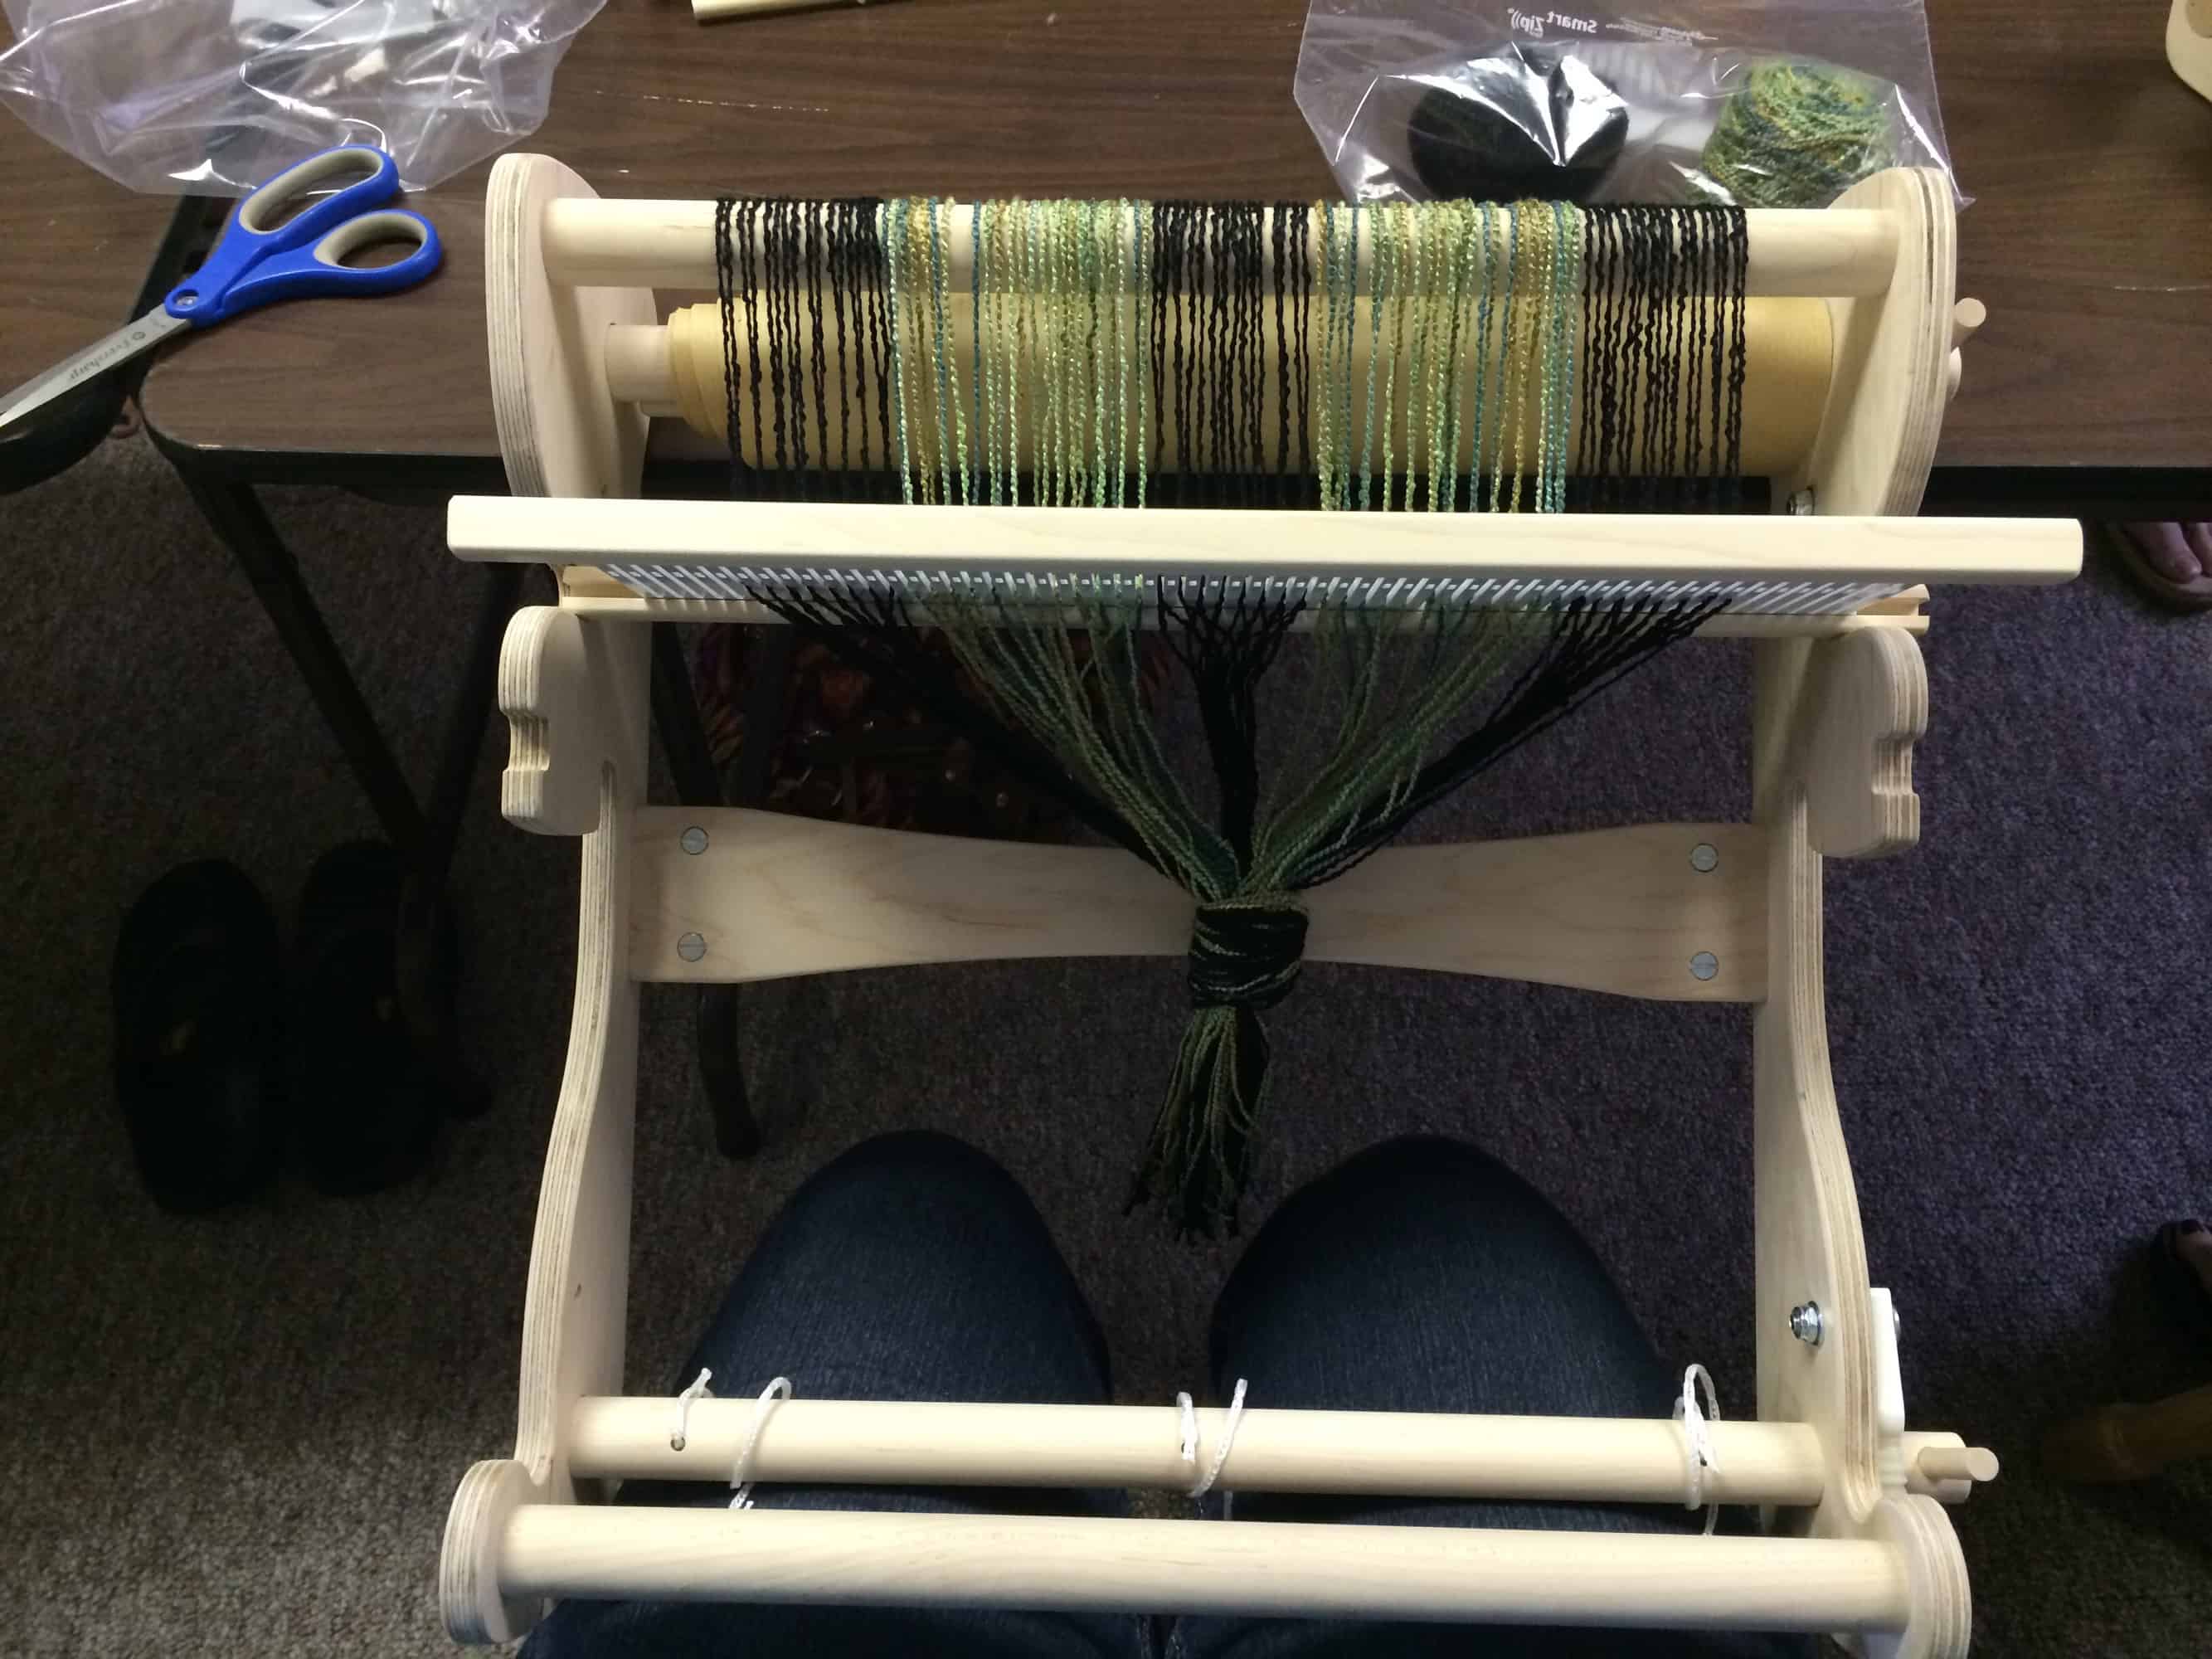
The next step in warping a loom is to cut through the end of the loop that is attached to the peg. Then you tie a knot in the ends so they don’t tangle. Holding on to the knot so that you are applying tension, you then wind the length of the warp onto the fatter rod that is at the very bottom of the picture above, below the apron.
Although it hasn’t been visible yet in any of the pictures, each heddle has a hole in the middle of it. At this point in warping the loom, you have two strands of yarn in each slot. This happens because you pull a loop through the slot in the very first step and then you cut through that loop in the second step. One of those strands needs to be put into the hole in the adjacent heddle. This process is called sleying the reed.
Each strand of yarn in the warp is called an end. Gauge in weaving is a combination of ends per inch and picks per inch. (I’ll get to picks per inch in a minute). Since a rigid heddle loom has a fixed number of heddles per inch, you need different reeds for different gauges. A reed is named based on the number of ends per inch. The reed that came with this loom can hold 8 ends per inch. That’s 4 heddles plus 4 slots per inch. As shorthand, the total number of ends per inch in a reed is called a dent. Therefore, my reed is called an 8 dent reed. This is the size used for worsted weight yarns.
The next step in warping the loom is to tie the loose ends of the warp yarn onto an apron bar on the front of the loom.
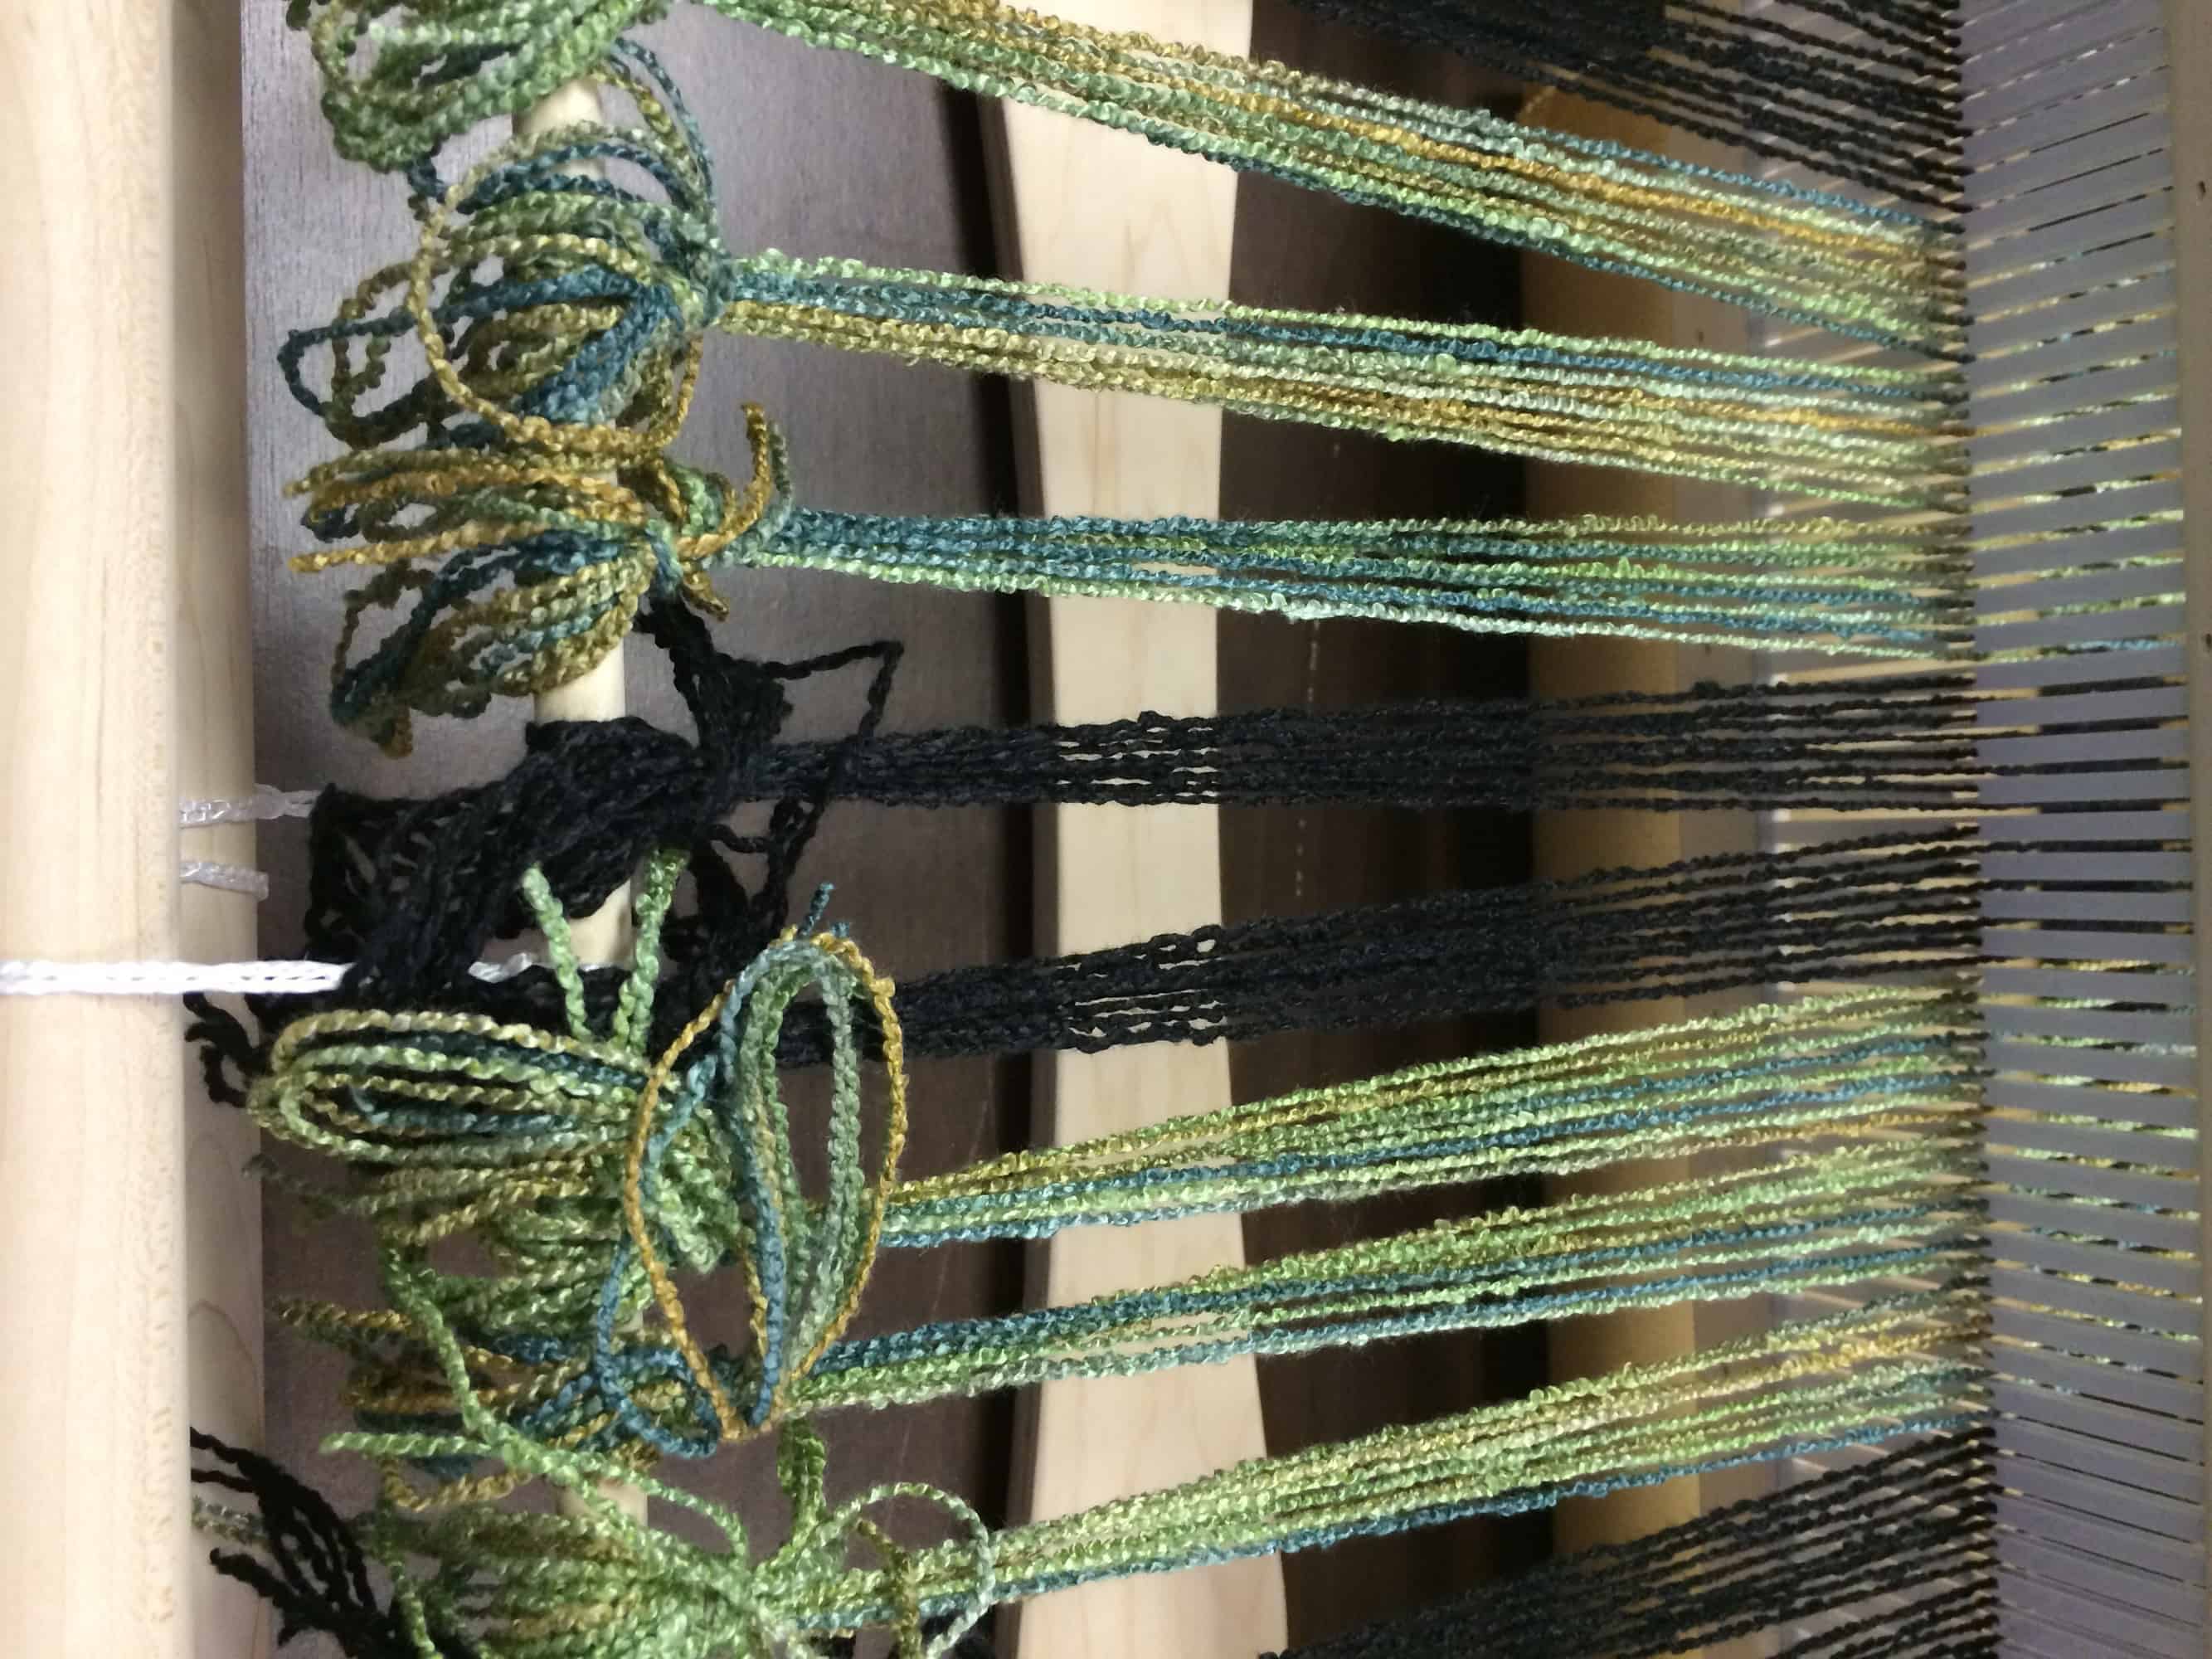
We are now ready to weave! Weaving works by alternating the reed between an up and a down position. When the reed is in the up position, the ends that are warped through the holes are pulled up higher than the ends that are warped through the slots. When the reed is in the down position, the opposite is true. The space between the two sets of warp threads is called the shed. You pass a shuttle wrapped with yarn through the shed, use the reed to tamp the new strand of yarn into place, and return the reed to a stationary point, the opposite of where it was last. Rinse and repeat. The yarn that is passed back and forth like this is the weft yarn. Each individual pass of the shuttle is a pick.
The project proper does not start until you can get the warp strands to be evenly spaced. As you can see in the picture above, the space between ends changes because of the way yarn is tied on to the front of the loom. In order to even out these spaces, you weave a header. The header is usually removed after you are done with the weaving. You can use the same yarn that you are using for your project (which is what we did with this project) or you can use some spare yarn that you have laying around the house.
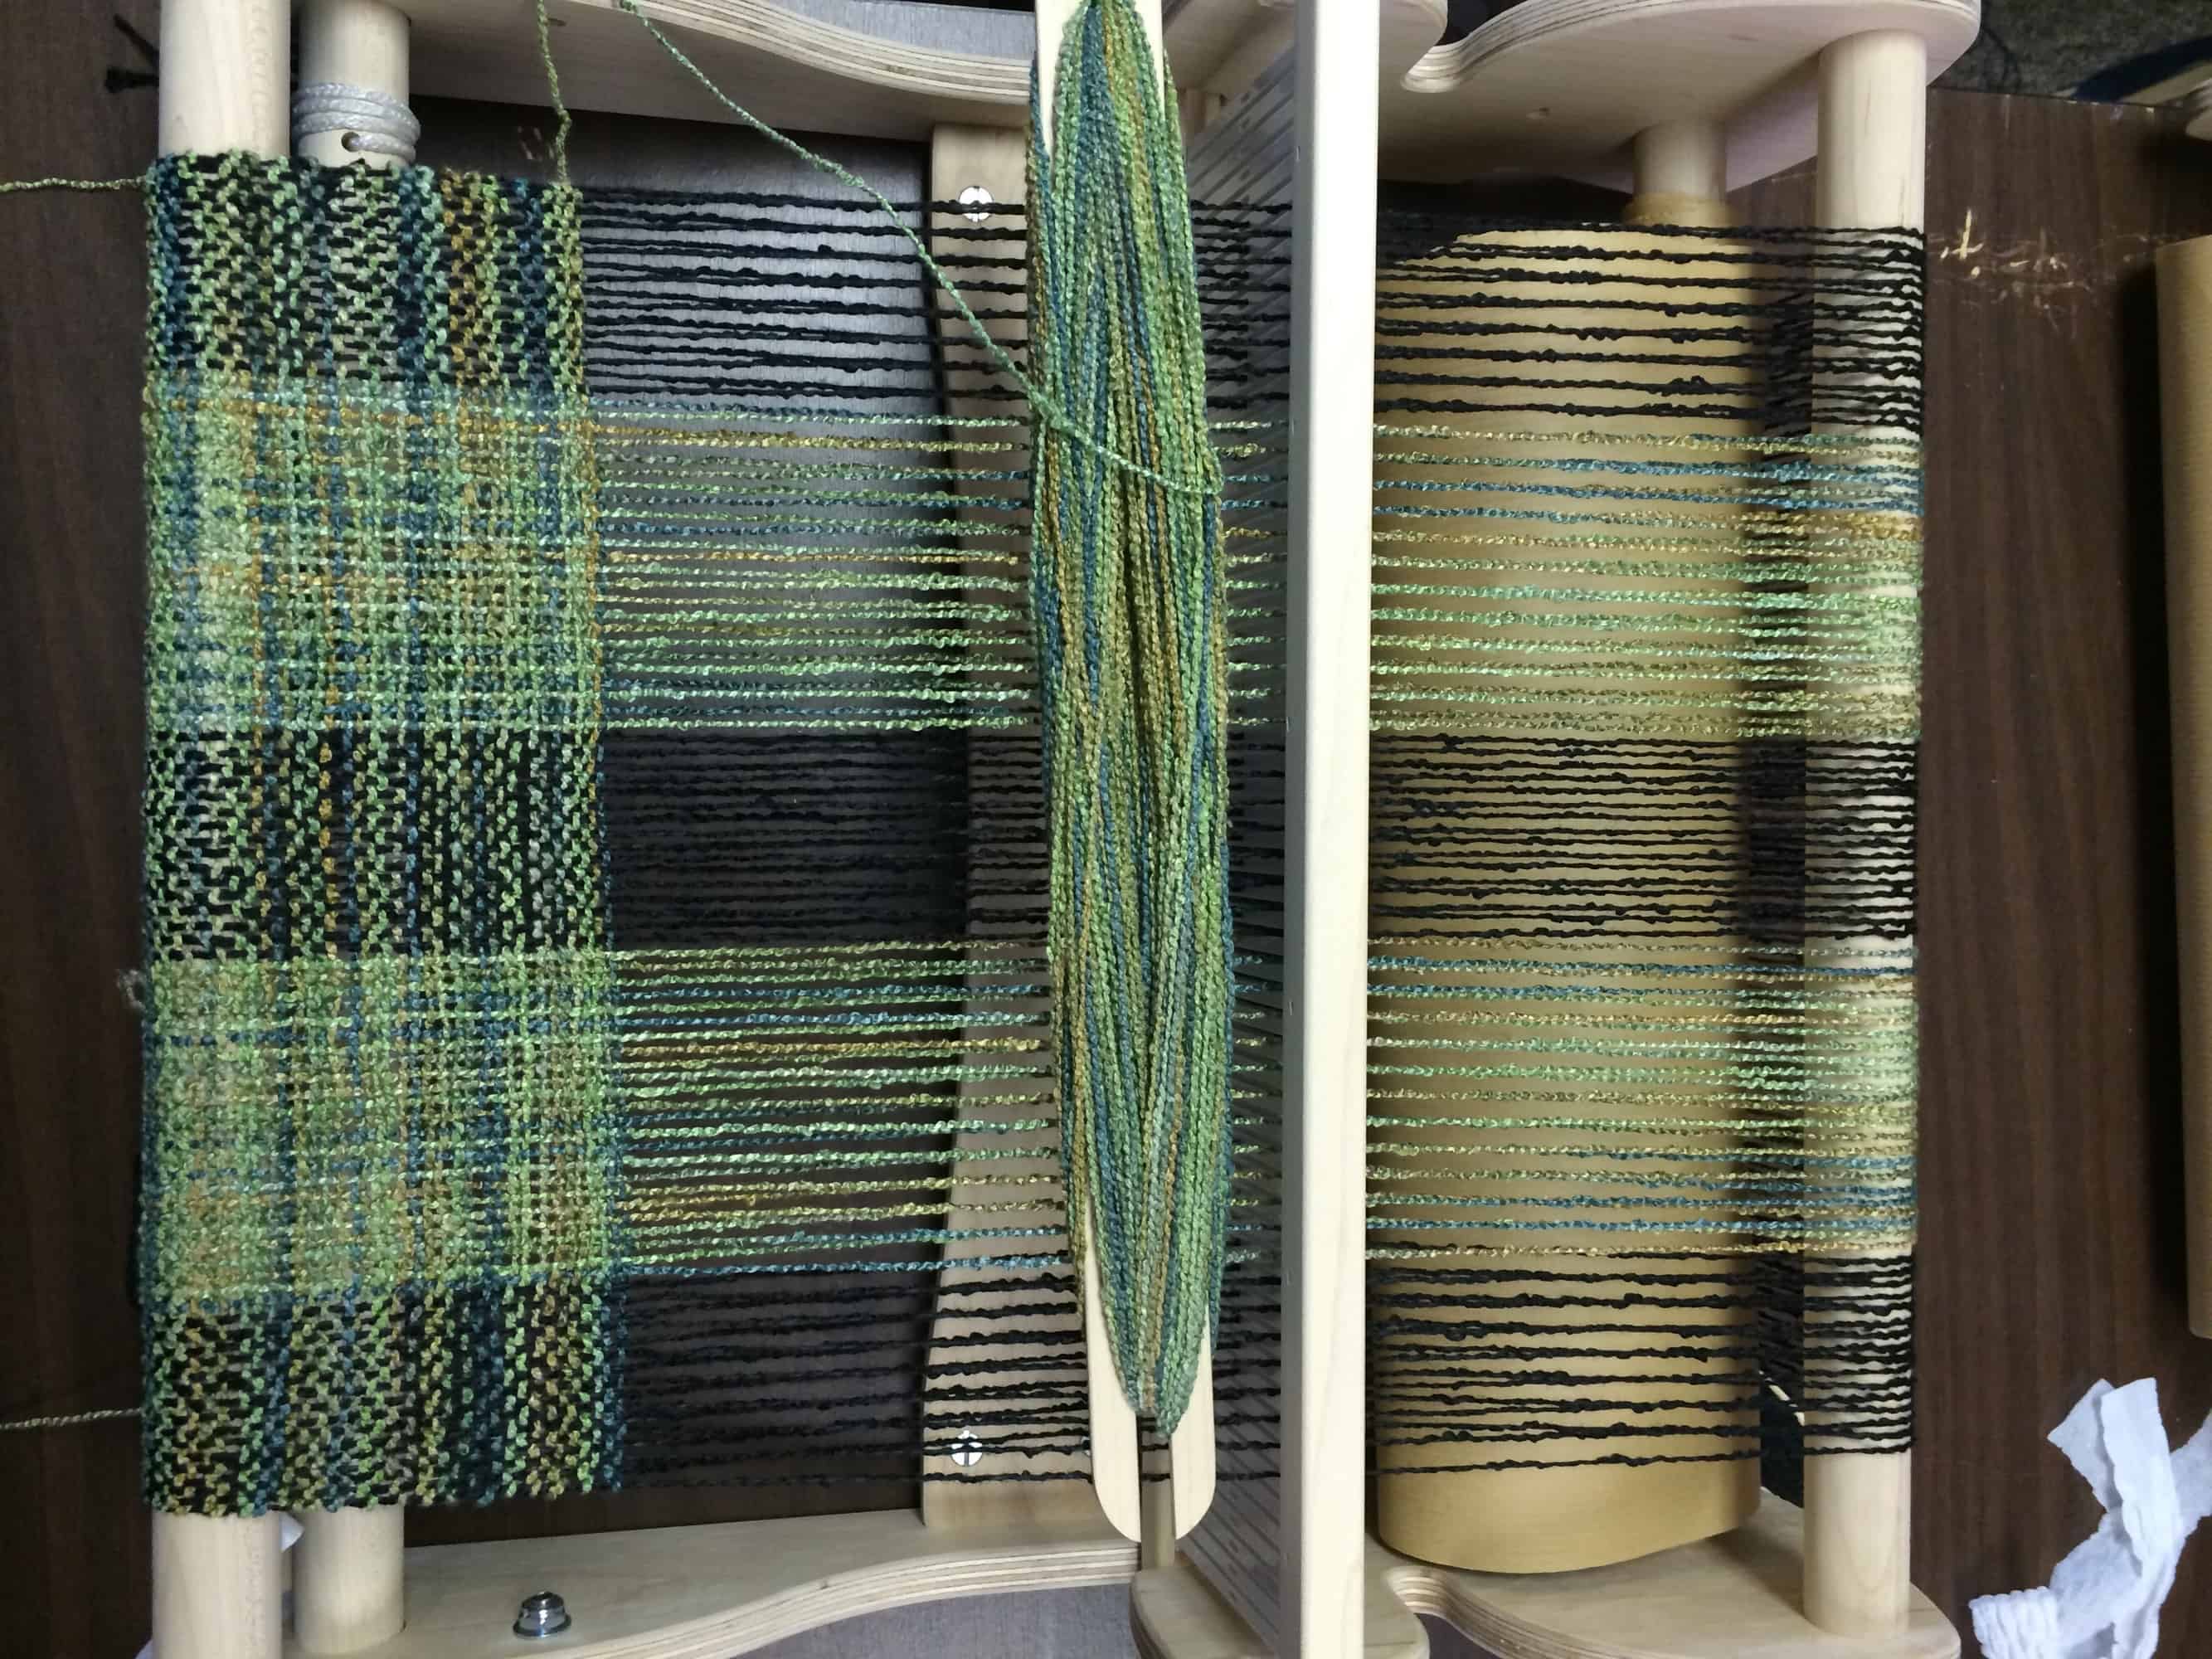
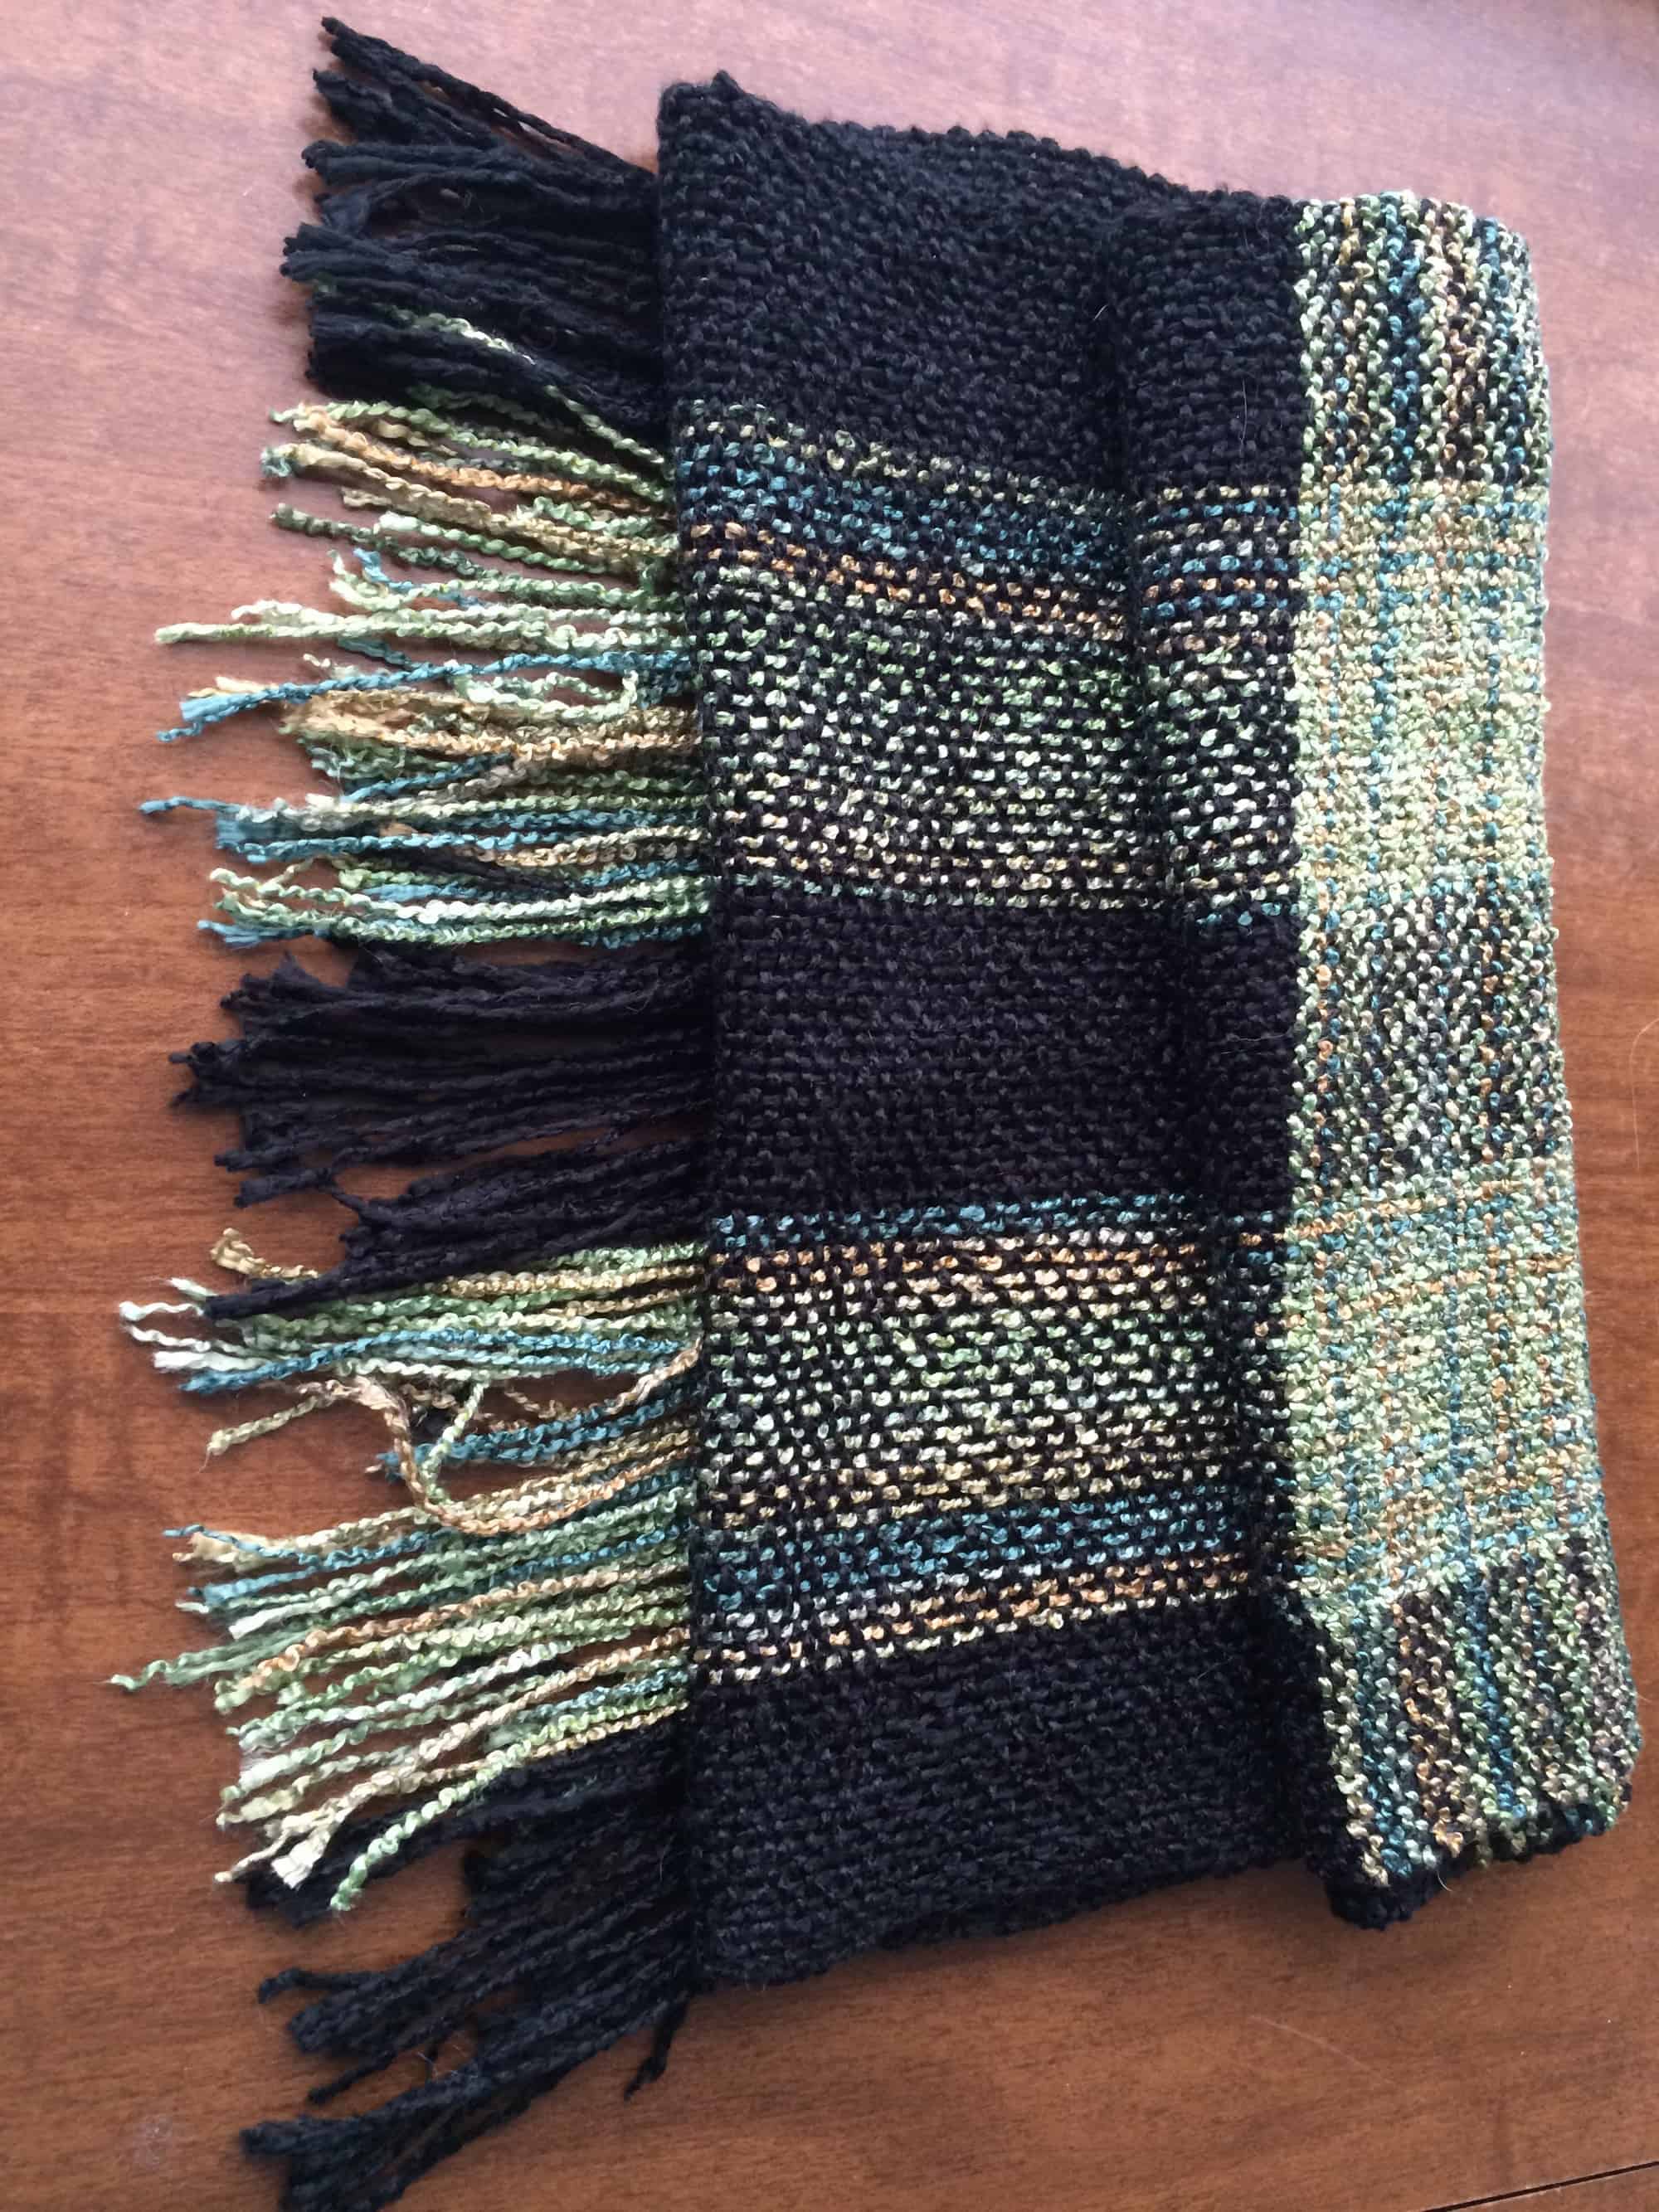
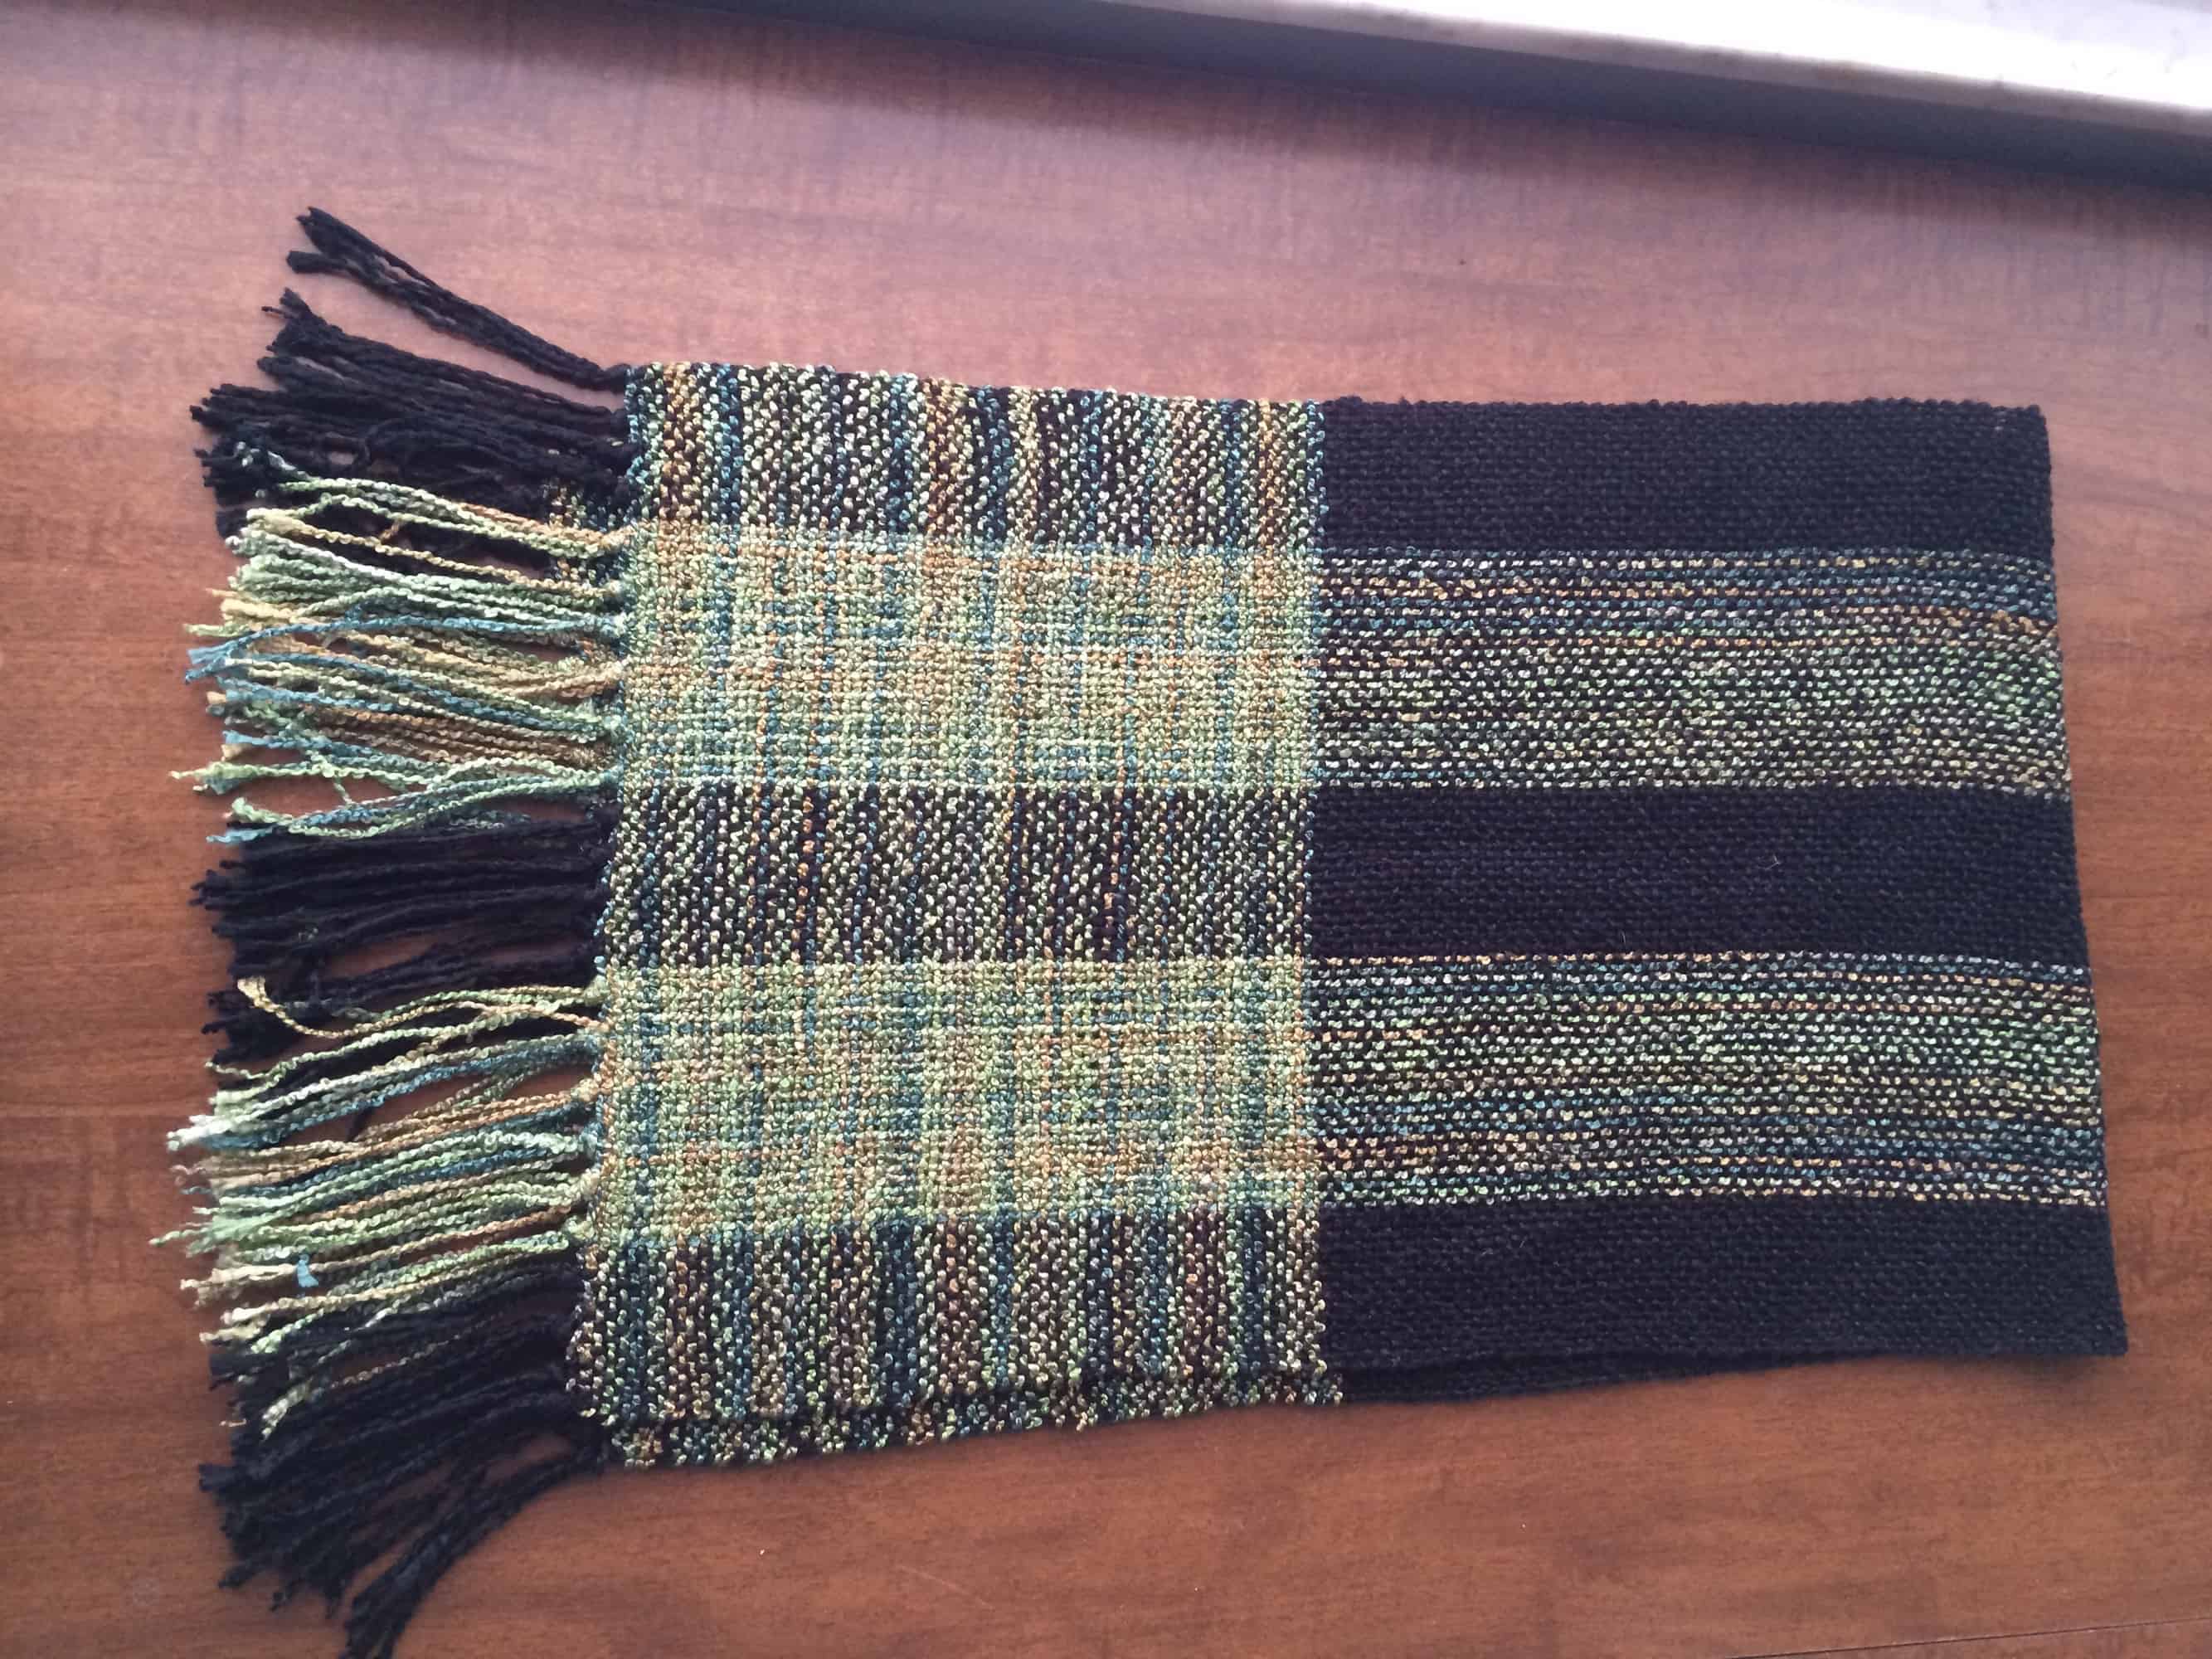
By the end of the class, I had finished just over 50% of the cowl. I finished the rest of the weaving on Monday, cut it off the loom and tied the fringe, then soaked it for blocking.
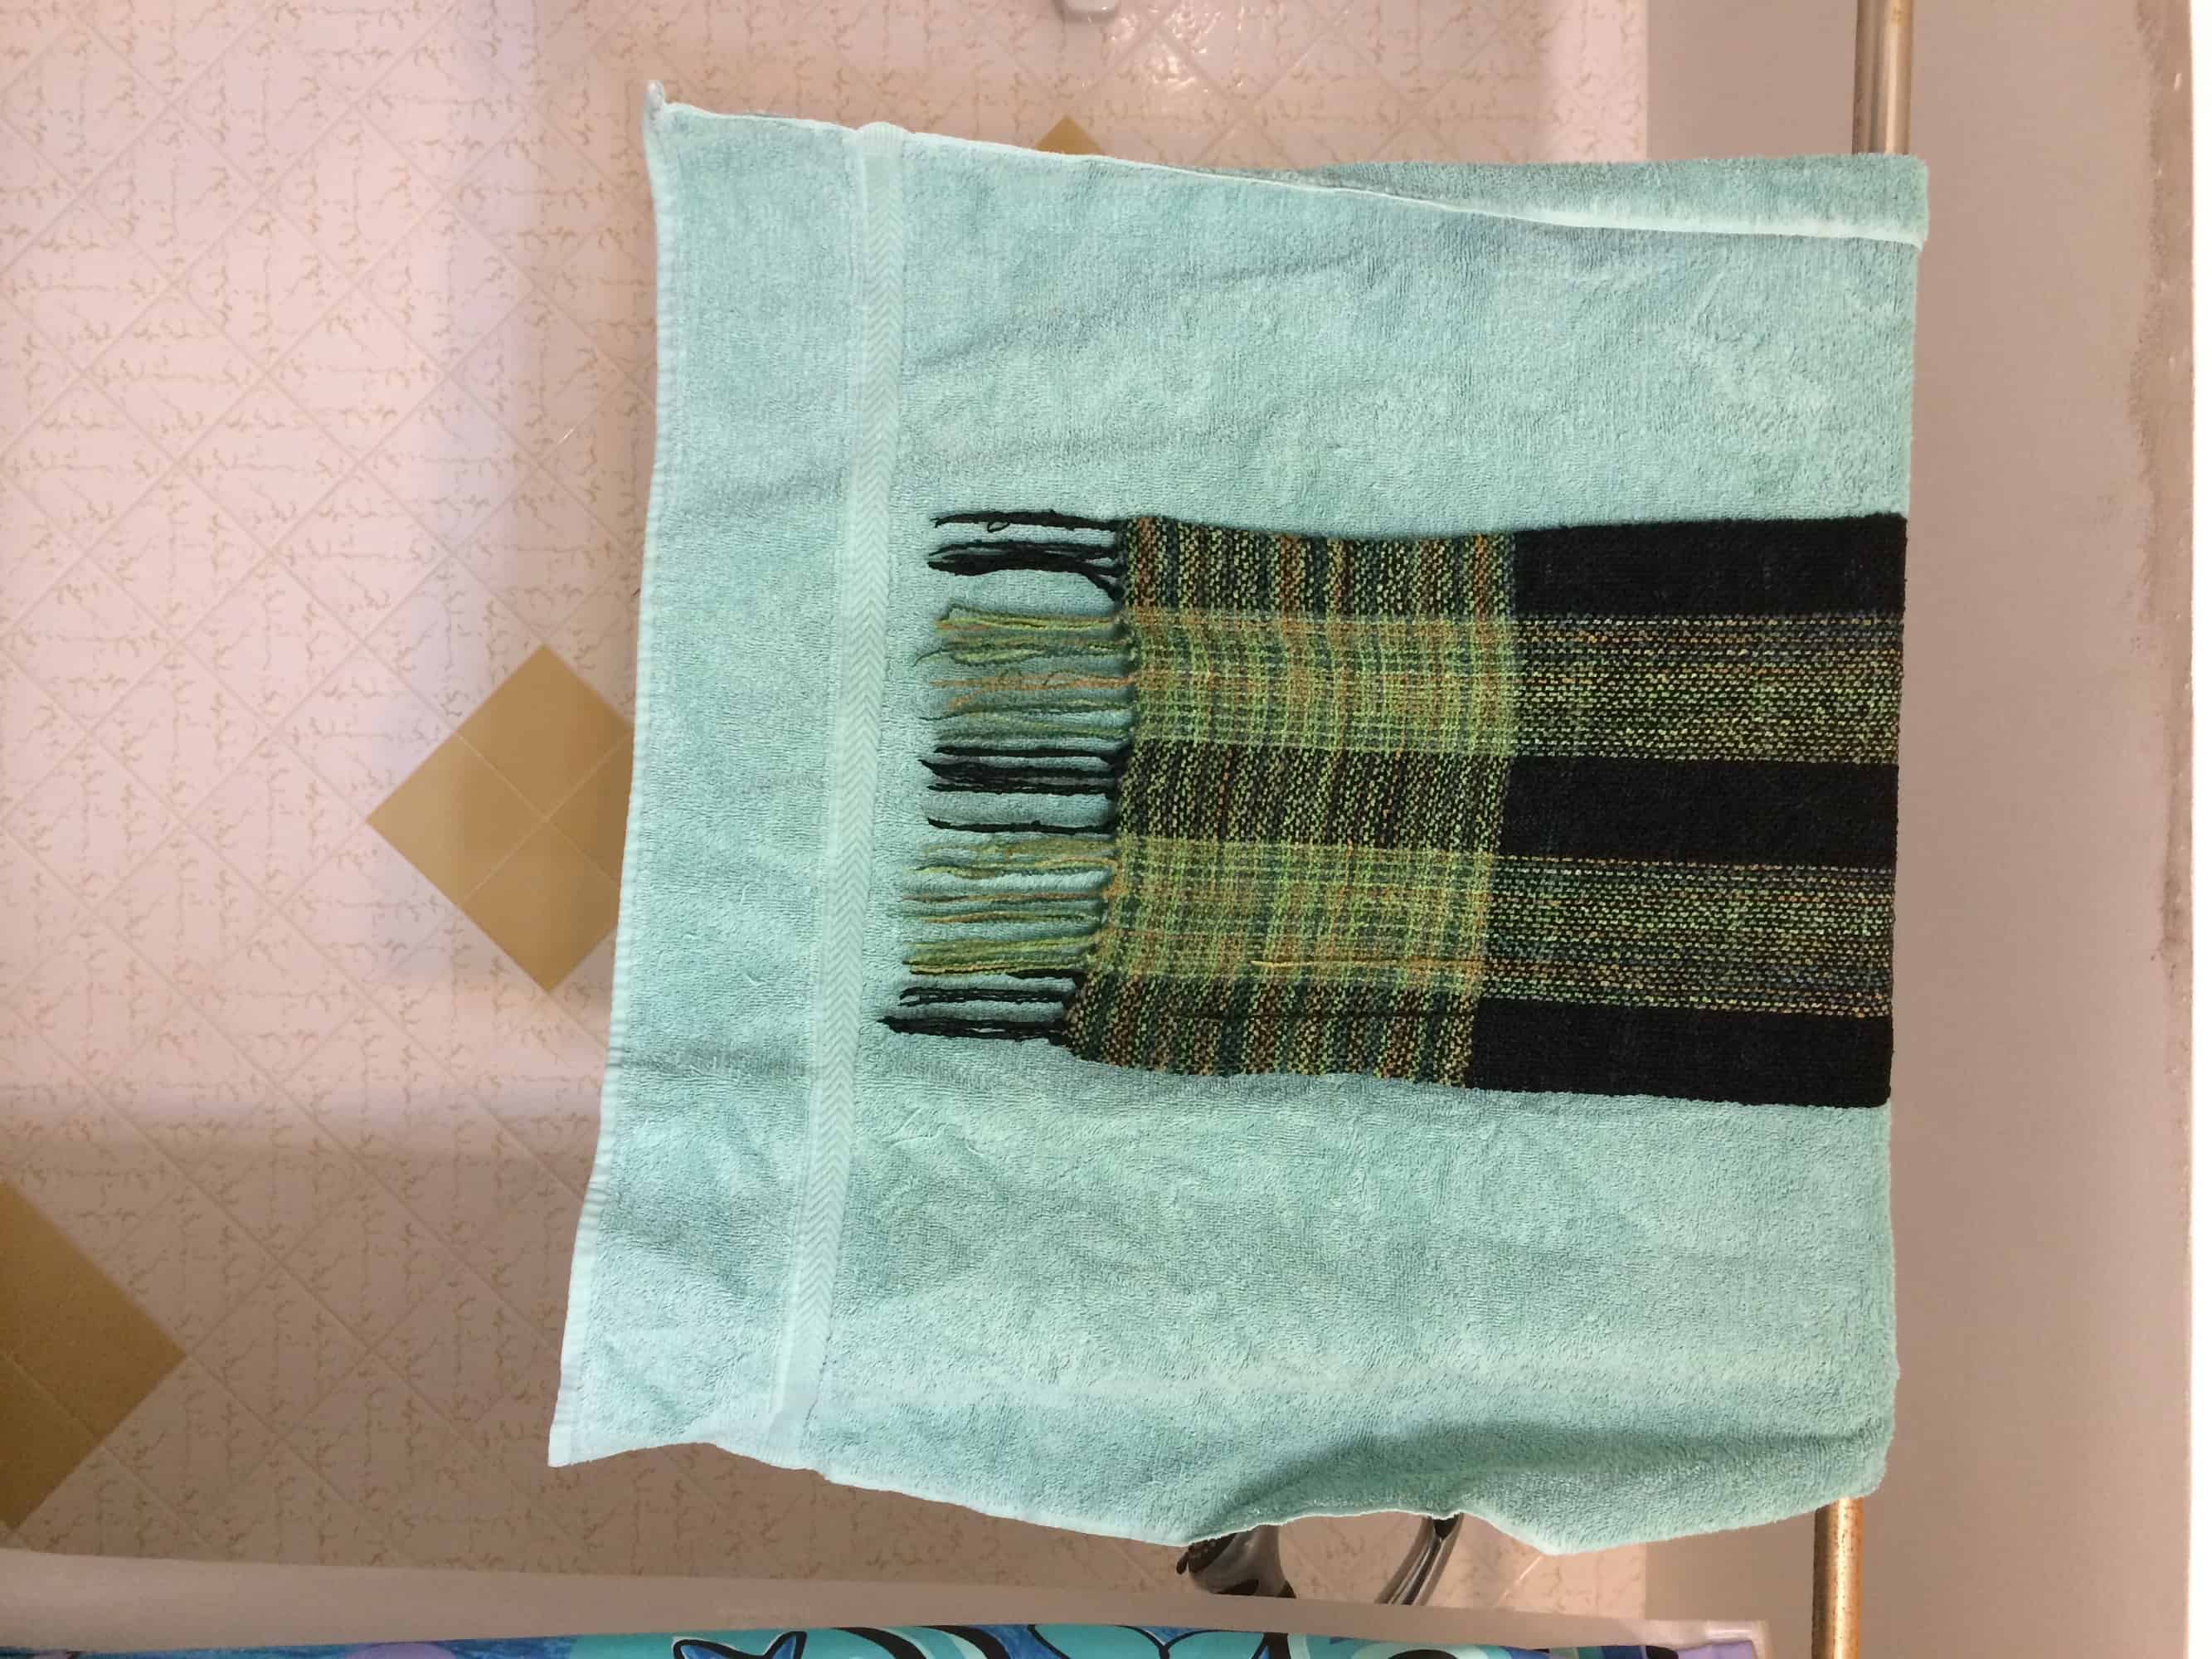
It took a long time to dry!
Thoughts on this Project
I did not like this yarn at all. It isn’t something I would ever purchase because it is a boucle style rayon, which is just not my thing. When I soaked it for blocking, the dye ran like crazy. I do love the colors and the way they blend together. Most importantly though, I LOVE WEAVING. It is so fast! Admittedly, I’m just doing plain weaving, which is the simplest of all weaving drafts. But I just didn’t want to stop. I’ve already warped on my second project. You will definitely be seeing more weaving from me!
1 thought on “First Ever Weaving”